Your ATV’s stator is an important part of the electrical system, along with the battery and regulator. If you have some kind of electrical problem, particularly a failure to charge, the issue is likely with one of these components.
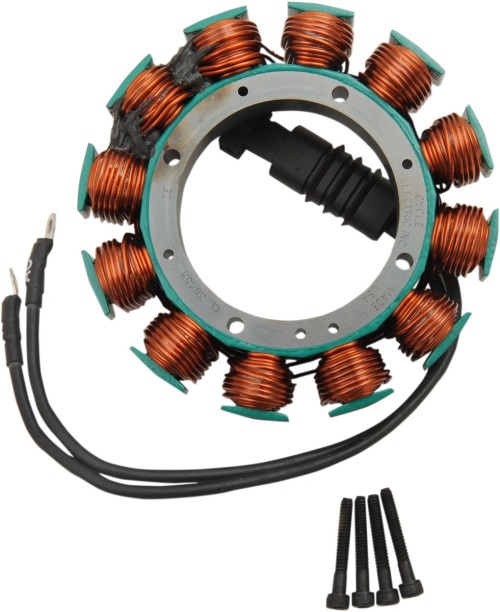
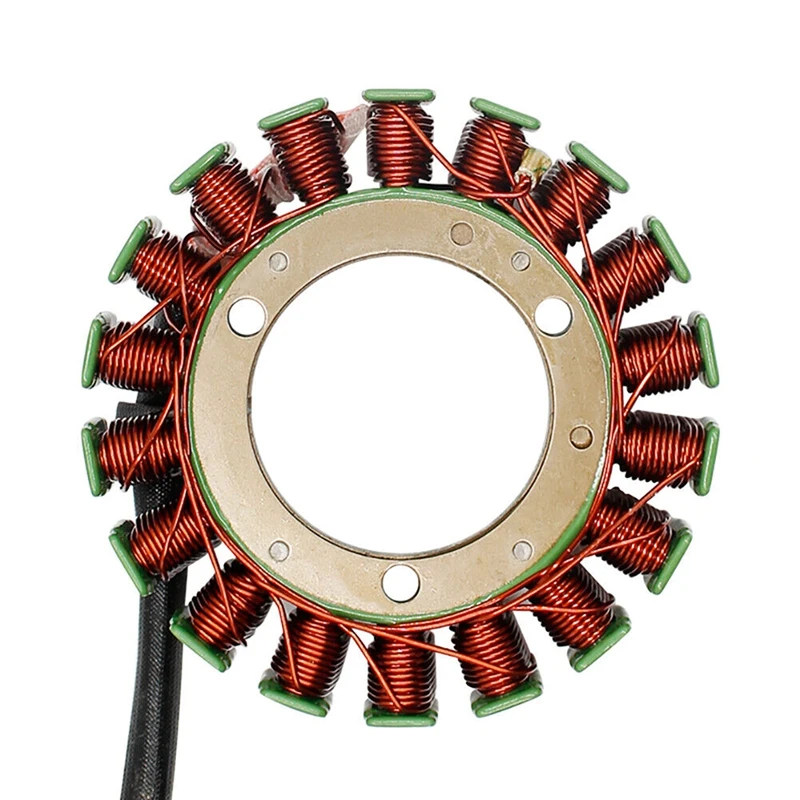
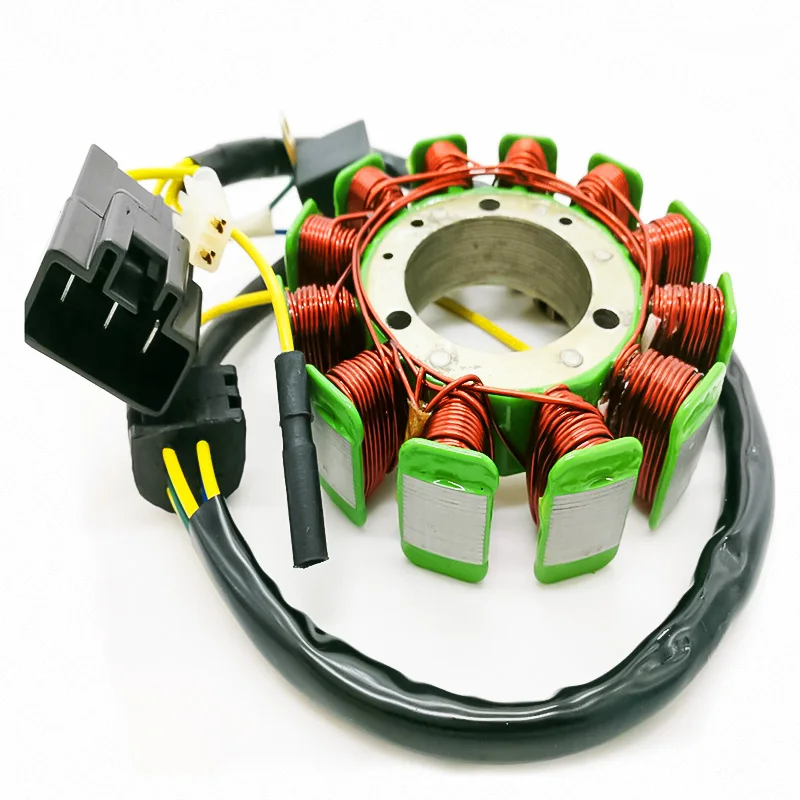
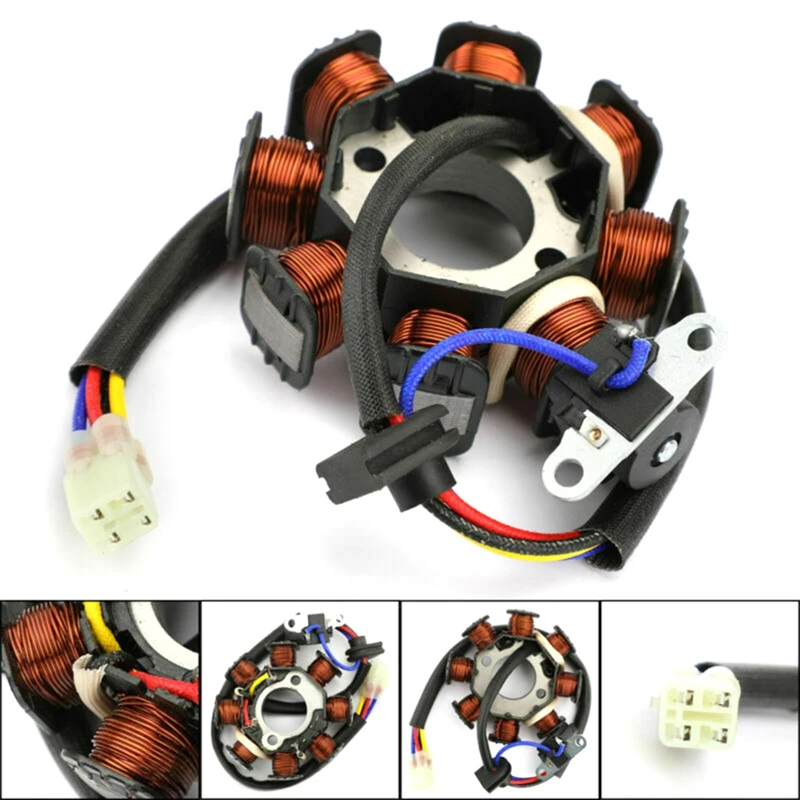
An ATV’s stator recharges the battery while the machine is in use, like an alternator in a car. Your ATV may have a single-phase stator, a three-phase stator, or a bar coiled stator, all of which look differently. Most modern ATVs use a three-phase-stator as these components produce more electricity.
Testing the stator gives you an idea of where to start. If the problem is with the stator, someone can fix it. Here’s how to test your ATV’s stator and fix it if it turns out to be a problem.
Your ATV’s service manual will contain the information you need about your type of stator. It should also illustrate any extra components on your particular model. No matter the type of stator, testing it is a similar process.
Before testing the stator, however, you may wish to take a few additional steps. First, check the battery by placing it on a different charger. Take the time to look for corrosion, and clean the connectors and wiring. If none of those actions fix the battery charging issue, it is time to test the stator.
To test the ATV stator, you will again need the multimeter. You will first perform a static test, or a test done without the engine running and without the stator attached to the ATV. Make sure the ATV is off when you disconnect the stator.
With your multimeter set to ohms, get to work resistance testing each circuit. Connect the multimeter leads to the terminals in the stator’s electrical connector, testing between pins 1 and 2, 2 and 3, and 1 and 3. Compare the multimeter reading to what it should be in your service manual.
The next test is to determine if the stator is shorting out to the ground. For this you will put one meter lead in the connector and the other on the stator body.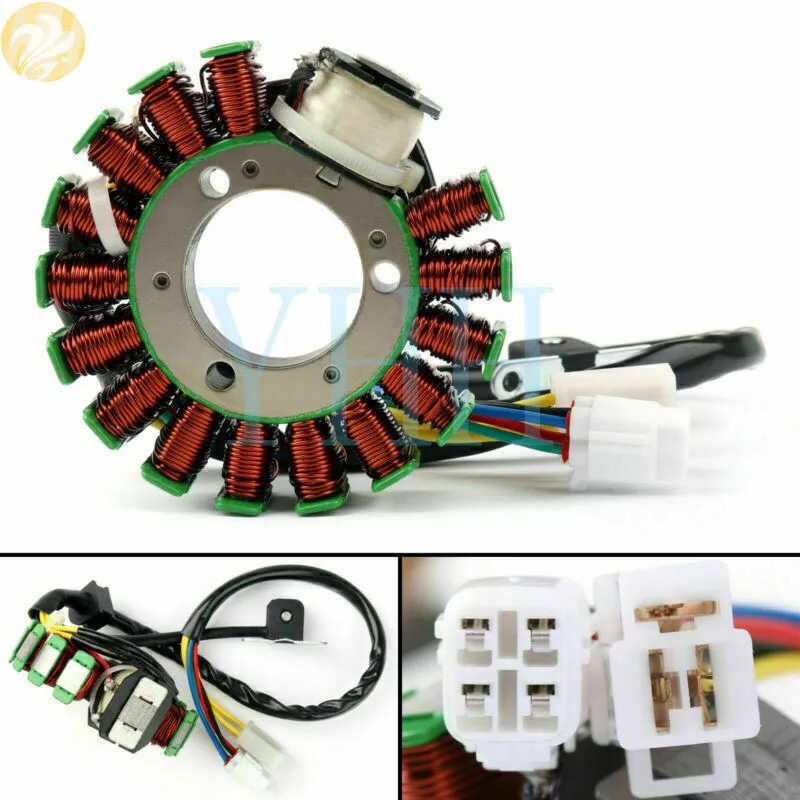 The correct reading in this situation is OL, or open line. If you see another reading, the stator has a problem. Perform this measurement for each coil/winding/phase.
Another test is the dynamic test, this time with the motor running. This will only work if your battery has some charge. You must set your multimeter to AC voltage for this measurement. You will likely need a friend to help.
With the engine running, measure between coils/pins by connecting the multimeter lead to the terminals in the electrical connector for the stator. Again, measure between 1 and 2, 2 and 3, and 1 and 3. You are looking for a positive reading.
You can also re-do this test with an increased engine RPM. In this case, you are looking for the reading between terminals to increase as the RPM increases. A voltage reading that remains the same from the static test to the dynamic test indicates a problem.
Fixing a stator usually involves unwinding and cleaning the original stator core, then rewinding it with a machine or carefully by hand. It starts with looking at the coil heads for damaged or burned wires, then cutting out the protective rubber coating from damaged coils. Note which direction the wire wraps around the coil head, then remove terminal clips from the base with a screwdriver.
The next step is to unwind the damaged wire. After this, you will clean the surface of the stator head with fine-grade steel wool. Wipe it clean afterward. The new wire should be the same gauge as the old, wrapped around the heads in the same direction as before. There should be no gaps between the wire wrappings, and terminal leads will require an additional length at the top and bottom.
Crimp the terminal leads to those one-inch lengths using pliers, and attach the leads to the stator with a screwdriver. Then, test the functionality of the repaired stator with your multimeter in ohm setting mode. If all looks good, coat the new wiring with liquid rubber and allow it to set.
If repairing a stator is outside of your skillset or you would rather get a new stator, a full replacement is possible.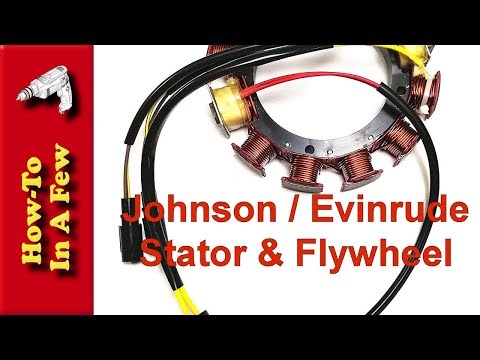 You can either perform the installation yourself or outsource the whole process to a reliable ATV repair expert.
Disclaimer: While we endeavor to keep the information on our blog up to date and correct, Maxtrade (Coolster) makes no representations or warranties of any kind, express or implied about the completeness, accuracy, reliability, suitability, or availability with respect to the website or the information, products, services, or related graphics contained on the website for any purpose. Any reliance you place on such material is therefore strictly at your own risk.
Engine roaring, wind rushing, heart thumping- then all of a sudden, the fun comes to a stop. Your battery on your ATV has died and you are not sure why. Perhaps this is due to a bad stator, or perhaps it is due to something else.
The stator of an ATV works to recharge your battery while your vehicle is running, similar in function to a car’s alternator.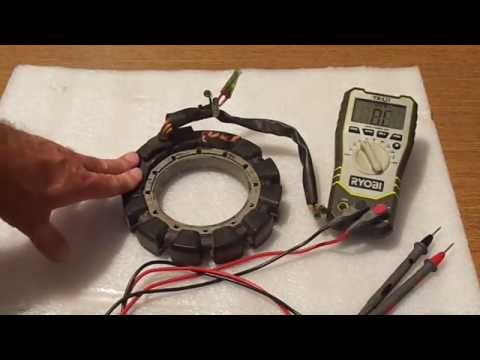 When the stator goes bad, your ATV will only run until the battery goes dead, which is not very long. Test the stator with a multi-meter to ensure that this is the problematic part.
Generally speaking, you should be able to narrow down which part on your ATV is causing the issues, especially if your battery is dying rather frequently. The tools that you will need will be relatively inexpensive, so you will just need to run a few tests and determine if your stator is the problem.
Once you have determined this, then there are a few ways to resolve the issue. Continue reading to learn more about what happens when your ATV’s stator goes bad.
There are only so many things that can slow you down once you begin the thrill of ATV riding. Whether you engage in ATV riding for recreational purposes, use your ATV for work on a farm, or are passionate about ATV as a sport, there are few limitations that can restrict you.
However, when the ATV stops functioning, you will likely be disappointed, frustrated, and in a rush to get your vehicle working again.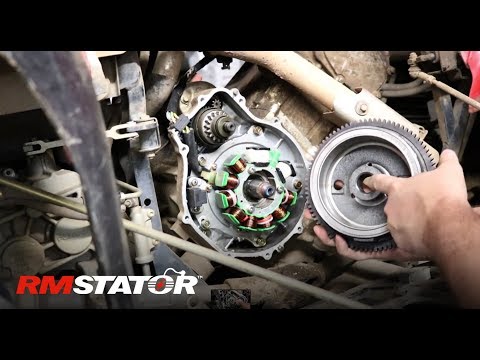
One problem part that can cause your ATV to stop working correctly is the stator. The stator works to recharge your ATV’s battery as you drive it.
Similar to the function of an alternator in a car, the stator is very important for ensuring the longevity of your ATV ride. When it goes bad, your battery will not recharge while in use, so your ride will be cut short.
Then, you will only have the option of charging your ATV’s battery while it is not in use, and this will only give you a brief period in which to enjoy riding your ATV. And, of course, you could get stranded when your ATV battery dies as you will not be able to predict the range of time that the off-powered charge will provide for you.
Since the stator recharges the ATV battery while the vehicle is in use, this allows the ATV to be used so long as all of the other parts are working correctly and there is enough fuel.
When the stator goes bad, your thrills of ATV riding will be cut short, and you will surely be over it.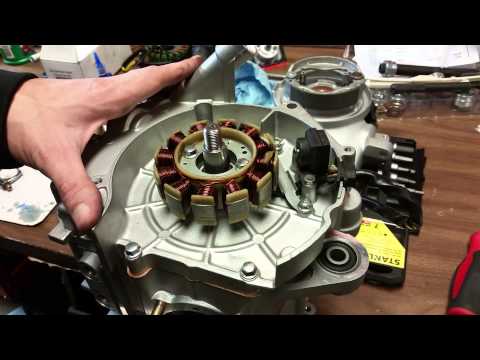 In this case, it is important to check out why your stator has gone bad- and, of course, you will need to make sure that the stator is the reason your battery is dying in the first place.
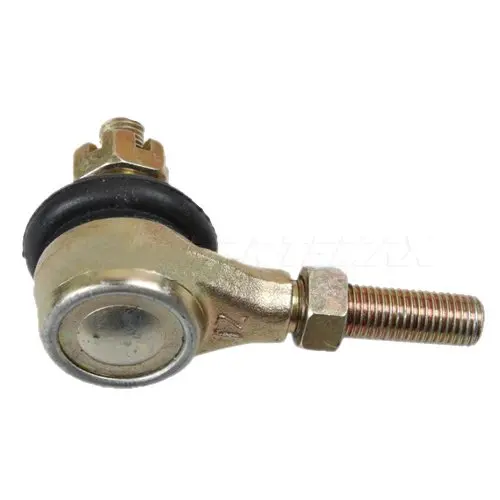
As the stator is made up of a few different components, it is possible that damage to any of these components could cause it to become faulty. The main components of a stator include the cable (connection) and the iron and wire coils. If any of these are dirty or broken, your stator will likely stop working as it should rendering your battery uncharged and you a sitting duck.
Here’s a quick video explaining what a stator is and showing you an example in case you’d like to see it.
Maybe you have your suspicions that your stator is bad, or perhaps you heard of your buddy’s going bad recently and you are wondering if the same problem is happening to your ATV.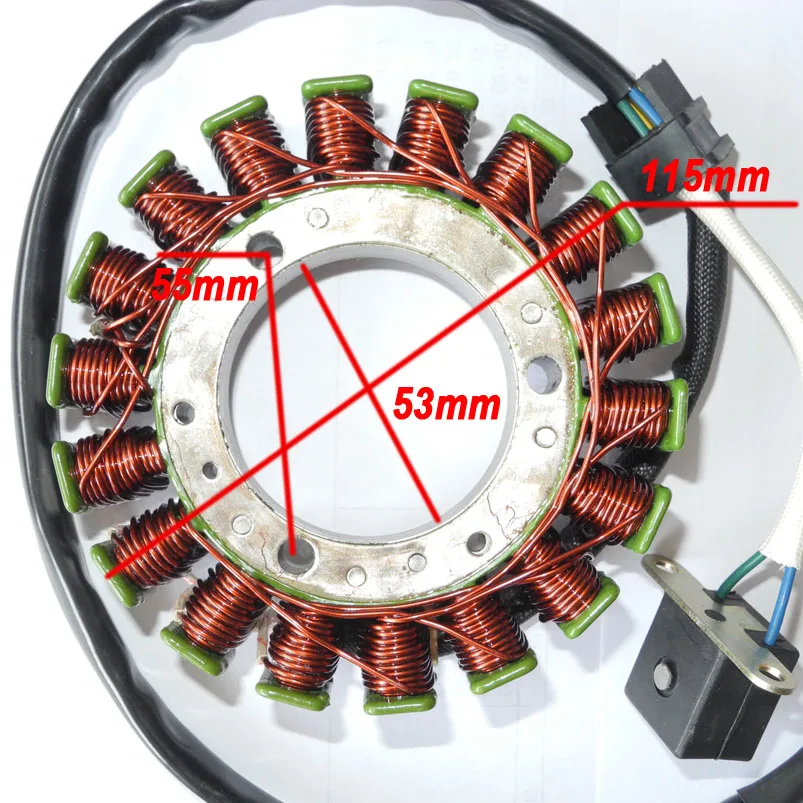 Fortunately, there are a few ways to tell if your stator is bad.
A few signs that your ATV’s stator is bad include loose, faulty, or dirty connectors and a battery that will charge with a separate charger but not while the ATV is in use.
To test your stator and determine whether it is bad or not, use a multimeter to tell if the appropriate ohms are being produced. You can find the appropriate range in the ATV’s manual or online.
The main indicator that your stator is bad will be that your battery is not charging- especially if your ATV will charge when on a separate charger but not while the ATV is in use.
In short, this is a high indication because the battery is not the issue in this scenario as it is clearly able to charge. But, if the stator is bad, then it will not charge the battery which will be noticeable when your battery dies when not connected to the alternative charger.
If there are loose, faulty, or dirty connectors with your stator, then this could be the mechanical evidence you need to be able to tell that your stator is bad.
When these components go bad, then the part itself ceases to function as it was designed to do. In this case, you will either have to clean or replace the faulty component, or you will need to replace the entire stator- it depends on your situation.
Fortunately, stators themselves generally run under $100, though the parts can be found for way less (often under $20). So, if it is only a small component of your stator that needs to be replaced, then knowing this will save you a bit.
Either way, it is best to have a multimeter on hand to be able to test your stator to ensure that it is the faulty component of your ATV before continuing. Here’s an example Fluke Multimeter (link to Amazon) that I have, to give you an idea of what you’ll need.
If you are unsure whether your battery is faulty or the stator is the problem component of your ATV, there are a few things that you can do.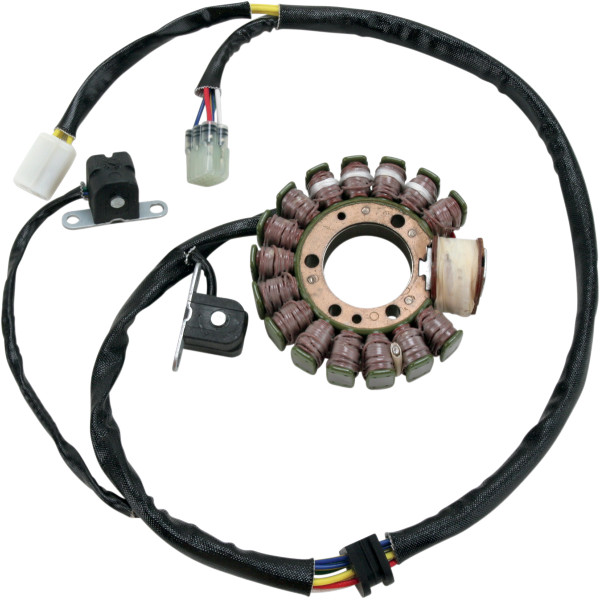 First, you might take your ATV battery to an auto shop and have them test the battery. This will ensure that the battery itself is or is not the problem so that you can eliminate this piece.
If the battery is able to hold a charge but is not recharging while riding, this could indicate that your stator is the component to blame. In this case, you should consider testing the stator with a multimeter to verify the energy output and determine whether or not it is functioning as it is supposed to.
To test your stator with a multimeter is a relatively simple task. To do so, follow these easy steps:
 Each ATV stator has various ranges in which it should be producing, so it is important to check your ATV’s operation manual for what is best for your unique vehicle. You can use your printed manual that came when you bought the vehicle, or you can search online using your vehicle’s make and model number.
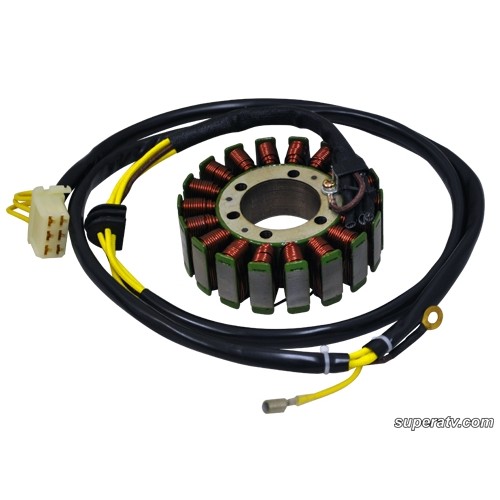 This will be done by reading the ohms produced and deciding if this falls in the appropriate range for your vehicle. If not, then you know you have a faulty part and this will need to be replaced.
Here’s a video showing the whole process of testing a stator, so you can see it in action.
Once you are confident that the problematic part of your ATV is, in fact, the stator, there are a few options that you can consider. Of course, you will want to have verified with a multimeter test that this is the reason your ATV’s battery is not charging in the first place.
If your ATV’s stator is determined to not be working correctly, then you can either replace the individual parts that are not working, replace the entire stator component, or take your ATV to a professional for them to provide the appropriate action.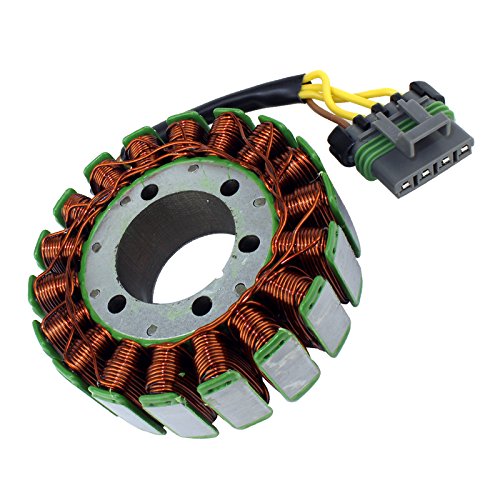
Of course, taking your ATV to a professional will generally cost more, but there are limited risks with this option. Usually they will warranty their work.
Otherwise, if you are attempting to take care of the part yourself and you do not actually know what you are doing, then you might be purchasing unnecessary parts, taking apart pieces of your ATV that you do not know how to handle, and risk a greater cost in the long run as you have to pay someone to fix your mistakes.
You can usually find an ATV Stator (link to Amazon) online, just make sure it will work for your model.
There are plenty of tutorial videos available, though, if you are relatively confident in working with ATV and vehicle parts, so just be sure to make the decision that is right for you and your vehicle.
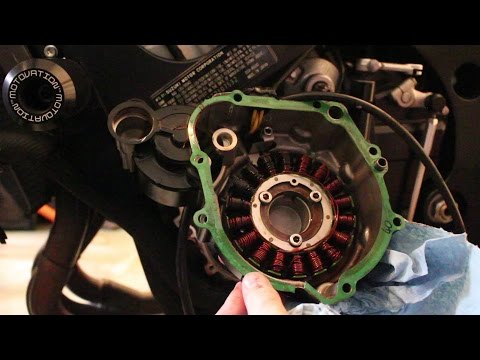
Here’s a good tutorial video for replacing a stator on an ATV. Not all ATVs will be exactly the same, but these steps are a general guide for changing out a stator.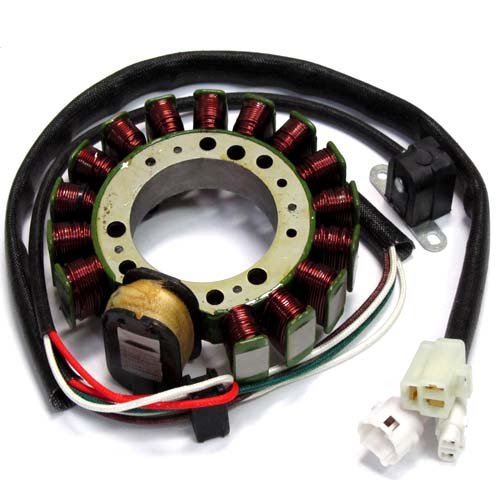
Hopefully, once you test and replace your stator (or faulty stator components), your ATV’s battery will resume charging while riding, and you can get back to enjoying the thrill of the ride.
Sharing is caring!
The generator is one of the main mechanisms of any ATV. During the operation of the ATV, it creates an electric current from the rotation of the crankshaft. During the operation of equipment, it is constantly in operation, so after long-term use there is a possibility of its breakdown.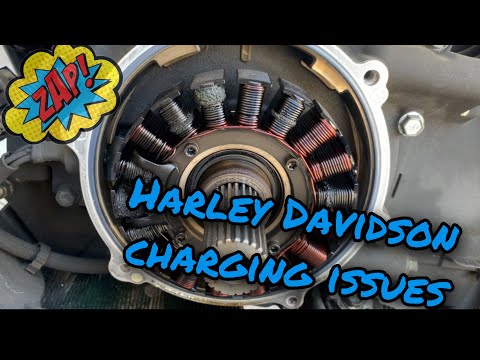
All ATVs presented on the page https://sh.sh3011.ru/kvadrocikly/cforce-600-eps.html are powered by internal combustion engines. With the help of a powerful motor, the necessary cross-country ability and speed are provided. While the engine is running, the generator continuously generates electricity, which is used to power various electrical appliances and the ATV. nine0003
ATV alternator breakdowns are not uncommon, due to the constant operation of this unit. If there are problems with its functioning, there is usually a serious disruption in power generation. If this happens, then you can independently check the main elements of the entire system. To carry out verification work, you can use a conventional multimeter. Everything must be done in the following sequence:
ATV alternator repair procedure involves replacing it because this unit is rarely repaired.
Repairing an ATV alternator is a complex process, so ATV owners most often just replace it with a new unit. The disassembly process includes the following steps:
This completes the dismantling work. Installation of a new unit is carried out using the same tools, only in reverse order. When installing the right engine cover, a new gasket must be installed. If it is not there, then it is best to coat the surfaces to be joined with sealant to prevent moisture from penetrating into the mechanism. On the site https://sh.sh3011.ru/ you can learn more about the features of repairing ATVs and checking the operation of the main components and assemblies. nine0003
Held Way Workshop provides repair services for motorcycle alternators of any model and regardless of the year of manufacture. Our masters have extensive experience in servicing motor generators and starters, incl.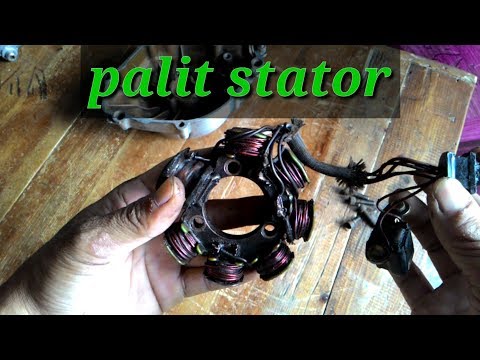 foreign brands (Yamaha, Ducati, Honda, etc.). For clients, a call is available to the master with a free inspection of a moped, ATV and other motor vehicles, based on the results of which the cost and terms of restoration are reported. nine0003
You may suddenly encounter the fact that the motorcycle will not start. At the same time, the engine is working, and there is no rattle from the starter side, but there is still no ignition. In such a situation, it can be unequivocally stated that the engine does not start due to the lack of a spark from the spark plugs, because. generator is defective.
Even if the motorcycle can be started, it will not be stable at high speeds. Also a good sign of a malfunction is a complete failure of electrical devices on the panel or unstable brightness of lighting fixtures. nine0003
If a generator malfunction is detected, it is better to send it to a service center for repair. There are two reasons for this at once:
 Therefore, along with it, it is necessary to restore other sources of problems.
 Occasionally, a motorcycle alternator may fail due to corrosive substances or dirt. Even if you manage to restore it yourself, it is impossible to identify and verify all the negative factors that influenced its breakdown. Therefore, a new problem will soon come. To avoid these problems, it is recommended to contact only specialists.
Maintenance of a scooter or moped begins with professional diagnostics, which includes:0003
According to the results of diagnostics, the client is informed of the price and terms of repair of motor vehicles.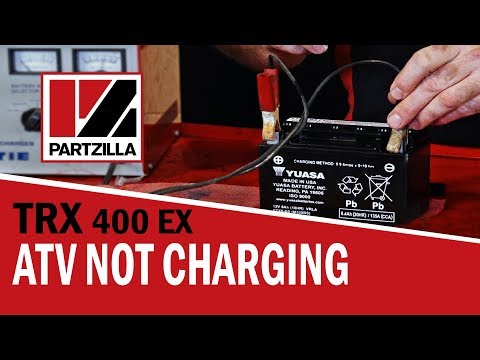
Faulty windings found after “ringing” must be replaced. The master selects a conductor similar in cross section and composition, and winds it in place of the damaged one. If necessary, intermediate cleaning of the grooves from dirt is performed. nine0003
With this method, all windings with severe deformation or multiple breaks of turns are replaced in a circle. At the end of the rewind, the motorcycle generator is assembled and its performance is checked before returning to the customer.
Often this situation occurs - the generator is working after repair and the lighting devices are working. But when starting the engine, flickering of the headlights and the dashboard is observed. The reason is a faulty starter, because of which the generator failed. nine0003
Therefore, together with the main repair, the masters rewind the starter. The method of restoring the windings depends on the severity of the damage: