Tubeless tires are much, much better than the alternative, but that’s not to say they’re perfect. Sometimes, just getting a tubeless tire to hold air can be a challenge, and diagnosing the problem — let alone fixing it — can be frustrating. If you find yourself staring at a flat tire in the garage and muttering “why” over and over again, here are some tips for getting rolling again.
This article won’t cover mounting tubeless tires; we’ll assume the tire has been mounted successfully, but that it won’t hold air for more than a day or so.
No, we’re not celebrating yet, but this will get us closer to our goal by allowing us to zero in on the part that’s leaking.
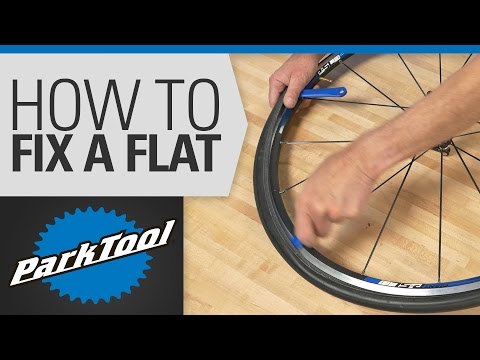
Fill a spray bottle with water and some dish soap, or really any soap that forms bubbles. Next, inflate the tire to 30psi or so. Spray or just pour the soapy water all around the tire and rim, one section at a time. Note any places where air bubbles appear.
If there is a puncture in the tire itself that is leaking, this is generally an easy fix. Make sure you have plenty of sealant in the tire and move it around until the sealant pools at the puncture. Larger punctures may benefit from a tire plug.
With a sidewall leak, you’re usually better off replacing the tire. It might be possible to patch it, or if you’re really lucky, plug it, but in my experience sidewall repairs rarely last very long.
While rare, some tires have been known to absorb or even weep sealant. Tiny pores in the tire compound fill with sealant when it’s initially added, so you may need to add a bit more liquid to replace what’s been lost. If a tire still leaks through the tread or sidewall in multiple locations despite having good sealant coverage and no punctures, you may want to check with your local bike shop or tire manufacturer to see if the tire should be replaced.
Check to make sure the rim wall isn’t dented. If it is, your tire won’t be able to seal. If you find your rim is slightly bent or dented, it might be possible to get things straightened out enough to hold air. According to Gerow, “a couple of small planks of wood, a vice, and a hammer will get you started.”
Even if the rim wall isn’t visibly dented or misshapen, there could be a small gap between the tire bead and the rim that’s leaking air. Make sure you have plenty of sealant in the tire, and hold it horizontally and tilted to allow the liquid to pool around the part of the rim where you saw the bubbles forming. Shake the wheel gently for a minute or so to let the sealant do its work.
In some cases, the tire-rim connection may not be tight due to buildup of old sealant. “Older tires can have a buildup of dry and hardened sealant at their bead that will create space between the rim and the rubber, causing air leaks,” says Gerow. “When mounting a tire that has already been mounted previously, be sure to remove as much dried sealant from the bead as possible.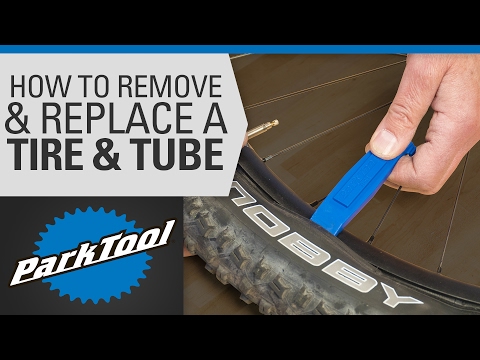 ”
”
Sometimes a tire bead may not be fully seated in the rim. Try pumping the tire up to maximum pressure. The loud popping sound you’ll hear is the bead popping into place. If you didn’t hear that noise the first time you mounted the tire, chances are that is the issue.
After running through the checks above, try soaping the tire again and checking the same spot to see if the fix was a success.
In my experience a leaky valve is often the cause of air pressure losses over time. If the soapy water reveals bubbles at the valve, it’s time to investigate further.
Tubeless valve parts with a valve core remover tool (red, right).First, check the easy stuff: Is the core screwed in tightly? Is the inlet screw loose or bent? A dedicated valve core tool is helpful for proper tightening, and if your fingers aren’t getting the inlet plunger tight enough, needle nose pliers can do the job. Just make sure you don’t over tighten and break the valve, or get it so tight you can’t add air later.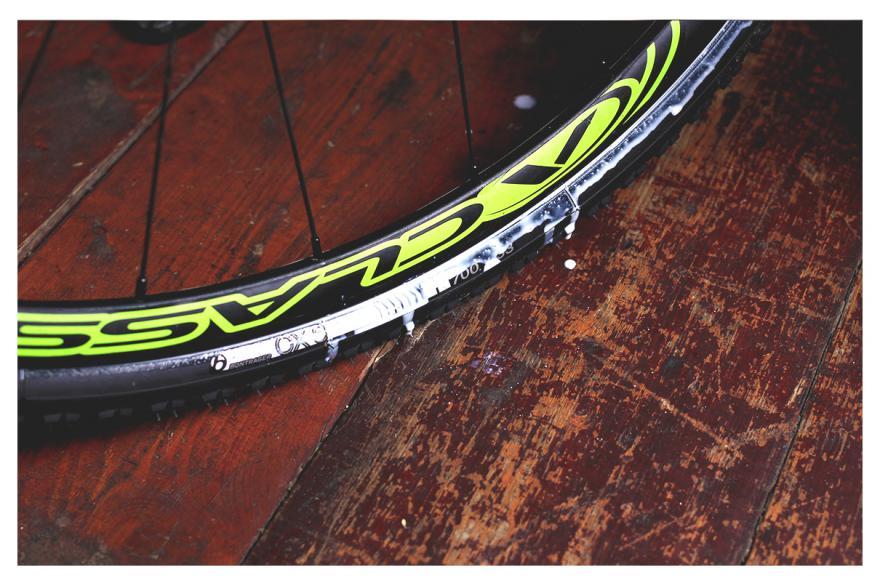 If any part of the valve is bent or broken, don’t try to fix it; it’s time to replace it.
If soapy bubbles are forming around the base of the valve, it may not be attached to the rim properly. Most valves have a nut at the base that tightens the valve to the rim. Get this as tight as possible with your fingers, and if necessary give it a slight turn with a wrench. Just be sure to avoid tightening too much because you could damage your rim, especially if it’s carbon fiber, and you may need to be able to remove the nut on the trail in the case of a puncture.
Check the gasket at the base of the valve to ensure that it’s properly seated, and that it sits flush in the rim channel. Add a bit of plumber’s/PTFE tape to seal things if the gasket is particularly troublesome.Next, investigate the valve from the other end, which means taking the tire off the rim. Most valves have a soft rubber gasket that forms a seal around the valve hole in the rim, so check to make sure the valve is seated properly in the rim channel. You can also add a bit of teflon tape around the base of the valve to seal things up.
Sometimes sealant can fill in small gaps around the valve. If you notice air leaking while on the trail, try rotating and shaking the tire so the liquid sealant can get to the valve.
If bubbles form around the spoke nipples, the good news is you’ve found your leak! The bad news is, there isn’t a quick fix. This generally means the rim needs to be re-taped, or at the very least the tape needs to be patched over. If the tape appears wrinkled, ripped, or punctured that’s probably what’s causing the leak. Tire levers can often puncture the tape while installing the bead, causing the tape to leak air through the rim.
There are many tutorials online for taping a tubeless rim, but in general, the idea is to get the rim as clean and as dry as possible before taping all the way around in one go. Be mindful of any gaps where air might be able to leak, keeping the tape flat and taut to avoid blisters or pockets.
Sometimes, tires can be sneaky leakers. Pump them up and they’ll stay rock solid in the garage for weeks, but as soon as you roll in the parking lot, or take a turn, they go soft. You soap ’em up, and there’s not a bubble in sight. In fact, this has happened to me a couple times in just the past few months.
This is usually due to a small cut that only opens up when there’s weight on the tire, or if the tire is pumped up to a higher pressure. In your garage, you can try to simulate the effect of riding by adding pressure above what you normally ride, or by deforming the tire with your hands and looking for air bubbles as the tire squirms.
Gerow notes, “Some tires need to be ridden immediately after setup in order to hold air properly. A new tire that won’t hold air in the garage might be good to go after a short romp on the trail.”
Once you find the sneaky leak, getting sealant to the right spot can do the trick, though a plug may work even better.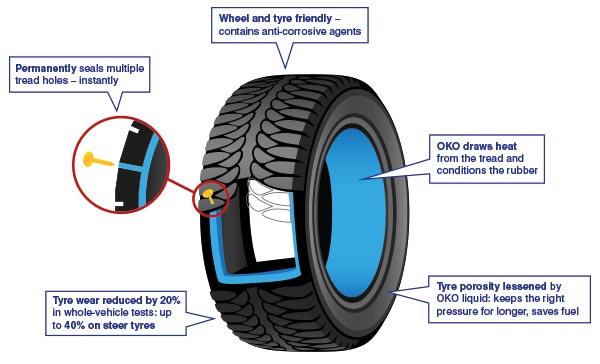
Ultimately, tubeless mountain bike tire systems are pretty straightforward and there are only so many spots where air can escape. Imagine that you’re the air inside the tire, and you’re looking for a way out. How would you do it? That’s exactly the mindset you need to solve this mystery.
Tubeless tire setups are becoming increasingly popular among mountain bike, gravel, and even road cyclists, and for good reason: a tire that seals its own punctures is pretty convenient. So if you’re going to run tubeless tires, you’ll definitely need the key ingredient that makes that magic happen—that is, tubeless tire sealant.
We spoke with Drew Esherick, team mechanic for Pivot Maxxis p/b Stan’s NoTubes cyclocross team, to get expert advice on how to use tubeless tire sealant and more.
(Haven’t jumped on the tubeless train yet? Here’s everything you need to know about tubeless tires to decide if they’re right for you. )
)
Tubeless tire sealant is the liquid that goes inside tubeless tires and automatically plugs punctures as they happen. Most sealant is made from a natural latex base that dries inside a puncture when it’s exposed to air. There are particulates suspended in the latex—different brands use different materials—which is what gives the latex something to stick to in order to clog the hole instead of seeping out.
→ No matter what you need to improve in your riding life, find it with Bicycling All Access!
Race sealant is a version that has more and larger particulates floating in the latex than regular sealant, allowing it to coagulate much faster and fix larger punctures more quickly. But it also requires replacing a lot more frequently, so it’s best for riders who race regularly.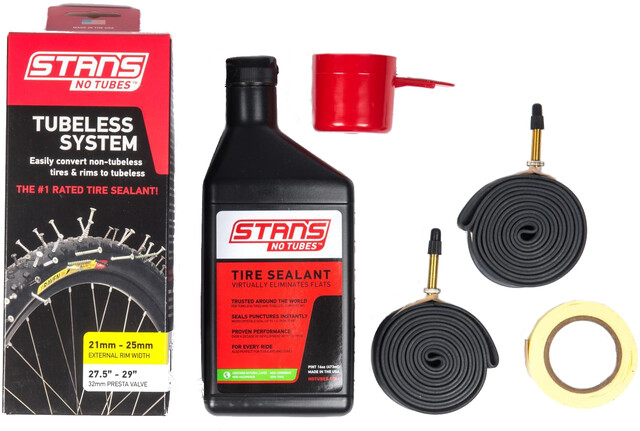
Trevor Raab
It depends on whether you’re setting up your tires for the first time or just topping them off.
“The imperfections in a new tire are going to soak up some of the sealant,” says Esherick. So when you’re doing an initial setup, you use about double the sealant you would when you’re just topping it off.
For a brand-new gravel or mountain bike tire, use about four or five ounces, and use two ounces for a road tire. These are approximate measurements, so don’t worry about getting it exactly right. “There’s no such thing as too much,” says Esherick. But it’s very common to use too little then wonder why your sealant “doesn’t work,” so be generous with it.
$34 at Competitive Cyclist
Credit: Stan's No Tubes$10 at Competitive Cyclist
Now 25% Off
$30 at Amazon
Credit: Muc-Off$31 at Amazon
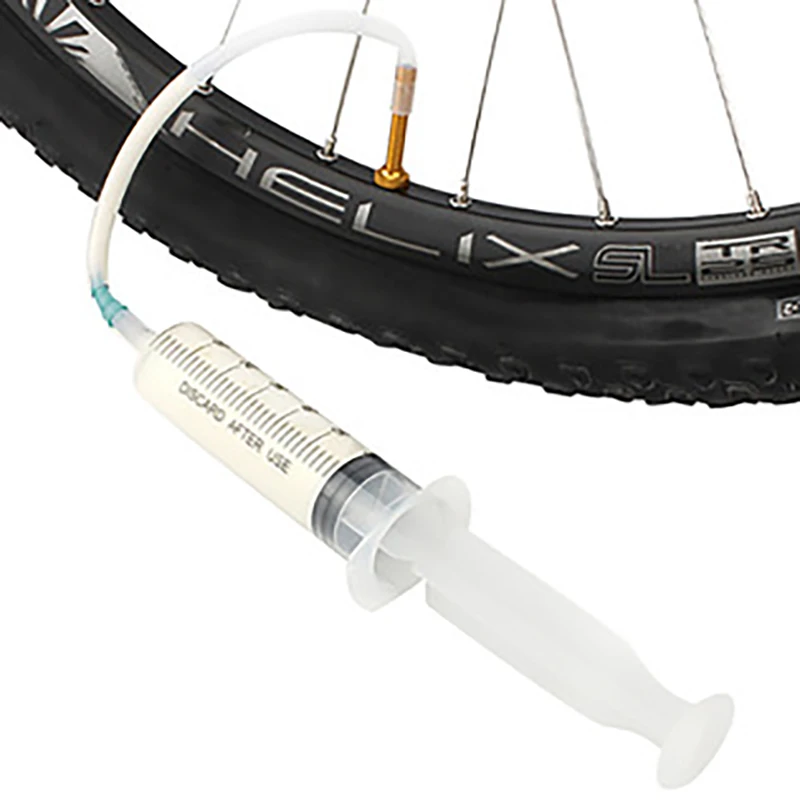
The least messy way to get sealant into your tires is through the valve stem.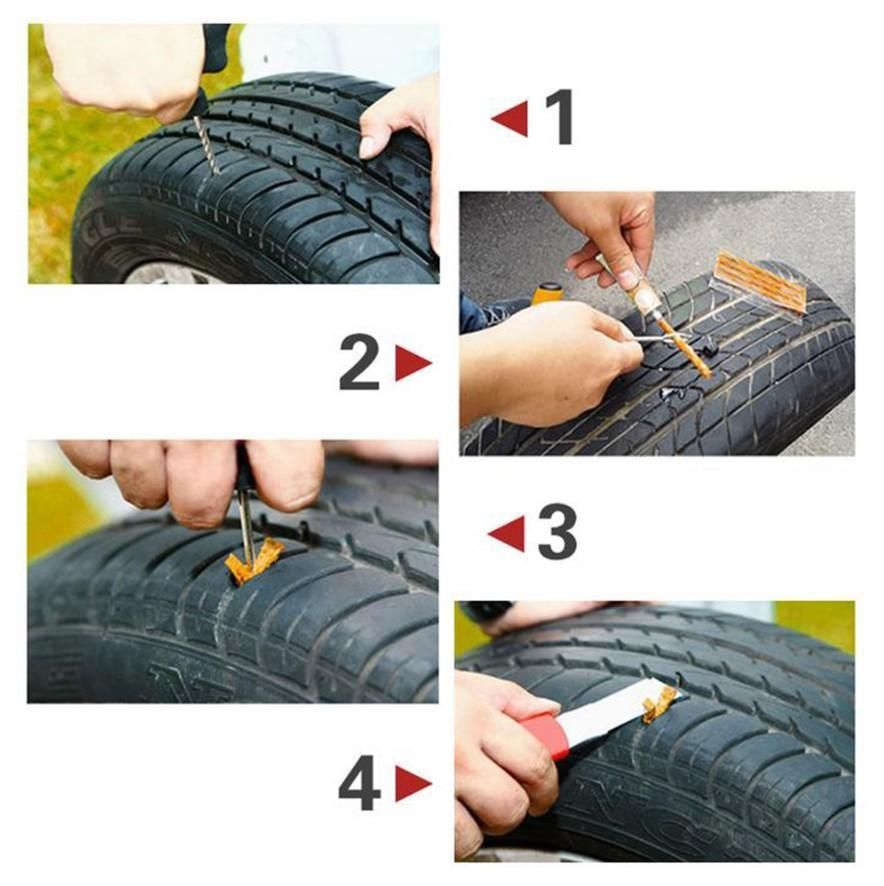 To do this, you’ll need a valve-core remover to remove the valve core and a sealant injector to measure it out of the container and squirt it though the valve, or a pre-measured bottle with an injector tip. If you don’t have either of these, you can separate a section of your tire from the rim and just pour it in.
If you’re pouring it in through an opening in the tire, Esherick suggests pouring the sealant in with the opening at the bottom of the tire, and then turning the wheel slowly to let the sealant run down inside the part of the tire that’s fully installed. This will allow you to finish installing that last bit of bead without making a mess. If you’re using race sealant, the larger coagulative particles are too big to fit through the valve without clogging it, so you’ll always pour it into the tire this way.
After adding the sealant, replace the valve core and inflate the tire to its specified pressure quickly to get the bead to settle in place on the rim. (Do not over-inflate; that can lead to explosions!)
If your sealant is leaking out of a larger puncture rather than filling it, you can plug it by hand using a tubeless tire plug. These are little rubber strips you poke directly into the hole with a needle. The rubber will get stuck in the tire and react with the chemicals in the sealant and expand to plug the hole. And yes, you can put a bunch in your tire if you have multiple holes.
If a puncture doesn’t seal you can use a plug kit to help seal the hole.
Trevor RaabIf you get a gash in your tire that’s too big for the sealant to handle or even to plug by hand, you can remove the tubeless valve and install a regular inner tube on the rim to get home. Another thing to keep in mind is that sometimes sealant takes a bit of time to fix larger holes: You might need to pull off the trail and let it pool around the puncture for a minute or two so it can do it’s thing.
“If your tire gets a puncture that just won’t seal, it’s possible you are riding with too much pressure,” Esherick says. “And if you’re doing that, you’re not getting the benefit of tubeless tires, which is to run a lower pressure that’s more comfortable and has better traction.”
$155 at Trek Bikes
$67 at Amazon
Keep It Clean
$10 at notubes.com
Precisely measure sealant and install with no mess.
Mid-Ride Repair
$60 at dynaplug.com
Brass-tipped plugs make fixing bigger punctures easy.
“Bicycle tires are really thin and porous, which makes sealant evaporate over time and dry out,” Esherick says. That’s why it’s necessary to top off your sealant about every two to three months, even if you haven’t gotten a lot of punctures.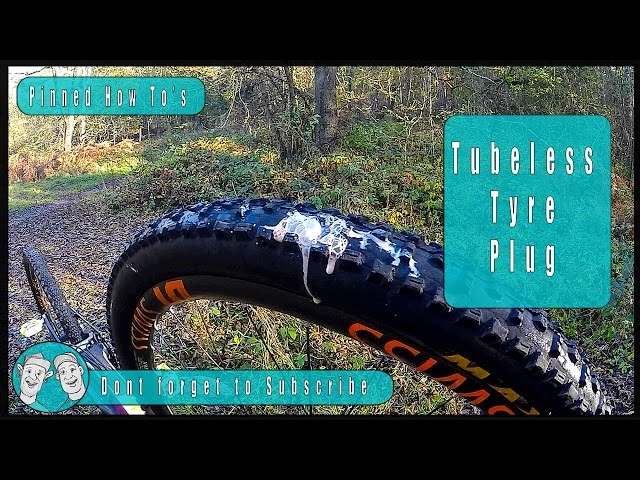
If your tire looks like this it’s time to clean it out and add some fresh sealant.
Trevor RaabAccording to Esherick, two ounces is the right amount of sealant for topping off gravel tires all the way up to 2.5-inch mountain bike tires. “If you’re up in the 2.5- to 2.6-inch range, you might want three ounces, and 2.7- to 2.8-inch tires require about four ounces,” Esherick says. “As you get a larger volume tire, you’re going to want a little bit more sealant in there.” Two ounces is enough for road tires for the first time, as well as plenty whenever you top them off.
Try to, at least once a year, take your tire completely off the rim to scrape out the dried sealant and start fresh. This preventative maintenance will keep your tires turning in time.
Riley Missel
Riley is a writer and outdoor adventure guide currently based in Tucson, Arizona where she leads mountain bike rides, rock climbing, and hiking trips. In her spare time, she writes stories and reviews outdoor and fitness gear. Find her writing in publications including Outside, Lonely Planet, SHAPE, Bicycling, Runner’s World, and others. When she’s not playing in the mountains, she’s probably laying down somewhere or eating (or both).
Sealant is an excellent remedy for punctures. It is easy to use and does not require special knowledge, just follow the instructions. According to the manufacturers, the anti-puncture liquid is able to close the gap, the size of which is up to 6 millimeters. Although practice shows slightly different results. Consider how to properly seal punctures, and which sealant for tubeless bicycle tires is better.
Contents
 5 Super Sealant by Joe's No-Flats
 Initially, consider a few basic rules:
How to fill a puncture on tubeless tires:
 Some experienced cyclists prefer to use this option, because. the hole for the nipple is not clogged.
 Check the results after half an hour.
If the nipple cannot be removed, you can purchase a special tool complete with a nozzle. Before the procedure, do not forget to slightly loosen the nipple nut.
Let's analyze how much sealant is required for different types of tires:
Sealant has gained a lot of popularity due to availability, effectiveness and ease of use.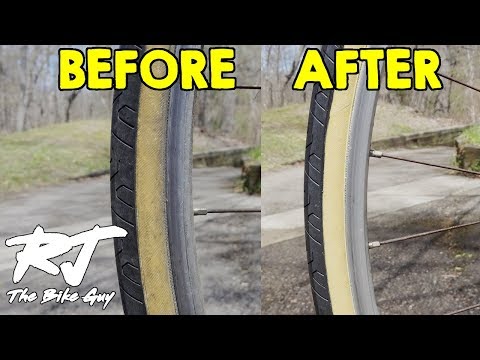 It is enough to follow a small instruction for use, then the tool will independently, without your participation, seal a hole on a tubeless bicycle tire.
But which firm to choose? It is easy to make the wrong choice and buy a low-quality anti-puncture fluid. Consider a list of the best sealants that performed well during the tests. During the experiment, 80 ml of a specific brand of product was poured into tubeless tires of the same size. Then they were pumped up to 2 bar and pierced with a 6 mm screwdriver. As a result of this test, the best remedies were identified.
The cost is almost $15 for a volume of 227 ml or $75 per liter. It is a latex solution, which contains solid particles of various dimensions. During the test, it turned out that the sealing required two revolutions of the wheel, and the treated tire held a pressure of 2.8 bar.
At the time of the double puncture, performed from different sides, Orange Seal was able to cope with the task and close up the gap. The kit comes with a special tube that facilitates the filling process.
Disadvantages include high cost and a short operating period - up to 45 days.
The presented tool has a small price, especially in comparison with the top option. $29 per litre. It has a foamy structure, which allows the substance to be well distributed over the tire. The composition contains solid particles that fill holes. This sealant was able to seal a puncture made with a screwdriver in a short period of time. At the same time, the puncture was made with a trick - the tool was twisted in the tire.
It was expected that after a good shake, the sealant would foam and seal the gaps in the walls. But only the one that was located at the bottom of the tire was well sealed.
On the positive side, an acceptable cost is distinguished - $ 17 for a package of 473 ml or $ 28 for 950 ml. It is the most popular among other sealants.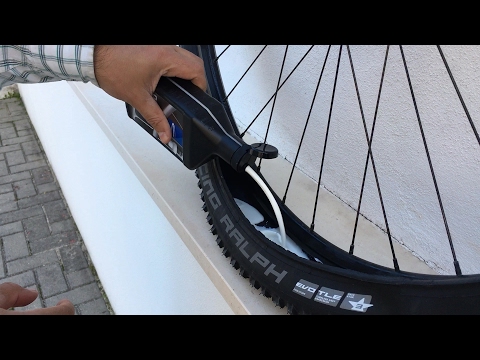 The tool closed the hole left by a six-millimeter screwdriver in just two turns of the wheel. After the filling process, it was inflated to 2.5 bar without leakage.
The price for 1 liter of RevoSealant is approximately $33.87. Developed specifically for Conti tires. But, the experiment showed that the tool does an excellent job with other brands, for example, Maxxis.
It is a latex sealant that also contains solid particles, which perfectly seal the gaps on the outside of the tire. A puncture made with a screwdriver was repaired after a couple of turns of the wheel. But when the wheel was inflated to two bar, it began to skip.
RevoSealant does a great job if the holes are only in the carcass. Through cracks cannot be sealed.
500 milliliters of sealant will cost about $17. This is the most economical option available. It is more liquid, which is why it is well distributed over the inside of the tire.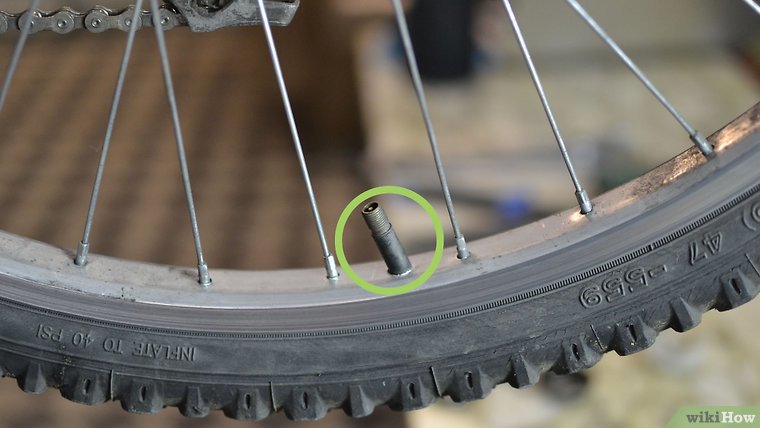 Tightly closes the punctures made.
At the time of the test, several holes were made with different screwdrivers, differing in size. Anti-puncture fluid was able to close up a six-millimeter hole. True, when the tire was inflated to 1.4 bar, it again began to skip. To increase this indicator and increase the effectiveness of this sealant, you need to shake it well (do this more carefully and longer than other means).
The cost of the presented option is $ 16 per 300 ml. It has a thick consistency, contains increased solid particles. Showed good results when sealing large punctures. On the other hand, its density makes it difficult to seal too small cracks (can be mixed with liquid sealant).
When choosing a product, it is recommended to rely on performance. It is better to purchase a reliable sealant at an inflated price than a cheap one that will last a short period of time. When repairing, follow the instructions and advice of specialists, then you will not have to seek outside help.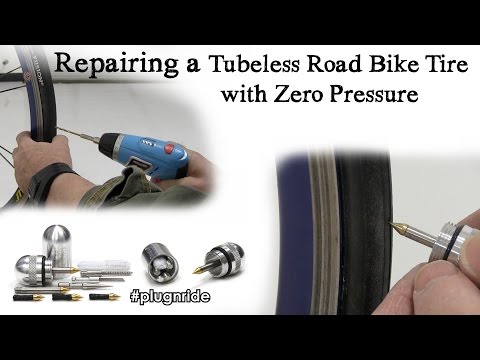
If we talk about gravel bikes, then here we will definitely speak out for the use of tubeless tires. In fact, we wouldn't ride these bikes at all without these tires.
And if you're looking for a new gravel, you're probably wondering if it has tubeless tires on it, and if it doesn't, is it easy to put them in there. This is indeed a frequently asked question, but the answer to it is not as simple as one would like. In this article, we will try to give you all the information you need.
Low tire pressure when riding a gravel bike can provide better vibration dampening, better grip and even lower rolling resistance. But, as you know, driving with low pressure on chamber tires is dangerous - the risk of breaking through the chamber with a rim greatly increases. There are no cameras in tubeless tires, so there is no such problem.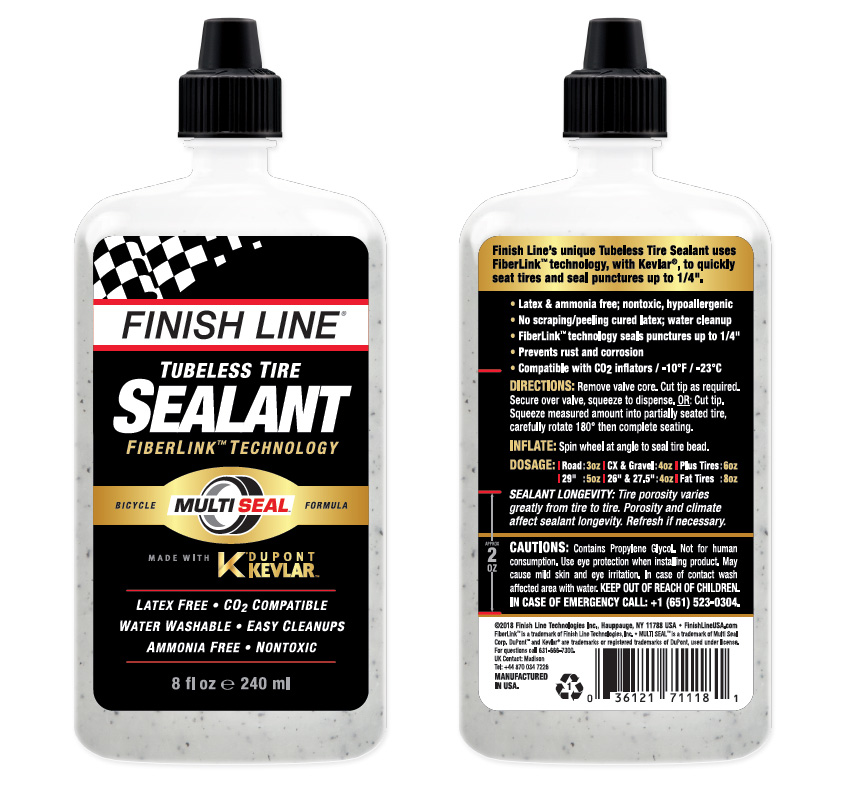
Modern tubeless tires use a special sealant to fill small punctures, while larger punctures and cuts can be repaired quickly with special patches. Add to that the reduced risk of rim puncture, and tubeless tires are a much more reliable option when you're riding on soft ground, roots, or plant thorns.
But don't forget that tubeless tires are more advanced technology than conventional tires and are still a bit more difficult to maintain. For example, the same sealant dries out in a few months, and it needs to be updated. Some problems with such rubber are also more difficult to solve. And, of course, tubeless tires are more expensive. However, our entire team believes that when it comes to gravel bikes (and mountain bikes as well), the benefits of tubeless tires far outweigh the drawbacks.
Please note that the information in this article applies to both road and mountain bikes. Much of it is based on frequently asked questions we hear about tubeless tyres.
Tubeless Ready is often used when talking about bikes, wheels and tires, but what does it actually mean? Unfortunately, there is no specific standard here. That is, when they say that a bike is suitable for using tubeless rubber, this may mean that there are appropriate rims, but the tires themselves are not tubeless.
Some bike makers, like Giant, say the bike is tubeless-ready and put sealant in the tires so you can actually ride tubeless straight away without spending extra money. A more common situation is when manufacturers (such as Canyon, Trek, Cannondale, Lauf, and many others) provide everything that is needed to use tubeless tires with the bike, but the bikes themselves are delivered to dealers with tubes just so that the tires do not deflate. during transportation or on the sales floor of a store (after all, tubeless tires do not hold air without pumping for as long as classic ones). In such cases, you need to remove the chambers, install the appropriate nipples and pour sealant into the tires - these modifications are quite inexpensive.
More complex cases sometimes occur with budget bikes. There rims are often really suitable for tubeless tires, but you won't really be able to use them until you install special tubeless rim tape. With all the budget bikes in our recent test, this is exactly what happened. And often you will have to buy the tubeless tires themselves, a couple of nipples, tape and sealant - all this will easily add $ 130 to $ 250 to the price of the bike.
Let's start with the tires themselves. If they are suitable for use without tubes, this will almost certainly be written on their sidewalls. Almost all brands use some kind of wording (TR, TC, 2Bliss, etc.) to indicate that a tire is tubeless-ready and has a significantly reinforced or non-stretch tire. And don't forget that there are still a lot of tires that are only suitable for tubes.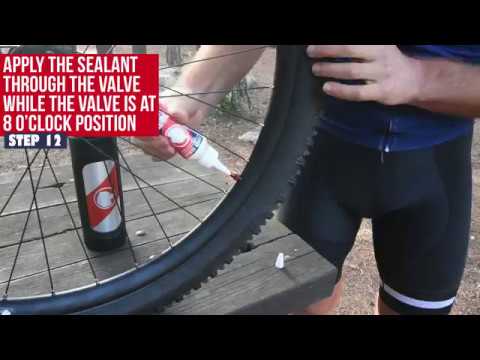
It's also worth noting that tubeless tires usually require a liquid sealant. Some tires are referred to as "tubeless" - there is no sealant required (but we recommend using it anyway). If your tires are not suitable for tubeless use, and you still want to ditch the tubes, you first need to buy tires that are suitable. If you've heard somewhere that all tires can be adjusted, we'll say it's not worth the risk. Ordinary tires won't fit as well to the rim, and even if you actually manage to adjust them and everything looks solid on the outside, we can guarantee that when a tire suddenly deflates, it will be extremely unpleasant.
Once you've got your tires sorted out, you need to check the rims to see if they're suitable for tubeless tyres. Those that fit will have the appropriate tolerances, and the very profile of such a rim means that the tire will hold there securely without a tube. Again, many manufacturers label these rims with identification marks (such as TSS or TC). If you didn’t find anything like that, you can look at the description of the bike or wheels on the manufacturer’s website - often you can find the necessary information there.
It is also important to mention that now more and more carbon wheels (for example, models from Giant, Enve or Zipp) are made with rims without hooks - the inner walls of such a rim are flat, and there is nothing for a regular tire to catch on. These rims should only be used with the appropriate tires, whether you plan to ride with or without tubes.
If you're sure your rim and tire are tubeless friendly, but don't know if your wheel has a tube, there's an easy way to check. To do this, you need to deflate the tire so that it becomes soft, then slightly unscrew the fastening nut of the nipple on the outside of the rim and try to press the nipple into the wheel. If at the same time you hear the noise of the outgoing air, then there is no chamber in the wheel. If nothing happens, then the camera is in place.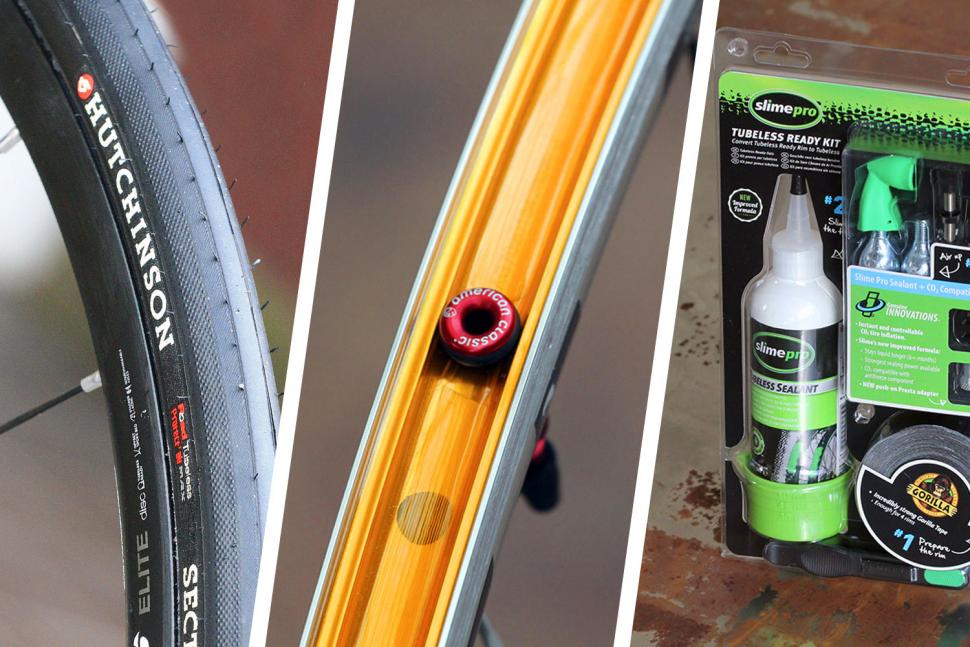
Let's say you already have the right tires and rims, but for now you're riding with tubes. Well, it's time to finally get rid of them.
Well, this is where things get a little more complicated. Unfortunately, if a manufacturer claims that a rim is tubeless compatible, this is not always the case and additional modifications may sometimes be necessary. In fact, to check this, you need to remove the tire from the rim and check its inner surface.
On some expensive rims, this surface is really completely smooth and sealed, and the only visible roughness there will be the hole for the nipple. Tubeless tires can be put on such rims without any additional tape.
More often, in the case of not the most expensive rims, you can see a plastic tape glued to the inside of them. Often this tape has a glossy surface and fills the entire rim from edge to edge. It is important that it really looks waterproof and airtight. Actually, this is the very tape that is glued to the rims for additional sealing and the use of tubeless rubber.
Note that many budget bikes have an elastic band on their rims that covers the spoke holes on the inside of the rim. If your rim tape is made of woven material, similar to the straps used to tie boxes around, or if you can pick it up with your finger, then it is clearly not suitable for tubeless tires.
This tape will need to be removed and replaced with a tubeless rubber tape. There are many varieties of such tape on the market, but the rule of thumb here is to buy one that is 1-2mm wider than the inner width of the rim. The value of the inner width is also often indicated on the rim. For example, 622x19C means the rim diameter is 622mm and the inner width is 19mm, so you will need 20-21mm wide rim tape.
Next, you'll need tubeless nipples, which often come with new bikes and wheels that use tubeless tires. If you don't have them, you will need a nipple with a rubber ring that will fit snugly against the inner wall of the rim - here its shape matters.