When people start to think about studded tires, they might not understand just how many options are out there for consideration. Not only can studded fat bike tires be purchased and ready without any installation, but some other methods are cheaper to consider. On top of that, the number of studs per fat bike tire can be adjusted when done manually.
How many studs per fat bike tire are needed? It really depends on what a person wants as far as grip and control is concerned. It also largely depends on if a person wants to purchase fat bike tires already with studs in them, or add them after the fact.
The vast majority of people are going to go ahead and purchase pre-studded fat bike tires. It makes the most sense, since it is fairly easy to find just the right fit these days. Some people will order them online, while others will go to a local bike shop to see them up close before making a decision.
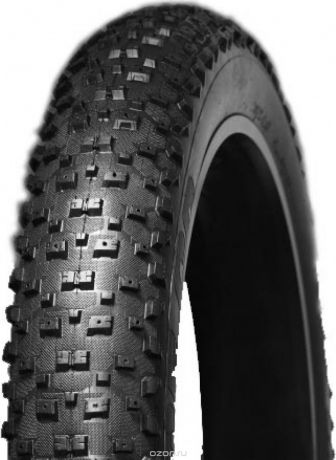
When stud installation happens before arrival, a person doesn’t have to go through the process of learning how to install everything properly. There are several different variations as well, so a person can get a short or longer studded fat bike tire, depending on where they are located.
So how many studs come with a typical studded tire? Most people look for at least 100 on the lower end to make an impact. Some options allow for hundreds to be available, just depending on how many studs a person thinks is necessary. Usually, the more common snow is in a region, the higher the stud count.
These companies develop studded fat bike tires, knowing that there will be some loss of studs as people start to ride. If a person is worried about that, going with a tire option that has 250 or even more is the way to go. That way, even if a few get lost in a typical ride, they will still function at a high level.
The good news is that the pre-studded fat bike tires are much less likely to lose a lot of studs early on.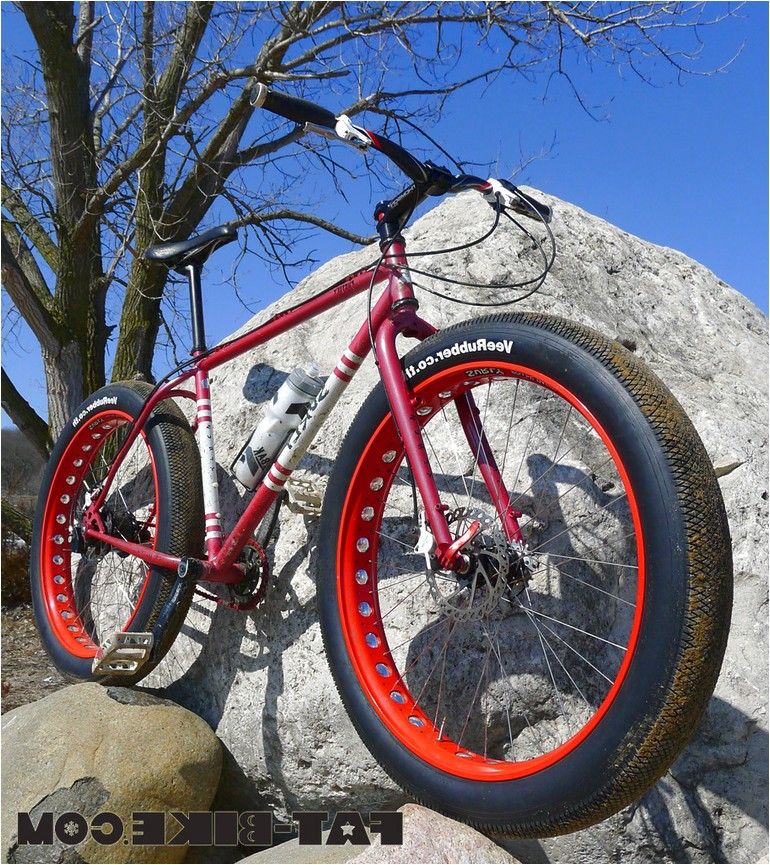 They have a lot more experience than the average person at home trying to put studs in for the first time. The quality control alone will make them last a while.
If a person doesn’t want to buy tires that are completely set up already, one option is to go with a studdable fat bike tire done at a person’s convenience. The same manufacturers that offer pre-studded fat bike tire options will also allow for people to use tires completely set up with studs. The final step is up to the customer. Think of these tires a bit like running spikes. The holes are there, so the hardest part is done, but a stud installation tool is needed to put some new options in to fit the terrain.
One advantage to going with an option like this is now a person can pick the exact type of studs they want. There are three main types of studs on the market right now, including pointed, flat and concave. The decision really depends on what type of riding a person is doing consistently.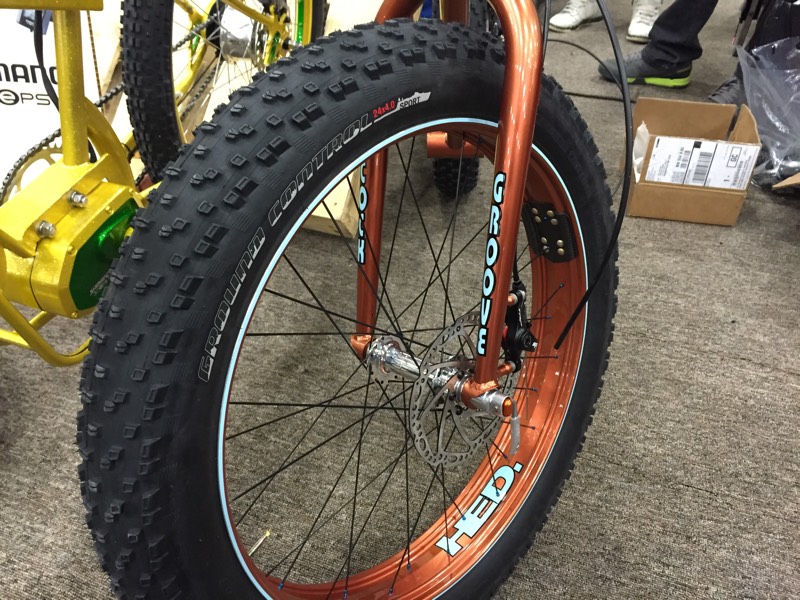
The labor that goes with installing so many studs at once can be a bit tedious, but it allows for more flexibility. Try to nail the process down, because that is the best way to see some results.
It is best to do this with new tires if possible, because the dirtier the tires become, the harder it is to install studs in those holes. It takes a thorough cleaning to open up the holes and allow for easy insulation.
For people who want to save some money, the best way to do that is to take the studding process on completely alone. That means turning a regular fat bike tire into one with studs, installing everything from beginning to end.
There are obviously positives and negatives to this. Some people are going to be very frustrated with the fact that they have to do all of this themselves, and they may not even know exactly how to line things up.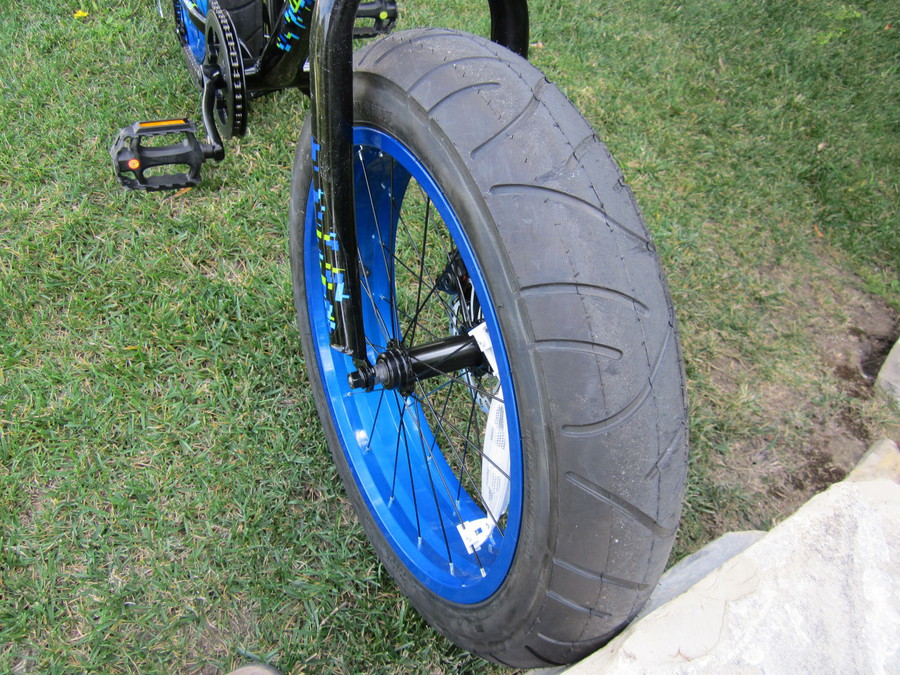 There are plenty of walkthroughs available online that explain how the process works, so people have a better understanding of what to expect.
One of the best do-it-yourself methods is to use an inside-out set up. This is installing the screws from the inside of the tire, and poking them out at just right length. Tire lining needed to help protect a tube inside the tire, and if it is not done correctly, it could lead to some pretty quick flat tires. The advantage is that if this is done right, this is going to provide some fantastic traction overall.
A slightly easier method to use is a screw-in method which allows for installation on the outside. Using simple metal screws, these are installed around the tire very carefully and spaced out perfectly. If it is not done carefully, there is a high chance of ruining the tire, or forcing it a person to go tubeless. A standard tube simply won’t be able to survive inside the tire if there is anything sharp in the way.
How many studs per fat bike tire are needed when doing complete self-installation? The decision is up to every individual.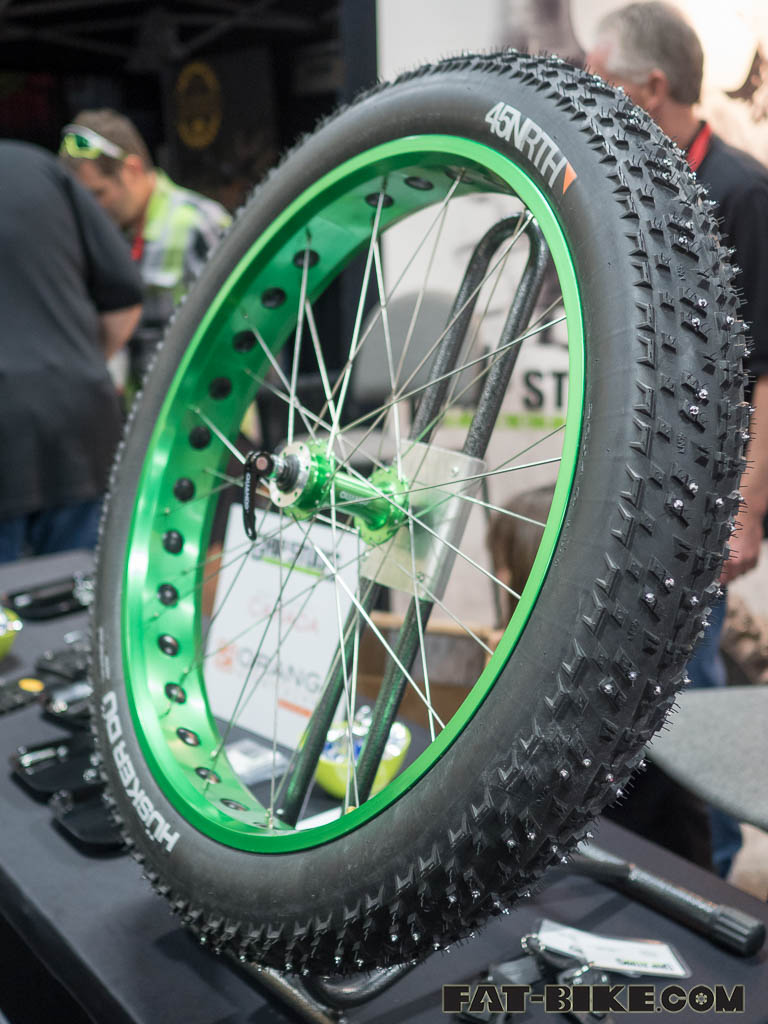 There are some people who are going to be very happy with only installing around 100 and seeing how it goes at first. If the tire seems like it needs more studs, they can be added at a later time.
Others will go in the opposite direction and install over 250 from the very beginning. That might seem like overkill, but some people are dealing with some pretty insane amount of ice. It also puts a person at a little more peace to know that if they didn’t do it right, there are still enough studs that survived to make the tires serviceable.
The final option that some people turn to is a tire chain. It can be very beneficial for people who want a quick set up on a standard fat bike. This was an old method before studs became more popular, and people still count on them every single day to navigate on slippery surfaces.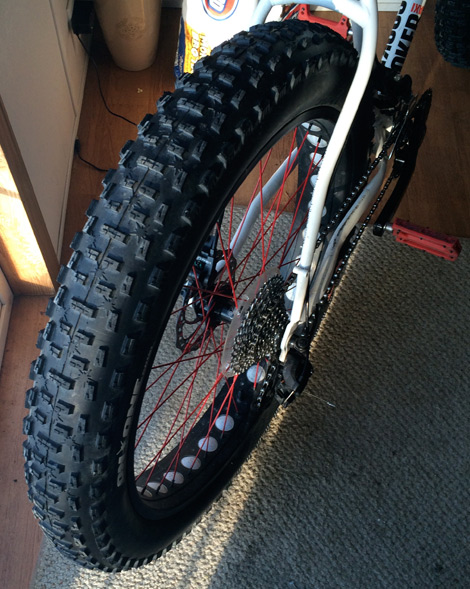
There are several tire chains available for fat bikes so that people do not have to spend a lot of money. For just about $100 or so, a set of chains can provide some temporary grip. It is not going to be the exact same as using studs, but it certainly speeds up the process.
Most people look at this as only a temporary solution, and more for shorter rides. For people riding a lot in snowy/icy conditions, a chain is not going to hold up.
Click Here for the 3 Best Studs For DIY Studded Tires.
There really is no such thing as installing too many studs for a fat bike tire. Maybe it will add a little bit of extra weight that a person doesn’t want to deal with, but the added traction is certainly a benefit as well.
Remember that studs will fall out from time to time, so it is always best to install too many instead of too little. If too few studs are installed, then it becomes an entirely new process to add additional ones. It becomes very complicated, especially if the tire was purchased brand new as a studded tire already.
It is hard to explain to some people why fat bikes with studs are so popular. Most of the time, that’s because a person is riding where there is not a lot of snow. If there is very little snow to deal with, there is a good chance that people are going to decide to go with a non-studded fat bike option. Tires without studs are still able to tackle a lot of snow, so they do not have to deal with too much of a struggle in that case.
Do not be afraid to ask for any recommendations from a local bike shop, or even a local fat bike rider on the trail. Maybe they have a little bit more experience with studded tires, and they can provide some assistance. The main thing is not over complicate the matter. If studded fat bike tires are ultimately needed, it is a worthy investment to stay safe on the trails. Otherwise, there is a good chance of an accident or slipping that no one wants to deal with.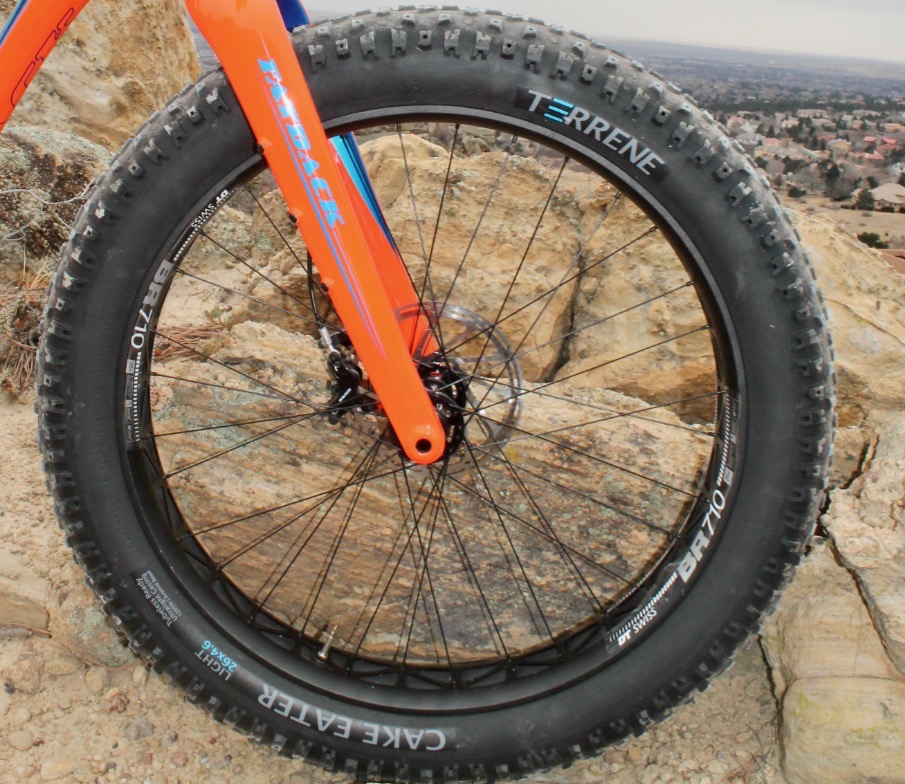
Winter's here in full force and as I sit and write this an Arctic air mass is overhead keeping temperatures in the single digits. While my fat bike keeps me riding year round, a warm day followed by a freeze or an icy lake can require more grip than even a wide tire can handle. So as soon as that first snow comes, I turn to studded tires.
I've been riding Dillinger tires from 45Nrth for nearly three years. Once the first Summer season came to a close and snow was on the horizon, I took advantage of the studdable nature of these tires. While these tires are available pre-studded, those of us that have them without studs installed aren't out of luck. Stud kits and the installation tool are available from 45 North. We've studded our own Dillinger tires and for customers so we thought we'd take the time to show you how it's done. Terrene also offers their Wazia tire in both studded and studdable versions.
What you'll need:
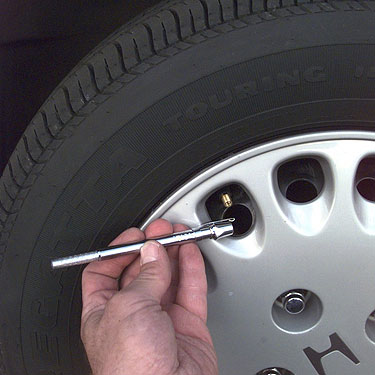
To install the stud, insert the stud into the end of the installation tool. With the tire held firmly, place the stud at a 45 degree angle to the stud pocket in the tires. Firmly press the stud into the tire, working it around in a circular motion until the stud is fully seated in the tire. Repeat this process and stud the tire as desired. A fully studded Dillinger 5 tires requires 258 studs and takes around an hour to complete.
Once complete, take the time to look over each stud to insure they are installed correctly. The studded should be fully seated in the stud pocket, with the body of the stud flush with the tire knob. If a stud is not fully seated just use the tool to complete insertion being sure to rotate the tool with a circular motion.
Fixed Gear Bikes Back in Stock
We've just received a huge shipment of fixed gear bikes and they are currently in stock in all sizes and colors. We normally wouldn't post an update about getting a shipment of fixies here in our warehouse but with the way the bicycle supply chain is this year, it's cause for celebration. The fixed gears that we got in include our hi tensile steel Pixel and our 4130 chromoly Eastside...
Bicycle Supply Chain Update
It's been a while since we posted an update on our blog and we thought we'd dust things off with a quick update about the supply chain mess that everyone is hearing about...
Matador Fixed Gear/Track Cranks in Stock!
We've been working on these bad boys for a while and they are finally ready. Our new Matador track cranksets are in stock. The number of options for high quality track cranks has really dropped the last few years as larger players like SRAM have discontinued some popular options...
You can find a lot of fans not only to eat ice cream in winter, but also to ride a bike, regardless of weather conditions. And some seek to reduce the travel time in this way - after all, it is easier to quickly get there on your two-wheeled transport than to spank for a long time in the slush, getting your feet wet. If you are a fan of autumn and winter cycling, then you probably wondered how to make studded tires on a bicycle with your own hands. It's no secret that factory studded tires cost a fortune, and this applies even to Chinese-made tires. What can we say about branded models? nine0003
Making studded tires is easy enough and only takes a couple of hours
On the roads there are pits, ledges, stones, which are much more difficult to notice in puddles and slush, under ice and snow. So, in the autumn-winter period, the tire is much easier to damage. And if it's an expensive studded tire that needs to be replaced again, the strain on your budget can become overwhelming. There is a way out - to make spikes on the bike with your own hands. It's a lot easier than it looks and probably won't take more than a couple of hours. At the same time, the cost of the necessary parts is minimal. So, we hiss your bike. nine0007
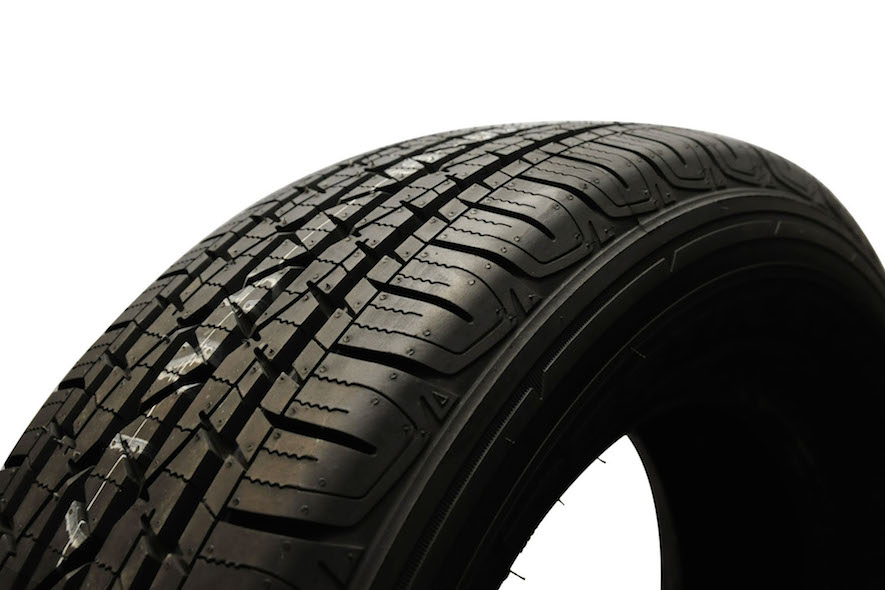
The tire itself, which we will stud. You can buy an inexpensive one, or you can take an old tire, even a worn one, that you planned to throw away. It is quite suitable to practice and understand how to make spikes on a bicycle, and it is likely that it will last a long time, and if necessary, you can easily make another one. But if you choose a new tire, it is better to give preference to the one with a deeper tread. It is desirable that in those places where you will add spikes, there is a thicker layer of rubber. nine0003
For manufacturing, an old tire is suitable, even worn out
Self-tapping screws 4.2×13 mm are best. The fact is that part of the self-tapping screw will go into the rubber, another part will be erased while driving. Therefore, shorter self-tapping screws may not be durable, but if there is no other option, then you can take a shorter one. A wide hat is needed for a good fixation of the self-tapping screw on the inside of the tire. By quantity, you need as many self-tapping screws as you want to add spikes to your bike. nine0003
Any one you have on hand will do. All-purpose superglue will suffice. But if you choose glue specifically to make a studded bike tire, then you can use superglue for rubber.
Of course, with a drill it will be much easier for you, but if there is no drill, an ordinary awl will do.
Put all the items next to you, make sure you have good lighting, because you have to find small holes in the tire, and get to work!
For self-tapping screws, it is better to choose places where the rubber is thicker, as the self-tapping screws will hold on stronger and tears will not appear
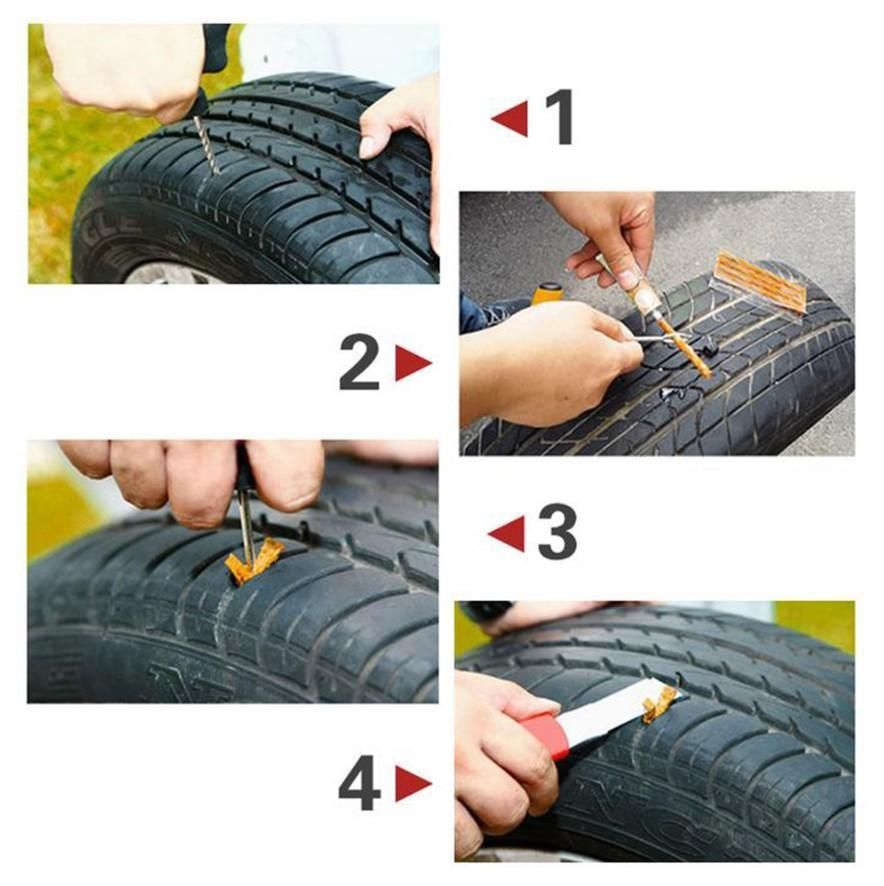
Next, we give detailed instructions on how to make studded tires on a bicycle. Of course, first of all, the tire must be disassembled. After that, inspect it and select the places where the spikes will be. As mentioned above, it is better to choose places where the rubber is thicker, because the self-tapping screws will hold on to it more firmly and tears will not appear. You can also make spikes on the side of the tire so that they point towards the ground at an angle. With them, you will be more comfortable to ride the bike, as the side spikes will make it easier to take turns on an icy road. nine0003
It is best to make four rows of studs: two rows on the bottom of the tire and two rows on the sides.
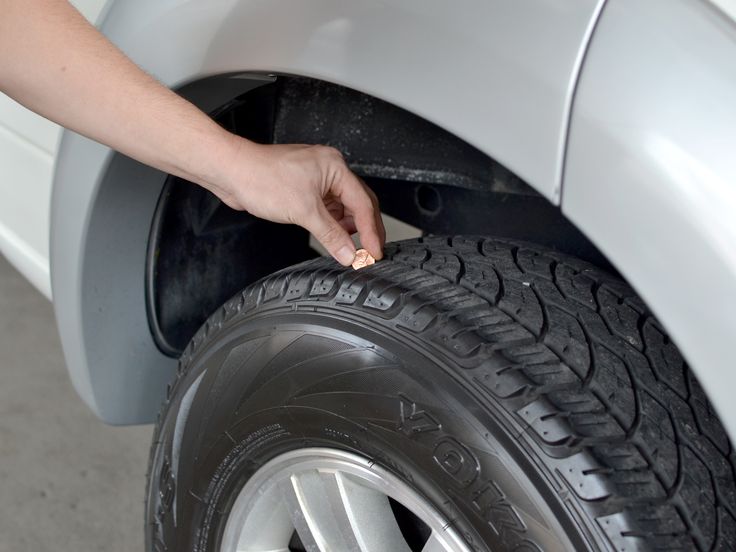
And now let's proceed directly to the process. Take a drill or an awl and make a through hole in the tread where the first spike will be. There is a little trick here that will greatly simplify the work.
Important! Make a puncture from the outside, not from the inside. So you will see exactly where the spike will come out and will not fall into a thin section of rubber.
nine0002 Then, from the inside of the tire, squeeze a drop of superglue onto the hole. Take a self-tapping screw and use a screwdriver to screw it into the hole until it stops. It is not necessary to overtighten strongly, so as not to create an additional load on the rubber. At the same time, the head of the self-tapping screw should be tight enough to the tire for the superglue to lock it in place.Insert self-tapping screws immediately after piercing, as it will be very difficult to find holes later
Important! Insert each self-tapping screw immediately after piercing. If you make all the holes first and then start to put in the screws, it will be very difficult for you to find the holes, especially if your tire is black on the inside. nine0003
Now you have a rather monotonous job of adding all the spikes. But it won't take too long. And when your tire is studded with spikes around the entire circumference, having acquired a rather futuristic look, you can enjoy the results of your work: do-it-yourself studded tires for a bicycle are ready!
There is only one final, but important detail: you need to make a gasket so that the heads of the self-tapping screws do not wipe the tube of your bike. The easiest way is to make such a gasket from an old camera. But you can get creative and use scraps of leather or other material. If nothing like this is available, just cut the old tube lengthwise and wrap it around the tube of your bike. You can lubricate it from the inside with superglue for better fixation. Put on your new studded tires on top and go ahead, you can try it out! nine0003
Be prepared for the fact that at first various debris, dry leaves and other objects that have fallen under the wheels of your bicycle will cling to the spikes. But over time, the screws will become a little dull and this problem will disappear. Good luck on the roads!
Contents
However, there are times when the spikes are lost, but the rubber is still in good quality. To restore products, you need to know how to put spikes on rubber with your own hands. nine0003
The method of studding bicycle tires depends on the type of rubber and the conditions in which the bicycle will be used.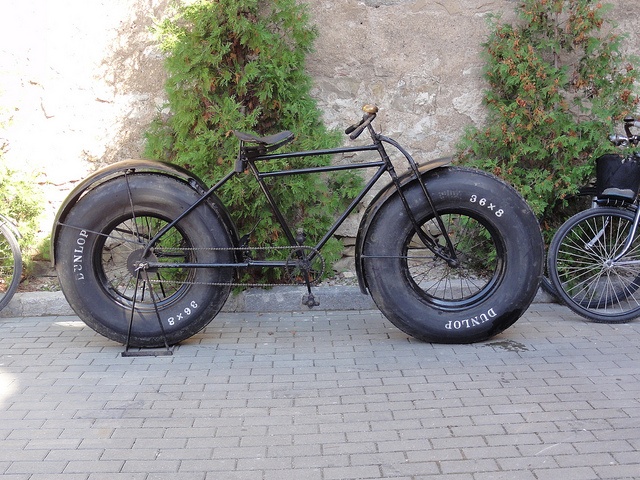
In order to make studded tires at home, you need to prepare tires with a deep tread and small screws (wood screws are most commonly used).
When the components are prepared, proceed as follows:
This type of installation does not take much time.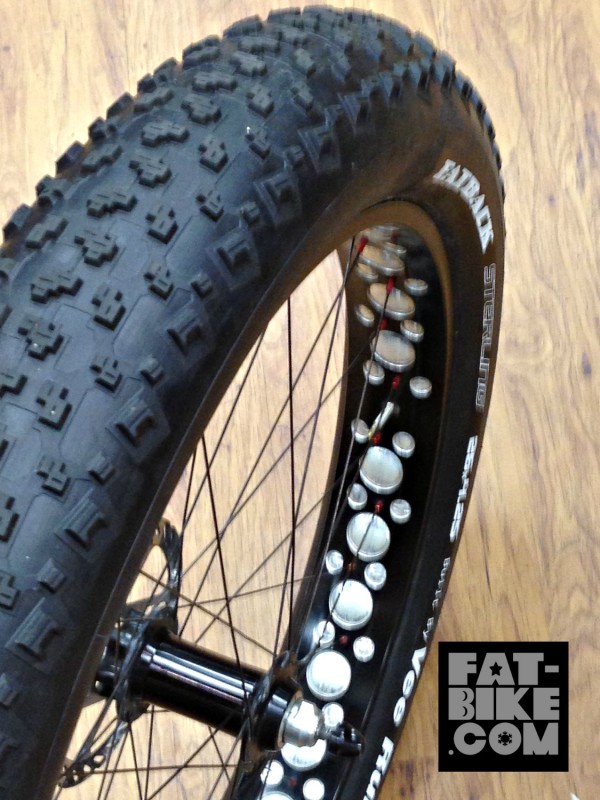 Most often, the spikes are installed at an equal distance from each other.
To make rubber, prepare tires with a fine pattern and small bolts with nuts. The bolts must be no longer than 1.5 cm.
0111
When studding tires in this way, it is necessary to drill holes in the middle. The edges and the part closest to the rim are not used.
This type of bicycle tire studding can be done with an old bicycle chain or other type of small chain at the rider's discretion.
This technique is most commonly used for disc brakes on bicycles, but can be applied to all types of bicycles if desired. nine0003
To install the chain pieces, proceed as follows:
This method is used much less frequently than the first two. However, it is much simpler and does not require a long installation.
For a studded bicycle tire to last a long time, you should follow the advice of professionals: nine0013 Compliance with the recommendations will help prevent frequent errors and damage the tire. While studding, you should not rush and carefully monitor the location of the stud in the rubber. High-quality bicycle tires are expensive, so I decided to update the existing tire with a deep pattern myself. I bought self-tapping screws at a hardware store and screwed them in. Screwed directly into the drawing. It turned out well, but you need to constantly monitor the condition of the spikes. There is also a risk that the spike could damage the camera. Rating: Maxim I used a thin chain as a material, which I bought in a hardware store. While driving on ice, it serves well, but there is one drawback - the chain constantly breaks. And in order to restore it, you need to use new pieces, otherwise the problem will constantly arise. Rating: Vladimir I think that this method of experimentation harms not only the chamber, but also the wheel itself. It is better to buy ready-made goods and not save on your own safety. Rating: Oleg Properly installed self-tapping screws will not only serve well, but will also protect a person while moving in the winter. If the screws wear out, they can always be turned or replaced with new ones. nine0003 Rating: Andrey The best quality chain for such a procedure is a bicycle chain, but for such a procedure it was necessary to buy additional old chains on the market, one is not enough even for one wheel. Rating: Svyatoslav With the onset of winter, many cyclists are beginning to use various methods for bladeless and comfortable movement on ice and snow. This will help you ride more comfortably on ice.
 Reviews of cyclists
 nine0003