Got a flat or squishy bike tire? We’ve outlined how to pump a bike tire in nine easy steps.
Properly inflated tires will help you get the most out of your bike ride. Along with that, maintaining proper tire pressure ensures a safe and smooth ride no matter what winding road or rocky trail you find yourself cruising down.
Luckily, pumping a bike tire is a fairly simple and manageable task as long as you know what you need. We’ll cover the different bike pumps, valves, and techniques for airing up your bike tires.
Note that if you think you have a flat tire or a slow leak, you’ll probably want to change the tube. If your tires simply need more air, follow these nine steps for a quick and necessary fix.
Depending on your bike, the bike tire will have either a Presta valve or a Schrader valve. If you aren’t sure which is which, we’ve provided photos in the FAQ at the end of this article.
Once you know what type of valve you’re working with, make sure your bike pump is compatible with that type of valve. Most bike pumps work with Schrader valves. You may need an additional adapter if your bike tire has a Presta valve.
You can either use a floor pump or a hand pump. Below, we outline how to pump a bike tire with both types of pumps.
Don’t overinflate or underinflate your bike tire. Look at the sidewall of your bike tire to determine the minimum and maximum recommended tire pressure, which will be measured in psi.
The general rule of thumb is that road bike tires require a higher psi than mountain bike or hybrid tires. Generally, the recommendation is 80-130 psi for road bikes, 40-70 psi for cruiser bikes or hybrid tires, and 25-35 psi for mountain bikes.
Both Presta valves and Schrader valves usually have plastic caps that you need to remove.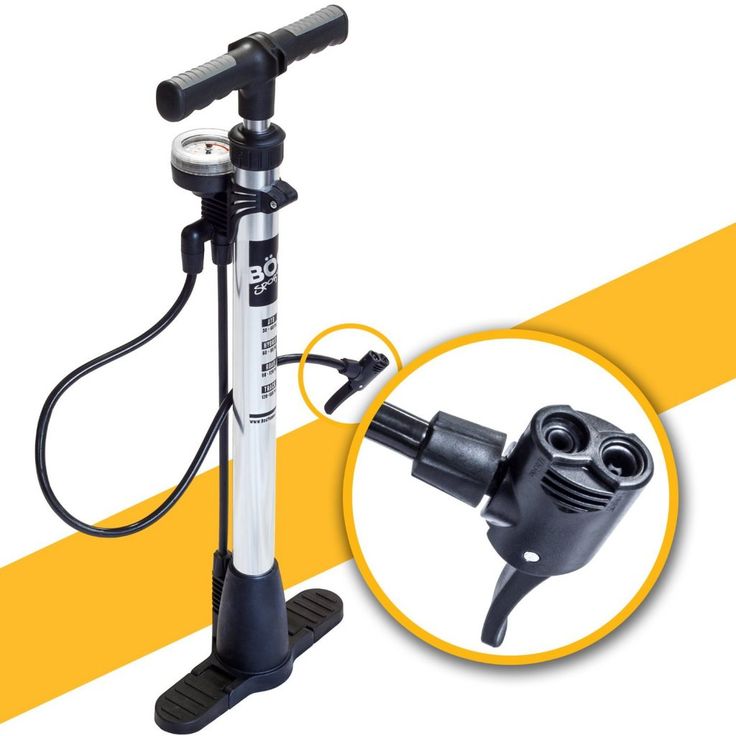 Be sure to store the cap somewhere you won’t lose it, like your back pocket. The purpose of the cap is to keep dirt or debris out of the valve opening.
If you have a Presta valve, unscrew the lock nut in addition to removing the cap. Turn the Presta valve several rotations to open the valve before attaching the pump. If you have a Schrader valve, this additional step won’t be necessary.
There are a couple of different types of bike pumps. A floor pump is a great option to store in your garage and have at the ready for whenever you need to refill your tires at home. Overall, floor pumps have higher capacity and can pump bike tires up to a max tire pressure of 160 psi (which is more than you’d need).
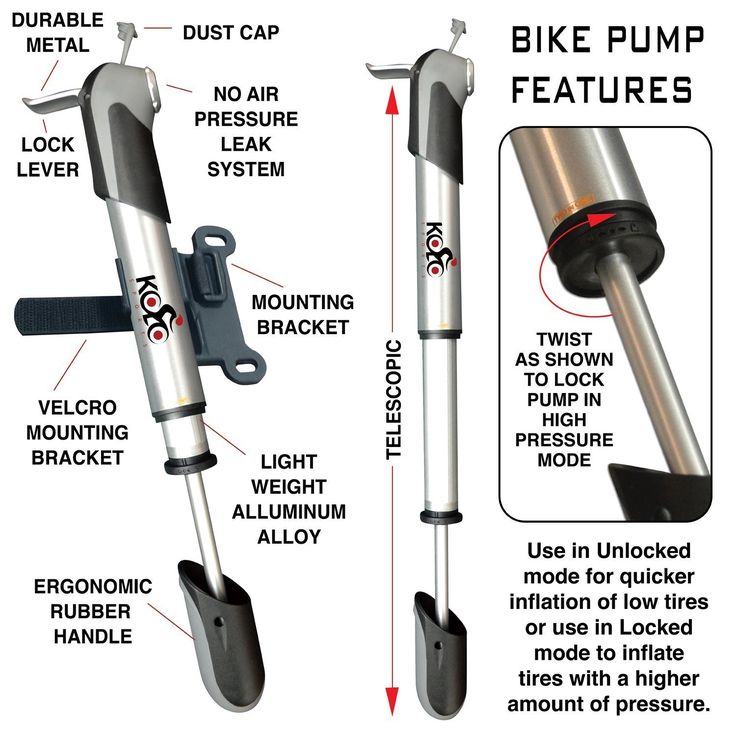
Hand pumps are portable pumps that you can bring with you on a bike ride or in your car. If you’re a long-distance cyclist, a regular bike commuter, or a solo rider, a hand pump is a worthwhile investment.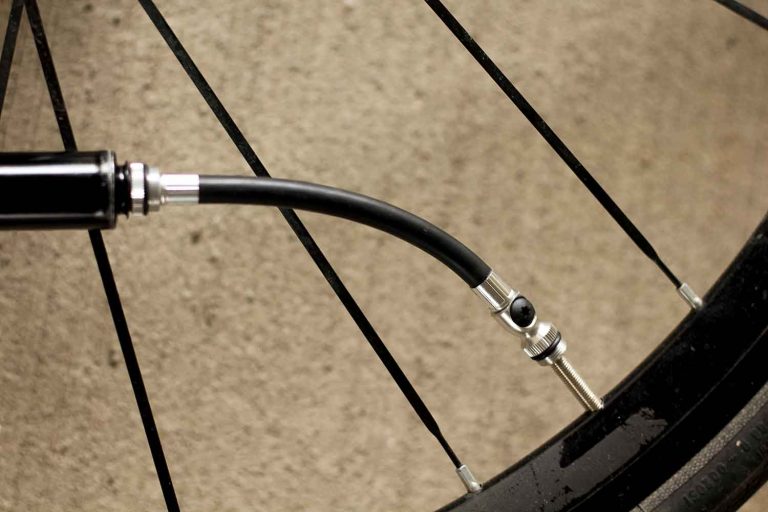
More often than not, both floor pumps and hand pumps have two nozzle holes to fit both Presta and Schrader valves. Place the pump on the valve by selecting the correct nozzle and pushing it on to the valve.
Now that the pump is on the valve, it’s almost time to begin pumping. The majority of bike pumps have a lever that needs to be rotated 90 degrees. Instructions for this process vary depending on the pump, so check your specific pump for instructions.
Now that the pump is securely attached to the bike tire’s valve, it’s time to pump! This step is pretty self-explanatory. For a floor pump, put your feet on the sides and begin pumping with both hands.
For a hand pump, use one hand to hold the nozzle onto the valve and use the other hand to pump. Not all hand pumps have pressure gauges, but we recommend getting one with a pressure gauge, as “eyeing” the tire isn’t the best way to determine tire pressure.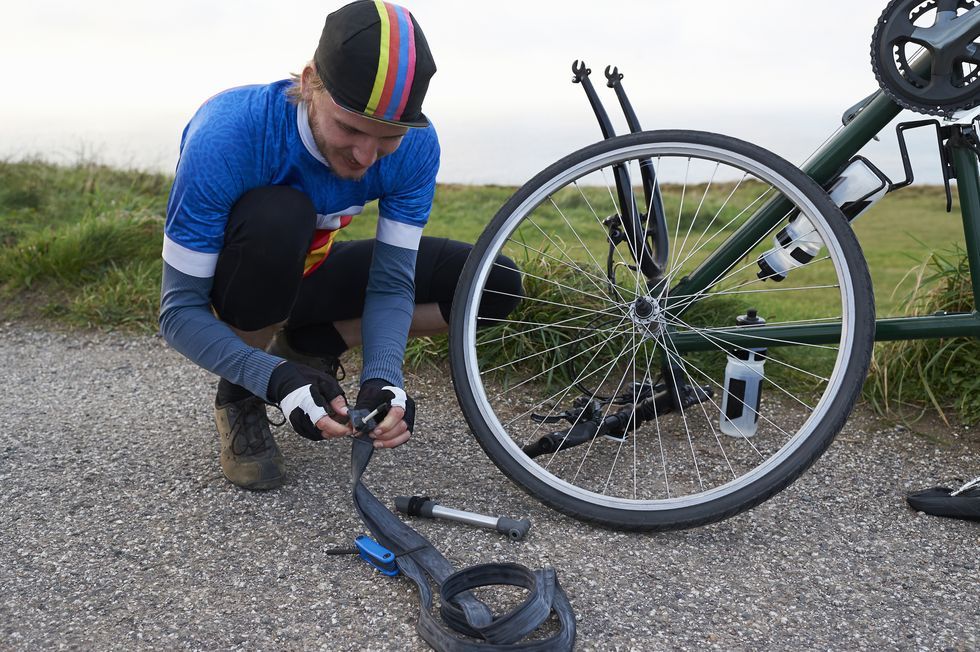
Pump until you have reached the desired air pressure.
If you had to pull up a pump lever, push the lever back down. Then, pull the nozzle off of the valve. Note that you may hear a little bit of air escaping as you remove the pump. This is completely normal and should not make a substantial change to the tire pressure.
For a Schrader valve, press on the valve with your fingernail until enough air escapes. For a Presta valve, with the lock nut open, press on the valve until enough air escapes.
For a Schrader valve, simply put the plastic dust cap back on the valve. For a Presta valve, be sure to screw the lock nut closed and then put the plastic dust cap back on.
If you’ve pumped the tire within the parameters of the correct psi, the tire should feel firm. Now, back on the road and trails you go!
Photo credit: Andy BA Presta valve has a lock nut at the top of the stem that allows you to open and close the valve.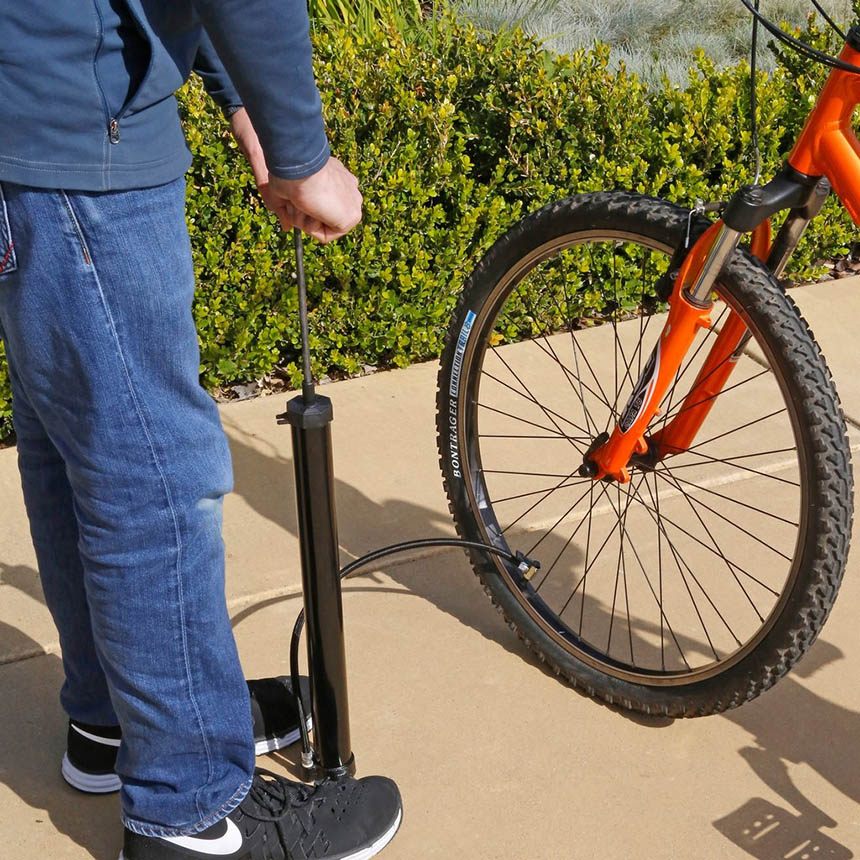 Depending on your bike pump, you may need a Presta valve adapter. Typically, Presta valves are found on road bikes and
mountain bikes. Presta valves are, on average, more narrow and come in a variety of stem lengths.
A Schrader valve is typically found on BMX bikes. This valve is the same type of valves found on car tires. Most bike pumps will work on a Schrader valve without an adapter.
Presta Valve (left) and Schrader Valve (right)The minimum and maximum psi should be indicated on the side of your bike tire. Make sure you follow the manufacturer’s recommendations to determine the correct psi.
Generally, the recommended tire pressures are 80-130 psi for road bikes, 40-70 psi for cruiser bikes or hybrid tires, and 25-35 psi for mountain bikes.
To figure out the ideal tire pressure for you, consider your weight. If you’re a lightweight rider, stay on the lower end of the recommended psi range. And if you’re heavier, go with the higher psi.
How often you check your tire pressure will depend on how frequently you ride your bike. Regardless of how often you ride, you should make checking your tire pressure a habit. Some people check tire pressure before every ride. Others check their tire pressure weekly.
There are two main types of bike pumps: a floor pump and a hand pump.
A floor pump is a great option to keep stored in the garage, ready to use whenever it is needed — whether you’re refilling the tires weekly or daily before your bike ride.
Overall, floor pumps have higher capacity and can pump bike tires up to a max tire pressure of 160 psi, which is more than you need. The smaller nozzle hole is for a Presta Valve.
For a floor pump, we recommend the BV Bicycle Floor Pump.
Hand pumps are portable pumps you take on bike ride or store in your car.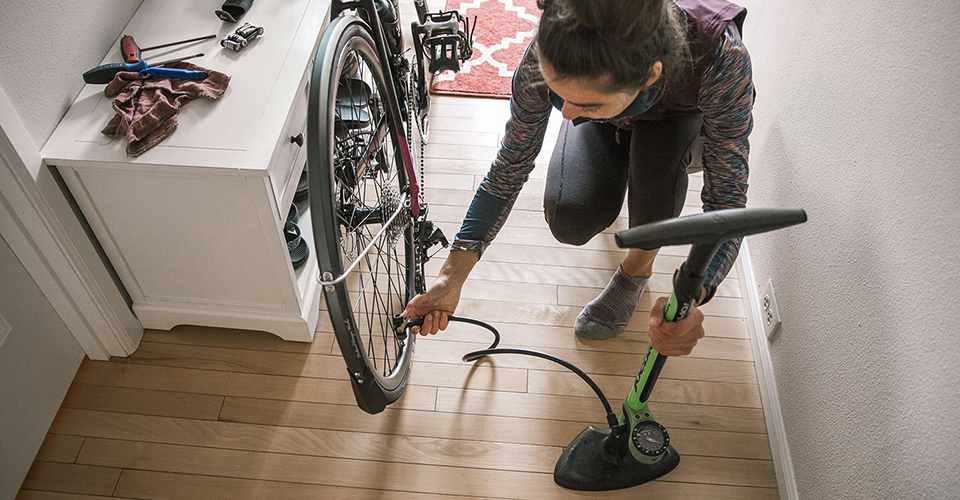 They’re handy to have if you ever need to pump up your tires while out on a ride.
For a hand pump, we recommend the Pro Bike Tool Bike Pump.
BV Bicycle Floor Pump (left) and Pro Bike Tool Hand Pump (right)Yes, you can! If you accidentally overinflate a bike tire, you can easily remove some of the air until you reach the correct psi. For a Schrader valve, press on the bike tire’s valve with your fingernail until enough air escapes. For a Presta valve, open the lock nut and press on the valve until enough air escapes.
Before every ride, it’s a good idea to get in the habit of checking your tire pressure. Tires need the right amount of air to function optimally, and getting them to the right psi efficiently can require some finesse. Mitch Mcleod at Kamikaze Bikes in Collingwood, Ontario, walks us through exactly how to pump a bike tire, so you can keep rolling confidently.
angelsimon//Getty Images
There are two popular tube valves: A Schrader valve is wider and flat on the end, while a Presta valve is narrower and features a locking nut at the top, which can be loosened to add or release air. An easy way to remember the Presta valve is that you press to let air out.
Mcleod says that a common mistake many new (and even experienced) riders make when pumping their bike tires is trying to use a Schrader bike pump with a Presta valve, which just won’t work no matter how hard you try.
If you’re unsure which pump to buy, check out our list of tested and reviewed bike pumps, or ask for recommendations at your local bike shop. When it comes to bike pumps, you almost always get what you pay for. A little extra investment can give you a more accurate psi reading, a sturdier bike pump, and even easier inflation.
Tony Pedulla
First, remove the plastic cap that might be covering the end of your valve.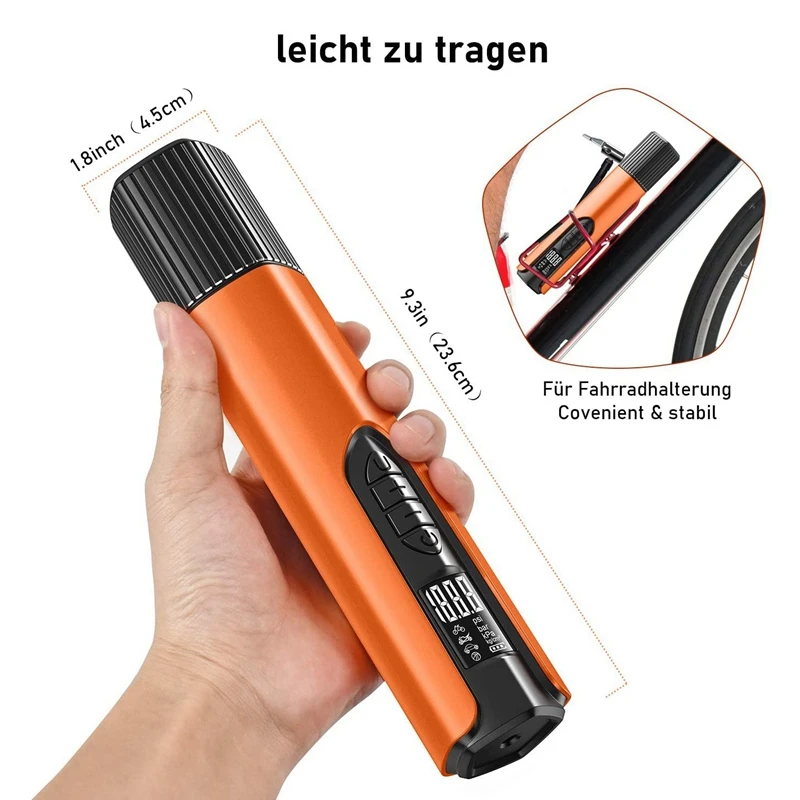 (Sometimes these get lost, so no big deal if yours is missing.) Then—Mcleod says this is a commonly skipped step with Presta valves—unscrew the tiny locking nut at the top. Don’t be shy; the nut won’t fall off, so there’s no need to worry about unscrewing it too much. Give it a couple of taps to make sure it’s moving—you should be able to hear and feel a bit of air come out out. (If you have a Shrader valve, you can skip this step.)
Trevor Raab
Before you pump, check the sidewall of your tire: It should list the pounds-per-square-inch (psi) range that your tire can safely handle. Typically, a road bike tire can go between 80 and 130 psi, while a mountain bike tire holds between 25 and 50 psi. Hybrids usually take between 40 and 70 psi. Where your personal psi preference falls within the range for your tire will depend on your weight and riding style—play around with it and figure out what you like, or you can use our handy guide here.
Now 14% Off
$30 at Amazon
$65 at Amazon
$70 at Jenson USA
$23 at Amazon
Katja Kircher//Getty Images
Fit the pump head onto the valve. Pumps will have either a switch that flips down or up, or an internally threaded screw top. Both systems serve to keep the head in place as you start pumping, which ensures that air actually goes into the valve instead of leaking out while you pump.
If air seems to be coming out of the pump and not into your tires, you may need to readjust the pump head slightly. Just detach and reattach to reset the seal.
Trevor Raab
Using the gauge on your pump to guide you, pump the tubes up to your optimal pressure. And use your upper body and core to pump. Squats are great for building leg strength, but they aren’t required for bike maintenance. Let your arms or even your abs do the work—it can seriously feel like a mini workout.
Once you’ve pumped your tires to the pressure you want, simply flip the switch on the pump head so it pops off, and retighten the locking nut before you replace the valve cap. Then, as Mcleod so aptly puts it: “Go shred.”
CONTENT OF THE ARTICLE:
No special effort is required to properly inflate bicycle tires. The only thing you need is the right tools.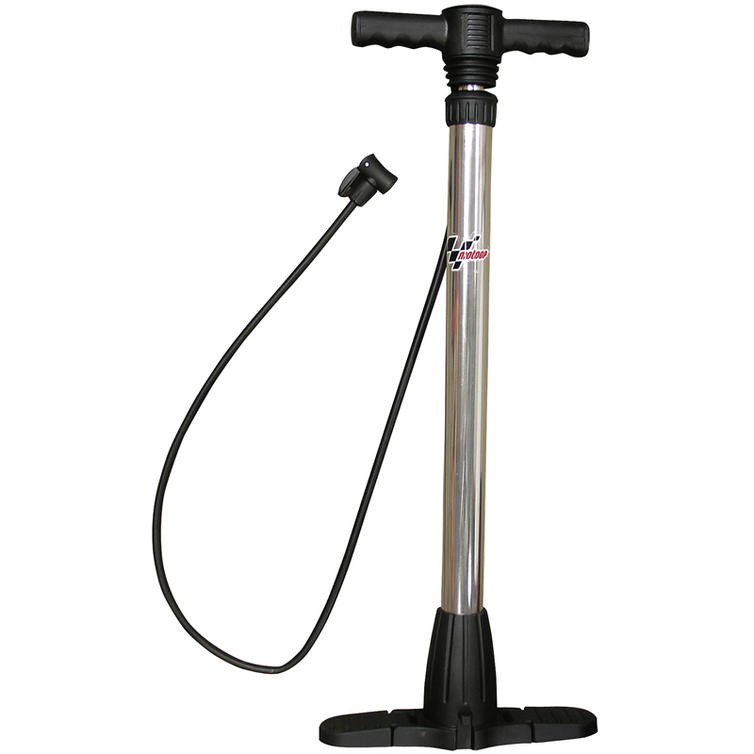 Using these techniques, you can easily find your valve type and choose the pump that is exactly right for your bike model, respectively, and learn how to properly inflate your tires.
Related: How to choose a bicycle pump?
1. Schrader valve, sometimes you can see the name American valve or automobile valve. The stem in this type of valve is surrounded by threads, you just need to press down on the stem with your thumbnail or other object, such as a pen cap. If we compare Schrader valves with other types, then it is short and wide in diameter. Most often they can be found on cars, inexpensive or mountain bikes. To open this type of valve, you just need to unscrew the rubber plug.
2. Determine the recommended tire pressure for your bike. Often this indicator is located on the sidewall of the tire. Be vigilant and watch the pressure when you inflate your tires.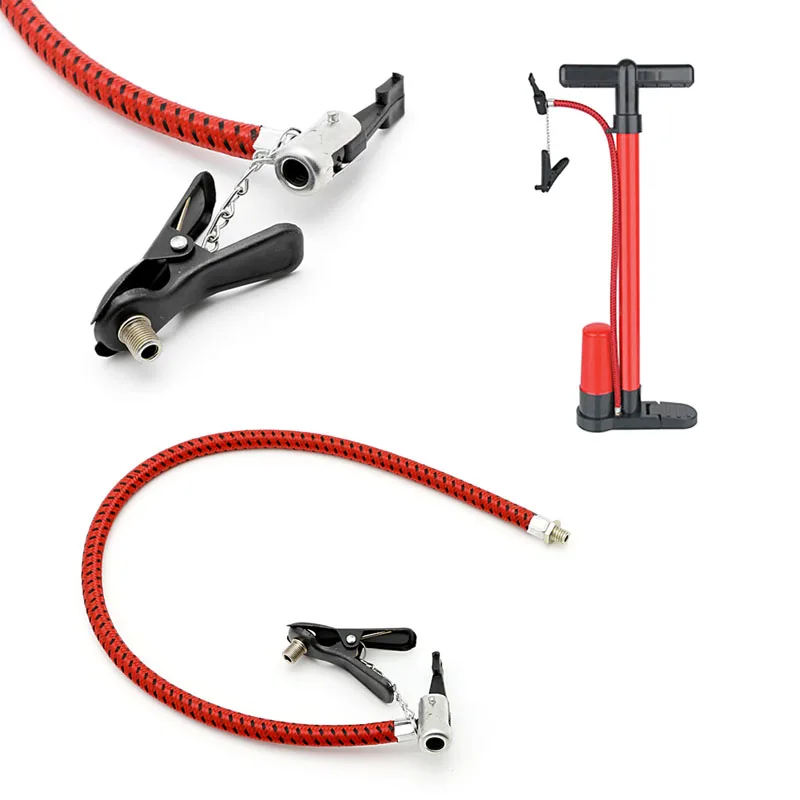 It is recommended not to bring the readings to the lower line, as well as to the highest.
3. Position the pump. If you don't have your own yet, use the pump at the gas station, or borrow one from a friend.
4. Pump up the chamber. To do this, unscrew the rubber cap on the top of the valve and hide somewhere so as not to lose it.
5. To deflate a tire with a Schrader valve, simply press the springy valve stem with your fingernail or other small object until all air is expelled.
1.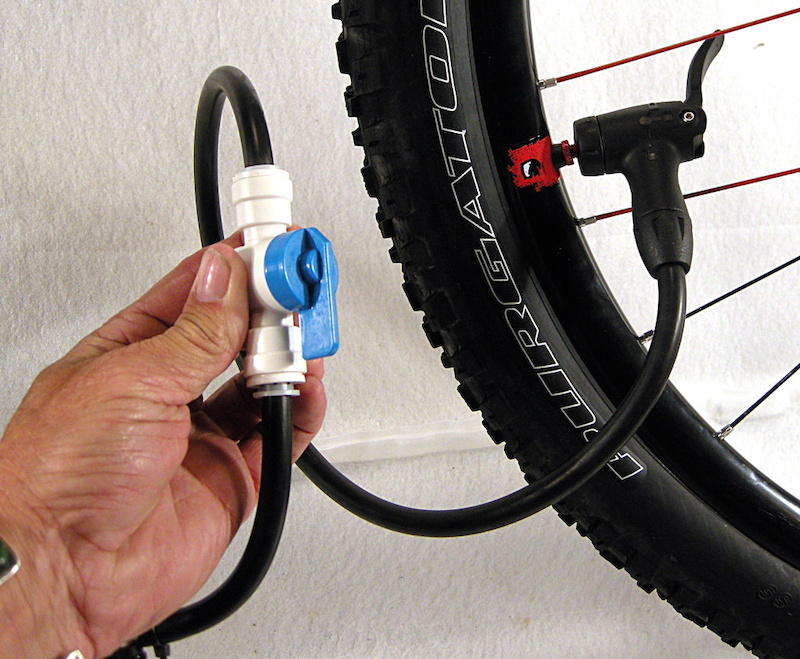 French valve (Presta) or else you may see the name Sclaverand is commonly found on high performance road bikes. Compared to a Schrader valve, this one is longer and narrower in diameter, and has an outer stem that is capped instead of being surrounded by a core.
2. Valve opening. Unscrew the dust cap to open the Presta valve. Then you need to loosen the brass cap on the valve stem a little, it will not be able to come out completely, and you will have to lift it up a little. If you want to check if the cap is loose, you just need to press on the valve stem, and if you hear that the air comes out in sharp gusts, then this is a sign that you can stop.
3. Calculate the recommended tire pressure for the bike. This is usually a relief mark that is located on the sidewall of the tire. Most often, these readings are written in bars or PSI. Do not let the pressure go to the bottom line, and also to the highest, which exceeds the maximum.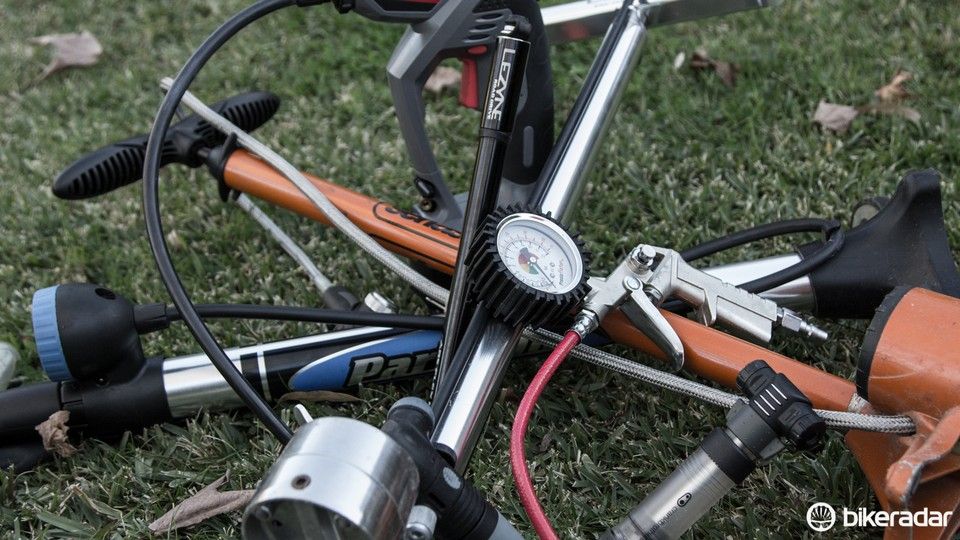
4. Pump installation. You can use the pumps of any gas station stations or take them from friends. And as an option - buy in the store "everything for bicycles".
5. Inflate tires. Open the Presta valve by unscrewing the dust cap and loosening the smaller brass cap.
6. To deflate a tire with a Presta valve, open the brass cap and press the springy valve stem until all air is expelled.
The third type of valve is the English Woods valve, or the name Dunlo is also found.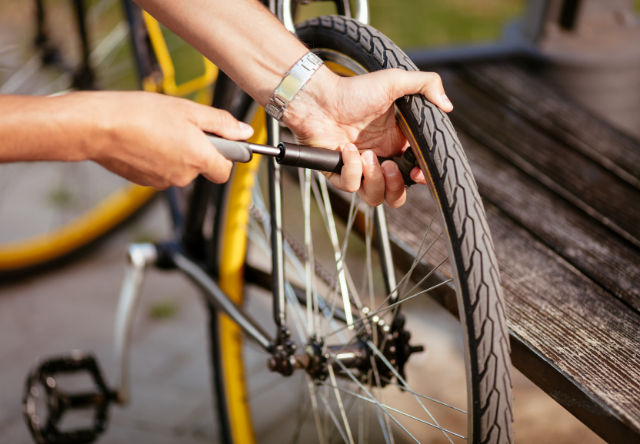 These valves are most commonly used in Asia and Europe. Woods valves are larger than Schrader valves, but the mechanism and operation are the same as those of Presta valves.
Contents
Flat tires do not bode well for a cyclist. The situation must be resolved immediately, otherwise you will have to become a pedestrian for a while. What should be done? That's right, pump up the camera and calmly continue moving. Consider how to pump up a bicycle wheel with a pump, what subtleties are available when using an autocompressor, and whether it is possible to do without a pump.
Tire pressure is the main parameter that is responsible for the speed of movement, grip and safety of the cyclist.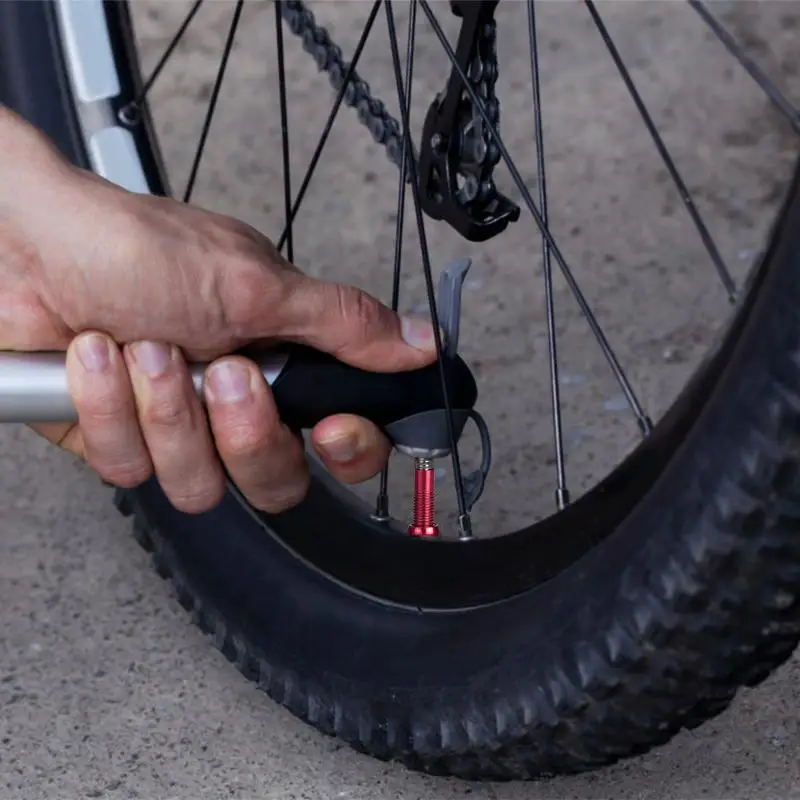 The average minimum indicator for bicycles is 2 atmospheres. For driving on asphalt, the recommended value is within 3.5 atm., For primers - 2.6 - 2.8 atm.
It is easy and simple to determine the pressure inside the bicycle tube using a pressure gauge - separate or built into the pump:
Another method: feel around the entire circumference of the tire with your fingers. If the rubber does not flex, then you can ride. It should be noted that this method will only give accurate results for thin slicks on road bikes and tires on city bikes.
Consequences of underinflated tyres:

On the contrary, an excess of air in the chambers threatens the following:
Maintaining the recommended pressure will eliminate all these shortcomings and allow you to get the most out of your trips. Below is a table of values depending on the weight of the cyclist:
*1 atm = 14.696 Psi
In general, a bicycle pump is a necessary thing for every cyclist. With the help of this simple device, it will be possible to inflate the wheels on your own, and not roll your bike to a service or gas station.
Hand pumps are divided into two types: simple and with a recording device (pressure gauge). It is recommended to purchase the second option, however, if a separate pressure gauge was lying around in the cabinet, you can buy a cheaper pump.
Universal hand pump with dial gauge
For ease of pumping with a conventional hand pump, you can immediately count the number of air inlets until the optimum pressure is reached and then pump exactly like this, even without additional use of a pressure gauge.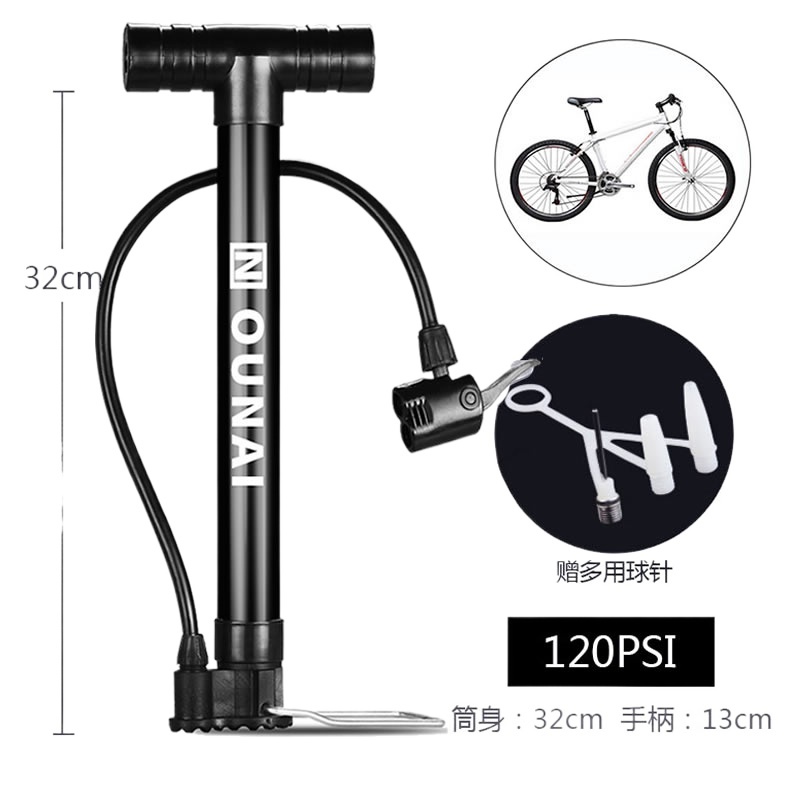
How to inflate the chambers correctly:
Pressure tracking:
By the way, the latter will not be superfluous to do with a pressure gauge, since the pressure inside the pump can increase during pumping, but air does not enter the chamber (the valve is not completely closed) or exit through a hole in it.
Common bicycle nipples are automotive and Dunlop. For thin wheels, a Presta nipple with a valve is used.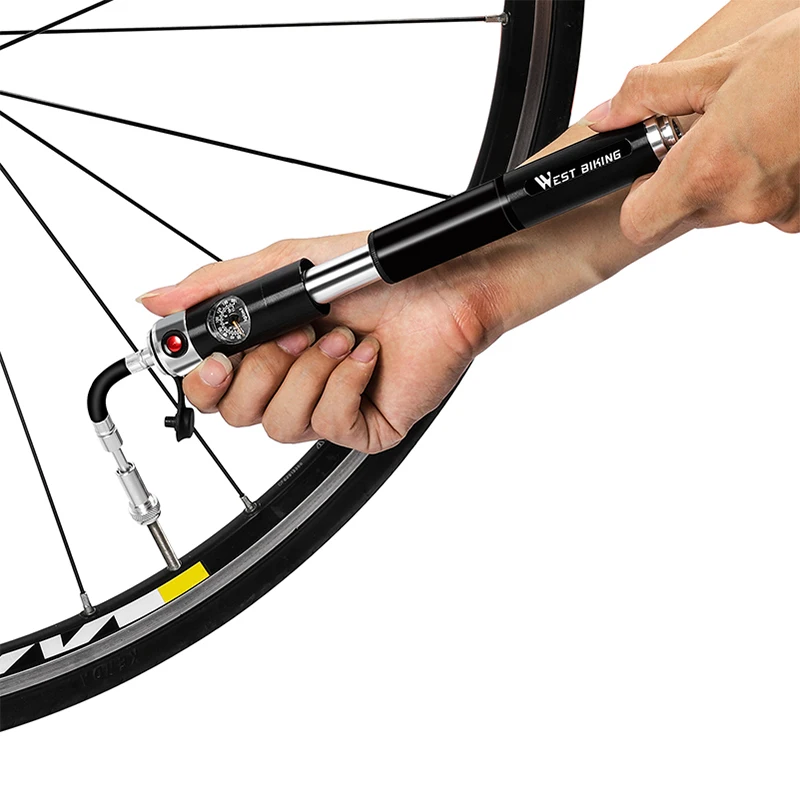 It requires cleanliness and accuracy in handling.
Presta tubes fitted to road bikes and select hybrids
A special small volume pump is matched to it. A regular bike pump may not fit or you may need to use an adapter.
Most bicycles have a "schrader" or car valve. The standard option allows you to inflate tires at gas stations and public bike pumps (of which there are only a few in our cities so far) directly.
How to inflate simple wheels with a car pump:
How to inflate Presta with a compressor at a gas station:

In this case, it is very important to know exactly how many atmospheres it is necessary to let air into the chambers. With increasing pressure, it can quickly burst.
The last option left is Dunlop. It is identical in size to an automobile nipple, but in terms of design features it is similar to the French one (aka Presta). When inflating a wheel, you should follow the rules for a sports analogue.
Is it possible to inflate bicycle inner tubes without a pump? It is unlikely to reach the recommended pressure, since a regular supply of pressurized air is required, but you can reach the minimum values. Let's consider several methods of pumping the chambers, which can be resorted to without using a pump:
Vacuum cleaner.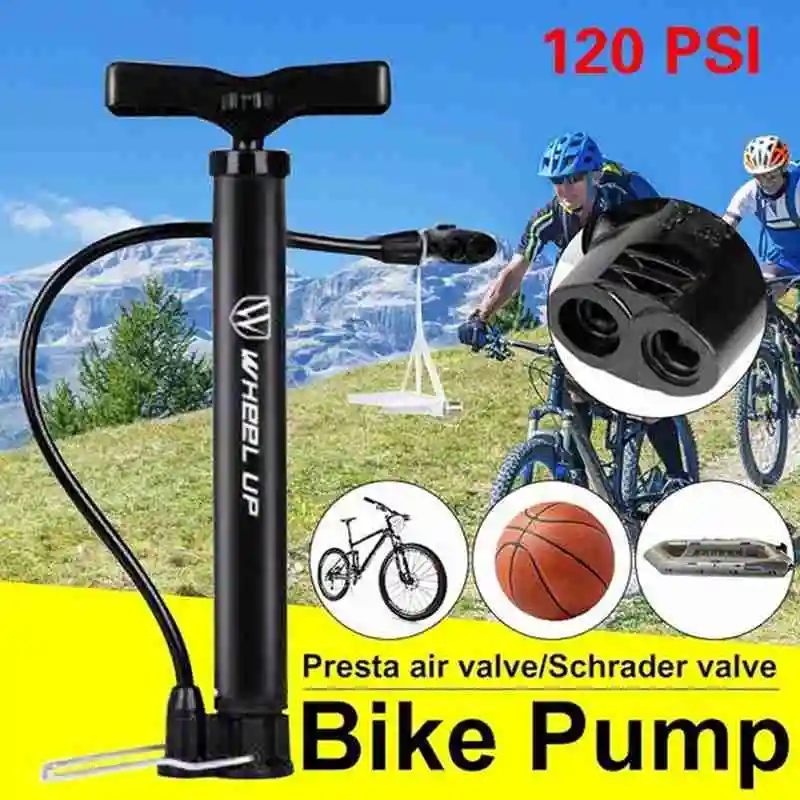 Many models are equipped with a blower mode, when switched to which air is blown out. A thin hose can be used to connect the wheel nipple. The result directly depends on the tightness of the connection between the hose and the nipple. Here you can use rubber pads, clamps and even rags.
Bottle pump. You will need two plastic bottles. One of them will serve as a cylinder, the other as a rod. Cut off the bottom of the first bottle and connect its neck through a thin hose to the chamber outlet. Next, insert the second bottle into it and with translational movements pump air through the cylinder into the hose. For tightness, grease the connection of the neck and the hose with sealant or lay a rubber pad. High pressure cannot be created, but it is possible to ride the N-th distance on a bicycle.
Bottle pump schematic: 1 - stem, 2 - cylinder, 3 - cylinder neck, 4 - hose
The third way is to remove the nipple and inflate like a balloon.