A slow tire leak is more than just a nuisance. A leak can lead to low tire pressure. Not to mention, prolonged running on an underinflated tire can lead to more extensive tire damage or even cause a dangerous blowout.
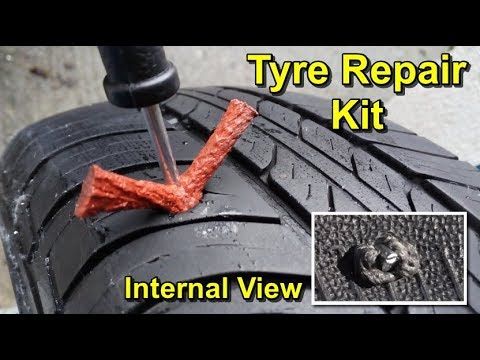
If you’re experiencing a slow leak, here are some things to look for:A tire puncture: It is a common misconception that a puncture will cause the tire to immediately go flat. However, in many cases the object that caused the puncture remains lodged in the tire and prevents the air from leaking out quickly. As with all tire leaks, it is important not to ignore a puncture. Eventually the object will either wear down and/or work its way out of the tire. For more on this read our article How to Repair a Tire with a Safe, Permanent Fix.
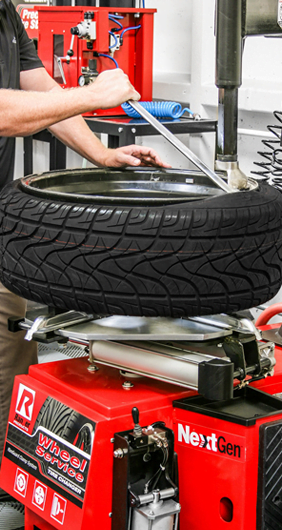
Wheel damage: Another common cause for slow tire leaks is damage to the area where the tire bead meets the rim. This type of damage is typically cause by the driver hitting the curb, taking a speed bump at high speeds OR those dreaded potholes! The impact deforms the wheel’s metal surface which may cause the tire to pull away from the mounting surface of the wheel.
Valve stem damage: The third most common cause for slow tire leaks is worn out or damaged valve stems. Time, use and exposure to elements can cause your valve stems to wear out and cause leaks.
Diagnosing your tire leak:
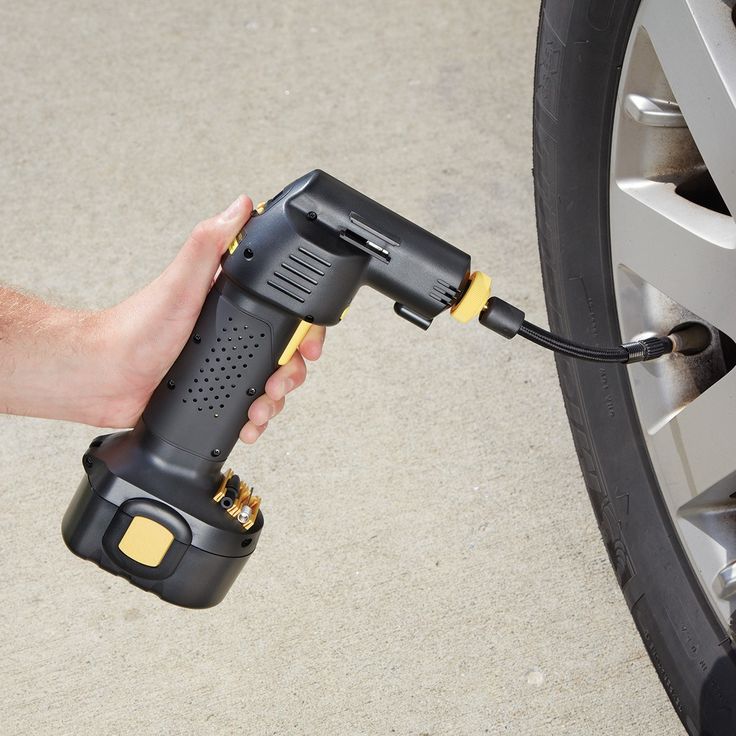
If your vehicle is equipped with TPMS, you will know right away if you have a leak. If the sensor light on your dashboard goes off, you inflate all the tires back to proper pressure and the light goes back on a few days later – you likely have a leak. If your vehicle does not have TPMS, its important to check your tire pressure regularly.
Once you’ve identified that you have a leak, use TECH Chek to locate the source of your leak. Simply spray the product all around the tire. Where the surface of the tire begins to bubble is likely the source of your leak.
It’s important to have your tire diagnosed by a professionally trained tire shop or mobile tire repair service as soon as possible. In the case of a puncture, you may want to use a tire repair kit to keep your tire properly inflated until you can have it serviced. The leak should then be permanently fixed using a proper tire repair consisting of a cured rubber stem and repair unit.
If the leak is caused by a damaged valve, a trained tire technician can typically replace the valve at a minimal cost. In some cases, however, the tire may need replaced.
If the leak is caused by a damaged wheel, a tire technician may be able to reseat and seal the tire using a bead sealer. However, if the damage to the wheel is significant, unfortunately that means you may need to replace the wheel itself.
To read more about the types of damage that can and cannot be repaired, click here!
Your tires are where the rubber meets the road – literally – when it comes to the safety and performance of your car.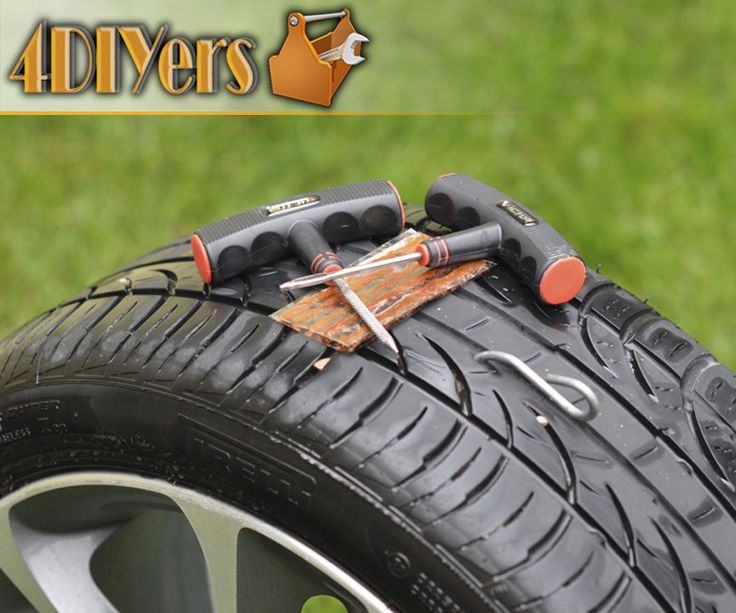 That means, if your tire is leaky, you could be putting your safety at risk.
A leaky tire causes low tire pressure, which can decrease fuel economy, and put you at risk for a blowout. It also decreases the ability of your car to handle properly, making it more difficult to respond to emergency situations or drive in inclement weather.
In this article, we’ll discuss how you can diagnose and fix slow tire leaks. Don’t just ignore that low pressure sensor – check out this guide!
The Most Common Causes Of Slow Tire LeaksThere are three common issues that cause slow tire leaks. Let’s discuss each one of them now.
If your valve stem is damaged, there will be a slow and constant leak.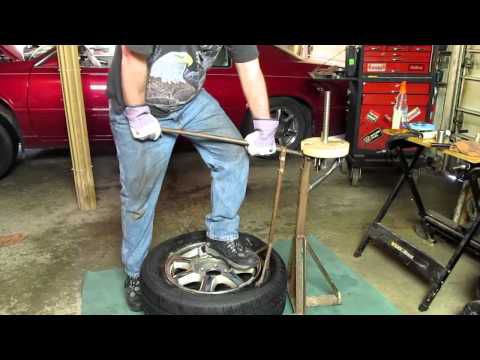 This leak could come from either the body of the valve, or the base of the valve, where it meets the tire.
Contrary to popular belief, puncture damage usually doesn’t lead to an immediate flat tire or blowout, in most cases. This is because the object usually remains lodged in the rubber, preventing air from leaking quickly.
There are a few ways you can diagnose a slow tire leak
 If one of your tires seems perpetually under inflated, chances are you have a leak.
If you have a slow tire leak, you’ll want to have it repaired professionally as soon as possible. In some cases, you may want to keep a tire plug or patch kit in your vehicle. These kits are easy to use, and can keep your tire inflated until you bring it to a professional tire repair shop.
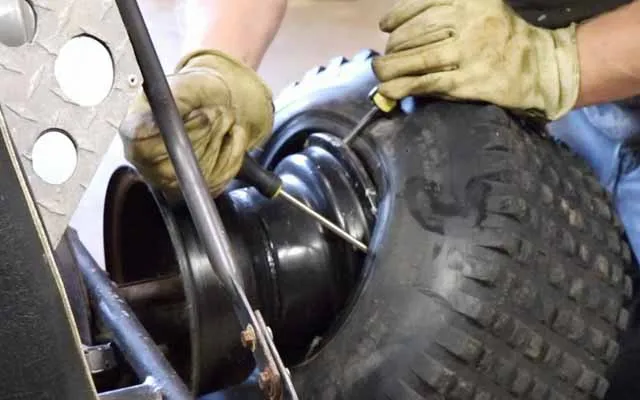
To permanently fix a tire leak caused by a puncture, you will need a “plug and patch”. This method of repair involves removing the tire from the wheel, and placing a combination plug and patch on the tire.
If your leak is caused by a faulty valve, you may need to replace it or your tire.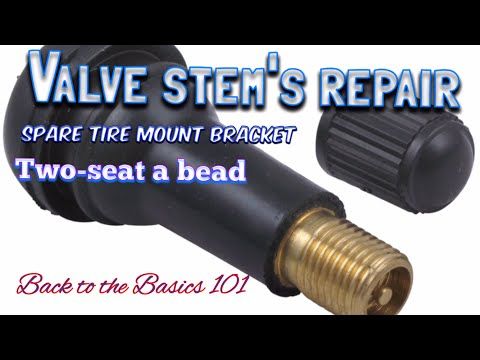 Leaks caused by a damaged mounting surface may require you to replace the entire wheel.
If you need to repair a tire damaged by a puncture, or you think your valve or mounting surface may be damaged, we can help!
Schedule your appointment on Ride Time today, and come to our service centre now in Winnipeg, to make sure you stay safe on the roads!
Conclusion to the repair of busbars can be carried out in one of the ways depending on switchgear layout:
In a circuit with one busbar - by disconnecting the connections of this bus (or sections if it is sectioned) for the duration of the repair.
In diagrams with two busbar systems and one switch per connection – switching connections with a tire being repaired to another tire without power interruption with the help of SHV. nine0003
There are two situations:
A) When one of the tires is redundant and the other working and SHV is always disabled.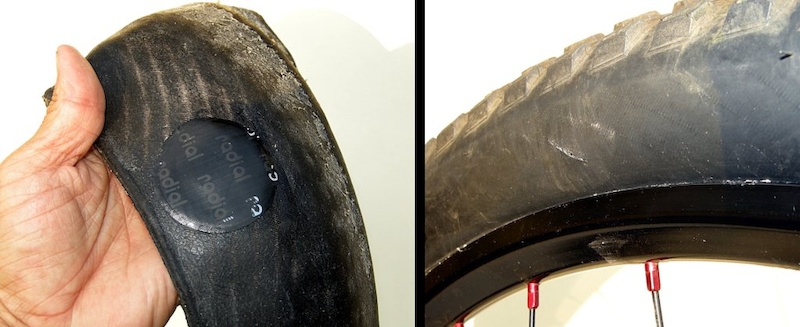
Rice. 28 1st situation.
Turn on SHV
We turn on disconnected disconnectors, we are not afraid of the arc, because they are all shunted with SHV contacts. After this we turn off the adjacent disconnectors. Thus, we have transferred all attachments to the backup SSH and we just have to disable SHV and its disconnectors, so that the working The SS was in an isolated state. nine0003
B) When there is a fixation of attachments.
Rice. 29 2nd situation.
Let us assume that both busbars are under voltage OK, half of the connections on one, half on the second. Let's say we decided to transfer all attachments, who were on the first secondary school on the second. It was 50/50, but it will be 0/100.
First of all, turn on the SHV, if it was not included, and is removed from its drive operating current . If it was enabled then just remove it from its drives operational current.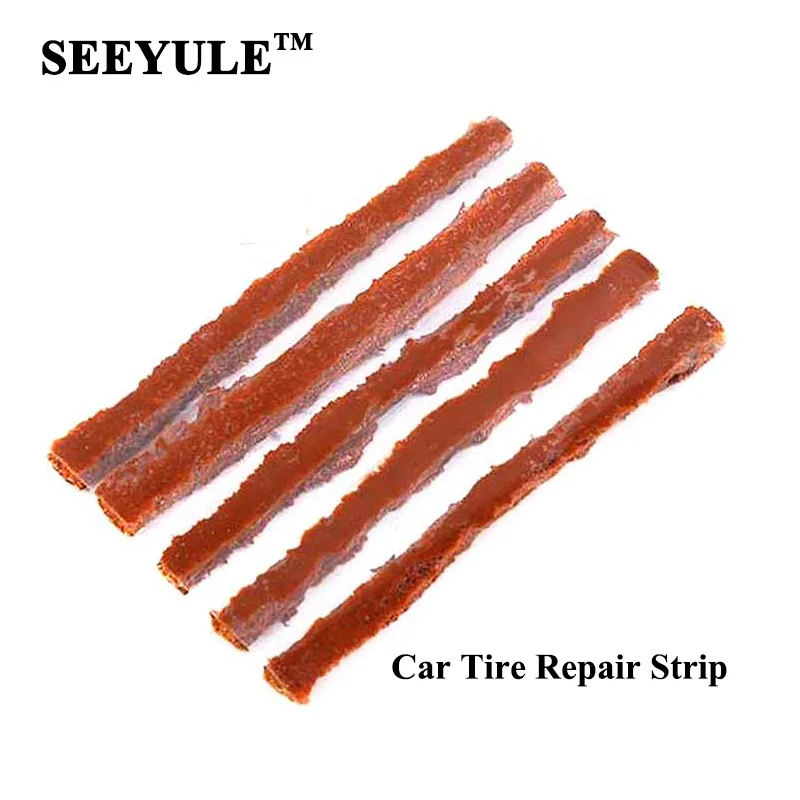 This phrase means that we block the switch so that it no one turned off . After this we connections enable disabled disconnector and turn off earlier included. We have thus translated connections to the second busbar without power interruption and without arc . We first turned on the disabled, and then disabled enabled because if we would start by turning off the included, then an arc would necessarily arise, because there is no bypass current. Yes, and in this case there would be a power interruption. That's how we we act with all connections, that were included in the output tire. nine0033 Then we applied the operating current on the SHV, then the disconnectors disconnected and vu-a-la the first busbar can be repair.
There will be no arc because
Rice. 30 Detailed consideration of switching from one SC to the second when the first is withdrawn in repair.
Contacts a’ and b’ are shunted by contacts a and b.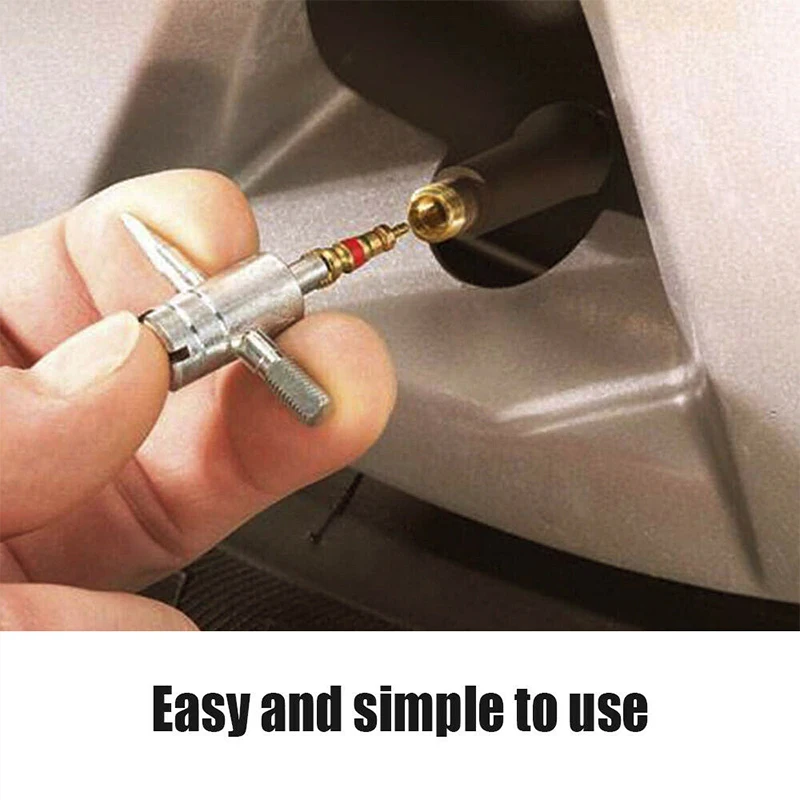 If there is an arc, it will be very small, because the arc is resistance, and the current there is no reason to flow, through resistance, if it can flow without it. Resistance its path through the SHV is not quite zero, so a small arc may occur. But since the arc has resistance where more, then the current there will be much less. nine0003
Weird situation. Dual system We have SS, but we don't have SSW. Or SHV yes, but under renovation. ( situation lies in the fact that the SHV is located in repair and we were "impatient" to withdraw more and school for repairs. We can do this with two very important restrictions:
First, when one tire is working, and another backup if we have a fixed 50/50 connection, you can't do that.
Secondly, if you translate, then translate that's it, we have no right to translate part connections). Considering these two we will now transfer the restrictions connections from a working bus to a backup one. nine0003
Rice.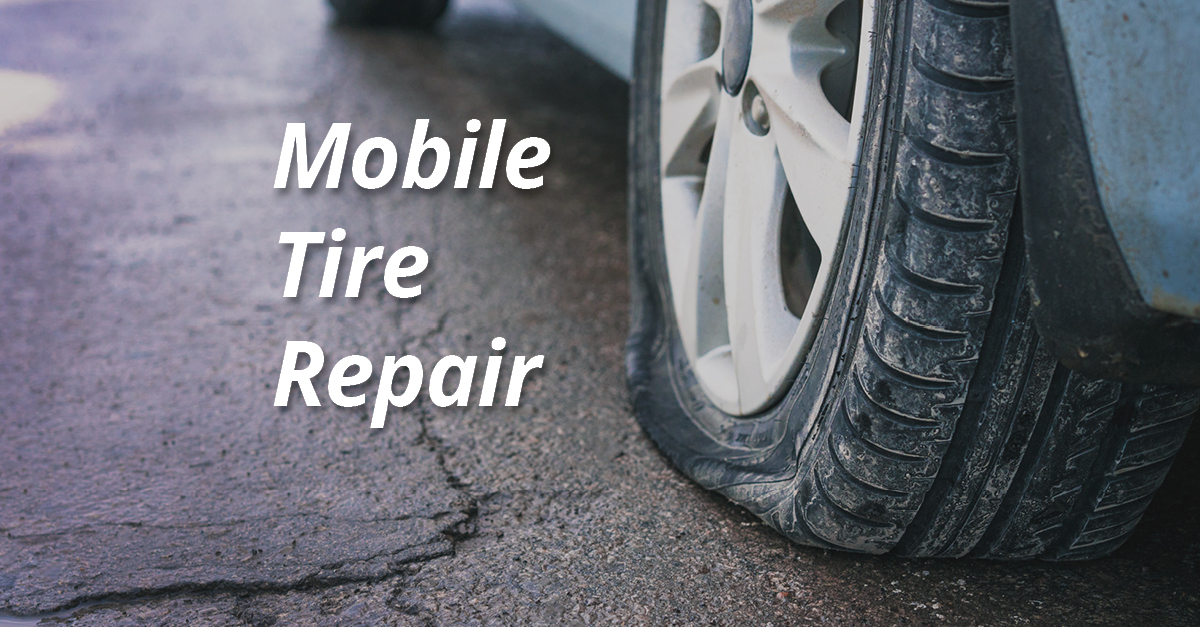 31. Double SS system without SSV
As a shunt element in In this situation, we use not SHV, but disconnector contact. That is, we are one from the disconnectors we select the leader and we equalize the potentials on both SSH .
As long as all connections have been energized from the working busbar. Reserve school, not only without tension, but also with created by visible breaks. It turns out, that one of the disconnectors must be selected, to he was leading . Let's choose disconnector highlighted in red. Let be it plays an important role as a closure tires in the ring, i.e. equalizing potentials . Let it be analogue ShSV , so to speak. Analog not bad, because its not fast turn it off. And in order to be safe turn off the SHV, we had to remove operating current from its drive. Disconnector reliably makes the potential equal. So after we turned it on is . we are we can calmly operate other disconnectors , for on tires have the same potential.
Next we turn on the off disconnectors and disconnect those which were on position earlier. Thus, we switch all connections to reserve school. When we turn off the last disconnectors, if we have something on the bus is, then its deactivation will be accompanied by arc, for this will be the last path current flow. nine0003
It is very important why we cannot translate only part of the connections . For this we need to present a diagram with spread busbars and disconnectors going to the switches - jumper between them. Also remove the switches. because they won't be needed.
Rice. 32. To the question of partial and complete transfer of connections from one busbar to the other in the scheme with two SS without SSV.
Disconnectors are marked with dots. If we all accessions from working busbar transfer to the backup , then everything is fine . Because, when we want to disable the last one disconnector with working SSH. He will trip without arc . It's possible watch the red dotted lines lines (Fig. 32. a), which symbolize a path for the flow of currents. All of them gravitate towards the reserve secondary school and in no way prevent the last disconnector. Because we do it at idle, energized, but without current . In this case, the disconnector can be disabled.
Figure 32b shows commit attachments (this is when attachments is in normal operation on both tires). At some point we want disconnect disconnector but it will be energized . And when trying turning it off we get arc . Switched on last disconnector discounts the whole principle double system SSh , making its single . AT normal situation both disconnectors per connection can be both included only on a small time interval.
In circuits with two switches per circuit, in ring circuits, in circuits 3/2 and 4/3 - by switching off this SS with switches and bus disconnectors without interruption connections.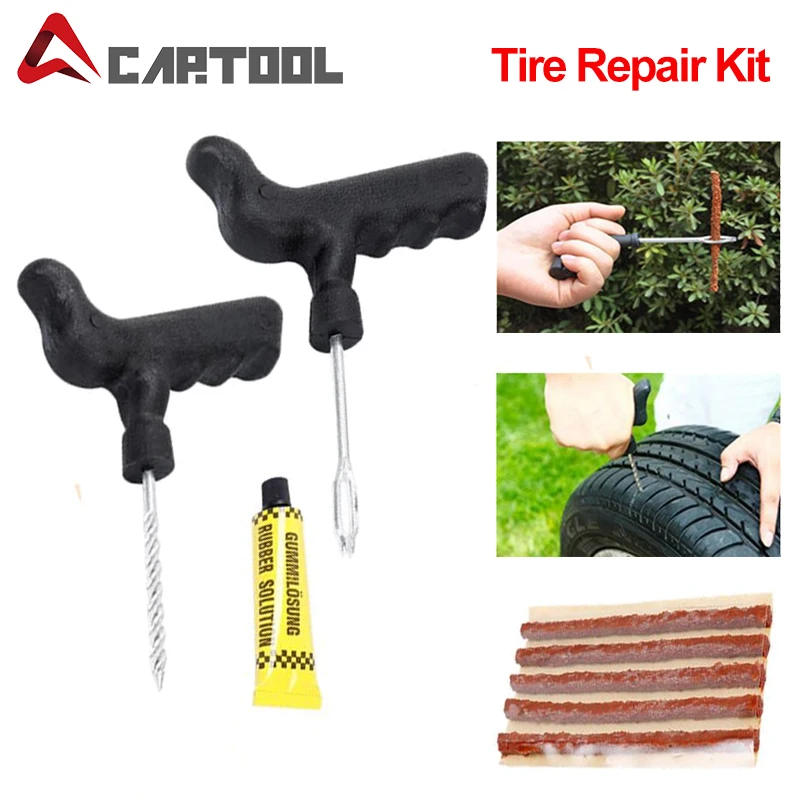
Rice. 33. diagram 3/2
To bring the first secondary school into repair, we turn off switches 1 4 7 and 10, after why do we turn off the top row of busbars disconnectors and all. Tire ready for repair. nine0003
In an emergency, you can withdraw and second secondary school for repairs, we will lose a lot in reliability, but we will not lose connections. In this case, in the scheme 3/2 lines will be powered directly from the blocks. Main problem that you may encounter - this is a mismatch between the power of the block and line bandwidth. And her will have to be solved by unloading either line or generator. line can unload using workarounds, and generator by reducing the supply of steam to the turbine (often this can be done up to 50%, and then not all boilers can work stably). nine0003
But anyway , we keep the food lines.
118 seats
 Petersburg;
 Tire fitting
Rating
0Other filters
D
3D tour
14
G
3D tour
58
Yu
Z
C
A
A
A
W
B
3D tour
29
to
3D tour
52
G
3D tour nine0003
26
E
W
A
3D tour
49
3D tour
55
A
3D tour
27
O
D
A
3D tour
46
R
E
T
M
3D tour
50
M
3D tour
48
A
L
3D tour
131
Z
show more
Zoon.ru users most positively rated For their own, GTI-Motors, Jupiter. nine0003
In the Primorsky district (St. Petersburg) there are 22 car service centers with 24/7 operation . Among them are Shinkin and Montazhnikov, Shinkin and Montazhnikov, Moika 2x2. Use the filter in our catalog to find everything! nine0003
On your birthday, you can get a discount on services at For Yours.
A discount on the first visit is provided in For Your Own, Audi Center Lakhta, Vanguard Lakhta.