We independently review everything we recommend. When you buy through our links, we may earn a commission. Learn more›
FYI
We’ve looked over this guide and stand by the advice and picks we recommend here.
If you own a bike, you need a flat-fixing kit. It’s really that simple. Sure, maybe you’ll get lucky and get a flat close to a shop, or the buses will be running on time for once, but even with all that going for you, getting stranded across town will cost you time, money, and precious sanity. You can put together a great kit in less time than it takes to read this guide.
We spoke to a broad spectrum of cyclists—from a pro racer to a bike messenger turned mechanic to a touring cyclist who has logged thousands of miles throughout Europe—to find out what items they find indispensable. We sorted through 40 tire levers, almost 30 different kinds of patches, 120 different hand pumps, and nearly 60 seat bags before we narrowed our choices for testing. And then we changed and patched tires more than 50 times, using four different bikes, five different wheels, six different tires, and almost 10 different sizes of tubes. After more than 100 hours of combined testing, we agree these essentials are some of the best you can buy.
To get started, we consulted a broad array people for this guide, with a wide variety of cycling styles. They’ve all put together kits that are unique to their personalities and needs. It’s a deep, satisfactory joy to lay out a finely curated kit, and we’re hoping you’ll find a carry method that speaks to you.
Ramona Mark’s touring kit. Photo: Ramona Mark
Scott Karoly’s commuter kit. Photo: Scott Karoly
Alison Tetrick’s road kit. Photo: Alison Tetrick
Ramona Mark’s touring kit. Photo: Ramona Mark
When I interviewed Ramona Marks, she was a mechanic at Bicycle Kitchen in LA. She has logged thousands of miles touring the world on her bike since 2010. Her kit is outfitted with gear that makes life easier for a touring cyclist, such as some full-size tools, which make frequent field repairs more manageable.
I spoke to Scott Karoly, a sales associate at Alameda Bicycle, who carries the essentials for his urban commuting, plus some special wrenches for his specific bike.
And I spoke with Alison Tetrick, a pro athlete and member of the board of directors for USA Cycling. She carries a downsized road-riding kit and relies on CO2 cartridges for fast inflation, because she gets two or three flats a day, every day.
I also spoke with resident mechanic Cari Z at (the sadly now closed) Bay Area Bikes in Oakland, California, a former messenger who had a dozen sneaky tricks for changing tires, carrying tools, and preventing flats (but, alas, no photos of her bike bag).
We focused on tools that would be useful to a commuter—someone trying to use a bike as a functional way to get around town, as opposed to riding recreationally (road biking and mountain biking). That said, it’s a wild and wooly bicycling world out there, and the streets are packed with so many different bikes, all shapes and sizes, new and old. Customizing your flat-fixing kit has advantages over buying a preassembled kit that always contains a tool (or two or three) that’s a piece of junk, or you don’t need. Or it’s missing something you do need. If you build your own kit, at least you know everything works. And you can add only what’s necessary for your specific bike without ending up with stuff you don’t need.
Road riders need lightweight, tiny tools that can fit into jersey pockets. A lot of those items are made of carbon fiber, which is lighter than aluminum. Other iconic trappings of road riding, like CO2 cartridges and spandex outfits, are also geared toward minimalism, but all of that downsizing comes at a cost. Commuters don’t have to be as concerned with weight, so unless you covet something specific, don’t spend the extra money.
Mountain bikers are in a different world of repair entirely, one that borders on the comedic absurd. It includes large pumps designed to fill up big, fat tires that squish over things, and a medley of assorted slimes meant to be injected into tubes or tires. In that world, the number of days it takes you to fix your tire and return from the wilderness is a badge of courage—bonus points if you’re bleeding—and we’re guessing that’s not what you’re going for next time you set out for groceries.
Commuters need products that are effective and reliable. The day you need them, they have to work. The essentials listed in this guide are the items you must have if you ever hope to get going again after having a flat. If you do nothing else, pick up these three things and take a second to learn how to use them.
A good patch will stick to your tube enough to keep air from leaking out. A great patch will act like a second skin and actually strengthen the tube where it’s applied, flexing and stretching with the tire. After 36 hours of testing, our official endorsement goes to the Rema TT 02 Touring Repair Kit. Its patches do everything other patches do, just better. The edge of the patch is also ruffled, which provides more edge surface area to bond—that’s a good thing.
Patch kits come with patches in a few different sizes, a small bit of sandpaper, and a tube of vulcanizer. Vulcanizer is the “glue.” Cari Z, who was a mechanic at Bay Area Bikes at the time of our interview, explained, “Vulcanization is the chemical bonding process that takes place between patches” and the tube.
An up-close view of the ruffled edges on Rema’s patches. Photo: Kyle FitzgeraldThere are patches that don’t require vulcanizer—the infamous peel-and-stick. One brand, the Park Tool GP-2, has some genuinely enthusiastic endorsements, so we tested it. I applied Park Tool patches to four different tires, at three different psi levels (60, 90, and 120). Three of the four didn’t hold—two released within minutes. The fourth deflated overnight. I redid the test, but repeated a second time, they all leaked within a day.
Though I often have colleagues and acquaintances text me smug anecdotes of their peel-and-sticks working, I am not convinced they’re actually working.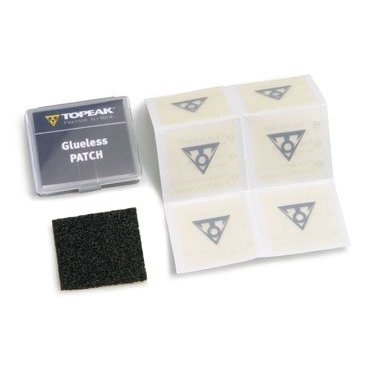 They could possibly be pressed firmly up against the tire rim, or some other incalculable magic, but if it were me I’d toss those in the garbage and get serious. This is bike repair, people.
In addition to the Rema patches, put a new tire tube in your kit. The best method for dealing with a flat roadside is to swap out the tube and save the task of patching for later. If you’re not sure what size your tires are, it’s printed on the sidewall of the tire. This inner-tube buying guide has some photos of where to look. What brand is almost irrelevant as many tubes get manufactured in the same place, so whatever your local shop has behind the counter for under $10 will work fine. The only reason to spend more would be to save weight.
Now you might be wondering: “I’m carrying a tube; why carry patches at all?” As insurance for the unforeseeable. Wirecutter senior editor Christine Ryan admits she didn’t use to pack them, but said, “I’ve regretted that decision when I’ve had a flat on a ride, used my spare tube, and then, half an hour later, had a second flat.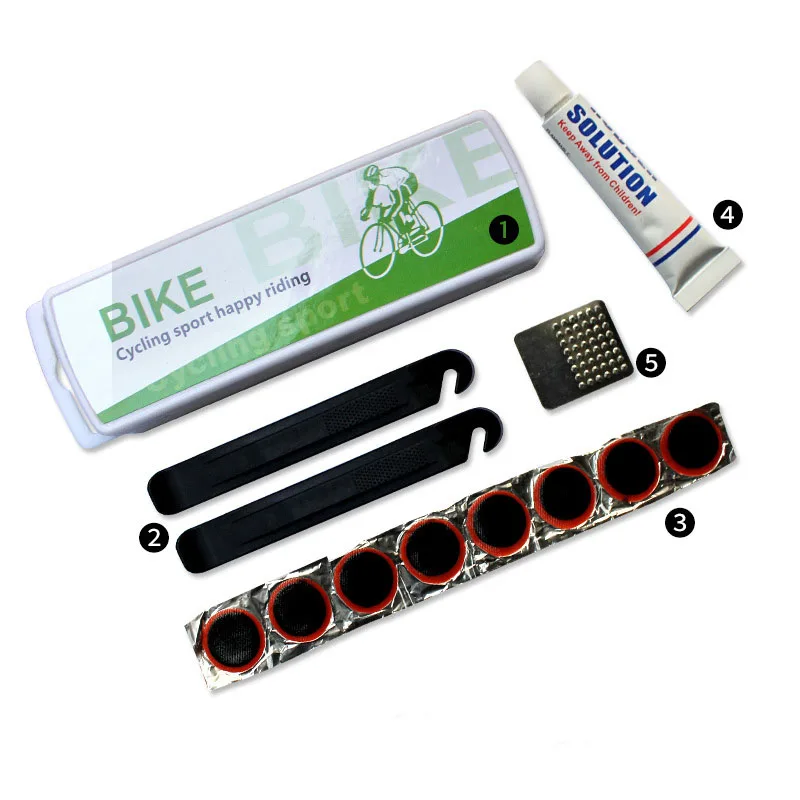 Also, lots of people aren’t very good at figuring out—or don’t take the time to figure out—what caused their flat and remove the cause: thorn, eensy bit of glass, whatever. Then they promptly have a second flat, and everyone else laughs at them.”
So don’t get laughed at by your cycling brethren—be the hero instead. Always check your tire for what caused the flat, get rid of it, and drag around a patch kit just in case.
Pedro’s levers are cheap, effective, light, and near indestructible.
Every expert I spoke to recommended Pedro’s Tire Levers by name. They have a wide body—a different shape than other models we tested—and that prevents breakage, but more important, the broad, flat surface area of the tip helps it stay locked under your tire. When a lever slips from under the bead of the tire, you can end up repeatedly scraping your knuckles on the spokes of the wheel, which is so annoying. Pedro’s levers are small enough to fit into a saddlebag, are sold widely in bike shops, and even come with a lifetime guarantee. If one breaks, Pedro’s will replace it.
More than any other tool in the kit, a reliable lever makes changing a tire easier, especially if you have road bike tires, which are difficult to remove. However, throughout testing, levers seemed to be the one item more prone to failure and poor design than anything else. For example, I found a random orange lever floating around my basement and I threw it in the test pool for fun—it seemed solid enough ... until I began prying at the rim of a tire. It bent directly in half, slowly and smoothly, like taffy, and then was boomerang shaped forevermore.
The Pedro’s lever slipped only once throughout testing, though that may have been my fault because I was spaced out after changing 16 different tires.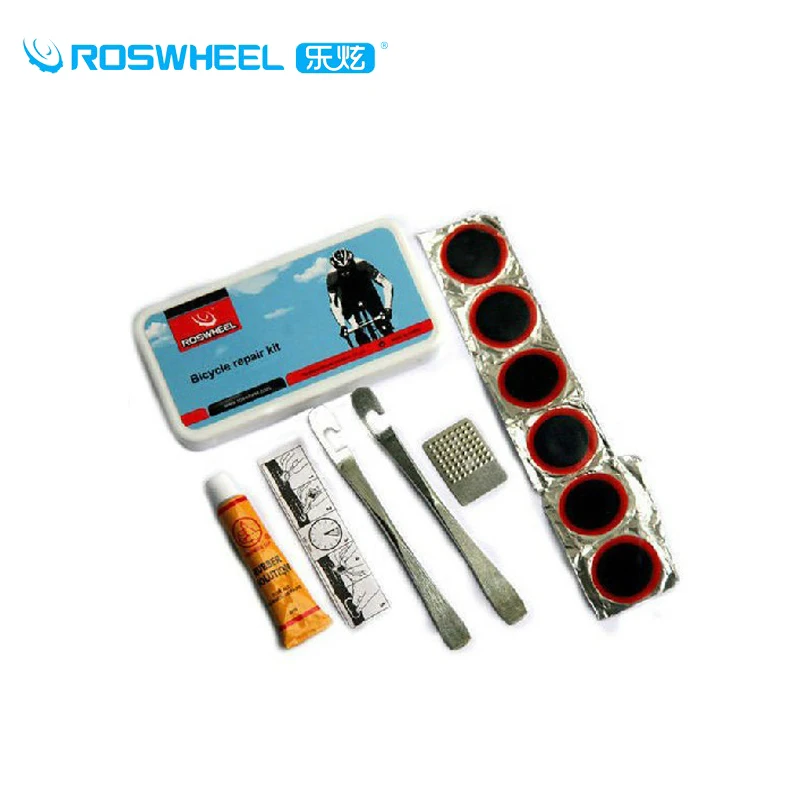 So they’re not foolproof, but they are far and away more reliable than the next closest competitor, from Park Tool, because the small, rounded tip on that one is hard to keep seated under the tire. Not impossible, but I wouldn’t choose it over Pedro’s.
Versatile and compact, this pump will fill the flat-fixing needs of any commuter while on the road. (It also comes in a slightly larger, but otherwise identical, “medium” size.)
Bicycle hand pumps aren’t substitutes for floor pumps. They will never work as well—pumping a tire without using the ground for leverage is awkward at best and demoralizing at worst. So consider this an on-the-road model only, and if you’re looking for a floor pump, check out our full guide.
The Lezyne Pressure Drive’s solid aluminum body, smooth pumping action, removable hose, and secure pump-to-valve attachment make for a handheld pump that is functional and efficient. Among all the pumps we tested, nothing reached this level of quality at the same price. (This pump comes in two sizes, small and medium. We tested the small version, but the medium is, apart from being just under two inches longer and half an ounce heavier, functionally the same.)
The standout feature is the detachable hose that accommodates both Presta and Schrader valves. To use the pump, remove the hose from its storage place inside the pump’s body. Each end of the hose is clearly marked with either “Presta” or “Schrader.” Screw one end onto the pump’s body. Then, instead of relying on friction or a thumb lock—the other two common methods of attaching a handheld pump to a valve—you screw the other end onto the threaded tip of your valve. Every time, the seal held fast no matter how hard we pumped.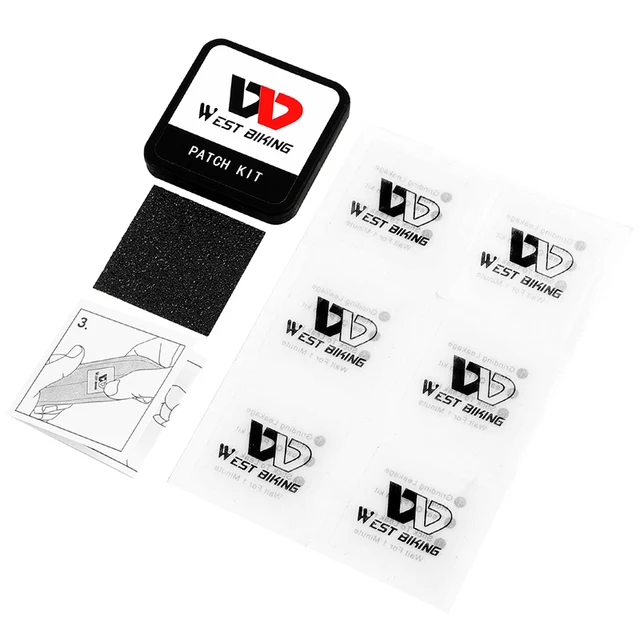 And like all hose attachments, this one reduces the odds of bending or even breaking the valve.
The Pressure Drive is advertised as a low-volume, high-pressure pump for road bikes, and we were able to get to 100 psi on our 700c tire in 300 strokes. Even though that’s a serious, sweaty workout, it’s a high bar to set for a handheld pump, one that not all of the pumps we tested could accomplish. Knowing that high-pressure road tires are this pump’s specialty, we were surprised we could fill a lower-pressure tire without taking a long, long time. It took us 150 strokes to fill a hybrid tire to 35 psi, and 290 strokes to get a mountain bike tire to 30 psi. That may sound like a lot, but those are very respectable numbers, especially given the pump’s small size.
Presta-valve partisans take note: The air-bleed button comes in handy when you’re removing the pump hose. Video: Kyle FitzgeraldWith pumps like this, which attach to a valve stem by screwing it on, it’s possible to unscrew a removable valve core while removing your pump.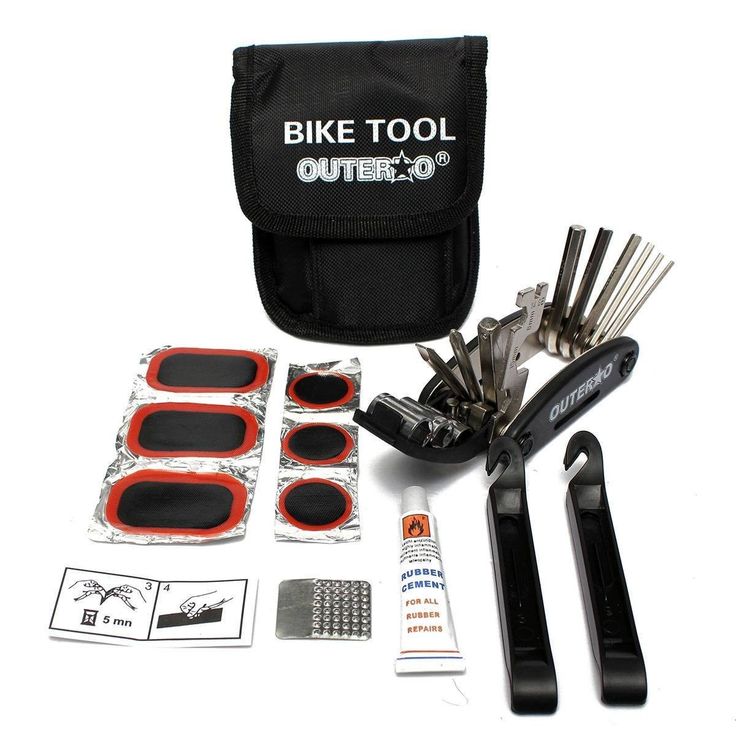 (There goes all your hard-earned air, in a rush!) If you like to use valves with removable cores—you know who you are—the Pressure Drive has an integrated valve core tool. This is also what you need to fix a leaky stem, which could be the cause of your flat in the first place.
If you ride a mountain bike or any kind of tire that has a very low psi rating, a high-volume, low-pressure pump may be a better choice to take on the trail with you. The Lezyne Alloy Drive is the equivalent of the Pressure Drive for mountain bike tires.
Lezyne also provides a two-year warranty that covers manufacturer defects, and you can replace worn-out O-rings and the like with replacement parts from the Lezyne site.
This sleek, pocketable, minimalistic tool gets most jobs done.
Writer Peter Flax, the former editor-in-chief of Bicycling magazine, rode over 1,000 miles and tested 15 tools for our now-archived full-length guide to multi-tools, and he concluded the Topeak Mini 9 is the best for casual cyclists. It’s tiny, it’s light, it’s easier to get some leverage with than other tools that have different designs. It’s not meant for serious wrenching on your bike, but it’s good for on-the-fly adjustments.
It includes nine tools: seven hex bolts, one torx bolt (the star-shaped one), and a Phillips screwdriver (also the star-shaped one). Like Peter says in our guide, if you have a newer mountain bike or road bike it pays to take a quick look at what types of tools you need, as torx bolts are becoming more common. And a quick glance at the bottom of your shoes or derailleur bolts will confirm if a Phillips head is the right choice.
Otherwise, this tool should serve the average commuter well. Specifically, we think you’ll find the size 4, 5, and 6 hex keys, extremely common sizes in bicycles, very helpful. They’ll adjust seat-post heights or let you remove the saddle entirely, or tighten a loose stem that’s always rattling apart. The Phillips head will tighten loose bolts on shoe cleats or the rear derailleur. The most common use for the torx would be adjusting disc brakes if you have ’em.
Constructed identically to models that cost twice as much, this bag comes in three sizes. The medium one will hold a spare tube, a pair of tire levels, and a multi-tool—most of what you need to get back on your way.
The BV Bicycle Strap-On Saddle Bag is the best option for your money. Sure, it’s some random brand, but after we compared eight popular models, we noticed it’s identical to the better-known versions, has less Velcro (which is a big advantage), and costs half as much.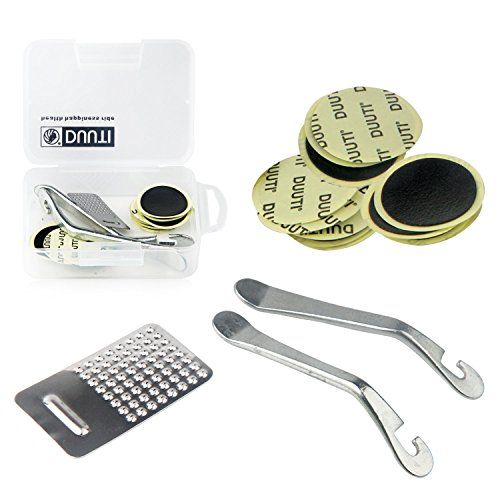 (It comes in three sizes: small, medium, and large.)
A size medium BV seat bag (left), and the astonishingly similar-looking Serfas Speed Bag (also a medium). Photo: Kyle Fitzgerald
This time, the Serfas is on the left—see its Velcro strap sticking up, ready to abrade your shorts? Photo: Kyle Fitzgerald
A size medium BV seat bag (left), and the astonishingly similar-looking Serfas Speed Bag (also a medium). Photo: Kyle Fitzgerald
On the left in the photo above is the medium-size version of our pick, the BV, and on the right the Serfas Speed Bag, another option much loved by Amazon users. They’re both made from the same pattern and same materials, down to the mesh and key fob in the interior. The BV, however, is half the price.
One key difference, which you can see in the photo, is that the BV uses buckles instead of Velcro on the straps that attach the bag to the underside of the saddle, something much more important than it may seem. A pair of bike shorts (or any shorts) will shred quickly if they’re rubbing against that tiny bit of Velcro protruding from the side of the bag, and the Velcro sure to destroy expensive sweaters and gym clothes if you stuff the bag into your backpack or messenger bag.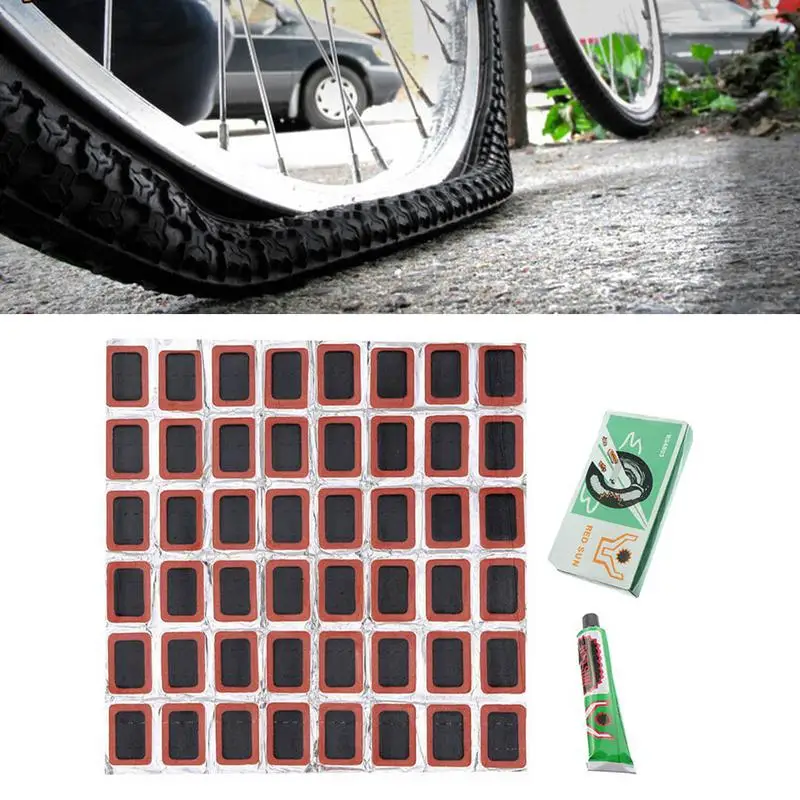
The fabric attachment system is low-tech, but that seems to be helpful, as it can adapt to seat rails of different widths. One fancier option you might see on more expensive seat bags is a quick-release mount that you install under your saddle. But those have a fixed width, and therefore can fit under seats with only those exact specs. Brooks saddles, for example, are too wide for such mounts.
Still, these things are fairly standardized and if you have a newer bike it’s likely you’ll have no issue getting a quick release under there if you want—but check your bike first. And as such, we’ve found the adaptability of the strap mount to be a great advantage.
Which size is right for you? It depends. Seat bags aren’t supposed to carry windbreakers or bike locks or animals. They are meant for emergency tools.
Hello, world. Photo: Kyle FitzgeraldThis (see the photo above) is how your patch supplies fit into the size medium BV seat bag, or 100ish cubic inches. Tube sizes vary widely—this one is smallish, for a 700c road tire.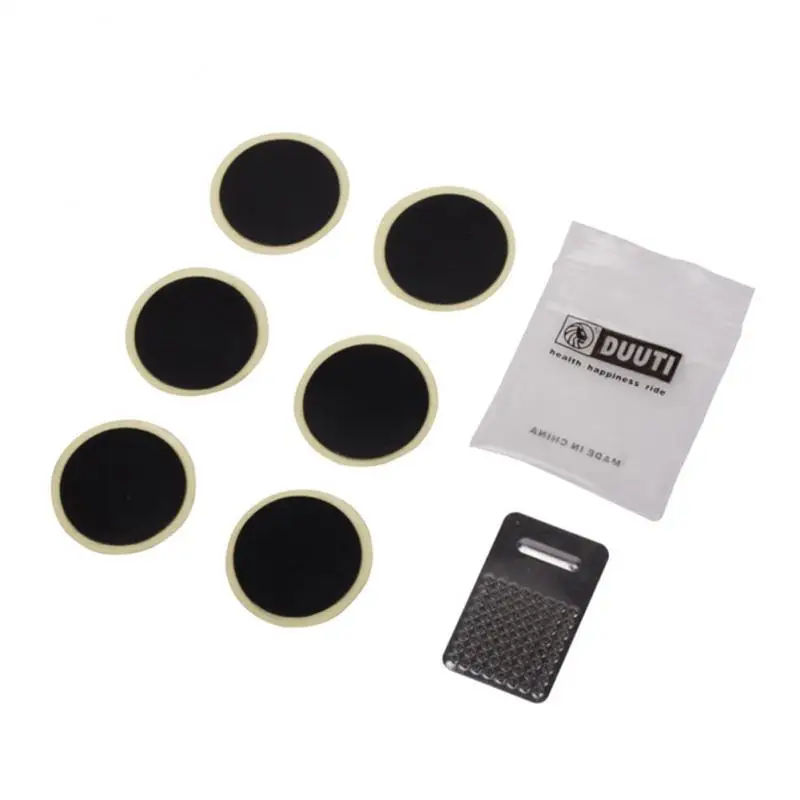 A 26-inch tire, like you would see on a hybrid bike, is much bigger.
In spite of seat bags’ diminutive size, a lot of people really, really want them to accommodate more stuff. If that’s you, the medium and large seat bag (but not the small) have an extendable gill at the bottom, which you can see in the image up top. It zips open to create more room. With it unzipped, we could cram a wallet, keys, and phone inside the medium as well.
One flaw? Seat bags can block taillights. This one has a loop on the outside you can clip your blinker to. Seat bags also typically do not fit hand pumps. No big deal, just toss the pump into your bag, stick it in a jersey pocket, or mount it to your bike (the Lezyne Pressure Drive comes with a mount).
Many bikes, including older models and track bikes, have bolts attaching the wheels to the frame instead of quick-release levers. If your wheels are bolted on, in most cases you’ll need a 15 mm wrench to remove them. We didn’t test wrenches, because there aren’t that many tiny 15 mm wrenches, but the GearWrench 15mm 12-Point Stubby Combination Wrench is perfect for stuffing into a flat kit, and Amazon reviewers seem to think the same. Our experts also recommended the Surly Jethro Tule, but it’s expensive and harder to find.
First, I researched. I looked at Amazon’s top-rated products and their user reviews. Then I consulted Bicycling magazine, Gear Junkie, Bike Radar, Outside, and the occasional bit by Lennard Zinn via Velonews. I also found some worthwhile discussions at Bike Forums. Then I spoke with four experts, Ramona Marks, Scott Karoly, Cari Z, and Alison Tetrick, riders from all across the spectrum, who tour, repair, and race.
We used paint pens to keep track of which patches we used on which tubes, but they also come in handy to mark where the actual hole is once you’ve located it.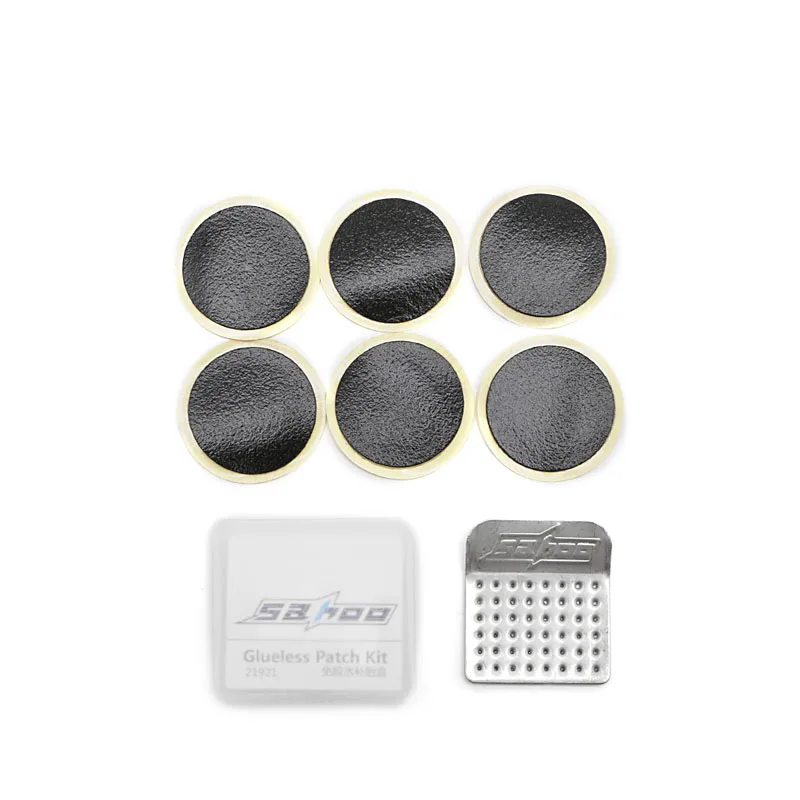 Photo: Eve O’Neill
The array of levers we tested, from left, were the Park Tool TL-1 lever, Pedro’s Tire Lever, Quik Stik, and the Crankbrothers Speedier Lever. Photo: Eve O’Neill
Here, the collection of handheld pumps we tested. Photo: Eve O’Neill
This is where the rubber met the road … or the tire lever met the rubber. Photo: Eve O’Neill
We used paint pens to keep track of which patches we used on which tubes, but they also come in handy to mark where the actual hole is once you’ve located it. Photo: Eve O’Neill
Based on what we found, we chose the most relevant items and used them all. To test patches, I repaired holes using four different types of patches, from Novara (REI’s now-discontinued house brand), Park Tool, and Rema. Patching a tube isn’t hard but there are a few tricks, and the key was attention to detail and patience. I was extremely diligent in following proper patch procedure, which includes a thorough sanding of the entire area to be patched (for max stickiness) and properly letting the vulcanizer dry on both surfaces before applying.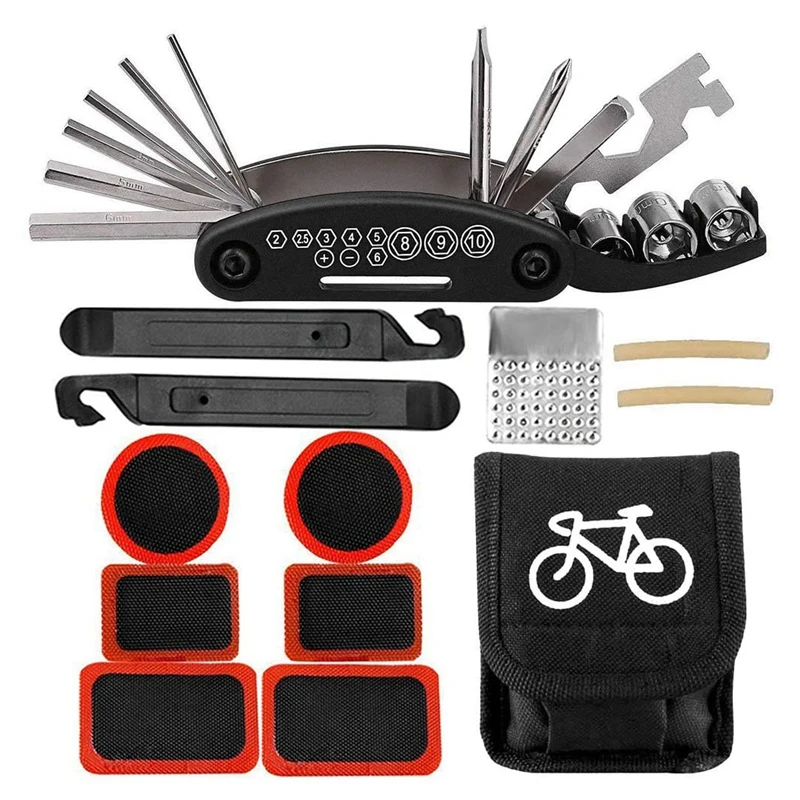 For the peel-and-stick patches, I went so far as to prep the area with canned air to ensure as tight a seal as we could possibly muster.
I tested four popular levers, including the Crankbrothers Speedier Lever, a Quik Stik, Pedro’s, and the ubiquitous blue Park Tool. We changed four different types of tires (mountain, hybrid, road, and track) with four different psi levels (40, 60, 90, 110) and watched how each performed.
I chose to test these four levers after eliminating everything out there that’s not appropriate for a roadside emergency kit. That includes metal levers. They’re durable, but according to touring cyclist Ramona Marks, “Metal tire levers are trouble. It’s possible to rip your tube even with the plastic ones if you’re not careful, so metal is out of the question, and you don’t want to put pressure against the wheel rim with a metal lever.”
If you do, you’re asking for a bent rim, which means buying a new wheel. We also eliminated metal-core levers, which are metal levers with a plastic outside coating.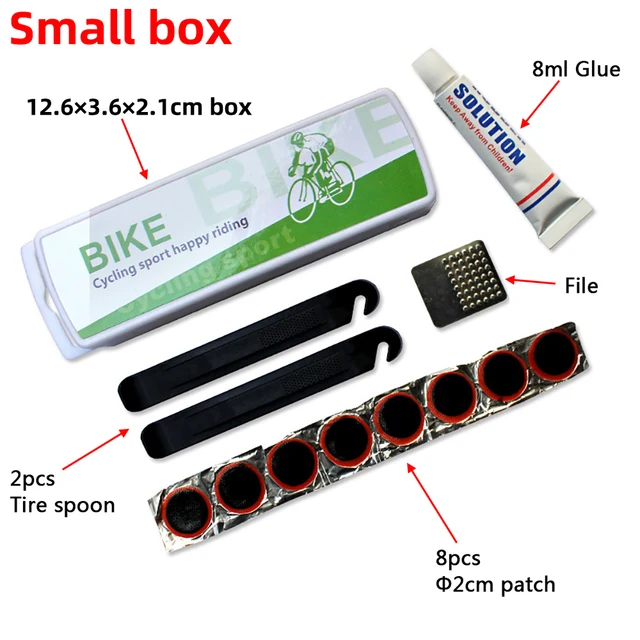 I eliminated everything that looked cheap, bendable, or breakable. I also eliminated long, large single levers that would be more comfortable sitting on your at-home tool bench and difficult to carry on a ride.
We bumped a lot of product out of the test pool for hand pumps, too. You don’t need a lot of specialized design when it comes to a hand pump, so we set aside carbon models and hand pumps with two-stage designs. We also didn’t consider CO2 cartridges for this guide, though I’m 100 percent aware that there are commuters who use and love them.
First, carbon. You already know you don’t need it for your casual weekend pursuits, because you’re not counting ounces the way a professional road racer would. But to quote a years-old article from VeloNews, “Remember that professional athletes operate in an entirely different environment than the rest of us. They are all very close to each other in terms of fitness, and they are also all very close to being the absolute best a human being can be. In short, you’re much better off upgrading your legs and dropping body fat through proper training and diet.”
As a tester and editor subjected to a relentless onslaught of press releases highlighting the benefits of new, lightweight, (and expensive) gear, this reverse sentiment delighted me. It’s honest, and accurate.
Next, two-stage designs. There are two types of hand pump. HV (high-volume) pumps, ones that pump a lot of air but don’t have a lot of pressure, which are used for mountain bikes. The Lezyne Alloy Drive is a high-volume pump. Then there are HP (high-pressure) pumps, which pump a small amount of air but can inflate to very high pressures and are used on road bikes. Our top pick is a high-pressure pump.
A two-stage hand pump tries to marry the best features of both types of pumps: the quick inflation of high volume that can achieve the higher psi ranges of high pressure. But to steal a quote from our floor pump guide, “You pump eight times or you pump 10 times—what does it matter?” That’s a quote from Daimeon Shanks, who at the time was a mechanic for the Garmin-Sharp pro tour team—that’s right, Tour de France, baby.
Basically, you’re stuck with toggling between systems for the advantage of a few pumps, and it doesn’t seem worth it. In the original iteration of this guide, I tested 12 pumps and inflated three different tires completely full to their psi rating, and measured how many pumps it took. Yasuda did similarly for his revamped full-length exploration. That’s 36 tires, and I can guarantee there is no difference between 50 pumps and 100—it’s all terrible.
Finally, comparing seat bags was fun. The identical construction of every model revealed itself immediately. That always feels like a win. Then we used them: attached them all to the bike, inspected them for nefarious Velcro, and vetted basic usability to determine the best option.
We like, and recommend, the Crankbrothers Speedier Lever. If you have to pick only one, go with the Pedro’s. But if you want a backup or have some hard tires to unseat, Crankbrothers is a great choice. It’s only one lever (as opposed to a set of two, like the Pedro’s) and it’s longer, so we didn’t pick it over the Pedro’s for portability reasons. But it’s an excellent tool. It has a wide handle you can grip with your whole hand. Like the Pedro’s, the tip is the right size and shape to prevent slipping and stay in place, and the shape of the handle happens to protect your knuckles if you do slip. Even in situations where I didn’t need it, I liked having it because it made me feel like a pro.
Park Tool’s TL-1 Levers were Pedro’s stiffest competition because they’re so pervasive, but not from a literal stiffness standpoint. Bike shop employees had plenty of tales of broken Park Tools—they had none about the Pedro’s. In our testing the Park Tool levers slipped, too. Park Tool released a new version, the TL-1.2 Levers, which we’ll take a look at.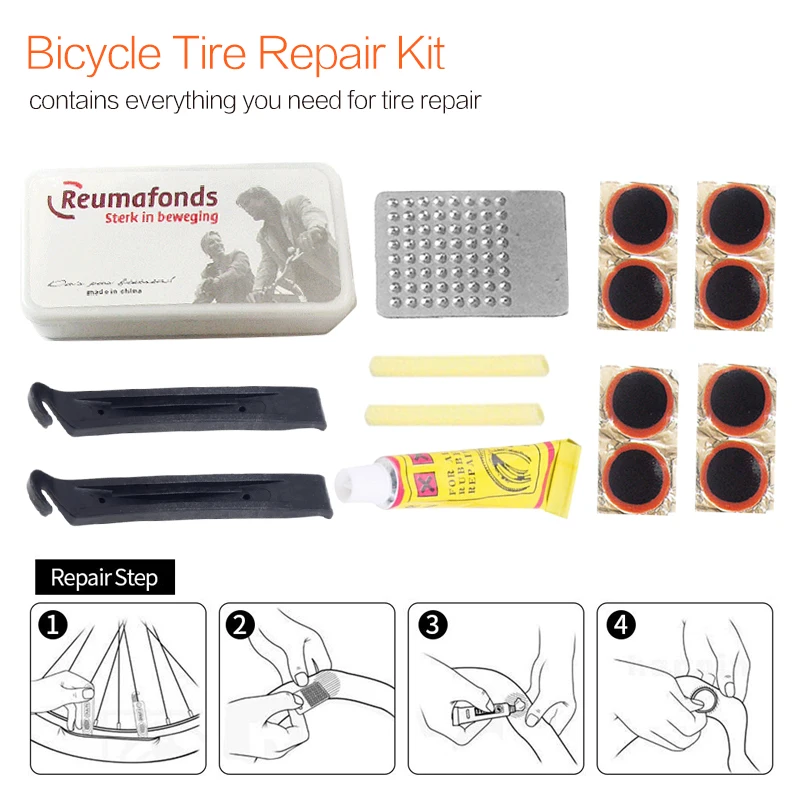
People who use Quik Stiks love them. Ours removed most tires with the ease that proponents swear by. But they struggled with the road tires. The tips aren’t as broad or chisel-like as the Crankbrothers Speedier Lever’s and are harder to work in tight situations.
The Serfas Speed Bag has the same design as the BV, but is about twice as expensive. It also attaches with Velcro, which isn’t ideal.
Topeak’s Aero Wedge Pack is a slightly different shape and size than the other bags we tested, and it worked fine, but it’s more expensive and didn’t have anything better to offer than our pick.
The mount for the Topeak Aero Wedge with QuickClick did fit my seat, and the device worked as advertised. But for compatibility reasons, we like the basic models for most people.
I used the Lezyne Micro Caddy to see if a size below small would be an option for commuters, but it’s not big enough to hold larger tubes, the sleeves inside of it for levers can’t fit the wide Pedro’s, and it couldn’t fit my multi-tool (I have a pretty big one).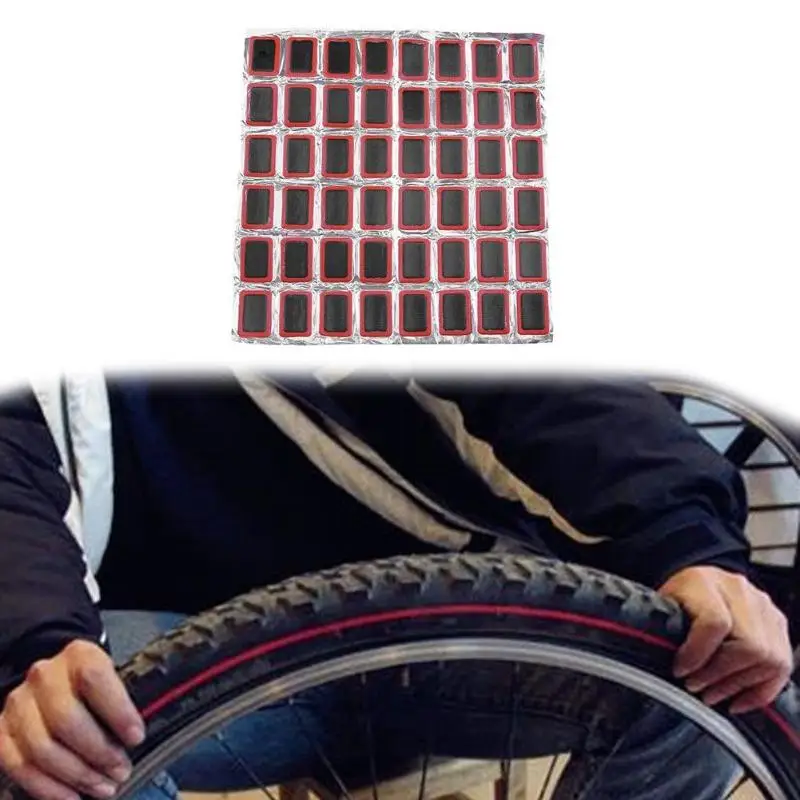 Small is good, but this is too small, unless you’re a road bike rider.
I love the design of the Lezyne Road Caddy, which opens like a clamshell to reveal your repair kit and then folds away into the perfect shape to store in a bag or backpack. But again, this is designed specifically for road bikes and can’t fit a larger tube, restricting its practicality.
This article was edited by Christine Ryan.
Cari Z, then mechanic at Bay Area Bikes and former messenger, interview
Ramona Marks, bicycle tourer and former mechanic, interview
Alison Tetrick, pro cyclist, interview
Stephen Regenold, Hose-Equipped Mini Bike Pump Put to Test, Gear Junkie, July 5, 2013
Lennard Zinn, Technical FAQ with Lennard Zinn: Blowing up tires, taking them off, and more, Velonews, October 19, 2010
Lennard Zinn, Technical Q&A with Lennard Zinn – Large molecules and short frames, Velonews, February 3, 2009
Aaron Gulley, 8 Biking Essentials under $6, Outside, September 6, 2013
Jim Gourley, Bike weight and the myth of ‘fast’ bikes, Velo News, August 6, 2014
Scott Karoly, Alameda Bicycle, in-person interview, June 1, 2014
Eve O'Neill
Eve O'Neill is a former senior staff writer reporting on travel and outdoors at Wirecutter.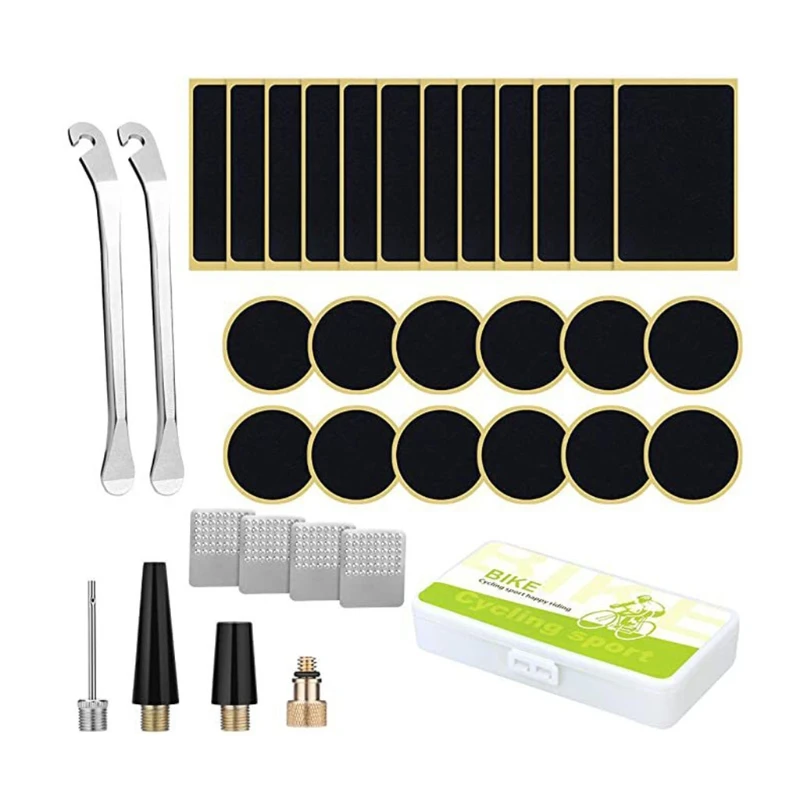 She can remember the titles on her childhood bookshelf that set her in this direction: Into Thin Air, On The Road, The Call of the Wild. She has always been drawn to ideas about how to relate to, and play in, the wilderness.
by Eve O'Neill
So you’ve bought a bike (or dug your old one out of the garage). Here are some essential but inexpensive accessories to keep you safe and happy on the road.
by Eve O'Neill
After spending three years testing dozens of panniers, we’ve chosen six that’ll be great for daily duty no matter what you’re toting or where you’re going.
by Christine Ryan
After 30-plus hours of research and testing, we think the Delta Cycle Michelangelo Gravity Stand is the best bike rack for storing bikes in limited-space homes.
by Wirecutter Staff
Hard-core bike commuters share seven items—from storm-worthy gloves to rugged tires—that keep them (and their stuff) safe and dry in the winter.
Wirecutter is the product recommendation service from The New York Times. Our journalists combine independent research with (occasionally) over-the-top testing so you can make quick and confident buying decisions. Whether it’s finding great products or discovering helpful advice, we’ll help you get it right (the first time).
Dismiss
We’re giving the site a tune-up; cleaning the drivetrain, lubing the chain, inflating the tires. If you need to get in touch immediately, any one of the social media icons above will put you in direct contact.
Give us a minute to put ourselves back together and we’ll be back to being the awesome website you’re looking for. If you need to get in touch immediately, any one of the social media icons above will put you in direct contact.
Geef ons even om recht te krabbelen en weer de geweldige website te worden die je kent. Meteen contact opnemen kan via de bovenstaande pictogrammen voor social media.
Laissez-nous 1 ou 2 minutes pour reprendre nos esprits et vous proposer ce formidable site que vous recherchiez. Si vous souhaitez nous contacter immédiatement, cliquez sur une des icônes de médias sociaux ci-dessus.
Dê um tempo para possamos nos reestruturar e voltaremos com o site incrível que você merece. Se precisar entrar em contato imediatamente, qualquer um dos ícones de mídia social acima o colocará em contato direto conosco.
Give us a minute to put ourselves back together and we’ll be back to being the awesome website you’re looking for. If you need to get in touch immediately, any one of the social media icons above will put you in direct contact.
Laissez-nous 1 ou 2 minutes pour reprendre nos esprits et vous proposer ce formidable site que vous recherchiez. Si vous souhaitez nous contacter immédiatement, cliquez sur une des icônes de médias sociaux ci-dessus.
Dejte nám chvilku, abychom se mohli znovu stát tou skvělou stránkou, kterou si chcete zobrazit. Pokud se s námi potřebujete spojit okamžitě, použijte jednu z ikon sociálních médií shora, která vám to umožní.
Giv os lige et øjeblik til at komme til hægterne, så er vi snart klar med det websted, du forventer af os. Hvis du har brug for at snakke med os lige nu, kan vi anbefale at du prøver et af ikonerne herover og kontakter os direkte via de sociale medier.
Gib uns eine Minute. Wir werden gleich wieder mit der großartigen Website zurück sein, die du suchst. Solltest du nicht so lange warten können, kannst du dich über eine die obenstehenden Social-Media-Links direkt an uns wenden.
Estamos trabajando para restablecer nuestra web lo antes posible y que puedas seguir disfrutando de nuestra increíble gama y contenidos. Si necesitas contactar con nosotros de forma inmediata, te recomendamos que lo hagas a través de cualquiera de nuestras redes sociales que figuran arriba.
Laissez-nous 1 ou 2 minutes pour reprendre nos esprits et vous proposer ce formidable site que vous recherchiez. Si vous souhaitez nous contacter immédiatement, cliquez sur une des icônes de médias sociaux ci-dessus.
Give us a minute to put ourselves back together and we’ll be back to being the awesome website you’re looking for. If you need to get in touch immediately, any one of the social media icons above will put you in direct contact.
Dacci un minuto per raccogliere le idee e saremo di nuovo online con il fantastico sito che stai cercando. Se hai bisogno di noi, cliccando su una delle icone social media qui sopra potrai metterti immediatamente in contatto diretto.
Give us a minute to put ourselves back together and we’ll be back to being the awesome website you’re looking for. If you need to get in touch immediately, any one of the social media icons above will put you in direct contact.
Laissez-nous 1 ou 2 minutes pour reprendre nos esprits et vous proposer ce formidable site que vous recherchiez. Si vous souhaitez nous contacter immédiatement, cliquez sur une des icônes de médias sociaux ci-dessus.
Danos un poco de tiempo para recomponernos y volveremos a ser el increíble sitio web que buscas. Si necesitas comunicarte de inmediato, cualquiera de los iconos de redes sociales mostrados a continuación te pondrán en contacto directo.
Geef ons even om recht te krabbelen en weer de geweldige website te worden die je kent. Meteen contact opnemen kan via de bovenstaande pictogrammen voor social media.
Give us a minute to put ourselves back together and we’ll be back to being the awesome website you’re looking for. If you need to get in touch immediately, any one of the social media icons above will put you in direct contact.
Gi oss et øyeblikk til å samle oss, så går vi tilbake til å være den fete nettsiden du leter etter. Har du behov for å komme i kontakt med oss straks, kan du trykke på et av ikonene for sosiale medier over.
Gib uns eine Minute. Wir werden gleich wieder mit der großartigen Website zurück sein, die du suchst. Solltest du nicht so lange warten können, kannst du dich über eine die obenstehenden Social-Media-Links direkt an uns wenden.
Daj nam chwilę na pozbieranie się, a wrócimy jako niesamowita strona, której szukasz. Jeśli potrzebujesz niezwłocznie się z nami skontaktować, kliknij dowolną z ikon mediów społecznościowych, by porozmawiać bezpośrednio.
Dê-nos um minuto para corrigir o problema e estaremos de volta com o site fantástico que procura. Se precisar de entrar em contacto imediatamente, pode fazê-lo através de qualquer um dos nossos ícones de redes sociais acima, que lhe proporcionam um contacto direto.
Gib uns eine Minute. Wir werden gleich wieder mit der großartigen Website zurück sein, die du suchst. Solltest du nicht so lange warten können, kannst du dich über eine die obenstehenden Social-Media-Links direkt an uns wenden.
Dajte nám minútu, aby sme sa dali zase dokopy a vrátili sa zase vo forme vynikajúcej webovej stránky, ktorú hľadáte. Ak sa okamžite potrebujte spojiť, ktokoľvek z ikôn sociálnych médií vás priamo spojí.
Laissez-nous 1 ou 2 minutes pour reprendre nos esprits et vous proposer ce formidable site que vous recherchiez. Si vous souhaitez nous contacter immédiatement, cliquez sur une des icônes de médias sociaux ci-dessus.
Give us a minute to put ourselves back together and we’ll be back to being the awesome website you’re looking for. If you need to get in touch immediately, any one of the social media icons above will put you in direct contact.
Anna meille hetki aikaa pistää asiat kuntoon, niin verkkosivustomme on taas käytettävissäsi!
Ge oss en stund för att få saker på rätt plats, så kommer vi strax tillbaka med vår läckra webbsida!
Give us a minute to put ourselves back together and we’ll be back to being the awesome website you’re looking for. If you need to get in touch immediately, any one of the social media icons above will put you in direct contact.
Give us a minute to put ourselves back together and we’ll be back to being the awesome website you’re looking for. If you need to get in touch immediately, any one of the social media icons above will put you in direct contact.
Danos un poco de tiempo para recomponernos y volveremos a ser el increíble sitio web que buscas. Si necesitas comunicarte de inmediato, cualquiera de los iconos de redes sociales mostrados a continuación te pondrán en contacto directo.
웹사이트 점검 중입니다. 잠깐만 기다려주시면 더 멋지게 개선된 사이트로 돌아오겠습니다. 급하게 문의가 필요하시면 위 소셜 미디어 아이콘을 클릭하세요. 감사합니다.
Give us a minute to put ourselves back together and we’ll be back to being the awesome website you’re looking for. If you need to get in touch immediately, any one of the social media icons above will put you in direct contact.
给我们一分钟的时间重整旗鼓,我们就将成为您一直在寻找的精彩网站。如果您需要即刻取得联系,点击以上任意社交媒体图标后您都将能够直接与我们取得联系。
日頃よりtrekbikes.comをご利用いただきありがとうございます。 現在システムメンテナンス中のため、こちらのページはご利用いただけません。 ご不便をお掛け致しますが、ご理解いただきますようお願い申し上げます。
Multi-day bike tour offers individual outdoor recreation. It is recommended to prepare well so that wet clothes, flat tires or a sore butt do not spoil the trip.
A successful bike tour starts with choosing a bike. “It is very important that you feel comfortable on the bike and that the size is right for you,” says Christian Neubauer, editor-in-chief of the cycling magazine Radtouren. The expert advises anyone who has only cycled ten minutes to go shopping and back to try the ride a few hours before the bike tour starts. “Anyone who runs forty, sixty or eighty kilometers will notice with pain whether the bike actually fits or not.” nine0004
The trunk is important - unless it's a sport bike like a mountain or gravel bike. “Puncture resistant tires also make sense, for example with an additional puncture protection insert,” says Thomas Geisler of Bicycle Press Service (pd-f). If you need help pedaling, you can go on an e-bike tour. If a new purchase is too expensive, it is worth renting a bike.
"If you go on one bike tour a year, you'd be better off renting an e-bike and booking the whole service," says Neubauer, promoting the bike-sharing trip. “If the bike breaks down on the road, the battery is given up, or the battery is stolen, the rental company comes to the rescue.” Good companies choose a bike based on body size, adjust the saddle and do a test lap. According to expert pd-f Geisler, a special touring bike for the tour now costs from 1800 to 2000 euros, and with a motor it is another 1000 euros more expensive. Whether it's motor or muscle strength: the bike must be roadworthy, so check it out before riding, at home or in a specialist workshop. nine0004
The sleeping mat, sleeping bag and tent must be removed.
Then it's time to pack. The rule of thumb is as much as possible and as little as possible. What matters is whether you are traveling with a tent or indulging in the luxury of a booked night. In the first case, you must have a tent, a sleeping mat and a sleeping bag, depending on the season, thinner or warmer. “Also, a small camping stove, a pot, a plate, cutlery, especially a knife, because you can do a lot with it,” Geisler lists for anyone who wants to cook for themselves. nine0004
Whereas in Germany it is usually possible to buy food or groceries on the go, it is more difficult in the Scottish Highlands, for example. Instead of canned food, light, high-energy-density foods should always be in your luggage: “Trail mix, muesli bars, hard sausage or freeze-dried meals,” says editor-in-chief Neubauer, who knows first hand: “When you have been in the wild for a long time nature and are really hungry, even the food of the astronauts is delicious.”
A sufficient amount of water is also important, here a bottle is suitable, which can be attached directly to the frame or handlebar stem. “In Germany, it's usually not a problem to replenish the water supply,” Geisler explains. "But you have to make sure you have two or three liters of fluid every day and that you also drink." nine0004
Be prepared in any case
Proper clothing always includes a raincoat and trousers. “If you're sleeping outside, you should always carry a warm jacket with you,” Geisler advises. In addition, the clothing is weather-adapted: “Those traveling to Crete in August have different items in their luggage than those traveling to Denmark at the same time,” says Neubauer.
Essential is the basic tool. “A broken hose is something you should always be prepared for,” Geisler emphasizes. Thus, the equipment includes an air pump, a repair kit and, if possible, a spare tube. "Plus, it's a mini tool that can be used everywhere to tighten it up again," says the cycling expert. “If you are on the road for many kilometers, it is worth taking chain oil with you.” For major repairs, you must visit the workshop. nine0004
On the other hand, in the digital age, cyclists can do without folding maps. “My smartphone is enough,” says Neubauer. She advises downloading digital maps or selected routes to a mobile phone at home so that they can be used regardless of the network.
Where do you put all your luggage? If you don't want to book luggage or take a trailer with you, there are several bags scattered around the bike. For most bike trips lasting several days, one bag and a bag on the handlebars to the right and left of the trunk are sufficient. Neubauer says. The latter costs gold. "The camera is good for when you're taking pictures on the road, plus sunscreen, sunglasses, money - you have everything you need close at hand and you don't have to fiddle around with a luggage bag." nine0004
According to Geisler, the classic applies to long journeys: “The so-called six-pack: two front baskets, two rear baskets, a handlebar bag and a large bag on rollers above the luggage rack.” Bikepacking, in which bags are attached directly to the bike, is in vogue, especially for bikes without luggage racks.
“Waterproofing packages is everything and everything. Otherwise, the good quality is also worth it: two packages can cost between 100 and 150 euros,” says Neubauer. From her own experience, she finds that roll-up bags are very practical because they don't have zippers. nine0004
Typically, heavy items go downstairs when things are packed, with tools and rain gear on top to be ready for breakdowns and unexpected downpours. “The main load should be on the back of the trunk, about 70 percent,” explains Geisler, explaining the distribution of weight on the bike. But be careful: many luggage racks are designed for a maximum weight of 20 to 25 kg.
Route planning remains. Many overestimate themselves with daily distances, Geisler knows. "You should try beforehand how much you can do in a day." It also makes a difference whether you spend only one day in the saddle or several days in a row. His advice for beginners is to find a place to sleep and plan tours from there. "It gives you the opportunity to feel your way." nine0004
more on the topic
Trying is better than learning, says Neubauer. “If 30 kilometers is good, but the muscles start to burn after 40 kilometers, you should plan the length of the routes accordingly.” Your own requirements are also critical. “Do I want to walk like a sportsman or do I want to see something? If you're trekking 70 to 80 kilometers a day, you don't have much time for sightseeing. "
Those who cover their e-bike tour can ride more kilometers in terms of fitness. But he still needs to time his tour well, says Geisler: “Depending on how long the route is or how high the battery drain is, you may need to schedule more recharge stops.”
.[ad_2]
Quelle
https://ru.detv.us/2021/06/20/%d0%b8%d0%bd%d1%81%d1%82%d1%80%d1%83%d0 %bc%d0%b5%d0%bd%d1%82%d1%8b-%d0%bf%d0%b0%d1%82%d1%87-%d0%ba%d0%be%d0%bc%d0 %bf%d0%bb%d0%b5%d0%ba%d1%82%d1%8b-%d1%81%d1%83%d0%bc%d0%ba%d0%b8-%d1%82%d0 %b0%d0%ba/
The safety and comfort of cycling is largely determined by the technical condition of the vehicle. The impact of adverse environmental conditions, vibration, bumps on the road have a negative impact on the components and mechanisms of the bike, and periodically there is a need to replace them. Most often, during operation, pedals, brake pads and a bicycle chain fail.
The simplest platform bicycle pedals, made of plastic, are installed at a low cost on city and pleasure bikes. More expensive metal models with spikes, thanks to which the foot keeps well on the pedal even in ordinary shoes, with the use of special shoes will provide even more reliable grip, and are durable.
Clipless pedals are the choice of professional and advanced cyclists. A special locking mechanism ensures maximum power transfer and agility, but these pedals require special, compatible footwear. nine0004
Disposable V-brake pads are cheaper but wear out faster. Cartridge - more expensive and wear-resistant, besides, they are collapsible, so you can only change the rubber part. Longer service life due to the greater thickness of the tri-color rubber pads, which also have optimal braking performance. In addition, brake pads are divided into types for wet or dry weather, as well as all-weather. The degree of wear is determined by the grooves on the pad, if they are not visible, then the pads are worn out and must be replaced. nine0004
Disc brake pads are model specific and come with everything needed for replacement.
In modern bicycles, due to their rather complex structure, the chain wears out quite quickly and requires periodic replacement. In order to correctly determine the dimensions when choosing a new bicycle chain, you should focus on the type of bicycle and the number of speeds (sprockets), which also determines the width of the chain. So for 7-8 speed bikes, these are standard wide chains. For 10 speeds - narrower. nine0004
To extend the life of the chain, it is recommended to install a chain guard to protect it from stones and other contaminants.
In the assortment of Pigu.lt e-shop. A wide range of spare parts for all types of bicycles. At an attractive price, you can buy not only bicycle pedals, chains and brake pads for bicycles here. Seat holders, parts for replacement and more convenient installation of the steering wheel, brake cable kits - this is not a complete list of products offered. Quick ordering and delivery of goods at a convenient time for you.