
in: How To, Skills
Brett & Kate McKay • May 26, 2022
The bicycle is one of the greatest tools of self-reliance.
Without any need for electricity or gas, it can carry you far distances.
But bikes only work towards your self-sufficiency if you know how to maintain them. They may have fewer complications than an automobile, but they’re still machines that can break down and need to be repaired.
Several years ago Kate and I bought some bikes for ourselves (our kids already had them) so we could take family rides on Tulsa’s many pleasant bike paths. But I realized that I didn’t know beans about how to maintain our new purchases. If one of us got a flat tire, I wouldn’t know how to patch it. If my brakes were acting wonky, I’d be hosed.
So I set out to learn some basic bike maintenance and repair. It’s been fun. I thought I’d share what I’ve learned with you all in a new series: Bike Maintenance 101.
In today’s inaugural class, we’re kicking things off with how to patch a hole in your inner tube. I remember watching my dad patch a hole on one of my bike tires as a kid. It looked like a huge pain in the butt. But I learned that it’s surprisingly easy. Here’s how to do it.
Let’s get that wheel off so we can get to our flat inner tube.
I like to flip my bike upside down. It makes it easier to work with your wheel. I don’t have one of those fancy bike holders you use to work on your bike.
Getting wheels off a bike is a breeze with today’s quick-release systems. It’s pretty much the same for all bikes. The only difference you’ll encounter is how you’ll disconnect your brakes. That will depend on what type of brakes you have on your bike. Here’s how I removed the wheel on my bike with v-brakes.
It’s really easy to disconnect a v-brake. You squeeze the two brake arms together and unlatch the cradle from the noodle (that’s the thing with the rubber tip on it).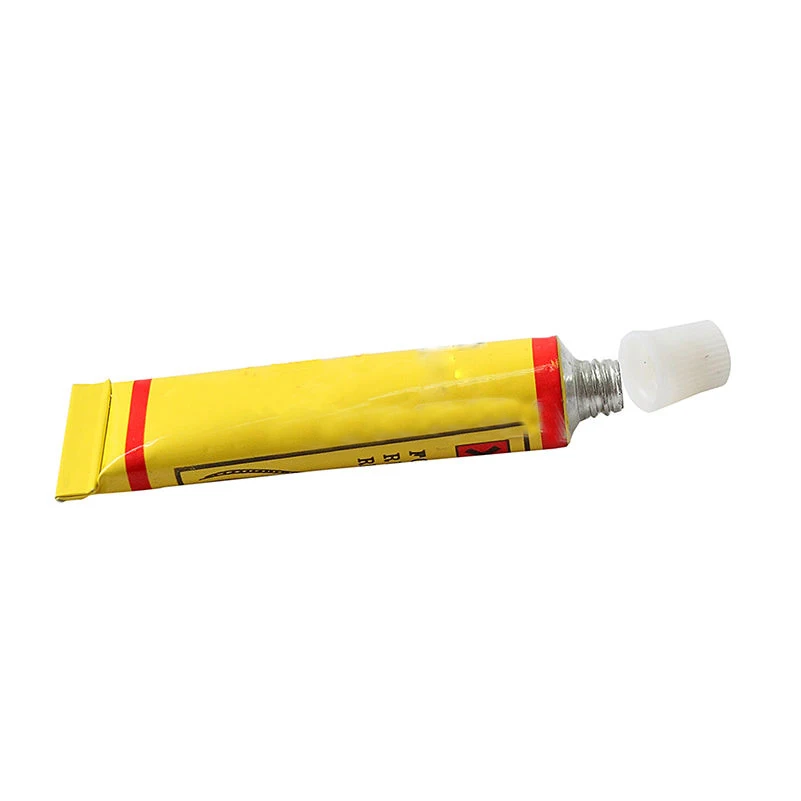
Flip the quick-release lever open and unscrew it until you have enough space to remove the wheel.
You don’t have to take the quick-release rod out of the hub, but if you want to, that’s fine. I think it’s easier to work with the tire without the quick-release rod still in the hub, so I take it out.
Wheel removed!
Time to get the tire off the wheel so we can get to the inner tube. Tire levers will make this job much easier. You can buy them on Amazon. They’re cheap.
Place your first tire lever between the wheel and the tire. You want to get the lever underneath the lip of the tire so you can pry it away from the wheel.
To keep the lip of the tire from going back into the wheel, hook the tire lever into one of the spokes. This will keep your tire and wheel separated, making it much easier to get the rest of the tire off of your wheel.
Place the second tire lever next to your first tire lever.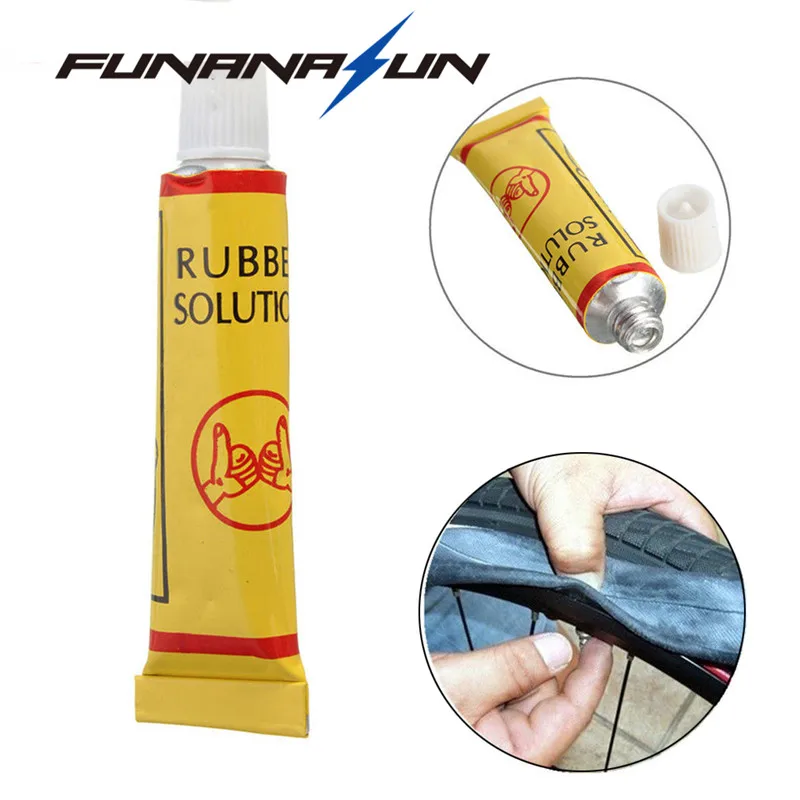 Get it under the lip of the tire. You’ll slide this lever around your wheel to separate the rest of the tire from the wheel.
Here’s what your tire will start looking like as you slide that second tire lever around your wheel. It’s hard at first, but gets easier as you progress. As you can see, more and more of the tire lip is over the rim of the wheel.
Tire successfully removed from wheel. Now it’s time to remove the inner tube from the tire.
Inner tube will be tucked inside your tire. Just pull it out.
There’s the hole.
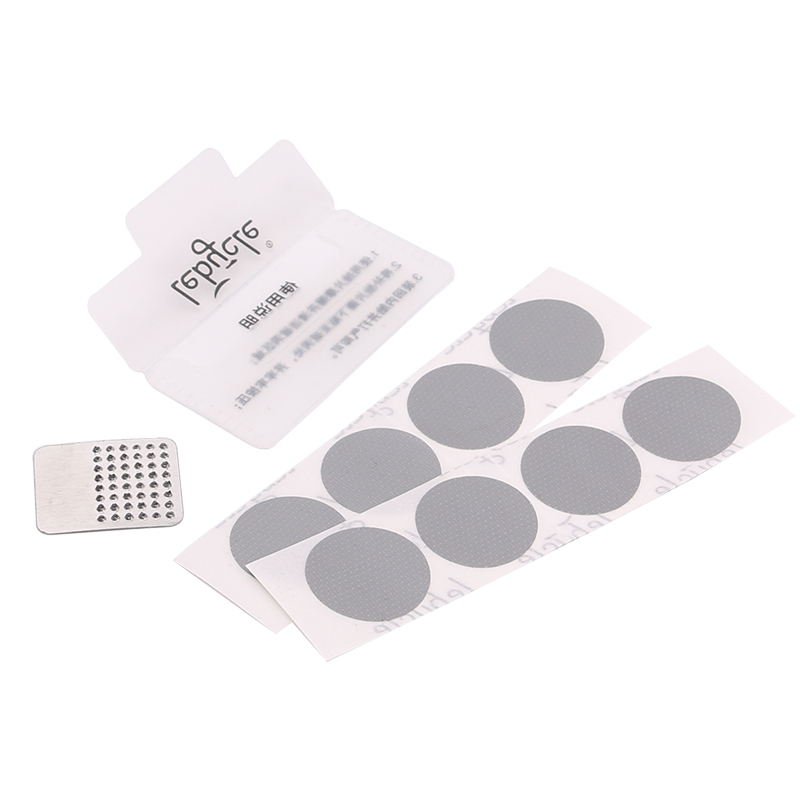
Get your patch kit.
Inside my patch kit is a metal square that has a bunch of little bumps on it. It’s almost like a cheese grater. Use it to lightly scuff up the area on and around the hole. If you don’t have a little metal cheese grater in your patch kit, you can use sandpaper to prep your patch area. The scuffing will give greater adhesion to the patch.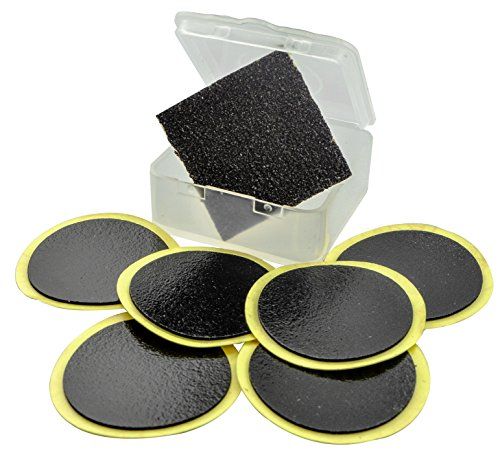
Use a moderate amount of rubber cement. Spread it evenly around an area 1/2″ around your hole.
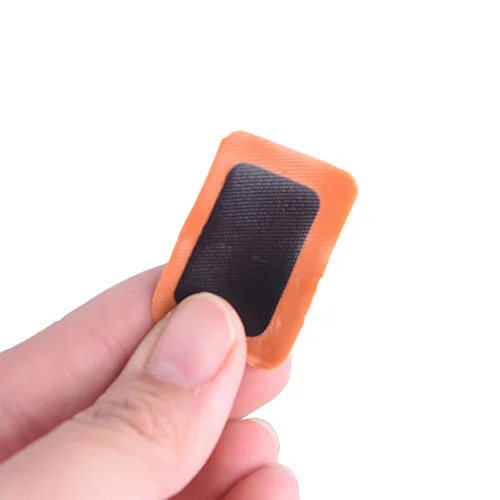
Pick an appropriate sized patch for your hole. Since mine is so small, I used the smallest patch. Remove the foil backing and stick patch onto the hole.
Peel away the plastic film on top of the patch. Press edges down firmly. Bam! Hole is patched.
Inner tube back in tire.
Tire back on wheel. Getting the tire back on the wheel can be a bit tricky. You may need to use your tire levers to help you get the lip of the tire inside the wheel’s rim. Just make sure you don’t pinch your inner tube between the tire and the wheel. You’ll risk creating a puncture in your inner tube. Once you get your tire back on the wheel, inflate your inner tube and then put your wheel back on your bike.
You can patch your inner tube a few times and not have a problem.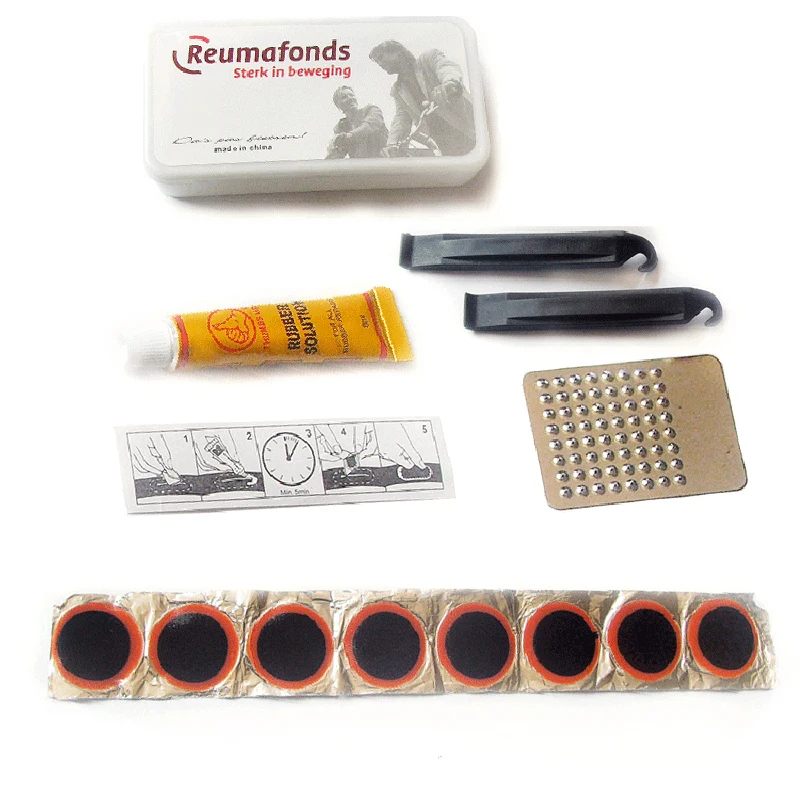 If you have more than three patches, you might start noticing that your tire goes flat overnight and you have to pump it up if you want to use it. After your third patch, chuck your old inner tube and replace it with a new one.
Want to start taking action on the content you read on AoM?
Join the Strenuous Life
Learn More
Anyone who has been riding bikes for a while can tell you that sooner or later, you’re going to get a flat. Even with tube sealant that prevents flat tires for up to two years, it’s just an unavoidable occurrence. When flats occur, the best thing you can do is be educated and prepared to patch the tube so that you can quickly get back on the road. Let's get started:
Materials NeededConsider these different flat tire scenarios: The at-home repair scenario where you're walking your bike into the garage and notice that the back wheel is sagging a little bit—you have a flat. Or, the on-the-trail repair scenario where 20 miles into a 50 mile ride, you go down hard on a rock and get a nasty pinch flat.
We’re going to walk you through some of the materials you’ll need for either situation, and then how to use them for both. Here’s a list of some things you will need to repair your tube.
Follow these 4 easy steps to patch your bicycle tube and repair your flat.
Step 1. Remove Your Tire
Take your tire lever and hook it around the outer edge of the tire (the bead) to get it off of the rim. Once you have the tire lever under the tire rubber, hook the other end of your tire lever around one of your spokes to keep the tire elevated. With a second tire lever, work your way around the rim, taking the tire out of the bead until one side has been completely removed from the rim.
Step 2. Find the Leak
If the puncture or gash in your tube is not easily apparent, you’re going to need to fill the tube back up to locate where the air is escaping from. There are a couple of different ways to find the leak. The layman’s way would just be to run your hand along the tube and try to feel it out.
The bucket of water method that we mentioned earlier, however, is a more accurate way. If you’re at home, fill your sink or a large bucket full of water and submerge each end of the tube. Watch for air bubbles escaping from your tire to locate your problem area.
Make sure you submerge each side, as there may be more than one puncture. Be sure to check the inside of the tire to make sure that the puncture-causing object has been removed. Once located, mark that spot with your tire marking chalk.
Step 3. Patch the Hole
When patching the hole in your bicycle tube, make sure that the area around the puncture is clean so that the patch will stick. Using the scuffer from your patch kit (sand paper or emery paper will also do the trick), rough up the area around the puncture so that your adhesives have something to grip.
If your patches don’t require glue, simply press them firmly over the hole. For patches that do need glue, add a layer of glue and spread it evenly around the area. Wait for the glue to get a little tacky, and then press on your patch. If you have the materials available to you at home, some cyclists will sprinkle talcum powder on top of the patch so that that patch/adhesive doesn’t stick to the inside of the tire.
Step 4. Put It All Back Together
Put a little air into your tube and then put it back in the tire, making sure, again, that there are no foreign objects remaining in the tire. Be sure to insert the tube and tire back into the rim using only your hands, as the tire levers may pinch the tube and cause another flat (we certainly don’t want that after all your hard work).
Once you’ve pushed the tire back in and the valve stem is securely inside the tire, inflate your tube back to maximum pressure, being sure to check the tire one more time to make sure that the bead is installed snugly. Ready to ride!
Repair of pipes from the inside, this is our CHIP . Our company LLC DESIGN PRESTIGE, exists since 1999. The main direction is the installation, repair and maintenance of engineering communications, both for private houses and for enterprises.
Many customers are faced with the problem of leakage of heating, water supply or sewerage pipes in exposed places, when repairs are practically impossible, or for repairs it is required to open the walls and floors of a finished refurbishment of the home.
repair of pipes “from the inside”TRANSPLE TRANSPLE WEAR PLALS
Repair of water heating floors from the inside without opening
without opening walls and floors.
Pipe repair "from the inside"| Stage | to 7 days | |
|---|---|---|
| 6 | Engineer Control | to 7 days |
| Dismantling of repair equipment |
Approximate cost of repairing the heating system for a house 300 - 350 m2
Each engineering system is individual.
Departure of an engineerIt has different volumes, pipelines, the number of heating boilers and circuits. To connect repair equipment, a preliminary inspection is needed in order to correctly and clearly draw up an estimate for the work.
For the performance of work, specialized equipment and materials will be required, so a clear calculation of materials and consumables, as well as the amount of work is carried out.
Estimate preparation
For the execution of works, heat exchangers (minimum 1, maximum up to 8) will be used so that the repair solution circulates only in the circuit being repaired. Accordingly, , there will be redevelopment of pipes, connection of heat exchangers, use of consumables in the form of: pipes, valves, circulation pumps, fittings, measuring valves, etc.
Equipment connection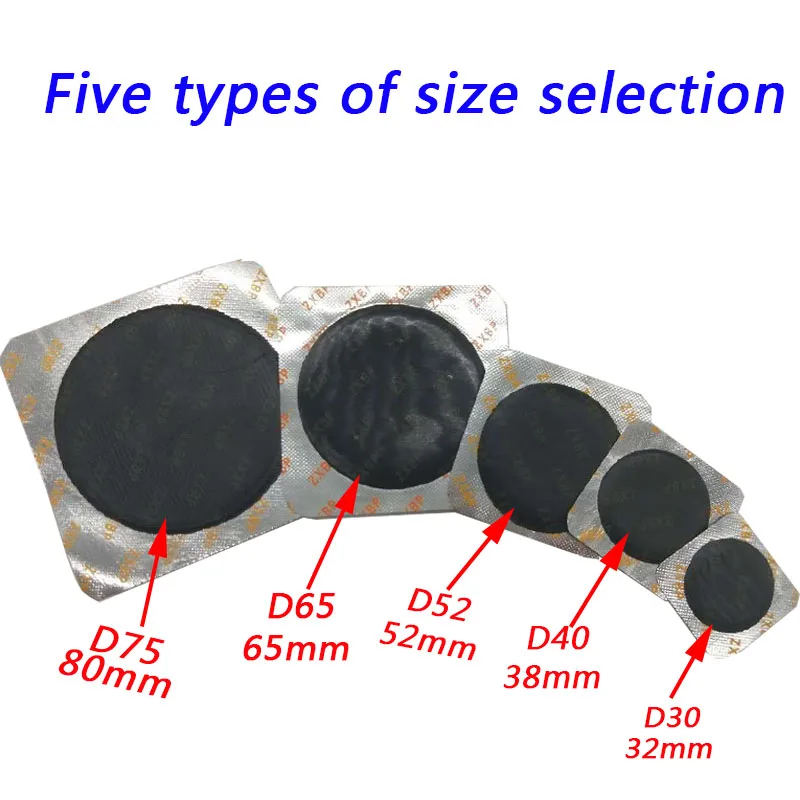
We use a specialized repair agent tested by our craftsmen, it does not cause any harm to the pipeline and engineering equipment. The principle of operation of this reagent : the liquid has a closed circuit in which circulation occurs: the leak points are in contact with air, this is exactly what the reagent needs, when it enters the places of depressurization and interaction with air, cures reagent and bricking breakthrough. As a result, the flow stops and the breakthrough is sealed.
Filling the system with repair mortar
For the reagent to work, a positive temperature is required, at which the systems can operate at maximum loads, namely +65/+85.
Solution heating and circulation in the systemWe can create this temperature artificially by using an additional boiler for this circuit.
Work period up to 07 calendar days, this period depends on the experience of the engineering team. Every day, an engineer comes to control the pressure in the circuit being repaired, and if necessary, adds a reagent. But as a rule, the system is sealed on the first working day, the remaining days are needed to control the leakage.
Engineer's control
After the work is completed, the repaired circuit is pressure tested in the presence of the Customer. Further, our equipment that was used in the production of works is dismantled, and the pipeline that was subjected to redevelopment is returned to its regular places.
Dismantling of repair equipment
The period is from 3 to 10 days from the date of the engineer’s departure
The timing of the work
peculiarities.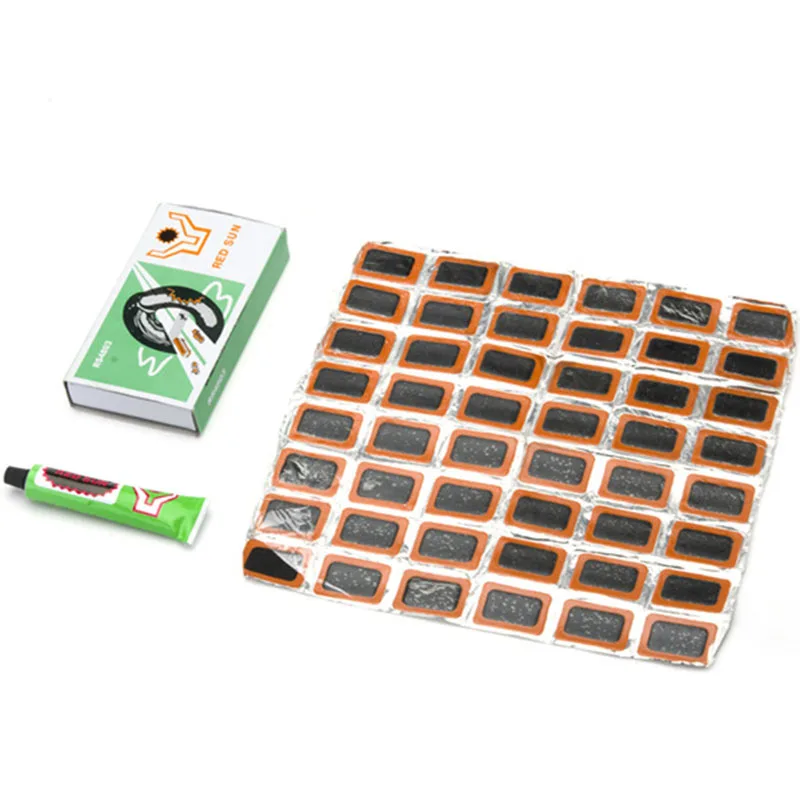
The cost of labor and consumables is not cheap, so expect to spend well. But the result is worth it.
Material (reagent) for the work of
Pipe Repair Pipe Repair “From the inside” 9000 in water-type heating system, gas boilersThe composition of the reagent was developed by the laboratory of our holding and is intellectual property of
Before starting to use the reagent for heating systems (pipes, boilers), in order to eliminate the leak, it is necessary to remove cleaning and other filters. Ensure that the heating system is filled with coolant. To effectively eliminate the leak, you need to maintain the same safe temperature and pressure in the system - 1 bar (in pipes and boilers). Remove air from the circulation pumps of the heating system, check their performance. To eliminate the leak, before using the reagent, it is necessary to shake in the canister until the sediment is completely mixed.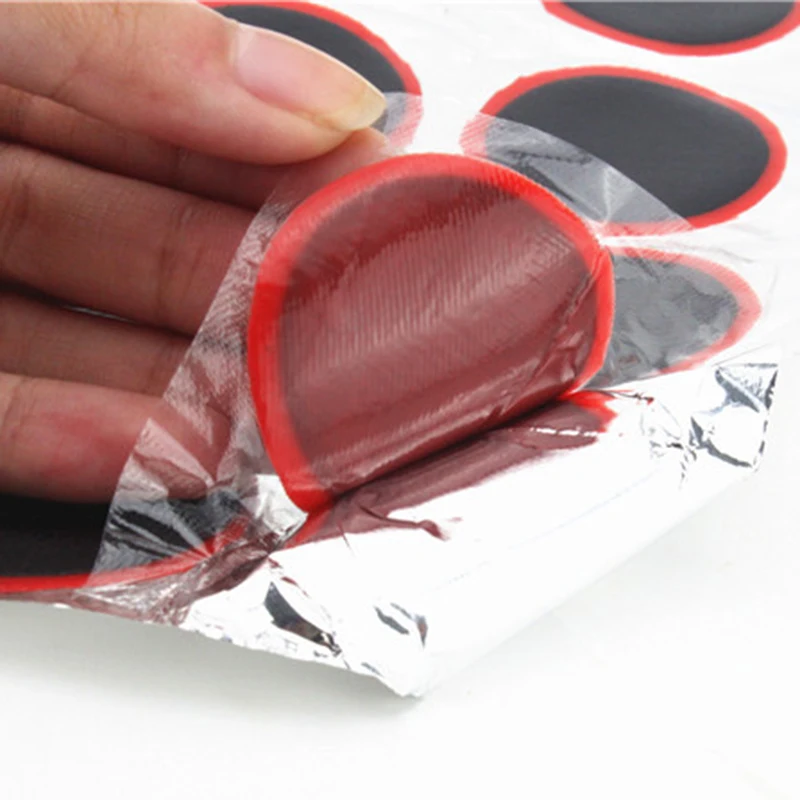 The water drained from the heating system must not exceed the volume of the reagent added by the pump in order to eliminate the leak. The mixing of the reagent in the pipes must continue for at least 7 hours. The total duration of the repair is 1-7 days (depending on the condition of the pipes or the boiler).
When working with a reagent to eliminate leaks in the heating system, pipes, boilers, we observe safety precautions, using face and eye protection when eliminating leaks. This tool, designed to eliminate leaks in heating pipes and boilers of systems, upon contact with mucous membranes, skin, can cause an allergic reaction.
0010 not is dumped down the drain. Composition of the substance for repairing the heating system (pipes, boilers): alkaline silicates, preservatives, cellulose fibers, additional substances.
 Examples of improper installation
 For comfortable living in a private house or in the country, it is advisable to think over and install a system heating. They are different, but they are all similar in structure. There is certainly a boiler and a set of pipes with heating devices.
Common home heating options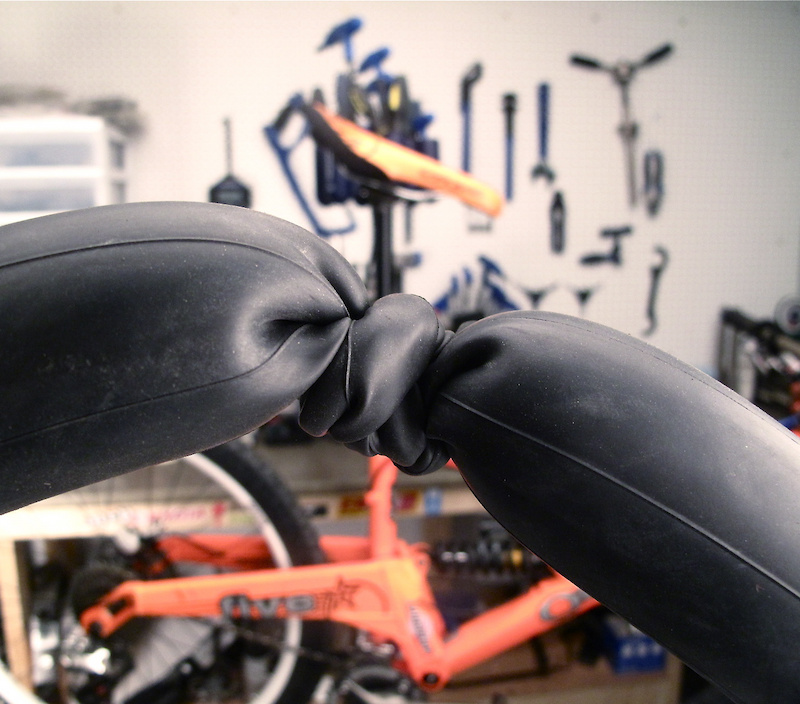 The disadvantage of the system is the possibility of freezing of the liquid in cold weather if the heating does not function. The pipeline may fail.
  You can cook food on the stove. It is supposed to clean from combustion products and clean the pipe from soot.
  It is cheaper than diesel and electricity. Installation is costly. Must be serviced by a specialist. The pressure in the system must be constantly checked.
 Optimum heating installation is not only a comfortable stay for residents, but also a safe one. There are norms of sanitary, fire, environmental safety when using heating systems. Therefore, it is better to trust all installation work to specialists. Our professionals can help you install your heating system correctly. A few basic installation requirements:
In order for the heating in the house to be good and serve for a long time, it is necessary to constantly take care of it and timely change the components and parts that have expired. Before the start of each heating season, an inspection of the entire system is required. If necessary, make repairs to the heating. Minor problems can be fixed by hand. But such problems as the repair of a boiler, a pump must be entrusted to experienced, knowledgeable people. Our specialists are always ready to help and make high-quality heating repairs.
For residents of private houses, the issue of heating their homes is the most relevant, in contrast to residents of apartment buildings with central heating. It is obvious that the owner himself bears full responsibility for the entire heating system of a private house, monitors the safety, safety and high-quality installation of heating at the stage of its installation. Overhaul of heating and its features Features of home heating are […]
Read more
Our company provides services for replacing the coolant in the heating systems of country houses with flushing and cleaning of internal surfaces from scale and other contaminants. Flushing is a mandatory measure, as it stops corrosion processes, prevents fresh antifreeze from becoming contaminated and immediately losing its performance properties. Our specialists will answer any question you may have about the service 8(495)7446774 Ask […]
Read more
The master is not always to blame for the breakdown, many factors influence the occurrence of leakage: choosing the wrong temperature when soldering plastic pipes; loosening the nut; lack of preliminary preparation of pipes; selection of low-quality glue for joints. If you take into account possible errors during the installation phase, you can prevent malfunctions and avoid repairs. Proper installation is especially important for heating and piping, which is used […]
Read more
Ordering repair of home heating systems in Moscow and the Moscow region is easy. Call us at +7 (495) 744-67-74 right now and you will get a free consultation of a specialist, find out the prices, and you can also call the master to your house. Repair of the heating system is needed if it does not heat your home efficiently and consumes fuel in increased quantities. In advanced cases, the system […]
Read more
The efficiency of the entire heating system directly depends on the performance of the boiler. Malfunctions of the main heating equipment negatively affect the efficiency of the heating circuit of the house, lead to excessive energy consumption. That is why any breakdowns, even the most insignificant ones, are given special attention. The feelings of people are quite understandable if the boiler is working and the batteries are cold. After all, this not only reduces the level of comfort in the house, but […]
Read more
Old pipes and systems wear out over time. When replacing communications, it is often necessary to transfer gas appliances. From a technological point of view, the process is simple and does not take much time. But you have to take into account the rules. Otherwise, the transfer of a gas boiler will be expensive, fines will be charged for illegal actions. Before starting work, it is better to familiarize yourself with the building rules and regulations. […]
Read more
The most common fault is loss of sealing. In this case, the repair of heating systems of a country house is carried out in several ways. A small hole and a leak in the pipe can be eliminated with clamps. Their service life reaches 2-3 years, depending on the specific model. This is a quick and inexpensive solution to a leaking problem, but only a temporary one. Alternatively, you can […]
Read more
Quite often, when organizing heating in any residential area, preference is given to steel pipes. They have their own set of advantages and disadvantages. The main disadvantage is that steel corrodes rather quickly, which eventually leads to leaks in heating pipes. In this article, we will describe in detail what to do if the heating pipe is flowing, and give a number of tips. […]
Read more
Valuable advice on how to fix a leak in a pressurized water pipe Of all the unforeseen household situations that can happen, the failure of the plumbing is the most unpleasant. In the event of a leak in the pipe, even a minor one, it is worth immediately taking appropriate measures. This happens not only with metal pipes due to corrosion or deformation, but also […]
Read more
For this method, we take a strip of dense fabric, soak it with epoxy glue. After that, we tightly wrap the fabric on the problem area, as soon as the glue hardens, the leak will be eliminated. Another good way is cold welding. This is a special composition that we knead in our hands and seal the leak. The sealant hardens and crystallizes, tightly clogging even a strong leak. Boiler installation required […]
Read more
