This post may contain affiliate links, view our disclosure policy for details.
Please share this content if you like it. Thank You!
104 shares
**Please welcome Deborah from Grace Garden and Homestead. I am a tiny-winy jealous of this farmer’s wife since she gets to farm 500 acres alongside her husband. 500 acres! Can you believe this? It’s like owning the whole USA. It seems like we share the love of the land as well as the love for tractors, LOL. Today, she will teach us how to patch a tractor tire.
When you get a flat tire on your tractor, it basically shuts you down. At this point, you’ve got two options. The first option is to wait for someone else to fix it—which can take a day or two and hundreds of dollars…
The second option you’ve got is to do it yourself—if you know how. This option saves you not only valuable time but money as well—a lot of money.
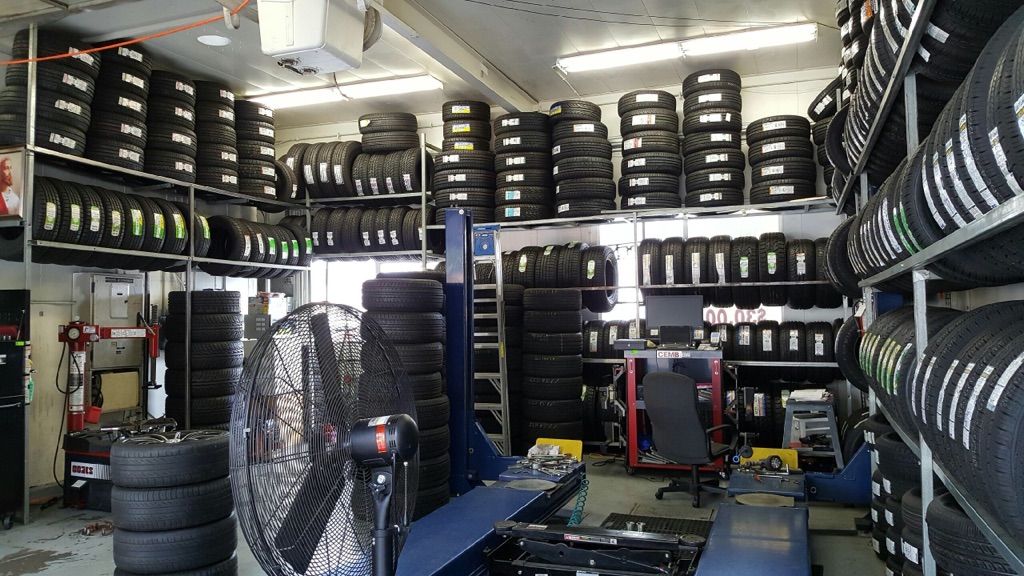
On average, we fix 6-10 tires a year on various tractors and implements on our 500-acre family farm plus the custom work we do for others.
An implement tire fix would be about $20-40 depending on who we take it to. One of the larger (non-fluided) tractor tires would cost us $300-400 to have someone else come out and fix it.
Obviously, it’s important for us to fix our own tires as often as we are able. This is a skill I highly suggest anyone who owns a tractor should gain.
After you get your tube out of the tire, you will need:
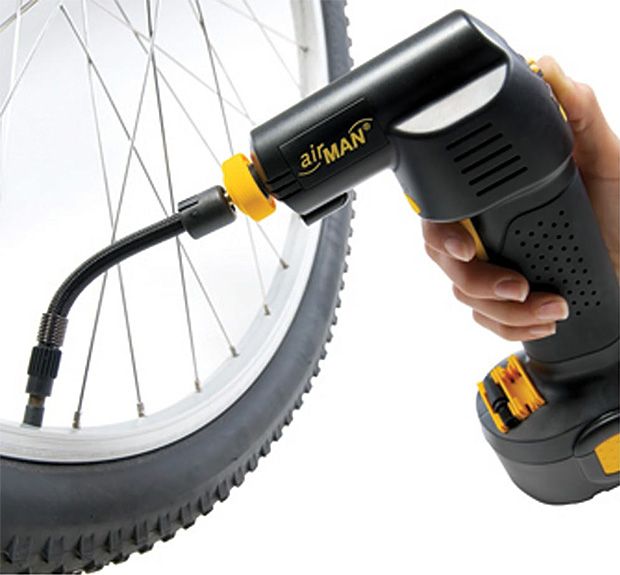
Inflate your tube until it’s firm.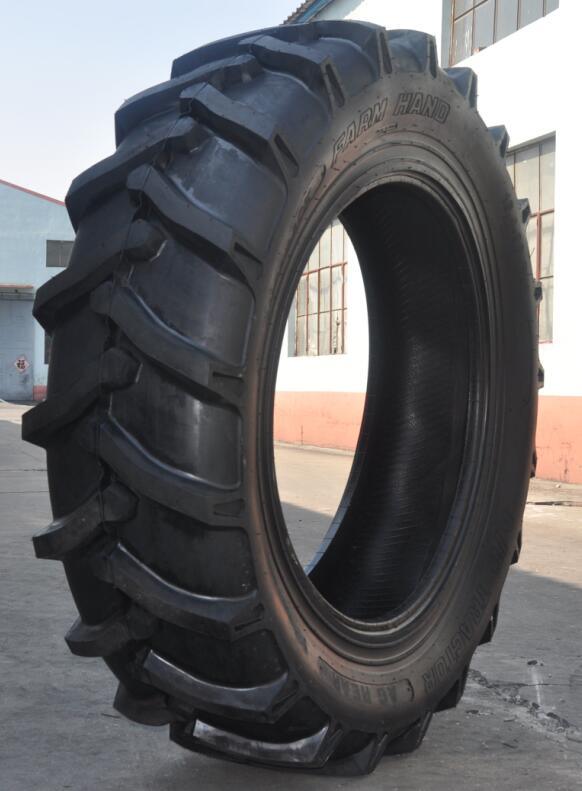 You can either listen for a leak after turning off your air compressor or use the dish soap solution to find your leak.
To use the dish soap method, put an inch or less of Dawn in your spray bottle and fill the rest with water. Warm water works better because it mixes with the soap quicker, but cold will work too. Swirl the soap and water together, and then take your spray bottle to your tube.
Use a broad spray to spray the tube until it is wet. (If at any point you find the leak to be obvious, you can stop spraying.) Look for bubbles emanating from one spot on your tube, that is your leak.
If your leak is slow, you may need to put more air in your tube to find the leak. Using the least amount of pressure that will still result in finding the leak is a good practice, as using too much pressure can not only blow up your tube but also increase the size of your hole.
Mark your hole with chalk, crayon, or whatever you have.
Now you’re going to have to let the air back out by removing the valve core (with your core tool).
At this point, find a smooth, flat, clean area on your driveway or in your shop to move your work to.
Use your buffer to remove the glaze from the tube around your leak. Do an area slightly larger than your patch. Don’t over-buff or you will ruin your tube. Keep your buffer moving quickly and stop when it becomes black in color. Ten seconds is usually more than enough.
Apply the glue to the buffed area in a light layer while making sure it covers the entire area. Don’t stick anything to it, and let your glue dry. Really. This can take awhile in cool conditions. Go get a cup of coffee if you’re doing this in cold weather.
Once your glue has dried, it will still be slightly tacky when you touch it, but it won’t transfer to your finger.
Take the backing off your patch and center the newly exposed side of your patch over the hole in your tube. Now very firmly (yup, really) roll your stitching tool back and forth over the patch, starting in the middle, and working your way out. You need to do this in various directions until the clear plastic coating detaches from the front of the patch.
This plastic coating may not completely come off, but rather just come loose in several spots. Once this happens, use your fingers to gently remove and discard it. If it doesn’t pull loose easily-keep stitching/rolling until it does.
Now, something caused the hole in your tube. Any debris between the tube and tire, a nail through the tire, a wrinkle in the tube caused by too large of tube for the tire… All sorts of things can deflate your tire.
Examine the inside of the tire itself carefully for the cause of the hole. Remove any objects inside of, or poking through the tire. If a hole through the tire is discovered then follow the same procedure to patch the inside of the tire. This is not done to keep air in, but rather to keep debris out, as even sand grains will eventually wear a new hole in your tube.
Now you can reassemble your tube and tire, install your valve core, and inflate to the proper pressure. I don’t recommend checking the integrity of your patch by inflating the tube outside of the tire as this will stretch the tube beyond normal circumstances and could potentially compromise the integrity of the glue/patch bond. It shouldn’t, but it could.
Congratulations, you’ve just saved yourself a couple hundred dollars. Go ahead and get back to work.
Lee
Hi! I’m Lady Lee. I help homesteaders simplify their homesteading journey while still producing a ton of food! I am a single mother of four, I was born in Israel and raised in an agricultural commune called a Kibbutz. Now I homestead in central NC.
Reading Time: 5 minutes
This article is also in audio form for your listening enjoyment. Scroll down just a bit to find the recording.
Tractor tire repairs can seem like a daunting task due to their size. As counter-intuitive as it may be, the extra-large nature of these round rubber behemoths makes our lives a bit easier compared to an average car tire.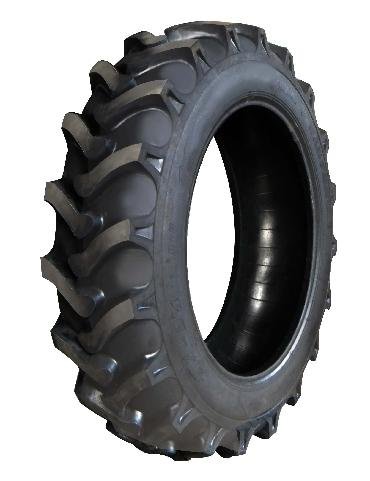 There are a lot of commonalities between tractor tire repairs and automotive tire repairs because, well, they’re all tires. Let’s look at what the layman can repair in the field and some tips and tricks of the trade.
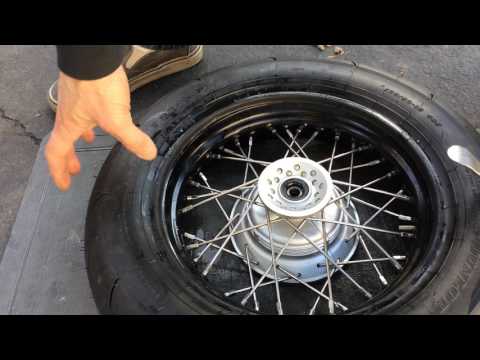
Many tractor tire repairs require you to remove the tire from the rim. Most times you only need to partially dismount the tire, and even more often; the tire will dismount itself. If you find yourself in need of fully dismounting a tire, you’ll want to pick up a set of tire irons or “spoons”. These tire tools are meant to allow you to pry the tire off the bead without damaging your rim. You can find these tools at your local tractor store, truck stops, and most discount tool suppliers. Look for the longest ones available to give yourself leverage.
Many old-timers like to use a flammable fluid and a match to seat a bead. Yes, it’ll work, but most of these fluids are deleterious to rubber and may compromise your tire. Not to mention it’s a safety risk. The safer way of reseating a bead is with a ratchet strap around the tire. Tighten the strap, use a spray bottle of water and dish soap to coax the bead back on, and use a large mallet to finish seating the tire as you inflate. Use a rubber, wood, or dead-blow hammer in case you whack the rim by accident.
Farmers are notorious for using aging equipment well beyond its expected life span. If you ever come in contact with equipment that has a split-rim, be warned. They’re a dangerous sort and should be managed by professionals with a rim cage. You can tell a split-rim by the removable half-moon steel edge on one side. These are dangerous and have caused fatalities while being worked with.
One common flat tire-inducing issue is broken tire stems. It’s surprisingly easy to catch a stem on a stump, stick, or rock during hard use, especially when navigating brush and overgrown fields. Changing a tractor tire valve stem is a laborious but straightforward job. You need to dismount the tire enough to reach the stem hole inside the rim to pull a new stem through. Optionally, you can use a Quick Stem, which you don’t need access to the inside of the rim to install. It’s a simple rubber crush washer design and works well on low-speed tires like tractors and implements. Using a stem replacement like this will let you forgo dismounting the tire, saving you time and effort.
Tractors may work in fields, but many see heavy use in the farmyard doing all sorts of things. Building structures, moving equipment, and even being impromptu engine lifts are all within the scope of practice for most tractors. Operating in these environments inevitably ends with an errant nail or screw finding its way into the tire tread. There are a few ways to remedy a tire puncture like this.
A tractor tire repair tool worth investing in is a well-built tire string plug kit. You can buy cheap, plastic-handled tools at the bargain store, but these always seem to break the handles, risking hand injury. Look for quality, steel-handled tools that won’t send you to the hospital.
String plugs are an old-style tire plug that has been popular for a long time; however, they have their limitations. They provide a quick repair; however, they don’t protect the tire from future failure. Therefore, string plugs should be considered a temporary repair, not a permanent fix.
I strongly suggest avoiding plastic-handled string plug tools. Pay a little more for the steel handles, your hands will thank you.Always use an inside patch to finalize a tractor tire repair where a string plug is used. The combination of patch and plug will seal the air in the tire and keep moisture from penetrating the carcass of the tire, which will lead to internal belt rust and rot. To use these patches, you need to access the inside of the tire, which means at least a partial dismount from the wheel. This job is easier done at your barn or shop versus in the field, so consider the string plug the field fix and the patch the final stage of repair.
The NHTSA (National Highway Traffic Safety Administration) in the USA has been advocating for “combination tire repairs” for a long time. The NHTSA states that a plug and patch repair is the only safe way to repair a road-going tire. A string plug and patch combination qualifies; however, there is a product available on the market that combines these into one easy-to-use system; the patch plug.
The patch plug is favored by professionals who want to do the job right. Patch plugs are shoved into the tire from the inside out, and feature a steel spike to allow you to push them through the tire. Using a patch plug will be the best tractor tire repair for punctures, sealing the air within and protecting the tire’s carcass from moisture incursion.
Patch Plugs are a handy device used by tire professionals.Tractor tires are prone to damage and abuse, especially in rock or brush-rich environments.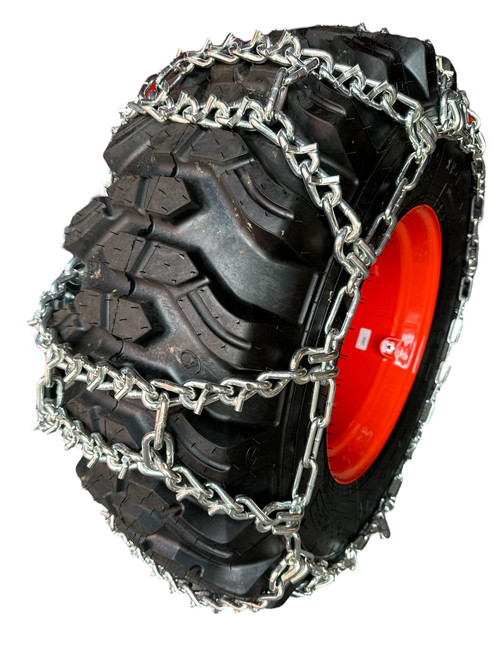 Gouging the treads is inevitable in these situations, and as long as the damage only pertains to the rubber lug itself and not the main tire where the steel belts reside, it’s not a big concern. Gouges and cuts on the lugs of tires are par for the course, so don’t be overly alarmed by them unless they compromise the main body of the tire.
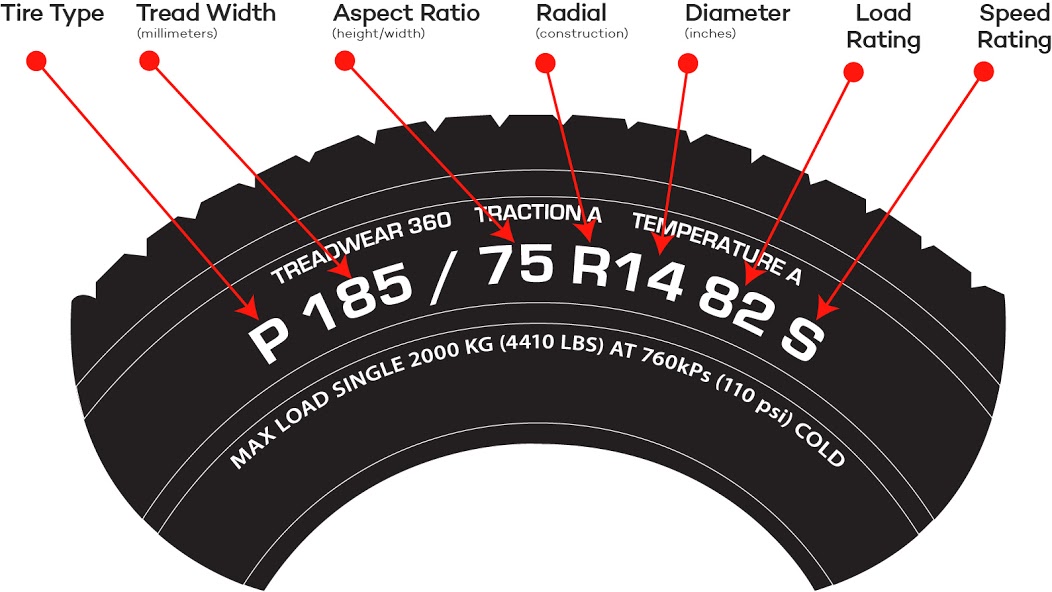
Sidewall damage, be it cuts, gouges, or dry rot, are not candidates for safe tractor tire repair. Although these are low-speed equipment tires, it’s still a dangerous game to operate a tractor (especially at comparatively high speeds) on tires that have compromised sidewalls. If you have a sidewall failure, decode the tractor tire size on the sidewall and find a suitable replacement tire. If you’re stuck replacing a tire, it may be prudent to replace both on the axle or all the tires. Before buying a duplicate of what you had before, consider what the best tractor tires for your farm may be. It might be time to upgrade to a different tread style that suits your needs better.
Have you had to repair your tractor’s tires in the field? Let us know in the comments below!
Originally published in the May/June 2022 issue of Countryside and Small Stock Journal and regularly vetted for accuracy.
Repair
Views 175 Updated
Agricultural and forestry machines are machines whose tires are especially susceptible to any damage. Unlike passenger cars, changing tires in this type of vehicle requires a lot of experience and appropriate technical equipment.
There are also situations where a tire can be repaired without replacing it with a new one. What damage do vulcanizers encounter most often and how do they deal with it?
Contents
What exactly are we talking about?
Vehicles of this type travel mainly on dirt roads with gravel and many sharp stones. Although tires are an extremely durable construction, sometimes the rubber surface will tear. The same goes for construction sites, where various sharp objects such as screws or nails may lie.
Sometimes there is no road at all in the working area, and the machines literally have to drive through fields, swamps or wooded areas, which also present many surprises that can be found right under the wheels at any moment.
If the driver of the vehicle senses something is wrong with the tire pressure, stop the vehicle as soon as possible. The best way to get rid of an unpleasant problem is to entrust the tire to the best vulcanizers. How exactly does the process of repairing such a tire look like?
First of all, it is necessary to start with the fact that not every tire can be repaired.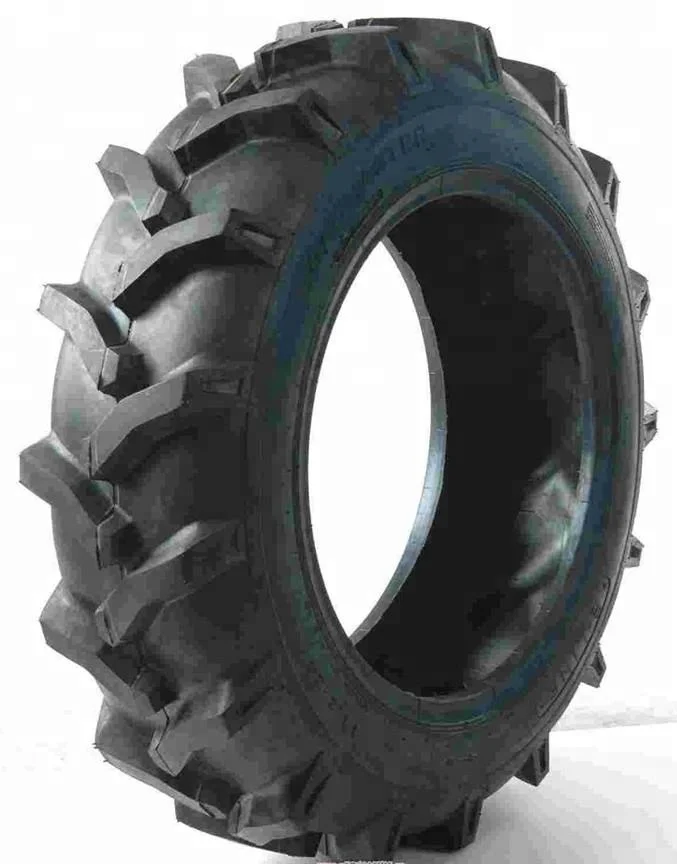 It all depends on the amount of damage done. This is where the professionals begin their work.
It all starts with a very detailed tire inspection. It is checked whether only the top layer is damaged or if the damage is much more serious. If it turns out that repair of the tire is possible, it is regenerated.
What is it about? This is the process of restoring the performance of a tire before it was damaged.
How is it done? The most common method used by vulcanizers is tire retreading, which involves placing a new layer of rubber along with the tread.
Mounting and dismantling of tractor wheels
Mount only serviceable tires, tubes and rims corresponding in size and type. The rims must not have mechanical damage, bends, crumpled edges, burrs and must be cleaned of rust and, if necessary, painted. Before mounting the tires and the camera must be powdered with talcum powder.
Mounting and dismounting is carried out by two workers using two mounting blades. The first blade is a lever, one end of which is made in the form of a fork and serves only for removing the tire beads from the rim landing shelves, and the other end (smooth curved profile) serves directly for mounting and dismounting the tire. The second blade is a lever, one end of which is made in the form of a flat profile and serves to remove the tire beads from the rim landing shelves paired with the fork end of the first blade, and the other end (curved profile with a special toe) ensures a secure grip of the rim flange during mounting and tire removal.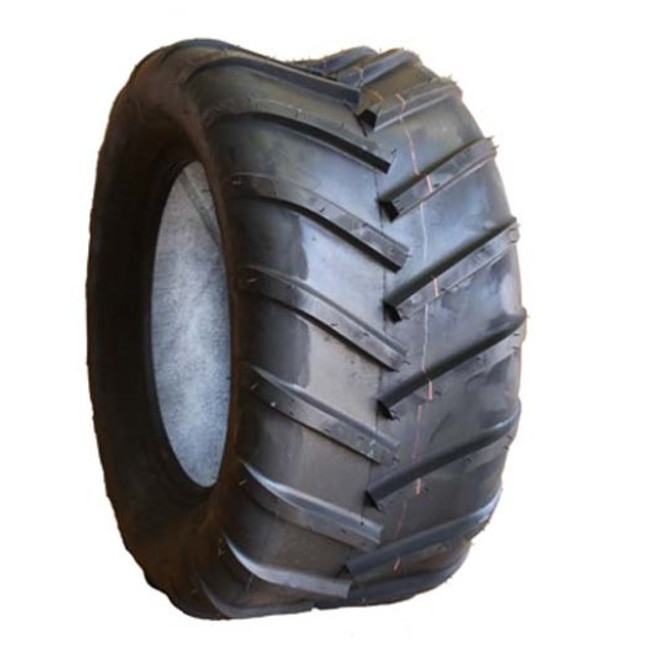
When mounting the tire on the rim, make sure that the direction of rotation of the wheel on the tractor matches the arrow on the tire. Mounting and dismounting is possible only when the diametrically opposite part of the tire relative to the bead being filled is sunk into the rim groove.
Mounting the tire on the rim is carried out in the following order.
Lay the tire on a flat surface and place the rim down on it with the rim located closer to the mounting groove so that part of the tire bead enters the rim groove.
Insert the first paddle between the top bead of the tire and the rim so that the smooth curved end grips the bead securely. Acting as a lever, the mounted bead of the tire is brought over the edge of the rim. This operation is repeated several times until the installation of the mounted side does not cause difficulties.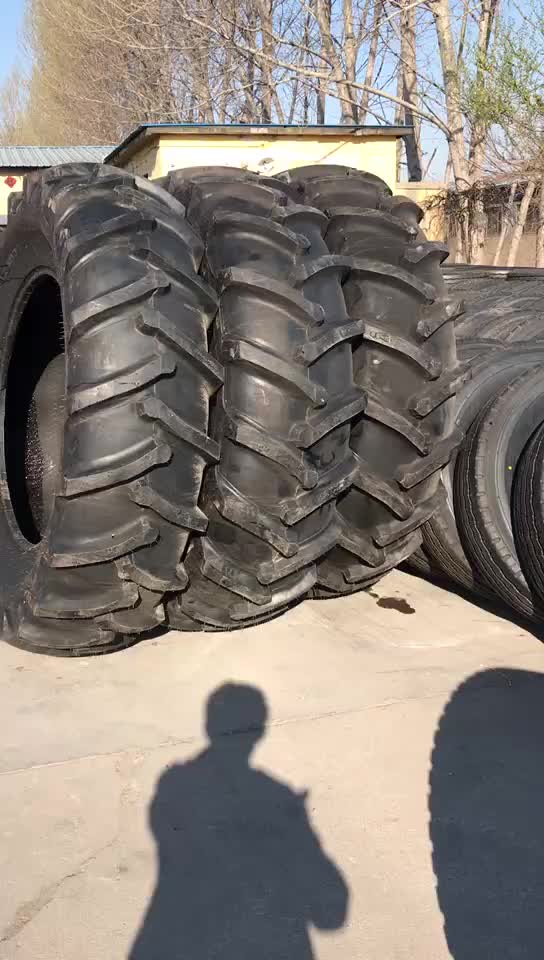
To facilitate further installation, a second blade is used. Insert it between the tire bead and the rim and press the rim up. The first blade is moved closer to the wound bead of the tire and the previous operation is repeated.
Sequentially advancing along the circumference, repeat this operation several times until the rim flange enters the tire cavity.
The last section of the rim is inserted into the tire by gently pressing both paddles simultaneously.
Place the bar at an angle to the wall. The rim is pressed against the wall so that the tire cavity is completely free, and, taking the chamber from the side of the valve, lead it into the tire cavity.
Insert the valve into the valve hole and fix it with a nut, while monitoring the correct position of the valve, avoiding its distortion. Put the camera completely on the rim.
Pull the rim towards you and inflate the inner tube to prevent the inner tube from being pinched between the tire beads and the rim.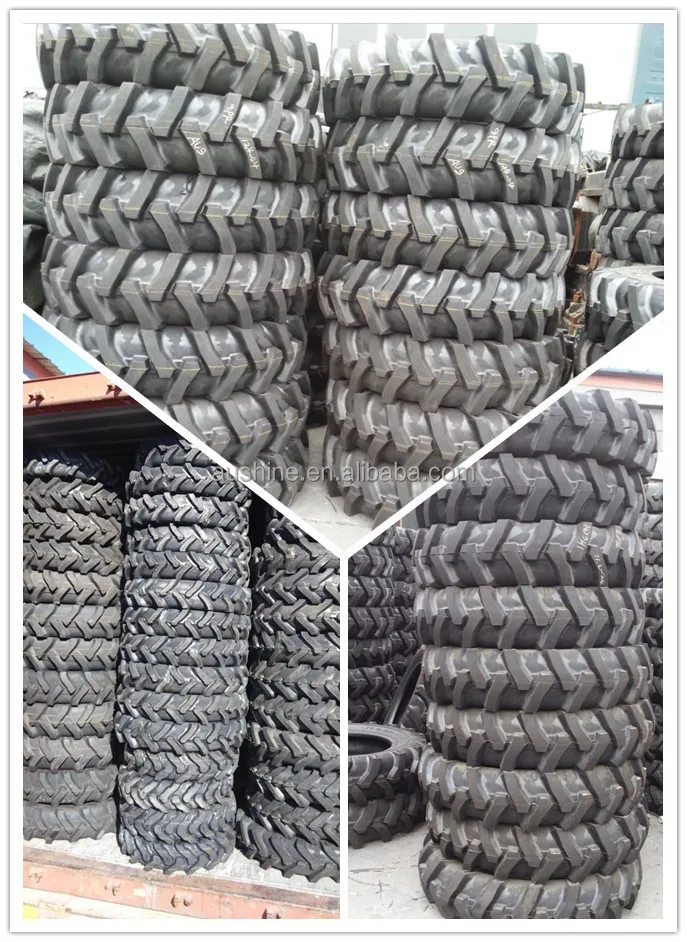
Lay the tire on the floor. On the opposite side of the valve, both mounting blades are inserted at a distance of 250-300 mm from one another so that they securely grip the rim flange, and, pressing the blades down, push the tire bead over the rim flange.
Fig. 1. Mounting the bar
While holding the blade in this position, pull out the second blade and insert it at a distance of 50-100 mm from the first so that it captures the flange. By pressing the spatula down, the tire bead is pushed over the rim flange. Mounting is greatly facilitated if you press the tire with your foot at the same time. In order to facilitate the process of inserting the upper bead of the tire, it is necessary to sink the part of the tire opposite to the refueling bead into the rim stream.
Installation is completed with two blades at the valve.
Inflate the tire to normal pressure, then completely deflate the tire and inflate again to a pressure of 2.5 kgf/cm2 (250 kPa). After the tire beads are seated on the rim shelves, the air is released to the recommended tire pressure.
Remove the tire from the rim in the following order.
Completely deflate the tire. Remove the tire beads from both conical rim flanges using the fork end of the first blade and the straight flat end of the second blade. The boards are removed first from the shelf opposite the valve hole, in the following sequence:
1) insert the straight end of the second blade between the rim flange and the tire and press the tire bead down;
2) insert the fork end of the first blade into the formed gap between the rim flange and the tire so that the straight end of the second blade is in the groove of the fork blade;
3) with the first mounting blade, press the tire bead down.
Fig. 2. Removing tire
The operations described in paragraphs 1, 2, 3 are repeated along the entire circumference of the rim until the tire beads are completely removed from the landing shelves.
Insert mounting blades on both sides of the valve hole at a distance of 100 mm and, pressing the opposite tire bead into the rim mounting groove with your feet, remove part of the tire bead beyond the rim flange.
Retreat from the removed part of the tire bead around the circumference to a distance where possible without. difficulties to get the second blade with a curved end between the rim flange and the tire bead, and again remove the tire bead 'by the rim flange. Repeating this operation, remove the upper bead of the tire. They put it obliquely against the wall and remove the camera.
Turn the wheel with the tire and remove the second tire bead from the rim.
To do this:
1) lift the rim up so that both blades can be inserted between the tire bead and the rim at a distance of 200-250 mm between the blades;
2) press the rim up first with one and then with the other blade;
3) insert the jack wrench next to the second mounting blade and release it, leaving the rim in the depressed state;
4) insert the curved end of the second mounting blade into the gap between the rim flange and the tire bead at a distance of 150-200 mm from the first blade or from the knob and, grasping the rim side flange, remove the rim from the tire.