You will certainly be very worried if your car has a problem and you have to remove the tires. After fixing the problem, It's not easy to put the tire back on the rim.
There are practically countless ways to advise how to fit a tire to the rim, either by machine or by hand. This is also what makes many people interested to find out if a person who is not an auto mechanic or a professional can do this by himself at home.
So, how to put a tire back on the rim? You need to use fire to do this, which requires high safety.
The following article will guide you through the steps and important notes to handle this error effectively.
Contents
Before starting a job, especially using a lot of tools like putting a tire back on the rim, you need to prepare:
Below, we will describe the steps in the most detailed and complete way. Each step will need specific notes and manipulations. In addition, there will be notes for each stage. Check it now!
This step is the first step in all your processes. What you need to do is make sure they are smooth. You need to raise your wheel part off the ground, which will make it easier for you to disassemble with the help of a lifting tool.
At the same time, you should only re-install the wheel in the vehicle when you have fixed the problems encountered. Errors that you need to improve after removing them. Make sure you've selected it all and don't have any doubts.
There are a number of causes leading to tire removal such as cracked or blown tires, punctured tires due to obstacles while moving. After the repair, you need to put the rim on the tire. Moreover, your car will be safe with a perfect wheel.
At this 2nd step, you will get a bottle of Fluid. They are often used as a support tool when you have difficulty starting the engine or cold. They will do the job perfectly under normal conditions.
Then, you use the spray in a circular direction around your wheel. In this next operation, carefully spray the liquid into the space between the sidewall tire and the rim. However, you should also ensure you're not taking too much of it.
The reason for adequate fluid is that too much of them can cause sidewall problems and even lead to failure, damage, and replacement.
At the same time, you should also spray on each ground in one line just below the edge. The effect of this activity is to help limit fires while you use matches/lighters and Starter Fluid.
Moreover, when using the above liquid, you need to be extremely careful when spraying on the wheels. Due to their flammability and flammability that can cause a fire, it isn't easy even to end it.
Therefore, you need to equip yourself with a fire extinguisher and the skills to manipulate them before assembling.
The third step in the process needs to be as soon as finishing step 2. This action will prevent the tire's granules from drying out and the solution from evaporating.
Then you start lighting it using matches, lighters, or other sources of fire. You light up the fluid associated with the components above from the ground. At the same time, it will help keep you safer in potentially explosive conditions.
But don’t worry your goal is to just light it up and then turn it off as soon as you can and that smoke is going to fill the tire, so you can do it a couple of times.
In addition, fire causes the air to expand rapidly, at the same time, the particles will move along the wheel and return to their original position.
After the tire bead is exposed to fire and when you hear the sound within 2 seconds. At this point, you need to put out the fire immediately. The faster you act, the sooner the fire is extinguished.
Moreover, the fire extinguisher at this time will also come into play.
When you hear the popping sound, it is time to end with the tire in place on the rim.
You need to use an inflator and pump outside air into your tires.
When the tire inflates, you can start or continue your journey on the vehicle that has changed the tire.
This method is standard when replacing a wheel on a rim, especially when you don't need a repair shop.
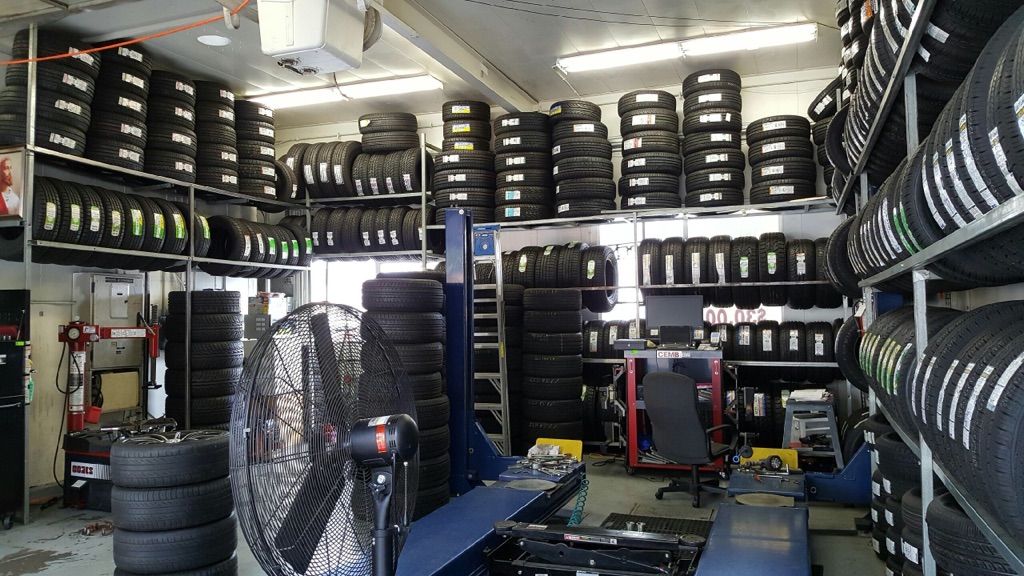
If you can't replace them yourself and are close to a store, you should take them out there. The staff will support and replace you. Then the safety will be more assured.
When taking any action, you need to be careful with what happens. The same goes for changing car tires. The effect you may experience is called Pyrolysis.
They are the decomposition process of substances by the effect of high temperature and long time.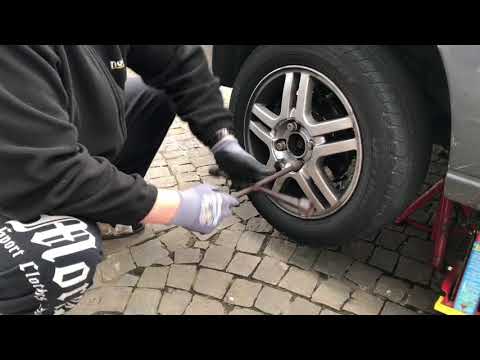 Likewise, Pyrolysis will overheat the tires, create layer pressure, and even blow the tire.
In addition, the wheel is hot due to the inflator. It can weld near or above the wheel and cause breakage at high temperatures.
It is also the reason described in the above section when it is necessary to pump the fire immediately. After you hear the sound, you only have two seconds to start putting out the fire.
This chemical phenomenon will occur even when a low temperature of 183 - 185 degrees Celsius. In particular, they do not need to use oxygen to perform. They continue to develop in the tire, even after removing the source of fire and heat.
This problem is difficult to detect and occurs from some seconds to several hours later. They push the tire pressure to 7000 kPa.
With such class pressure, people around the event may suffer some problems and damage their health if standing close.
Therefore, you need to ensure safety in all steps of this process. It will be awful if someone gets hurt, even if you are not driving on the road.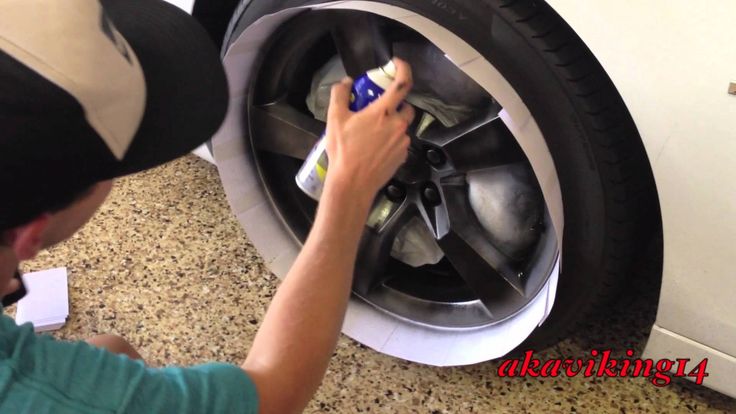

This problem is often when your vehicle is traveling on uneven surfaces. Here are the steps for you:
All you need to do now is stay as calm as possible. Things will get better when you fix it.
Next, try to move further to a safer place like the curb while still ensuring your rims. Moving to a nearby location is ideal. However, if you can't do that, warn everyone on the road, so they know and avoid it.
Once more stable, you need to remove the tire and place it on the ground. At the same time, flatten the tire and tighten it with the ratchet belt.
As described above, you will inflate the tire until you hear a sound and make sure the tire is in place.
Always carry tools in the car to make sure you can adapt and handle the best if you encounter this situation.
You can see more instructions here: Video created by Garage Boys
Thus, the article has provided the steps in putting a tire back on the rim. Hopefully, you can do this activity yourself.
Please note that using fire is convenient and easy but also extremely dangerous. You must ensure your safety.
Car repair shops can also help you do this assembly very well for a small cost.
Self-mounting tires can be cost-effective, particularly if you have access to tire mounting equipment. With nothing more than a pry bar and a lot of work, you can install your own tires at home. After mounting your wheels and tires, it is strongly advised that you get them balanced at an auto repair shop.
Before you begin, make certain that you have the correct tire and rim size; for example, an 18-inch wheel will accommodate a tire that measures 18 inches.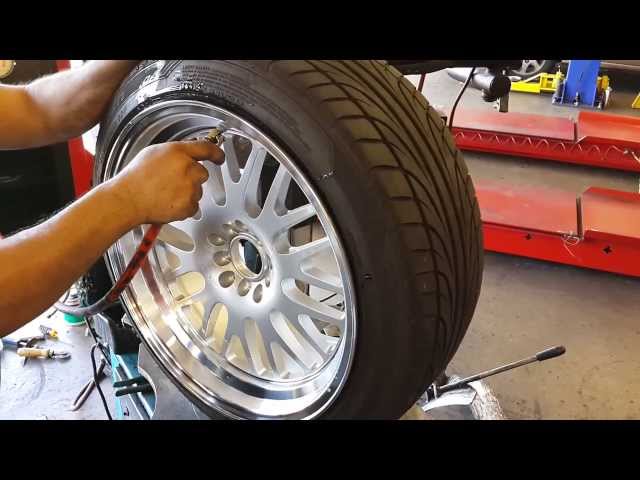 In order to avoid having to change your tires on a regular basis, it is advisable to invest in tire-changing equipment. Make sure you have the following items within easy reach at all times. Basically, all you need is two 4-foot pry bars, preferably with flat ends for tire removal, and a pair of pliers. A tool for separating the tire bead, a rubber hammer, and a tool for extracting the core from the valve stem.
Before anything else, remember to be aware of essential safety measures when removing and mounting tires on rims. Tires may explode if specific elements are missed. Always use tires that are the correct size and structure for the wheel. Verify that the wheel diameter matches the tire sidewall. Never seat tire beads at 40 PSI. Never overinflate a tire once the beads are placed.
Step 1: Put a large amount of tire bead lubricantApply much tire bead lubricant to the tire beads and the rim. Tire lubrication is available at your local car parts store.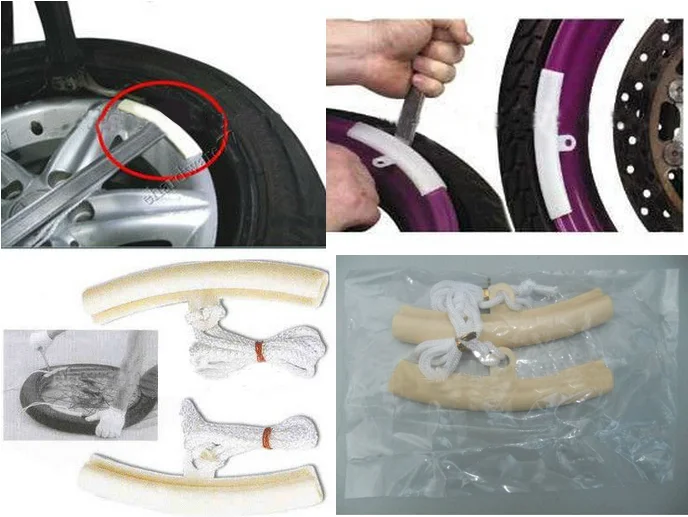 To make it simpler to seat the tire on the rim to be inflated, spray the tire lubricant generously onto the inner lip of the tire (referred to as the bead) as well as the outside edge of the rim.
If your lubricant comes in a jar rather than a spray bottle, use a cloth or wooden dowel to apply it to the same edges. Don’t use soapy water or automotive grease for lubrication. Dish soap does not provide adequate lubrication, and grease can be exceedingly difficult to remove from the wheel. Bead lubricant is slippy, yet it dries and allows the bead to set.
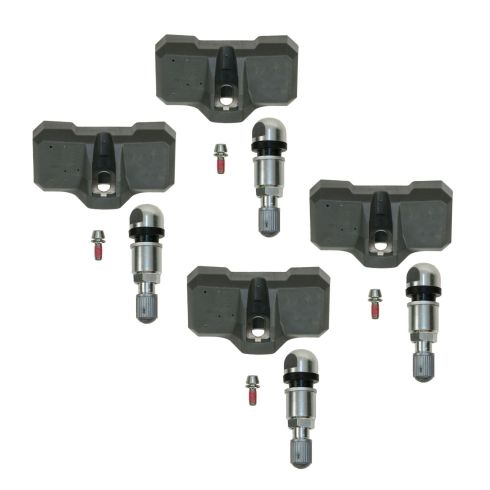
Step 2: Insert the valve stemIf there isn’t already a valve stem connected to the wheel, you’ll need to attach one in order to inflate the tire after it’s been attached to the wheel. There will be one hole on the inside of the rim that will run all the way through to the outside. From within the rim, insert a valve stem that has been cut to fit through a hole on the exterior. Next, using pliers, pull the stem through until it is firmly in place.
A little amount of tire oil added to the valve stem will also aid in the passage of the valve stem. The shape of the valve stem prevents it from going all the way through or popping out in any direction other than backward, so all you have to do is make sure it’s pulled into the hole and seated properly before continuing.
Step 3: Mount the tire to the rimInstall the tire with the help of the machine. Then, remove the wheel from the machine mounting. Attach the rim to the tire machine using the provided tools. For processing the rim, the tire machine is set up such that it receives it with the rim facing up. Place the rim on the machine and, by pressing the proper pedal, activate the hydraulic press that holds the rim in place from underneath the machine.
The majority of tire machines are equipped with two pedals: one for activating the press and another for rotating the rim. If you’re not sure which pedal controls which function (or if your machine doesn’t have one), see the tire machine owner’s manual or the manufacturer’s website for further information.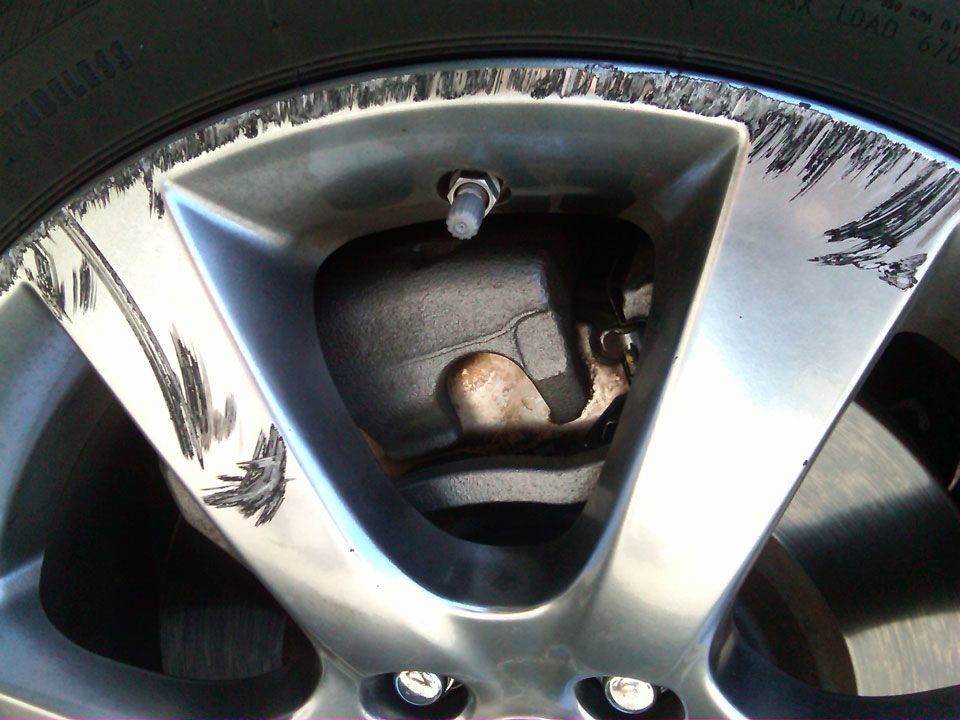
Place the bottom edge of the tire beneath the top edge of the rim on one side, with the tire resting at a 45-degree angle to the rim. The tire should be able to sit on its own without falling loose from the rim at this point. Preparing the mounting arm to glide into the angle gap by starting with one bead beneath its edge and allowing adequate space for it to glide into the angle gap is essential.
Step 5: Swing the mounting arm all the way down to the rim’s edgePosition the mounting arm so that it makes contact with the rim’s outer edge in the same place as the tire has previously been positioned to pass through the opening in the mounting arm. If you are unable to get the mounting arm in at this stage, you should re-adjust the tire to provide yourself with adequate space. Due to the fact that the mounting arm works like a pry bar, pushing the remainder of the tire over the rim’s lip, it must begin at the point where the tire has already crossed the lip.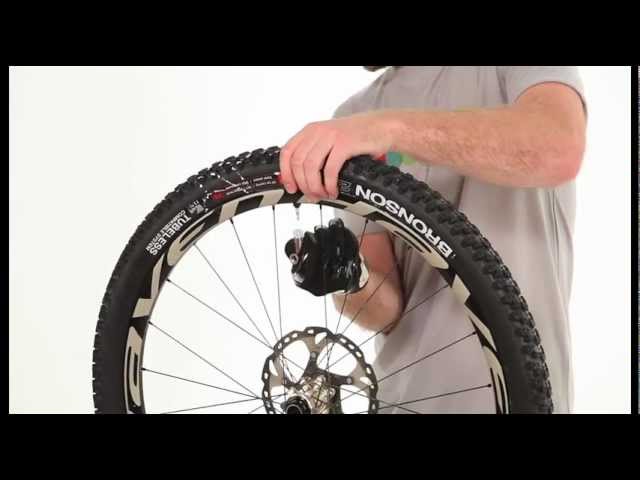
Make sure that the bottom bead of the tire is pointed directly towards the mounting arm. It may be necessary to gently adjust the tire after the mounting arm has been secured in place so that it makes contact with the arm while the wheel and tire are spinning. In the majority of cases, no modifications are needed at this point but double-check to ensure that the correct angle is being used.
Configure the tire such that the arm pushes the lip down and over the rim’s edge when the tire is rotated. A common occurrence is that the angle at which the tire rests on the rim to allow for the mounting arm is already at the proper angle. If the tire begins to slide off the rim, it indicates that the tire is not properly aligned.
Step 7: Rotate the rim and tireBy pressing the pedal, you may rotate the rim and tire. As the two rotate, the mounting arm will push the tire’s bottom bead over the top edge of the rim, causing the tire to deflate. Repeat the process until the two have completed one complete round and the bottom bead of the tire has extended fully beyond the top lip of the rim.
The tire will seem to be half-installed after you’re done, with the bulk of the tire resting on the rim of the wheel. The top bead of the tire will be the only thing that stops the tire from completely settling onto the wheel while driving.
Step 8: Adjust the mounting armReposition the mounting arm such that the top lip of the tire is guided onto the wheel rim. As previously said, push one side of the tire down with your hands until it dips below the top lip of the rim, then lower the mounting arm into the gap you’ve created with your hands by pressing the tire down. It is possible that you may need to use a pry to push the tire’s top bead onto the rim’s lip at that point. As soon as the mounting arm is fully lowered into place, the tire will begin to sit at an angle once again.
Step 9: Pushing the pedal againTo rotate the tire and rim, press the pedal a second time. In this position, the mounting arm will push the tire’s upper bead against the rim’s lip as the wheel and tire rotate. After completing one complete circle, both the upper and lower beads of the tire will have gone over the rim’s upper lip. The tire is now firmly connected to the rim and just needs to be inflated to complete the installation.
Inflate the tire with the use of an air compressor. Make sure your hands and clothes are far away from the tire before connecting the air compressor line to the end of the valve stem you previously installed. As soon as the airflow is initiated, the tire will quickly inflate.
You have to be careful though as any portion of your body or clothing that becomes caught between the tire bead and the rim’s edge will get compressed when the tire expands during inflation. Once the tire has been inflated to the proper air pressure, it is ready to be mounted.
Mount Tires To Rim By HandWhether you want to save money or do it like a do-it-yourself job, you will be relieved to hear that tire installation can be accomplished with your own hands and the proper equipment. Here’s what you’ll need to bring with you: lubrication for tires, a pair of pliers, a pry bar or a screwdriver, a clean piece of cloth, cardboard, and an air compressor.
If there isn’t a valve stem already in place, insert one. Prepare the valve stem by lubricating it with a little amount of tire lubricant and pressing it into the hole on the inner part of the rim that will later be covered by the tire. Pulling the valve stem outward from the hole with a pair of pliers will be your next step. Note that it is important to pull the stem until it is firmly lodged in the hole in the rim of the jar.
Step 2: LubricationEnsure that the tire bead and rim are lubricated. Even while tire lubricant is essential when mounting tires with a machine, it is very important when mounting tires by hand. Lots of lubricants should be applied to the inner bead of the tire as well as the outside edge of the rim. Apply the lubricant using a spray bottle or by hand.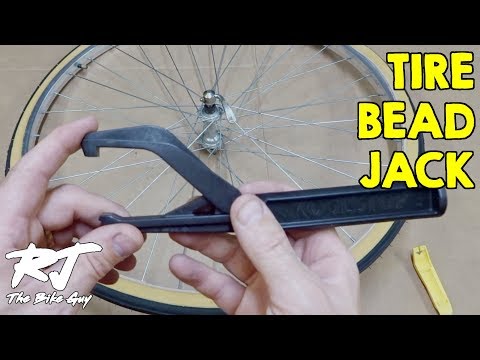 Inspect and reapply lubricant to the top and bottom beads of the tire as well as the whole edge of the rim to ensure that they are both properly greased.
Place the rim flat on the ground and the tire on top of it to complete the installation. In order to prevent scratching the surface of the blacktop or concrete you’re working on, put a piece of cardboard underneath the wheel. Make certain that the surface on which you are working is level, even, and sturdy.
Step 4: ForceStep on the tire with both feet in order to push the bottom lip of the tire on the rim of the vehicle. As you step up onto the tire on one side, ask the assistance of a buddy to keep you balanced. Then, using your other foot, push down on the opposite side of the tire to drive the bottom bead of the tire down over the top lip of the rim and into the wheel well.
It may be necessary to jump a little in order to provide sufficient downward power to drive the tire bead over the lip. You should not do this without a buddy to assist you with balance, otherwise, you may fall.
Increase the amount of lubricant applied to the top bead of the tire and the rim. Once the bottom bead has been placed, the true difficulty will be in getting the top bead to do the same. More lubrication should be used to assist in forcing the rubber down over the metal to make it a little simpler. The bottom bead will not need any more lubrication.
Step 6: Applying a Little More PressureOn one side of the tire, press the top lip of the tire down onto the rim. The tire should be angled downward such that one section of the top bead is down below the rim’s edge. If the tire doesn’t quite make it over the lip on its own, you may press down on the bottom part of the tire.
A pry bar will need to be able to slip into the gap between the tire’s top bead and the upper lip of the rim so you’ll need to create adequate room between the two. It is possible that you may need to use the pry bar to make the opening. If this is the case, be sure to leave it in place after you’re finished.
Using a pry bar, push the tire’s lip over the remainder of the rim until it is secure. Move around the wheel, pushing down on the tire with your hands and prying the bead of the tire over the top lip of the rim with your other hands as you go. This will require a significant amount of effort, but it should be completed by the time you have completed one complete round of the wheel.
Press the pry bar into the bottom side of the top lip of the rim, making sure it does not damage any exposed metal on the rim’s surface. When you’ve finished going around the wheel, both the top and bottom beads of the tire should be fully beyond the rim’s lip, as seen in the picture.
Step 8: Filling The New Tire with AirWith the help of an air compressor, inflate the tire. The tire may be inflated by attaching an air compressor to the valve stem once both beads of the tire have passed the rim’s lip.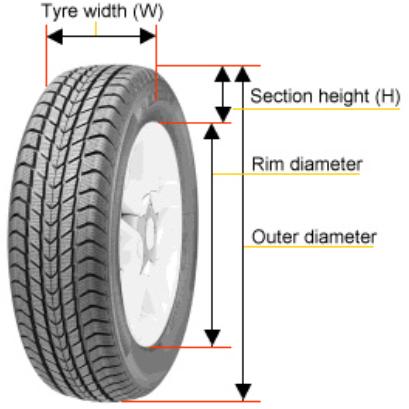 Be careful not to get your fingers or clothes caught in the tire bead while the tire is inflating. After the tire has been properly inflated, you may proceed to the next one.
Whether using tire mounting equipment or doing it manually, the process of putting the tire back on the rim will require some elbow grease. However, the process will get easier on the proceeding tires you’ll figure out what workaround works best.
Just always be cautious in inserting the bead breaker, or you risk damaging both the sidewall and the rim of the tire. Lastly, make use of the proper quantity of lubricant; neither too little nor too much is recommended.
Nikolaev bicycle shop "Sportek"
Published: 02. 02.2021
Beading tires on a bicycle wheel is a fairly common and not complicated procedure.
We will not tell you in full how to remove and put on a tire on a wheel rim - there are many different videos and articles about this on the Internet. Let us dwell on only one important moment, but not often discussed by the authors of videos and articles, when, when putting the tire on the rim, the last 10-20 cm remain, and the tire does not want to “sit down” in any place.
In order to tighten the last part, you need to make sure that as you put on the previous parts of the tire, the bead cable does not start to get into its “rightful place” in those parts of the wheel where the tire has already sat down.
That is, during the beading process, you should try to keep the edges of both beads of the tire with the bead ring in the center of the rim - where its “deepest” place is. Thus, slack is formed and the last centimeters of the edge of the tire are much easier to throw over the high side of the rim.
This is illustrated more clearly in the picture:
In case it doesn't work out at all, of course you can use the usual bead blades that many cyclists use.
But for these purposes, in addition to the commonly used blades, there are also special combined blades designed also for putting a tire on a wheel, and not just for removing it.
For example:
Featured Products
11 UAH
BauTech bead blade for bicycle tires (plastic)
15 UAH
BauTech bead blade for bicycle tires (metal)
Comments (0)
x
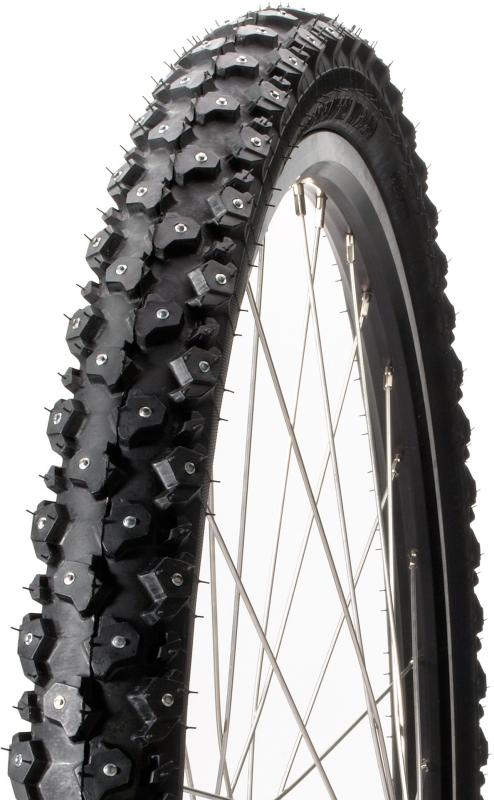
Many cyclists have become accustomed to the telltale hissing sound coming from tires. At any moment, your high-tech mountain bike can be put out of action by a simple thorn or a small piece of pebble.
Since the advent of pneumatic tires, this problem has haunted cyclists, tiring with the frequency of punctures and the amount of work needed to fix them. And only recently, bicycle tire and rim manufacturers have decided to create a universal tubeless system (UST).
This system is a sealed rim in which the holes for the spokes and the nipple are completely airtight. Also, the non-porous rim sidewalls have improved grip on tire walls that are thicker than conventional tires. During tire inflation, the air presses the tire bead (lower edge of the sidewall) into the corresponding groove in the rim flange, thereby sealing the contact between the tire and the rim.
Theoretically, the advantages of a tubeless tire include low weight (due to the lack of a tube, although tubeless tires are heavier than conventional tires), less pressure (providing better grip) and the absence of pinch punctures (also known as "snake bites").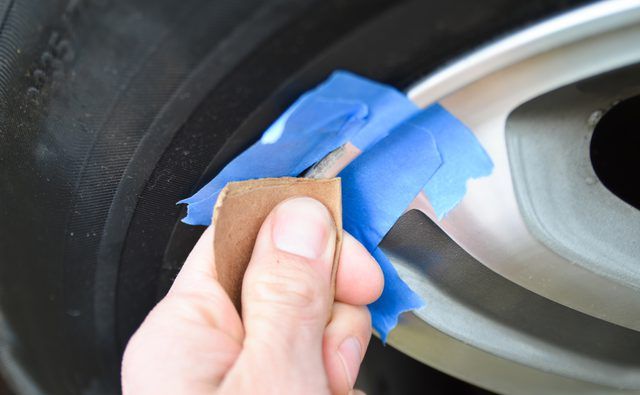 If you add some sealant to the system, then penetrating punctures will also be a thing of the past.
But what about a cyclist with conventional rims without sealing? Just buy a conversion kit, tubeless or Tubeless Ready tires and he can send his bike tubes to the dustbin of history.
Of course, you can only add sealant to a conventional chamber. In this case, you won't gain any weight or grip advantage, just add a little weight to the wheels, but it will help you avoid punctures and not spend money on new tubeless tires and a tubeless conversion kit. Read our guide to using Gremetic in chambers.
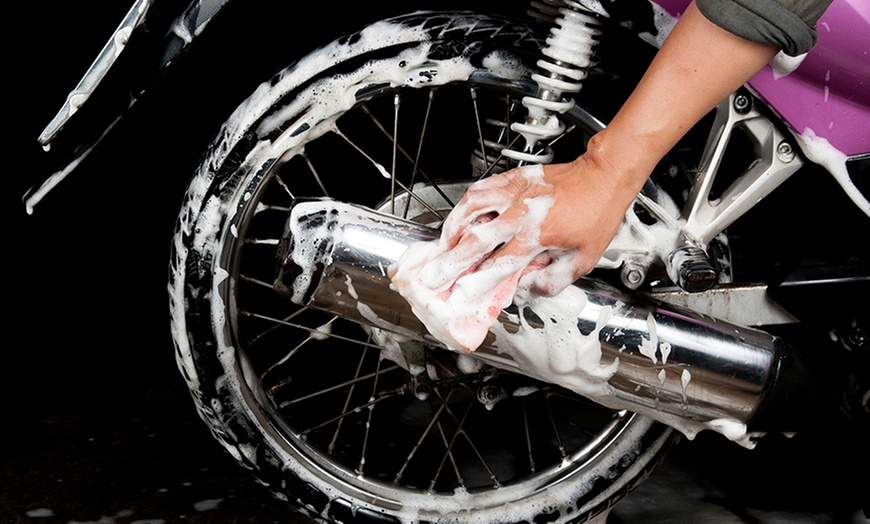
Remove the wheels, tires and tubes from the bike. If the wheels are old, greasy and dirty, clean them with hot soapy water or alcohol. The rubber tape will need to be taped to the spoke bed of the rim, so the rim needs to be clean and free of dirt so that the tape is snug against it.
Take the rim tape and unfold it so that the nipple is on the inside of the tape. Run your fingers around its circumference and check it for cuts, nicks, bulges, and proper molding that could cause air to leak. Even if the tire drops a few psi in a day, it can be very annoying.
Position the part of the rim tape with the nipple in the spoke bed, gently push the end of the nipple through the hole provided for it and pull it out the other side. The piece of tape near the nipple is slightly thicker and therefore difficult to install correctly, but it is important to install it correctly now so that you do not have to look for the source of leaks later.

Next, you need to install the remaining section of the rim tape in the spoke bed. This is easier said than done as the tape is tight against the rim. The easiest way to install it is with a screwdriver with a long thin handle. Position the screwdriver perpendicular to the rim between the rim and the rim tape. Slowly moving the screwdriver around the circumference of the rim, set the rubber band evenly in the spoke bed.
First of all, make sure you have a working nipple that does not let air through. Most nipples have a special threaded lock washer that screws onto the nipple body. The nipple usually comes with a rubber o-ring that needs to be installed between the lock washer and the rim. By flattening the O-ring, you will create an additional seal on the outside of the hole.
Now that the rubber rim is in place and lying in the center of the rim, you need to check the uniformity of its tension throughout the entire length of the rim. Air can leak between the rim and the rim tape if there are loose or tight areas on the tape. Again go around the rim with a screwdriver and equalize the tension of the tape. This will take a few minutes.
Tires from different manufacturers or even different models from the same manufacturer differ in installation complexity, quality and other characteristics. If the tires were not installed on the wheel, then first install them as usual with tubes, inflate to the maximum recommended pressure and leave them overnight. After that, they will be much easier to install and pump.
Place the wheel on your feet so that the nipple is at the highest point of the wheel (at 12 o'clock). First, place the tire beads near the nipple, then walk with both hands around the circumference of the tire (in different directions), loosening the bead over the rim wall along the way. Once you get to the very bottom of the wheel, leave an 8-inch section.
Some sealants can be applied without removing the nipple core, the spring-loaded piece that screws into the nipple body and allows air to enter the tire without escaping, but most cannot. Sludge Sealant can be injected without removing the core of the nipple. Removable core nipples are included in many conversion kits, but not all. The core must be unscrewed and removed. Be careful not to lose it as it can easily roll over furniture on the floor. If you have a nipple without a core to be removed, then immediately go to step 12.
Now that you have fully seated the tire on the rim and removed the nipple core, you can inject the required amount of sealant into the tire using the narrow liner nozzle. Shake the sealant bottle well before doing this.
After the sealant has been poured through the nipple, screw the nipple core back. Before screwing in the core, it is recommended to lubricate its threads with petroleum jelly, which will reduce the likelihood of jamming of the core or difficulty in turning it.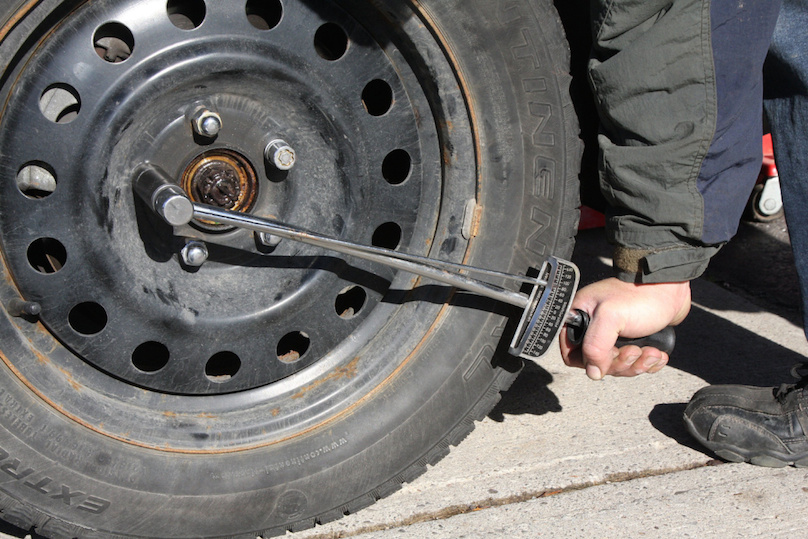
If you don't want to or can't apply sealant through the nipple, leave a small section of the tire bead exposed on the rim and pour sealant through it. Use a bottle with a nozzle to infuse the sealant, as a natural rubber tire is difficult to keep its shape. Suspend the wheel carefully so as not to spill the sealant from the tire.
To install the last section of the tire, carefully rotate the wheel so that the uninstalled section is on top. Now you can let the sealant spread all over the tire. Do not worry if a little sealant still leaks.
Start inflating the tires with the car pump until the tire beads press against the rim. When the pressure is too high (about 60 - 80 psi for UST tires and Tubeless Ready tires), the tire beads should click into place with a characteristic "clicking" sound. Be careful when handling this high pressure. Your tires are now tubeless.
Air can escape between the rim and tire. Raise the wheel, take it by the tire like you are holding a tray. Shake the wheel well so that the sealant spreads throughout the tire, reacts with the air and creates a thick sealing layer. Even if you skip this step, over time, the sealant will still spread on its own. Leave the wheel for 15 minutes, then repeat this step again. Air leakage should stop.
Hold the wheel up to your ears and listen carefully for air leaks. If a leak is found, then it is most likely a microscopic hole. Repeat step 15 and/or add more sealant.
The carcass of the UST tire is impregnated with special rubber to retain air. Tubeless Ready tires have thinner walls, which means they are lighter and less airtight.) They have a dockable bead needed to install them as tubeless. At the same time, Tubeless Ready tires can only be used as tubeless tires in conjunction with liquid sealant, but we still recommend buying UST tires.