by Chris Stevenson
Jupiterimages/Photos.com/Getty Images
Motorcycles require frequent cleaning regiments, since they constantly are exposed to the environment. Harsh UV light, moisture, road salt, mud, dust, tar, oils, oxidation, acid rain and other contaminants contribute to the deterioration of metals, plastics and rubber. Motorcycle tires endure the most punishment, since they have direct contact with water and caustic chemicals. Regular tire washing helps keep the rubber clean and chemical free. For those owners who wish to dress and blacken their motorcycle tires, a few techniques and precautions should be followed.
Stabilize the motorcycle on its utility kickstand, if it has one. Ensure the ground surface has a proper drainage angle and you have a water source with a high-pressure hose. To keep calipers, pads and drum lining dry, mask them off with plastic and duct tape -- if this is a thorough wash -- or be prepared to use compressed air to remove all moisture from brake parts and bearings areas.
Spray both motorcycle wheels with a high-pressure hose and nozzle. Remove the largest accumulations of mud, dirt and dust. Rotate the tires by pushing the motorcycle a few feet, then repeat the process. Mix approximately 1 to 2 ounces of mild dish-washing soap in a 1-gallon bucket of water.
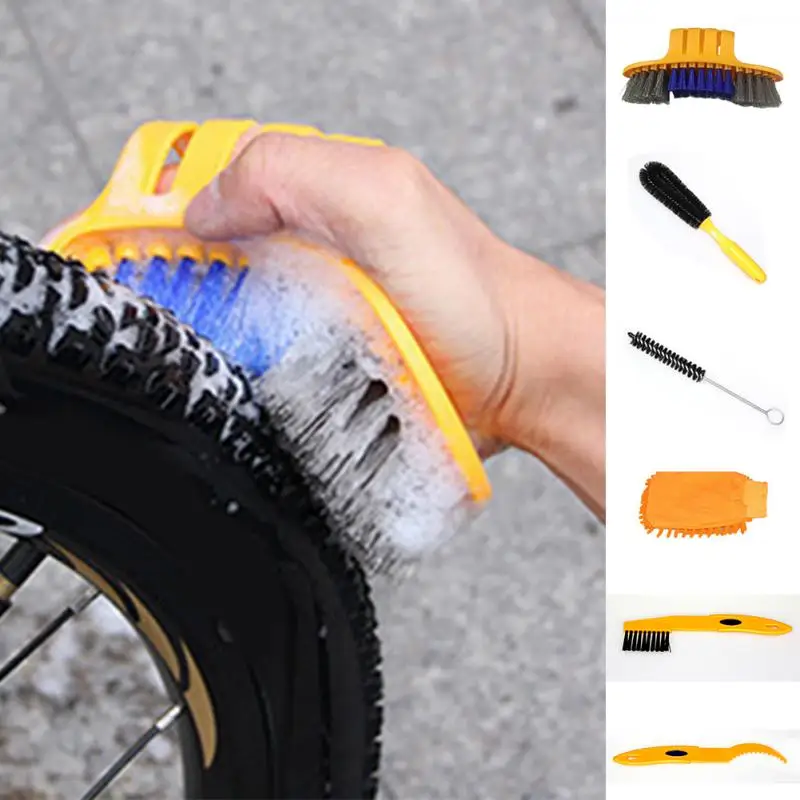
Wet a soft-bristle wheel detailing brush in the soap bucket and clean the rim and tire from the axle outward. If you have deep tar accumulations, heavy oxidation or brake dust contamination, use a spray-on tire cleaner or brush-on gel. Let the cleaner or gel sit for at least three minutes. Wash both sides of the rim and tire; move the wheel to gain access to hard-to-reach areas such as tires and rim sections covered by fender skirts.
Rinse the rims and tires with high-pressure water, until they are free of all soap or cleaner residue. Blow the rims and tires dry with compressed air and a nozzle. You must remove all water from crevices and deep pockets, paying extra attention to the axle seals, calipers, pads, or brake drums and lining.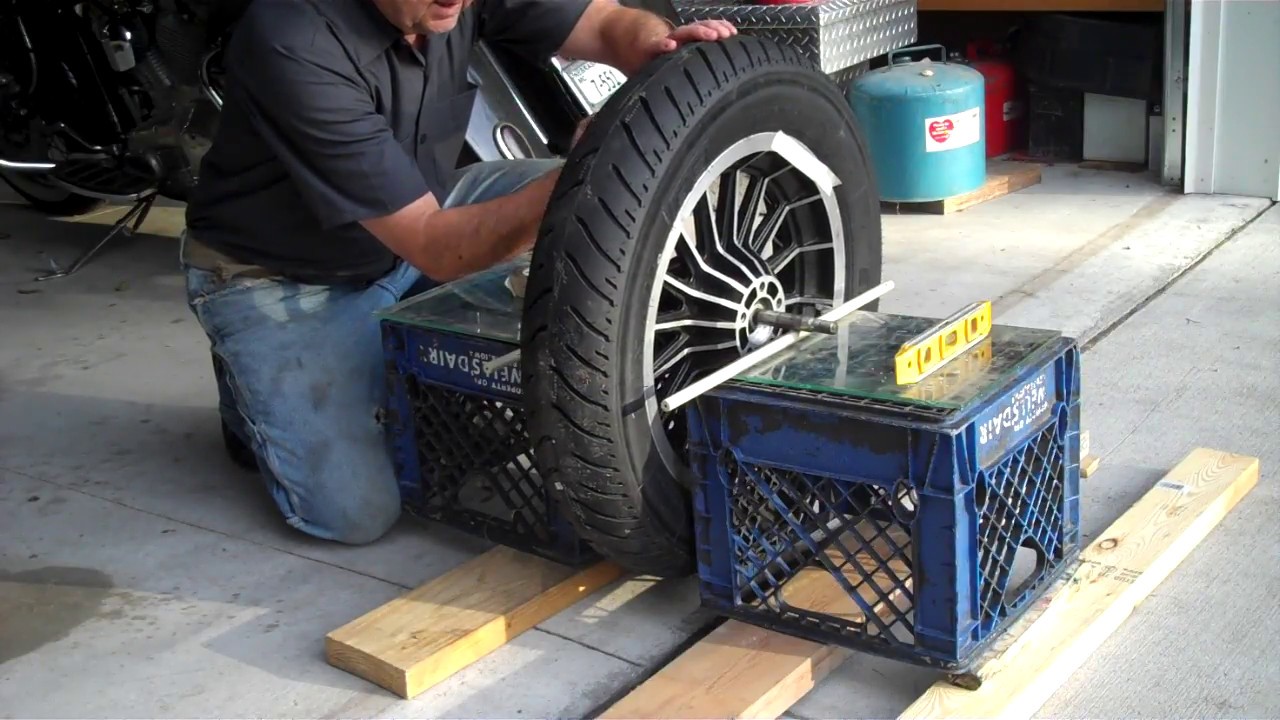 Move the wheel as needed to reach all parts that would serve as water traps. Finish drying the rims and tires with a microfiber towel.
Apply tire dressing (gloss finish) from a spray can or in liquid form onto an applicator sponge; dampen the sponge -- do not soak it. Wipe the tire dressing onto the tire's surface with smooth, even strokes. Do not apply tire dressing to the bottom edge of the tire tread. Stop at the bottom part of the sidewall, where it does not make contact with the ground, even allowing for a tire angled in a turn. Apply a light coat to the rubber, re-saturating the sponge as needed. Move the wheels after finishing one section.
Apply a small amount of tire dressing to the exposed rubber part of the valve stem, if desired. After wash and dressing application, roll the motorcycle and test the brakes. When riding the motorcycle after a wash and dressing, make shallow turns with no abrupt accelerations. These precautions ensure you have 100 percent dry rubber contact on the road surface.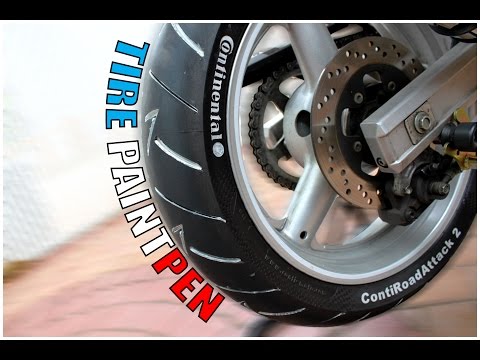
Tips
Things You'll Need
Warnings
 Apply it carefully and leniently by hand over non-contact outside tire edges.
 Writer Bio
Chris Stevenson has been writing since 1988. His automotive vocation has spanned more than 35 years and he authored the auto repair manual "Auto Repair Shams and Scams" in 1990. Stevenson holds a P.D.S Toyota certificate, ASE brake certification, Clean Air Act certification and a California smog license.
Apex Wheel Cleaner cleans brake dust and road grime from chrome, painted, polished and powder-coated wheels.
Use This To:
Formulated For All Motorcycles And Off-Road Quads
Apex Wheel Cleaner easily cuts through heavy caked-on brake dust with an intense yet gentle cleaner for motorcycle wheels, brake parts, and suspension components. The pH-balanced formula contains no strong acids nor bases, and is safe for all types of wheel finishes. Apex Wheel Cleaner safely cleans painted, chrome, polished, cast, forged, anodized, carbon fiber, and even laced motorcycle wheels.
Clean Tires For A New Look
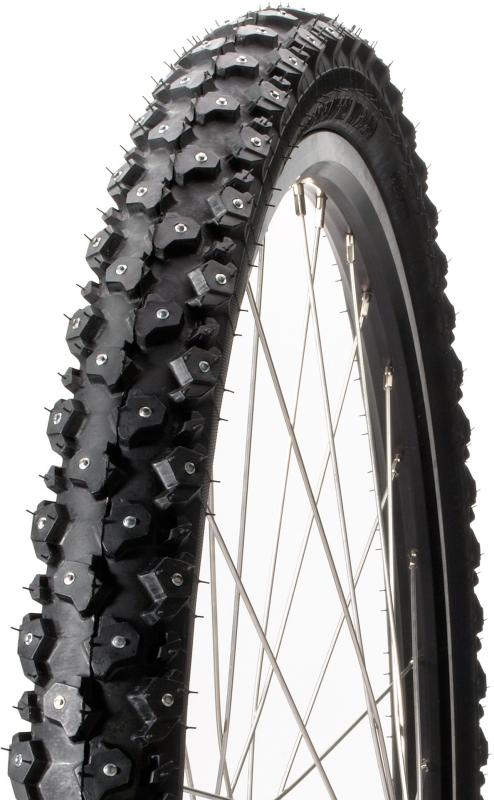
Tires are often overlooked during a detail, but cleaning and prepping them gives a squeaky clean and freshly reconditioned look. It is safe to use on all types of motorcycle tires, including sport street tires, race slicks, touring tires, studded ice tires, and nubby off-road tires.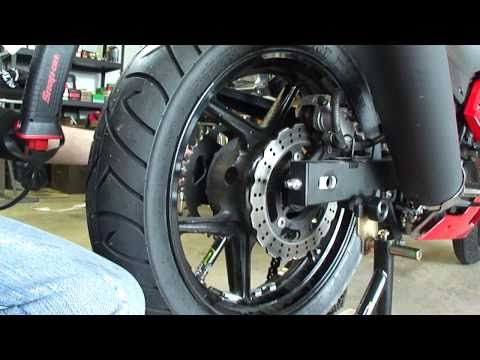 Whether the sidewalls get caked with burnt up rubber, intense road grime, or mud and pebbles from adventuring off-road, scrub it all out with Apex Wheel Cleaner to get your motorcycle tires looking brand new!
Show more Show less
Time
10 – 15 Minutes
Expertise
Beginner
Prep
Pre Rinse
California Ingredient Disclosure - Cleaning Products Right to Know Act of 2017
| Ingredient INCI Name | Ingredient CAS Number | Ingredient Category | Ingredient Function |
| Sodium Metasilicate Pentahydrate | 6834-92-0 | Intentionally added non-fragrance | Degreasing/Cleaning/Neutralizing Agent |
| Sodium (c10-16) Benzenesulfonate | 68081-81-2 | Intentionally added non-fragrance | Surfactant |
| Ethylene Glycol Butyl | 111-76-2 | Intentionally added non-fragrance | Degreasing/Cleaning |
Other Information
 1223/2009 as required to be labeled by the EU Detergents Regulation No. 647/2004.: None
Safety Data Sheet (SDS) for this product can be downloaded from our website. Please note that OSHA's Hazard Communication Standard has different disclosure requirements than California's "Cleaning Products Right to Know Act of 2017." Therefore, information listed in Section 3 of the SDS may not exactly match the information in this disclosure.
A mixture of water and soap will be the best ally for limpiar and their tires when they are moderately soiled, dusty or lightly soiled.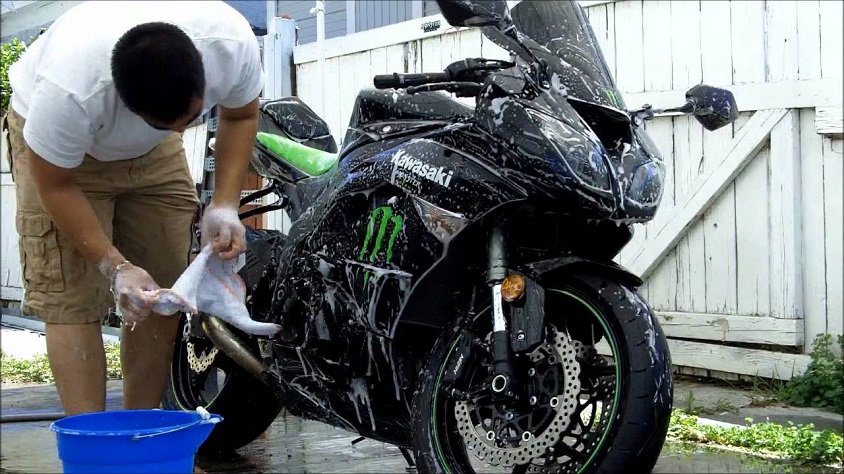
Wet a soft bristled brush in a bucket of soap and clean the llanta and tire from the axle and out. If you have deep tar deposits, heavy rust, or brake dust contamination, use an aerosol cleaner or brush gel.
Recommended ratio is 60/40 (60% glycerol to 40% alcohol) and even brush application. After its application, a shiny film will form on the rubber, which will give the tire a better appearance.
One of the cheapest and easiest home remedies to eliminate oxide mild with vinegar and a sponge, brush or microfiber cloth and wiping has been said. This is a home remedy that works, you just have to be consistent and patient and try not to use dishwashing sponges that can damage the surface.
First apply WD-40® to llanta or fabric and wait a few seconds. If llanta is very dirty, it is recommended to apply the agent directly to the surface itself. llanta . This product will help us remove scale grease and tougher dirt.
First a rag with kerosene, let it work for a while and remove it with a dry rag. Then with another dry rag you rub metallic glitter (they come in a pen and are not expensive, you can find them in any cleaning supply store) and they look like new, unless you missed the chrome ...
If you notice that tires turn yellow even after washing, sand the top layer of the white surface with fine sandpaper. Work slowly and carefully until you see a shiny white layer. Then flush tires with hose.
Soak a sponge or cloth in the first bucket of detergent and wipe the motorcycle with it, and then rinse it in the second bucket with fresh water to remove all dirt from the fabric in the water, then repeat the process until the motorcycle purely.
Mix a few drops of a mild cleanser such as soap. wash dishes and water in a large bucket. Choose cleaners without additives such as bleach because they can cause black paint to fade or discolor. Candles tires with a cleaner mixture.
With a mixture of equal parts - half water and half glycerin - you will get excellent results and duration of action of the liquid with good value for the price, although if you do not want to take risks, you can make a mixture of tossing 1/3 glycerin and 2/3 water.
If we find cracks or cracks, it's bad business. Water can seep through these grooves, oxidizing the wires of the structure, and even cause a blowout. Cracking is also synonymous with crystallization, the rubber hardens, loses elasticity, the grip will get worse and worse.
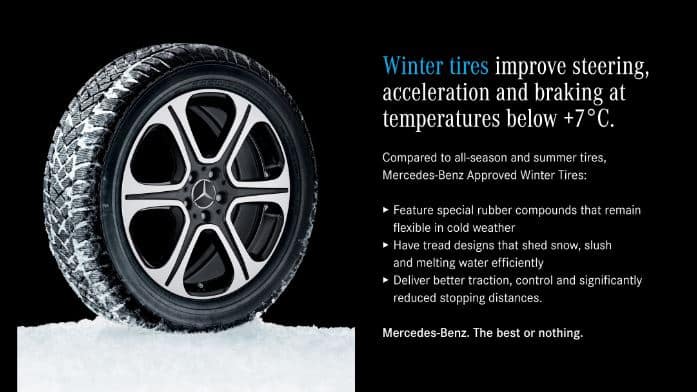
Exposure a extreme climate, improper use and high concentrations de the ozone in the atmosphere is depleted de to speed up the rubber and cause discs to fill cracks de . tires must maintain adequate air pressure de .
Toyota
Volkswagen
Skoda
Nissan
GAZ
BMW
Mercedes-Benz
Mazda
9000 Ford 9000 Ford 9000 Ford 9000 Ford 9000 Ford 9000 Ford 9000 Ford 9000 Ford 9000 Ford 9000 Ford 9000 Ford 9000 come into disrepair. But this can be avoided.
Related materials
You have never seen such tires: even the police were surprised
In the process of using a tire, a variety of damages can occur, most of which are the fault of the driver. As a result, rubber is wasted, and since the law prohibits the use of different tire models on the same axle, you have to spend money on replacing the second tire.
The most common damage is puncture . This is the most harmless type of damage, but only if you notice it in time and repair it right away. It is absolutely impossible to drive on a flat tire, even a couple of meters! The damage caused by running on a flat tire or with low pressure is catastrophic. This causes the sidewalls to deform more than they should, which causes the tire to overheat, delaminate, and the carcass becomes unusable due to broken cords. As a result, the tire will have to be thrown away. In addition, the edge of the rim can also be damaged.
Punctures are of two types: with and without cord damage. To determine this, it is necessary to remove what pierced it. If the edges of the puncture tightly converge, then the cord is not damaged and it will be possible to repair the tire without removing it from the disk. Otherwise, if the edges do not converge, you will have to disassemble the wheel and make repairs with strengthening the frame from the inside. Alternatively, in the field and in the absence of a spare wheel, such a puncture can be repaired without removing the tire from the rim, after which you can carefully drive to a tire fitting or garage and make a full repair.
Related materials
Is it possible to pump up a wheel without a compressor - the experiment "Behind the wheel"
When repairing, the puncture site should be cleaned and marked. Further, it all depends on what kind of repair kit you have - as a rule, instructions are attached to them. There are sealants that are poured into the tire through the nipple, after which the wheel turns with the puncture down and the substance seals the hole. Repair using a tourniquet or insert is somewhat more complicated, but also more durable: the edges of the hole are polished with a special tool, after which the tourniquet treated with a special compound must be inserted into the tire through a puncture with a special awl, pulled out (not completely) out and cut flush with the surface.
In case of cord damage due to a puncture, the tire must be removed from the rim in order to install a reinforced patch with additional cord on its inner surface. One of the sides of such patches has an adhesive layer that promotes cold vulcanization. After such a repair, wheel balancing will be required. To seal punctures from the inside, patches in the form of a mushroom are also used, with a leg that goes into the puncture. Such patches are also covered with a special adhesive for cold vulcanization.
Cuts or holes , unlike punctures, are not repairable, as they violate the integrity of the frame, which can no longer be strengthened.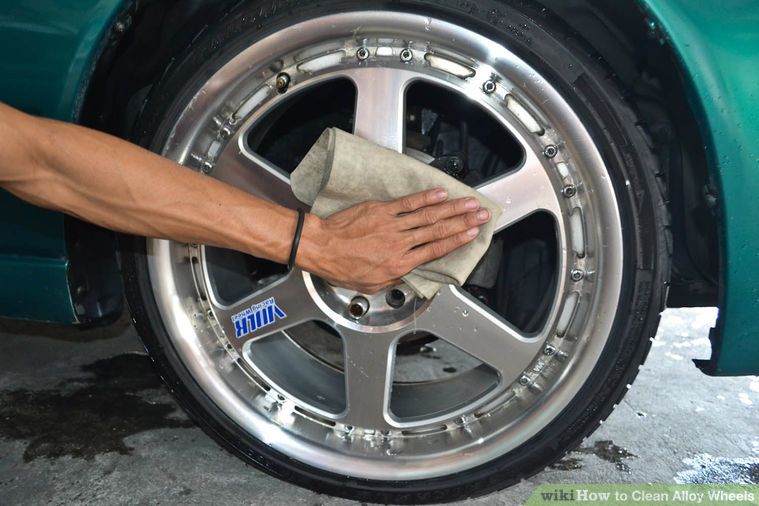 In addition, breakdowns are always sudden and occur on the go: the tire abruptly loses pressure and before the car comes to a complete stop it has time to make several revolutions “on the rims”, which breaks the cord and destroys the layers. It is not recommended to use such a weakened tire, even if it was possible to repair and strengthen the place of the rupture or cut, in the future.
Related materials
8 tire storage rules - do you follow them all?
Incorrect storage of tires can cause cracks . The danger of such damage is that moisture enters the cord through cracks, which renders the frame unusable. In addition, air can escape through cracks. Unfortunately, cracks are not repairable, and tires with them will not last long: sooner or later they will deform, become covered with swellings due to rusted and torn cord or because of driving with pressure below the recommended one.
Blisters or bulges can appear on a tire for a variety of reasons - it always happens due to a broken cord or delamination in the carcass.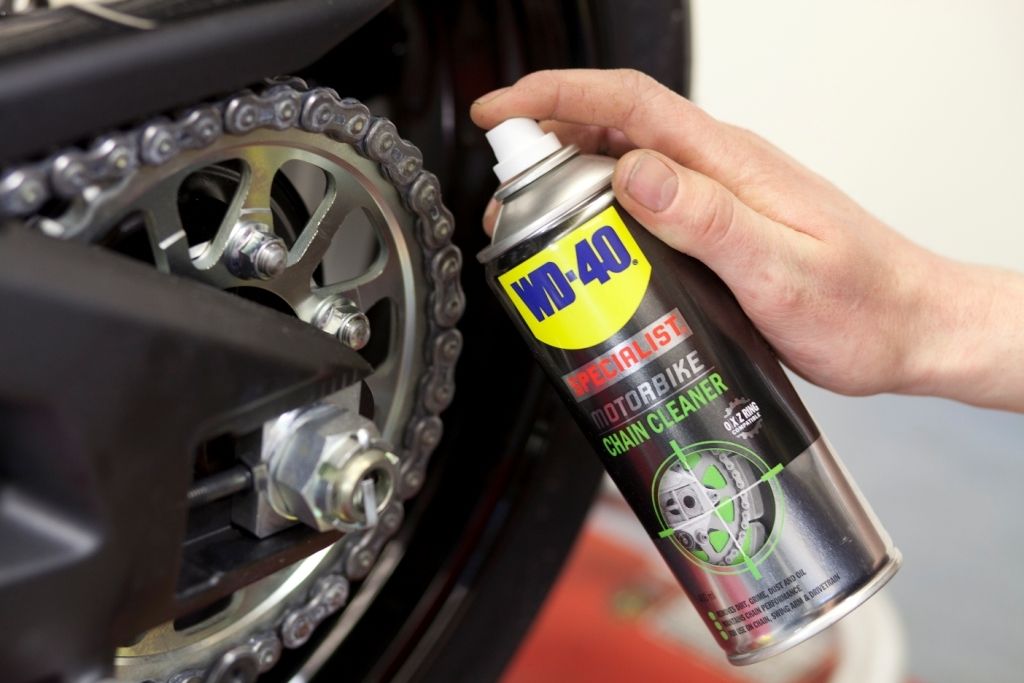 In the first case, an obstacle was hit and the impact broke the cord or the cord was cut through with a sharp object. In the second case, there is no damage on or near the hernia, which means that it appeared either due to a factory defect, or due to frequent driving with pressure below the recommended one. The danger of hernias is that they can explode at any moment and provoke a skid, which will lead to an accident. If there is nothing to replace a tire with a hernia, then it is better to rearrange it to the rear axle and drive very carefully. Like cracks, a hernia cannot be repaired. Sometimes small blisters resulting from impacts or cuts are reinforced with reinforced patches, but there is no guarantee that the tire will not explode. Therefore, tires with hernias are recommended to be replaced immediately.
Related materials
Tire blackening - 6 ways to polish. Inexpensive!
Tire sidewalls can be damaged by rubbing against curbs or the asphalt edge when pulling over. If you are prone to such a driving style, then it is recommended to inspect the inner and outer sidewalls from time to time and, if abrasion is found, swap the wheels in order to prevent the cord from being exposed - the rubber thickness on the sidewalls is small (1.5–3 mm), and it can be rubbed to the frame very quickly.
Often the cause of tire damage can be poor-quality tire fitting , during which the bead ring was damaged. In this case, the tire loses its geometry and “sits” crookedly on the disk - it writes out “eights” during rotation, and lateral vibration appears during the ride. It is impossible to repair such a tire - you need to replace it with a serviceable one as soon as possible before it damages the suspension: rods, hubs and bearings.
You can find out whether you are using tires correctly and what invisible damage they have received by the characteristic wear of the tread, the varieties of which are collected in the table for convenience:
Double side shoulder wear
Driving with less than recommended tire pressure.
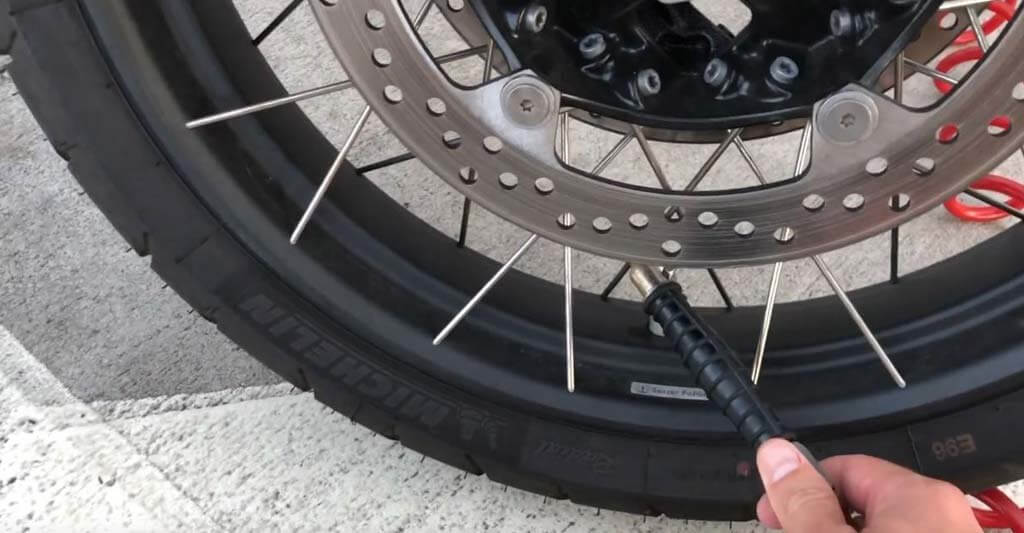
Inflate the tires to the pressure recommended by the automaker (a plate with recommendations is attached in the driver's door opening) and find the cause of the fall: puncture, cracks, hernia, nipple, rust on the rim of the disc in the place where the tire fits, etc.
Center wear
Tire pressure too high.
Reduce the pressure to the recommended (indicated on the tablet in the driver's doorway)
Distance in the form of rings and furrows
can be found on trailers or rear wheels of pickups and vibrations due bouncing at high speeds.
Changing wheels on a loaded axle to equalize wear, driving with a heavier load.
Chipped wear with cuts
Move the wheels to a non-driving axle, use the gas pedal more carefully when starting to move.