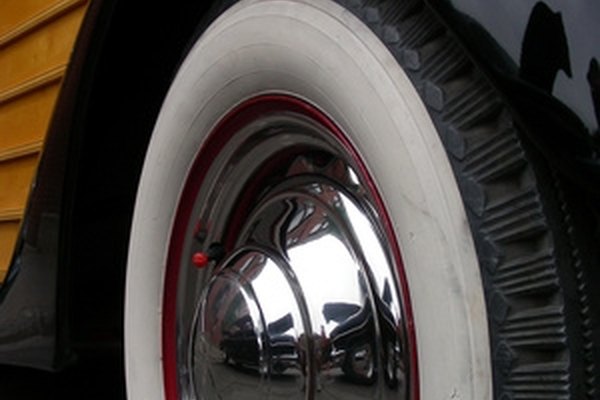
Colorful tires do a lot for your bike’s aesthetic. Whether you’re going for a classic whitewall look, you’d like to remove a pesky brand name or decoration on your tire, or you’re trying to make your bike look more colorful, painting your tires can help you snazz up the exterior of your bike and let you make the statement you want. Here’s a quick guide to everything you need to know about painting bike tires, from the type of paint you should use to the process of painting.
It is possible to paint bicycle tires to give them a custom look. Acrylic paint is typically the best type of paint for this job as it is the most durable type of paint, but if you want to have the option of removing it in the future, latex paint is a better choice. You must avoid oil-based paints as they will damage your tires.
You can definitely paint your bike’s tires, but you might want to think about other options before you start.
While it might seem like a simple process, painting your bike tires requires a fair amount of due diligence to get done correctly, which consists of:
After everything’s all done, your tires will bend and stretch as you ride, dramatically eating into the lifespan of your paint.
Worse, the tools you’d normally use to remove old paint (sandpaper and paint stripper) are not things that you want anywhere near your bike tires.
This means that painting your bike’s tires can be a questionable option if you plan to ride frequently for a long time and you don’t think you’ll want to replace the tires after a year or two.
Here are the key questions you’ll want to ask yourself when considering whether or not to paint your bicycle tires.
If you’ve got a low-end bike with the tires from the factory, you probably won’t mind replacing your tires if something goes wrong during the painting process or after the paint starts to visibly wear.
If you just picked up a new set of fancy tires for your commuting bike, however, you might want to hold off on the painting process until they’re a bit older and closer to the end of their lifespan.
Be sure to actually check the prices on new tires for your bike, as fat tires and a few other variants can be a lot more expensive than you might think.
Air-filled tires are supposed to deform and bend as you ride. This means that any surface of your tire that you paint, even the sides, will be subject to expansion and deformation as you ride.
The more you ride, the more cycles of bending and straightening your paint will undergo. This is generally not a thing that paint likes, even paint that’s designed specifically for this sort of use.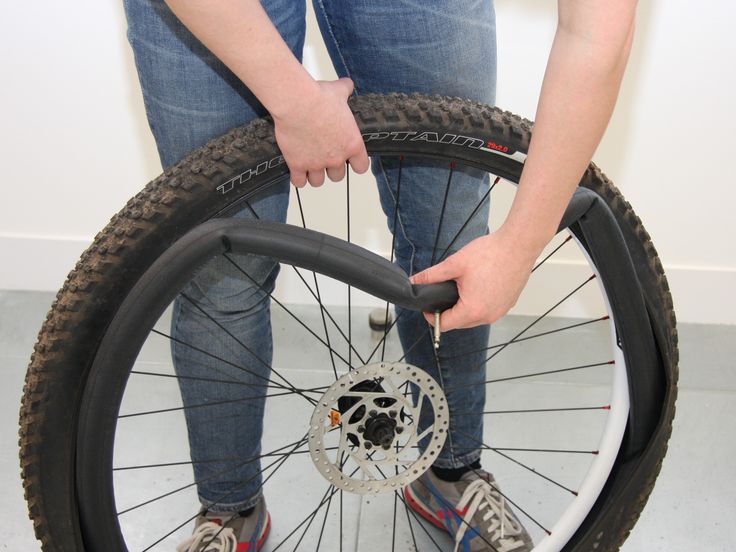
Over time, these cycles mean your paint will peel and crack, potentially making your tires look worse than they did before you painted them.
If you ride a lot, this is probably a big concern. Not only will your paint wear out faster, but you’ll have to endure the fading aesthetic for more hours on the road or trail. If you don’t ride as much, you’ll find that your paint wears out a lot slower, making painting your tires a more realistic option.
If you’ve determined that painting your tires is the right option, the first step in the process is to select an appropriate paint.
Some types of paint, including most oil-based paints, include chemical solvents that will eat into the surface of your bike tire, weakening the rubber and causing irreversible long-term damage.
This makes it especially important to find the right paint before you begin.
Latex paint is probably the safest option for your tires, but it doesn’t bend well, making it a poor long-term candidate. It’s very easy to clean off mistakes, however, so if you’re unsure about painting your tires it’s a good place to start.
Acrylic paint is more flexible than latex paint and tends to stick to rubber quite well. The downside of acrylic paint is its longevity. Unlike latex paint, which can be washed off with soapy water and some scrubbing, acrylic paint will require chemical solvents to remove.
When your paint starts to crack – and it will, eventually – you’ll find it very difficult to remove acrylic paint without damaging your tire.
Whatever you do, do NOT use oil-based spray paint on your bike tires.
If you’re unsure about what type of spray paint you’re looking at at the store, try to find an employee and ask for help deciphering the labels and finding the right spray paint for your bike tires.
In terms of application, spray paint is always the best type for an even coating, but you need to be aware that spray paint comes in many forms, including acrylic, epoxy, and oil-based, so don’t just grab any spray paint as it may be the wrong type for your need.
No matter what paint you choose, you’ll want to find a compatible primer to help your paint stick. Be sure to avoid any oil-based primers or primers that have solvents that will eat into rubber. Just like with spray paint, if you’re unsure, ask someone at the paint store for help.
Before you go any further, be sure to thoroughly study any labels on the primer and paint you’ve chosen.
You don’t want to be surprised at a later step when you find out that your paint is incompatible with your primer or that you need to perform a special set of steps for the paint you’ve chosen.
Finding out that your paint won’t work after your second coat of primer has dried is no fun at all.
After you’ve found the paint, you’ll want to thoroughly clean the area of your bike tire that you want to paint (usually just the sides).
Start with some soapy water and a rag, then very lightly abrade the surface of your tire with some sandpaper. Next, take some rubbing alcohol and a clean rag and remove any residue from your tire before starting to prime.
If you’re painting your sidewalls, you’ll probably want to lay your tire flat on its side so that it’s level, ensuring that paint doesn’t drip down in one direction.
Once you’ve got your tire situated and secure for painting, take some masking tape and mask off any section of your tire or rim that you don’t want to get paint on.
Paint is a pain to clean up, so you’ll probably want to take masking very seriously. This might involve masking off your rims, wrapping your spokes with tape, and laying protective strips all around your tire above the sidewall.
Now that your tire is masked, it’s time to apply primer.
Be sure to read the directions on your primer and make sure that you’re covered in terms of preparing the surface of your tire, then apply the primer as per the instructions on the label.
Some primers need to dry completely before you paint over them, while others work best with more than one coat. Again, read the directions and follow them for the best results.
With your tire primed, it’s time to paint. Go slow, apply the paint evenly, and be willing to come back for a second coat.
Two thin coats usually look a lot better than a single thick coat.
After you’ve got your paint applied, wait for it to dry, repeat any steps as needed, and then enjoy your result!
There are two problems with figuring out the exact effect of paint on bike tires.
First, the folks who ride their bicycles for thousands of miles a year don’t generally paint their tires. This makes it hard to find accurate reports on various combinations of paint type and tire type.
Second, tire wear is affected by a number of factors, including your local climate, the surfaces on which you ride, how inflated your tires are, and where your bike is stored.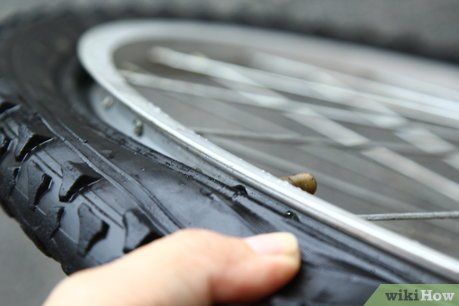
We can say two things for certain.
First, any oil-based paint or paint that contains solvents that eat rubber will wear out your tire.
Second, tires that have been painted will eventually start to have cracks and other visible erosion in the paint. With flexible acrylic paint applied to an old set of tires, it’s very likely that your tires themselves will wear out before your paint does.
With stiffer latex paint applied to new tires, you’ll probably find yourself washing the paint off of your tires long before the tires themselves show signs of serious wear.
In general, it’s probably a good idea to avoid painting particularly expensive bike tires, especially new ones, unless you’re very sure you know what you’re doing.
Painting bike tires is possible – although it isn’t advisable – as the chemicals in some paints can damage your bike tires. There’s also no guarantee that the paint will not peel off, as even a single bump caused by a pothole can ruin your work.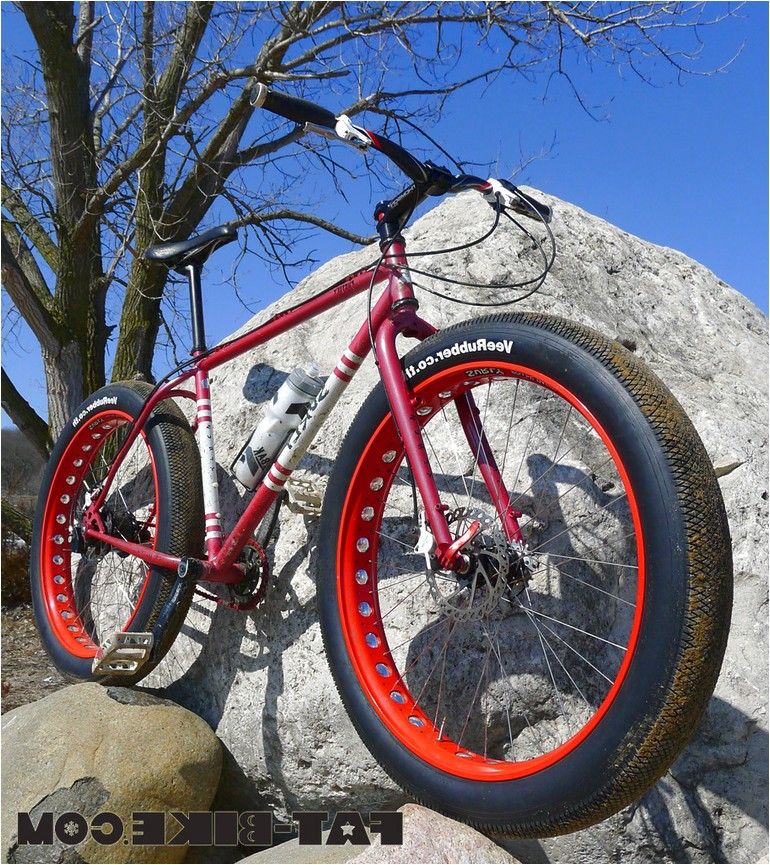 If you don’t plan on using your tires for anything beyond decoration, then go for it. But if you still want to ride the bike, it is much preferable to simply buy tires in your desired color.
Buying tires in your favorite colors directly from the manufacturer guarantees you long-lasting tires that won’t be damaged or peeled during use.
Why Paint Your Bike Tires?Tires could surely be painted for the sake of aesthetics – something is truly awe-inspiring about a full-color bike in your favorite shade. As wonderful or eye-catching as it would be, it is still not a good idea to paint your bike tires for use – instead, get the tires from the manufacturer in the color you want. Remember that painting the tires can cause damage to your bike because of chemicals contained in the paint.
This is a decision that must be made carefully, as many oil-based paints may dissolve the tire material. If you still want to paint your tire, the best kind of paints would be acrylic paints. Be ready to buy one of good quality. Settling for the cheapest may not be favorable in the long run.
A good quality acrylic paint ensures that you don’t have to worry about the paint falling off rubber tires, as acrylic paints stick more easily to them. To get the paint to adhere to the tires, first apply a spray primer to ensure a longer lasting application. Acrylic paints, compared to traditional car paints, are wonderful.
The whitewall tire can be a classy option. Whitewalls give your bike or vehicle a different, shinier look.
There are two options you could choose from to realize the dream of a whitewall tire. One option is to choose whitewall rubber strips, and though these might be a bit expensive, they can also withstand more extreme conditions and daily wear. Ensure that before application you clean the area for the strips thoroughly, until free from any kind of dirt or oil. Then, simply apply glue to the cleaned area and place the rubber strips. Apply pressure for two minutes, then inspect to ensure there is no oozing or leakage.
Next, the alternative to whitewall rubber strips is a can of specialized whitewall paint.
Besides spraying, you could also brush on whitewall paint. The paint is not water-based and formulated to stick to rubber and industrial surfaces, so it is preferable. As usual, you will need to clean your tires thoroughly before you proceed. Depending on your setup, it may be easier to remove the tire for application.
Use masking tape to help you define the area you want to paint. Carefully cover your rims to protect them and let only the area you want to paint be visible. Then, simply proceed to apply the whitewall paint with a paintbrush, but don’t hurry this process, so you don’t end up having uneven tones.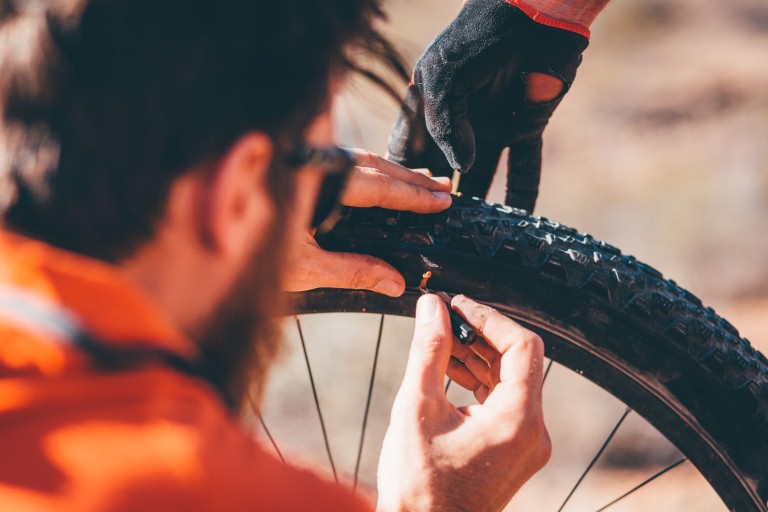 Let the paint dry.
Depending on your work, decide if the first coat of paint you’ve applied is enough. If it isn’t, you can go ahead to apply a second or even a third coat. Once it is dry, you can take off the masking tape and assess your results, scraping back gently as needed.
Revive Yellowed Bicycle Whitewall TiresYellowed tires may develop on older tires as a result of wear and tear or just dirt. It is absolutely possible to remove the yellowing from your whitewall. Though the tires won’t automatically become brand new, they will become more pleasing to the eyes, and more familiar through a little elbow grease.
You can buy specialized products and solvents for cleaning whitewall tires, or you could use a more inexpensive method. This latter method requires you to use either bleach or a generic washing product. Start by carefully spraying the bleach along the yellowed part, and then brush that area vigorously. At this step you should remove and dismantle the tires because bleach can cause damage to rims and other metals.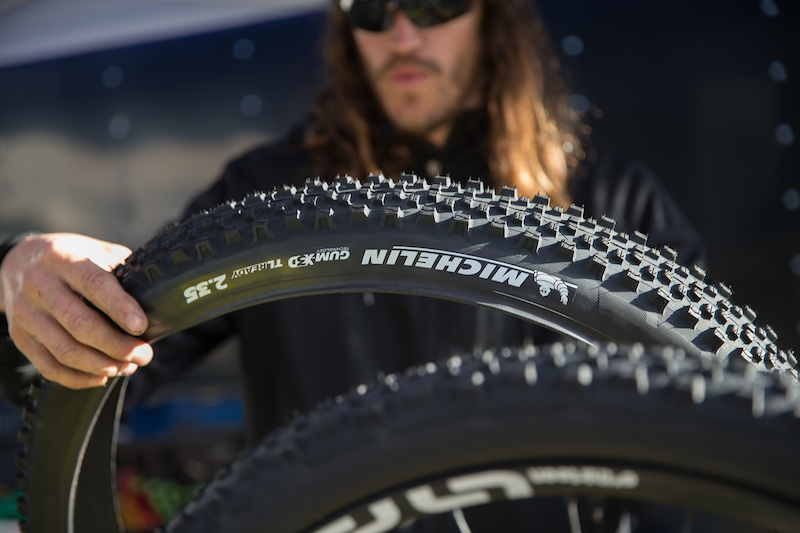 Scrub until satisfied and rinse thoroughly. Another way to prevent your whitewall from turning yellow is by washing your bike more frequently.
https://easyb.org/what-kind-of-paint-will-stick-to-rubber-tires/
Contents
If you have a nice old bike that you want to bring back to life, then it probably needs painting. This article is about how to paint a bike at home. Why buy a new bike and spend money if the old bike after repair will look like new.
To paint the bike we will need:
First of all, remove all components from the bike that do not need to be painted: saddle, derailleurs, cables, etc. When disassembling the bike, be careful not to lose small parts. They can be folded into a zippered bag. Complicated parts can be photographed so that you know what to do with them during the assembly of the bike.
Frame, handlebar, stem and seatpost need painting. You can also paint smaller parts, such as brakes, but first you have to disassemble them.
During the dismantling of the bike, it is also possible to determine what is worn out and needs to be replaced.
First, remove the entire body kit, and then remove the handlebar, front fork and seat post. By completely disassembling the bike, we will simplify the painting process.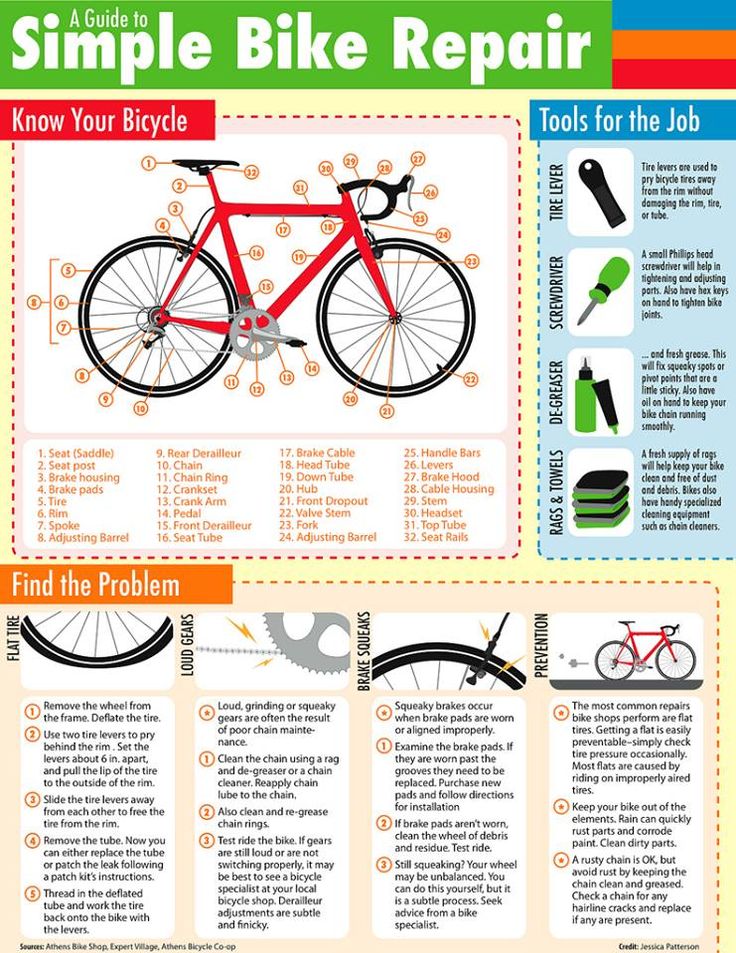
Use a razor to remove all stickers and other badges, such as the manufacturer's logo, from the bike. They can be cut or simply scraped off. Remove the rust from the bike and then clean it with alcohol-soaked paper towels to remove any grease and dust that may have been left by sanding.
Apply tape to areas that need to be protected from paint, such as bottom bracket and steering column bearings. Or you can just take them off.
You also need to make sure that the place where you are going to paint the bike is clean and free of dust as much as possible. Make sure there is no airborne dust that can get on wet paint and ruin all your work. In addition, you need to hang the frame so that you can paint it completely in one go. In my case, I hung the bike in the garage on a beam, which helped me out more than once. Before that, I also removed the car and everything superfluous. Hook the bike to the hard wire and hang it on the beam.
Starting to prime the bike. Before applying a primer, first read the instructions for it. Be sure to provide good ventilation. Don't neglect her. Vapors are very harmful to health. Warnings about this are written in the instructions for a reason. If you are working indoors, you can open the door and turn on the fan. If during work you feel unwell or slightly dizzy, then stop working and go out into the fresh air.
The primer should be sprayed from the can in long, smooth strokes at a distance of 25 cm from the object. It's best to start at the frame tube and bottom bracket joints, as these are the hardest to get to. Apply primer in thin coats rather than one or two thick coats.
After applying the primer, sand the frame to get a really smooth finish.
When the primer is completely dry (drying time is indicated in the instructions), you can proceed directly to painting the bike. If you decide to paint the bike in two colors, then first decide which color you will paint first. Usually the light colors go first. The second paint can only be applied after the first paint has dried. On my bike, I painted the frame in one color, and the fork and handlebars in another, thereby emphasizing my individuality.
After the paint is dry, you can remove the tape from the bike. Just make sure to apply the paint in several layers first, as indicated on the can.
Allow the bike to dry thoroughly for a few days before assembling. By doing so, you will reduce the chances of damaging the wet paint during the bike assembly process.
Assemble and adjust the bike. Ride on it.
After about two weeks, you can start varnishing the bike, as by this time the paint has completely hardened. Although it may take longer in cold weather.
Now you have a bike that looks like new and that cost you very little.
Source
How to spray paint a bicycle at home? Video how beautifully repaint the frame is great in a different color.
Coloring the bike yourself is quite simple, but the process takes quite a lot of time, as it consists of several steps. The process of applying color itself takes the least amount of time, and everything else is spent on thorough drying of the parts.
You should approach this case responsibly and study all aspects related to it, as well as carefully consider not only the procedure itself, but also the preparation for it. How to repaint a bike at home?
Before changing the color of the bike, it is necessary to remove all accessories from it and, if possible, disassemble it. Remove wheels, shock absorbers and those parts that are not planned to be painted. What is not removed can be carefully sealed with masking tape. They should also seal the threaded areas, so that later there would be no problems with tightening the nuts due to the interfering layer of pigment.
You can start this whole process with the most basic - the bike frame. And then take up the fork, bike handlebars and other details. The first step is to remove the factory paint. To do this, you can use a special solvent. After that, you need to polish the frame with sandpaper to level the surface. It is best to do this first with a medium-grained sandpaper, and then with a fine one.
In order to make it more convenient to color the bike, the frame or other part must be suspended so that it can be approached from all sides. To keep the pigment better, it is necessary to apply a thin layer of primer. After treatment, the bicycle frame should be left to dry for the period of time indicated in the instructions for the primer. After that, you can again gently sand the surface with fine sandpaper.
The primer should be applied in several thin layers. Before each new coating, it is worth waiting 15-20 minutes before the previous layer dries. After priming, the surface should be degreased so that the paint adheres better to the bicycle frame and other parts.
Dents, scratches and various abrasions can be hidden with mastic or special putty. To make the surface smooth, it is worth sanding it with sandpaper before painting with a primer.
When choosing a primer, pay attention to factors such as the degree of susceptibility to corrosion. For the long life of a bicycle frame, you should choose one that is designed specifically to protect metal. In the room where you are going to change the color of the bike, there should be no dust, as it can stick to a fresh layer and ruin the whole result.
Surface priming is a very important process. It helps the paint adhere better to the metal surface so that it is evenly distributed and not dripping. In addition, it protects against corrosion, which is very important for metal frames, so this important step should not be neglected.
Once the base has been applied and dried well, the bike can be painted. To do this, you can use ordinary car paint from a spray can. It is quite convenient to use, and it is easy to find it in any specialized store.
The paint is applied in a thin layer in several stages to obtain a homogeneous coating. The paint should be applied in small short strokes at a distance of 15-20 cm from the surface. It is usually recommended to leave the painted product for a day, but it is better to give it more time to dry better.
It is best to leave the bike frame and other parts hanging to dry in the position in which they were painted. If this is not possible, you should carefully lay the frame, for example, on newspapers or film, so as not to damage the layer of fresh paint.
After complete drying, the paint should be polished with zero sandpaper, moistened with water or glass cleaner. The surface of the bike frame must remain damp during this entire process. Polishing will prepare the surface for the next stage - varnishing. It is applied in two, or better, in three layers and dries for a total of about a week.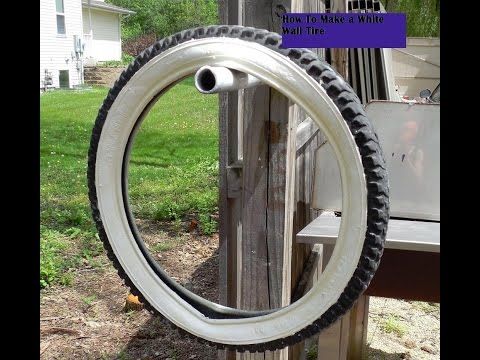
Do not assemble the bike ahead of time, as this may damage the freshly painted surface. You should wait a while, but it’s better not to touch the bike for a couple of days longer than the paint or varnish manufacturers advise - then there will be confidence that the fresh coating will definitely not be damaged when assembling the bike.
Source
Message sd » Dec 27, 2010, 18:17
I want to paint a wheel. Couldn't find anything on the Internet. Maybe someone painted, is it possible to remove the old chrome from the rim without sandblasting and paint it? The chrome hasn't been damaged and is holding strong.
The spokes are rusty, the rust can be easily removed with a zero. Is it better to polish them, or is it easier to paint them with some black paint that will not fly around?
I would like to get such wheels as a result.
Message Dantist "Dec 27, 19:11
Message Sarge " Dec 27, 2010, 19:38
I painted. Search use.
Message sd » 27 Dec 2010, 21:10
Thank you. I was looking for a rim, that topic was not there.
With the spokes even more or less clear: sanding, rust converter with phosphoric acid, primer and paint. But what kind of primer and paint? In one service they said that they would not paint it, because ordinary paint would fly off. But I often read that they paint.
Message Demige » 27 Dec 2010, 21:17
The spokes on the wheels are galvanized, as far as I know. Ie xs how the paint will hold on them.
Message Sarge » 29 Dec 2010, 23:18
Message KOVROVETZ »December 30,
Message Dantist »December 30, 19:19
Message Goba79 » December 30, 22:08
Message Dantist "December 31 Dec 2010, 19:11
9,0000002Message favn » Dec 31, 2010, 07:20 pm
It's better to ask the professionals about coloring.
Source
HOW I PAINTED the wheels on my MTB STREET
Paint BMX tires/BMX life hack
TEST 2 How to paint the letters on the tire. Hooray! There is a good result!
how to paint bmx wheels
#bmx #dimagordey /How to paint bmx rims
How to paint a bike in 5 minutes?
How to make whitewalls on a bicycle (how to make a white wall tire bmx) VELO TUNING #3
How to remove rust on a bicycle wheel rim
TEST 1 BIKE?
For a true biker, the design of an "iron friend" is as important as perfect technical condition. Over time, the technique loses its original splendor: the coating becomes dull, the appearance is spoiled by scratches, cracks, chips. The way out is to paint the bike. At minimal cost, you get new-looking equipment. In addition, painting bicycle parts provides practical benefits. A high-quality coating protects the metal from the negative effects of moisture, eliminates the appearance of rust and significantly extends the life of the "iron friend".
What color to paint the bike is purely a matter of taste. Keep in mind that the overall impression is determined by the color of the frame. It is she who touches the tone, and the wheels, steering wheel and trunk are only accents. Painting a bicycle frame in a dark shade is a choice in favor of the classics. To be the center of attention, choose bright acid colors.
Ideally, painting a bicycle frame and other parts requires a complete disassembly of equipment. If you have the tools, the place and the time, you can do without professional services. After disassembly, all elements must be treated with sandpaper to remove old paint and rust. The next stage is priming, without it the paint will lie unevenly and quickly peel off. When choosing what paint to paint the bike with, stop at spray cans - you will need 1-2 bottles for all parts. For ease of spraying, the elements are suspended, after which the paint is applied in 2-3 layers, with each layer needing to dry completely before applying the next. At the final stage, the details are decorated with stickers and varnished (also from a balloon).
If there is no time and locksmith skills, you can paint the bike without dismantling. Parts to be painted must be cleaned and primed. In order not to scrape the paint from the mechanisms, steering wheel and spokes after work, they must be wrapped with plastic wrap (the spokes can be smeared with oil). The paint from the cylinder is sprayed in layers, as in the variant with disassembly. In general, the method is relatively fast, but does not give a full-fledged result - it is almost impossible to paint hard-to-reach places with high quality.
Painting vehicles by hand is labor intensive and cost savings are dubious, as much of the paint is wasted when sprayed from a can. Plus a lot of time wasted: you need to cover the floor of the room and protect the walls, disassemble the bike, clean the parts, dry each layer of paint and topcoat for one to two days.
Moreover, painting a bicycle frame by hand is not durable. Paints from a spray can lay unevenly, thin spots quickly peel off, and the metal begins to rust. To eliminate such consequences allows powder painting with dry polymer coatings. But this technology requires specialized equipment and is performed only by specialized companies.
In powder coating, electrically charged particles of dry powder are first sprayed on the surface of the product, then the product is sent to the polymerization oven. Under the influence of high temperature (150–220°C), the paint particles are sintered together and form a durable, perfectly even coating that is resistant to moisture, mechanical damage and road chemicals. High-quality materials of well-known brands, applied in compliance with the technology, create a coating with a service life of up to 30 years.
Before painting a bicycle, professionals completely disassemble the equipment and make sure to mask the holes with heat-resistant tapes, because even a thin layer of paint in the wrong place will prevent the bike parts from being tightly joined during assembly.