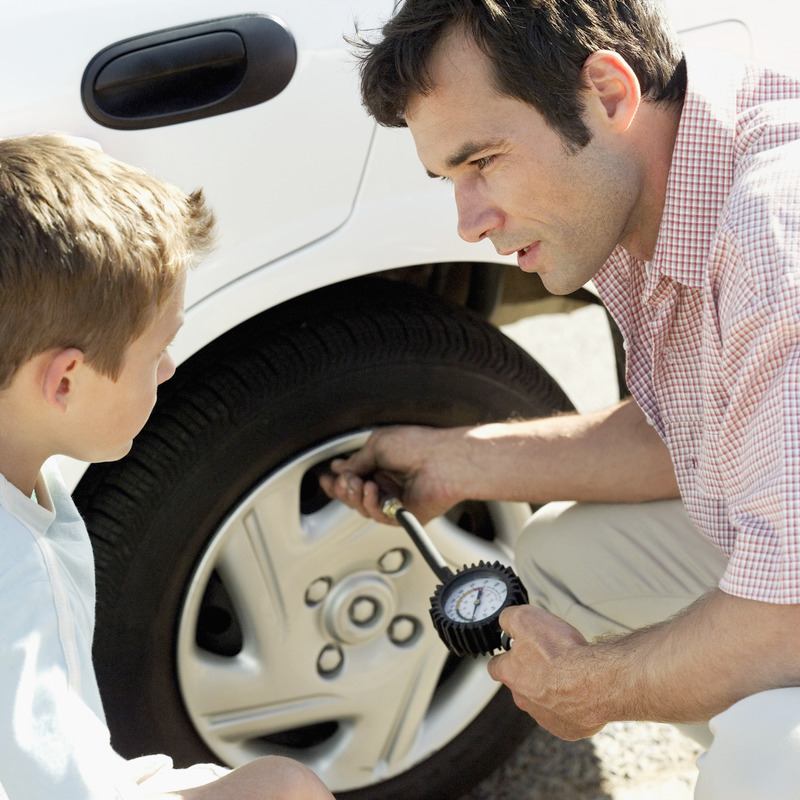
As a car owner, you need properly working tires for a seamless driving experience; however, your tires could still develop problems despite the introduction of the more advanced tubeless tires.
Tire leakage is one of the most common issues for most drivers because it happens unexpectedly. If your tire has a leak around the rim, how do you fix it? Here’s all you need to know!
Tires leak air around the rim because of punctures, tire bead damage, ripped tires, rim problems, or deteriorating valve systems. To fix the leak, drivers have to remove the tire to reseat the bead and reseal, which can be done at home if you have the appropriate equipment or with the help of a mechanic if the inner-tube tires need fixing.
For more information about what causes the tire to leak around the rim, how to fix and prevent it, and how much it will cost to repair your tires, read on!
Identifying a rim tire leak can be difficult to notice at first if your car has a slow leak; however, if your vehicle has a built-in tire-pressure monitor system or TPMS, you’ll get a low-pressure notification because the leak causes the PSI )pounds per square inch) to decrease.
If your tire is leaking, here are the reasons why this could be happening.
Tire Puncture
Once you run over a sharp object, you could puncture your tire. While most drivers assume that the puncture will cause the tire to go flat immediately, this is not usually the case, and the hole might cause a slow two-to-three PSI leak per week.
In some cases, the sharp object like a nail can remain lodged in the tire, which prevents the air from leaking out quickly.
Whether it’s a minor damage or not, you shouldn’t ignore the leak as this may lead to extensive tears and tire damage.
According to The Inflator, approximately seven tire punctures occur every second in the U.S. alone; therefore, this is the first thing you should check for when there’s a leak.
Valve Stem Damage
Valve stems are critical parts of the tire system, and they come in different forms and sizes depending on the tire.
These stems are the tiny protrusions on your tire that you unscrew during inflation; therefore, they need to be in good shape, without any damages or dirt-clogged.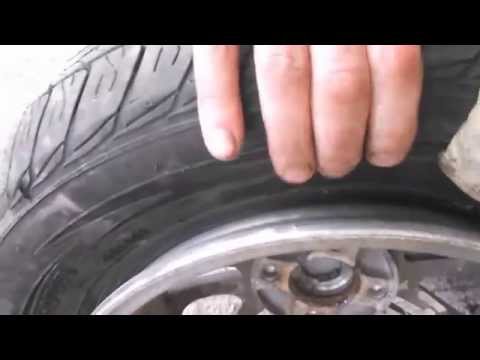
Additionally, when valve stems get exposed to elements over time, they become worn out or corroded, which can cause the air to leak around the rim.
Bead Leak
Tire leaks can also result from bead damage, where the tire seals itself to the rim.
To know whether the bead is the problem, you’ll need to determine how old the tire is because if your tire has dry rot or is older, it may no longer seal properly and have reduced elasticity.
Additionally, beads also get damaged because of a corroded rim or when the tire is mounted or removed using a tire lube.
Your entire wheel gets this type of damage if you regularly hit potholes or bumps at high speed, deforming the wheel’s metal surface, which may cause the tire to pull away.
Keep in mind that if the bead is damaged and you can’t seal the tire to the rim, you have to replace the tire.
Rim Issues
If you are using aluminum or magnesium alloy wheels, your wheels are more susceptible to corrosion, which affects the part where the rim meets the tire bead.
Rim damage can be caused by several causes, especially if you are constantly driving on bad roads with many potholes.
Before installing new tires, ensure your technician checks the bead seal and wheel correctly to confirm that the rims are not corroded.
Furthermore, check for wheel porosity that causes air to leak from the rim due to corrosion, incorrect wheel weights, or poor casting. To fix the leaking issue, avoid injecting a tire sealant and fix the rim first.
Once you discover that your tire is leaking air around the rim, what next? Here are some steps to guide you.
1. Remove The Tire
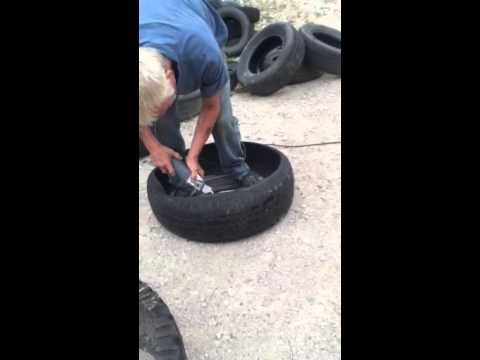
To identify the cause of the leak, you’ll need to remove the tire and place it on a flat surface with the valve stems facing up.
2. Fill The Tire And Rim With Soapy Water
Add soapy water to your tire; around the outer edge of the rim, the area of the leak will be identifiable through bubbles from the leaking air. Mark the area and move to the next step.
3. Release Air From The Valve Stem
After you’ve marked the area, empty the air from your tire by pressing inward on the valve system using the valve removing kit in your car or unscrewing it from the stem.
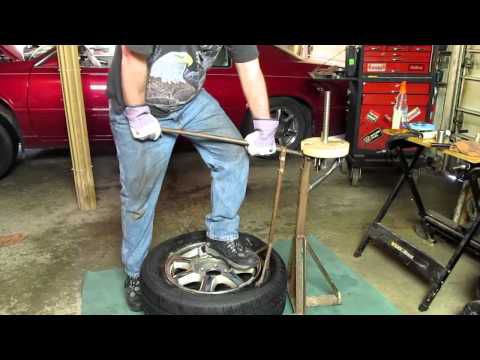
4. Separate The Tire and Rim
Since the tire and the rim are attached with a seal, you’ll need something heavy like a wood board to separate them.
Use a hammer to hit the wooden plank until the tire’s bead breaks free from the rim.
5. Clean The Tire and Repair
Once the two parts separate, you can stop the leak around the rim by cleaning the tire’s edges with a cloth to remove loose debris and dirt.
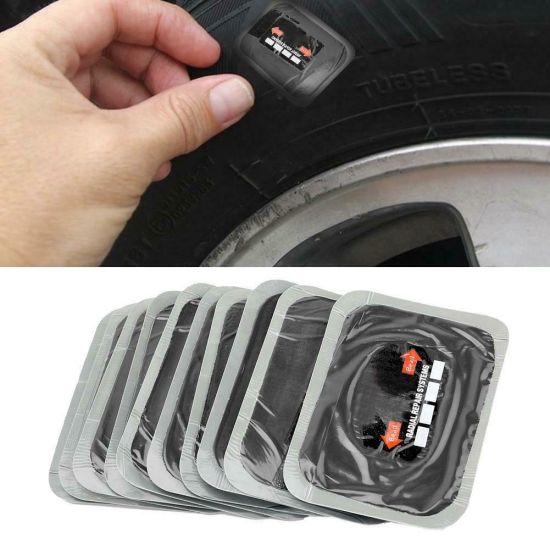
After the cleaning is done, you can add some repairing solution to the leakage and start filling the air.
Once you fill the tire with the desired air pressure, you can check again for any leakages using the same process with soapy water.
Fixing a tire rim leak can be expensive or affordable, depending on the leak’s cause and where you get the service done.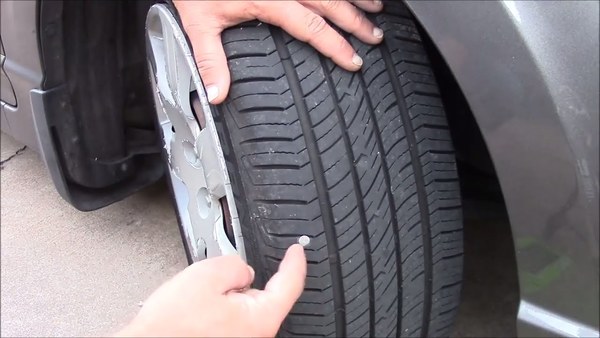
According to customer reviews, if you get the leak repaired at the shop you bought the tire from, you are more likely to get this service for free, but if you go to a different dealer, expect to pay $10-$20.
However, if the leak is because of a damaged rim, you’ll incur more costs which vary greatly depending on the brand.
If you check popular online sites, rims’ prices range from under $25 to $200; therefore, it will cost you more to repair the leakage if you have to replace the rim or entire tire.
To avoid this tire leak, there are some preventive measures that you can take.
Regular Maintenance
As mentioned above, tire leakage can result from valve stems or rims that are dirt clogged; therefore, you need to check your tires regularly.
With more accidents connected to tire blowouts and issues, it’s safer to have your tires checked for any potential problems to prevent leaking around the rim.
Drive Carefully
We have already established that punctures are the number one cause of tire leakage; therefore, if you can, it’s best to avoid situations that could cause punctures.
To achieve this, you should drive more carefully and at recommended speeds, especially on roads with potholes or speed bumps.
Avoid Overinflating Tires
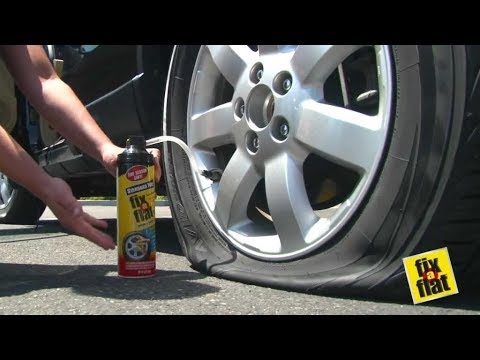
Overinflating tires doesn’t solve a tire leakage problem. Once you identify that air is leaking around the rim, follow the above steps I shared to fix the issue.
However, if you choose to overinflate, the tires will become unstable, rigid, and lose traction when you are driving.
Use A Professional Mechanic
According to the U.S. Tire Manufacturers Association, drivers should supplement their monthly inspections with regular professional tire care.
The check should include wheel balancing, alignment, and tire inspection to protect your tires from leaking air.
To find out more, you can also read our posts on how common are flat tires, underinflated tires, and how long will tires last with bad alignment.
Tires leak air around the rim for several reasons, but luckily this problem can be fixed and prevented.
While it’s possible to fix a leak at home using the kit from your car, you can also enlist the services of a professional mechanic if you spot extensive damage.
I have shared some simple steps that you can take to fix the leak, especially if you are doing it at home.
To avoid these tire problems, regularly check your tires for air pressure and damages at least once a month, consult professional mechanics, and drive carefully to avoid incurring extra repair costs.
by Damon Hildebrand
Aaron Fink/Demand Media
Tubeless tires hold air better, and last longer, than old fashioned tires with an inner-tube. With the exception of punching a hole in the tire by running over an object, or jumping the curb at the mall, tubeless tires generally hold up well. There are times, however, when a tire develops a leak between the wheel and rim. In this case, remove the tire to reseat the bead and reseal the tire.
Remove the tire from the car and lay it on a flat, hard surface with the valve-stem sticking up.
Fill the tire with air and spray soapy water around the outer edge of the rim where the tire meets it. The area of the leak is indentifiable by bubbles generated from leaking air. If one side of the tire shows no sign of a leak, turn the tire over and repeat the soapy water leak test.
Mark the leaking area of the tire with chalk.
Release the air from the tire by pressing inward on the valve-stem. If a valve-stem removal tool is available, remove the valve-stem needle by unscrewing it from the stem.
Turn the tire so the leaking side of the rim and tire face up.
Place one end of the 2 by 4 board on the rubber part of the tire, right next to the steel rim's edge. While holding the board in position, hit the board with the shop hammer to break the tire's bead loose from the rim. Once the seal breaks, the entire side of the tire will release from the rim.
Press the tire downward, away from the rim. Clean the inside edge of the rim with warm soapy water and a shop rag. Dry the area with a clean shop rag. Also, wipe the inner edge of the tire to clean any loose debris or dirt.
Place the needle back into the valve-stem and begin filling the tire with air. While air is flowing into the tire, pull up aggressively on the sides of the tire to mate the inner edge of the tire back onto the rim. When the tire touches the rim, air will fill the tire and continue seating itself along the rim.
Fill the tire to the desired air pressure. Recheck the tire for leaks with the soapy water.
References
Tips
 Avoid these products if possible.
 Things You'll Need
Writer Bio
Damon Hildebrand is a retired U.S. Navy veteran. He has more than 15 years within the oil and gas industry in both technical and managerial positions. Hildebrand has been a technical writer and communicator for the last four years. He is a certified specialists in lubrication and tribology, as well as a certified maintenance and reliability professional.
Author: Oleg Polazhinets
A sudden puddle or a large spot under the car is a reason to think about what it might be. Indeed, in the units of the car there are a dozen operating fluids that may be outside. And if you are not completely sure that the stain is not left from a car previously parked in the same place, then it is worth classifying the type of liquid by appearance and smell, and also, if possible, identify the source of the leak. Let's figure out how to do this without tasting the puddle.
Engine oil
Oil leakage from the engine lubrication system is a fairly common occurrence, so in many parking lots the asphalt is literally littered with characteristic oily spots. Recognizing an oil leak is quite simple: a small and thick greasy spot cannot be confused with water and even antifreeze. Under the hood, the problem usually reveals itself either as fresh traces of oil, if the leak is fresh or strong, or, conversely, as dirt growths covered with oil, if the engine has been losing oil for a long time and drop by drop. As a rule, oil flows out of the engine due to leaks in the crankshaft seals, as well as the sump.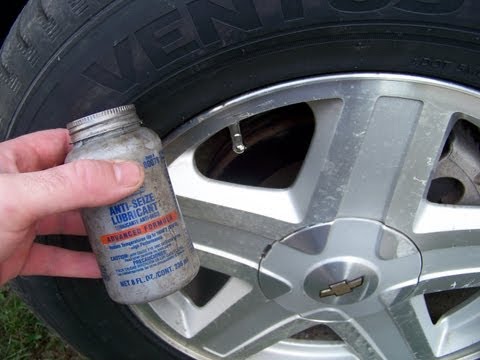 However, these are only the most common options: you need to inspect the entire engine, and if traces of oil on the crankcase protection are fresh and no leaks are visible, it is better to inspect the car on a lift.
If the puddle is large, then you need to carefully inspect the crankcase - it is possible that it was broken on the road. In any case, you need to check the oil level, as well as visually inspect the engine. Driving with a low level on the dipstick is more expensive for yourself, because many engine parts can experience oil starvation.
If the emergency pressure lamp is on or even blinking, it’s definitely not worth moving on: low oil pressure means its critically low level, capable of killing the engine in a few kilometers. In such a situation, you need to immediately turn off the car and then transport it on a tow truck. But even in the case when the level is normal, it is not worth delaying the repair, because due to the “hardened” crankshaft oil seals, oil can get on the drive belts or the clutch disc, and this will lead to completely different problems.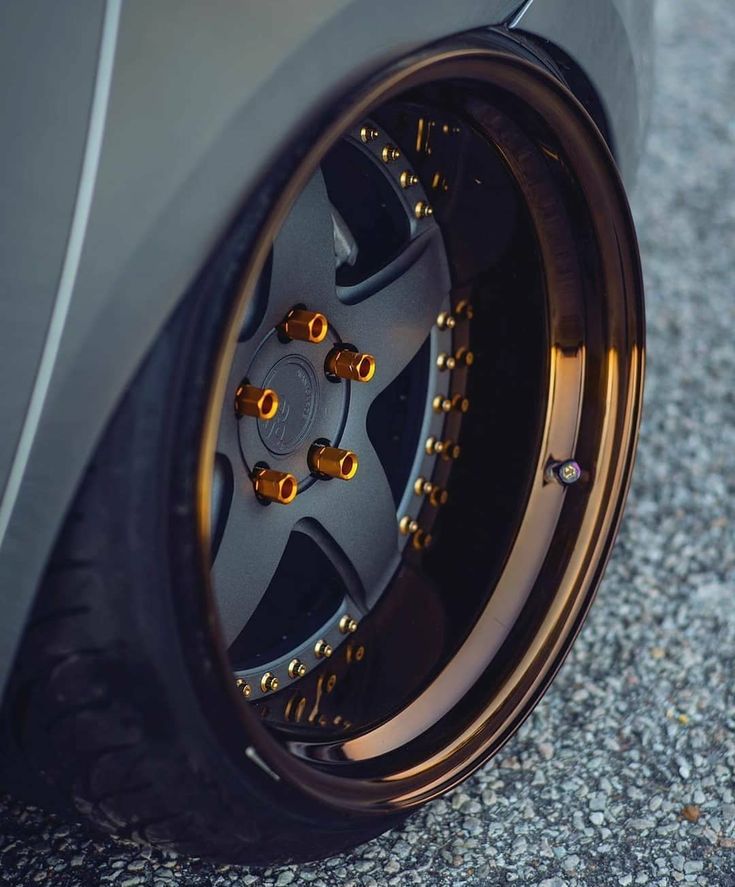
Transmission oil
Distinguishing engine oil from transmission oil is not easy, but there are still some features. Gear oil is usually noticeably thicker and remains light even after a long time after replacement, but engine oil darkens over time. Another way to distinguish the type of oil is to drop it into the water: the engine oil will remain there in the form of a droplet-lens, and the transmission will begin to spread. Well, to understand where the oil is flowing from, a careful inspection of the gearbox from below will help. An oily body is a reason to immediately check the oil level if the dipstick is provided structurally.
And although in Soviet times some lucky people managed to get to the garage practically on a “dry” box, turning on the fourth (direct) gear, modern practice knows many cases when even seemingly unpretentious mechanics fail prematurely due to that the owner drove several thousand with a low oil level, which gears really do not like - especially those that are located above everything in the unit.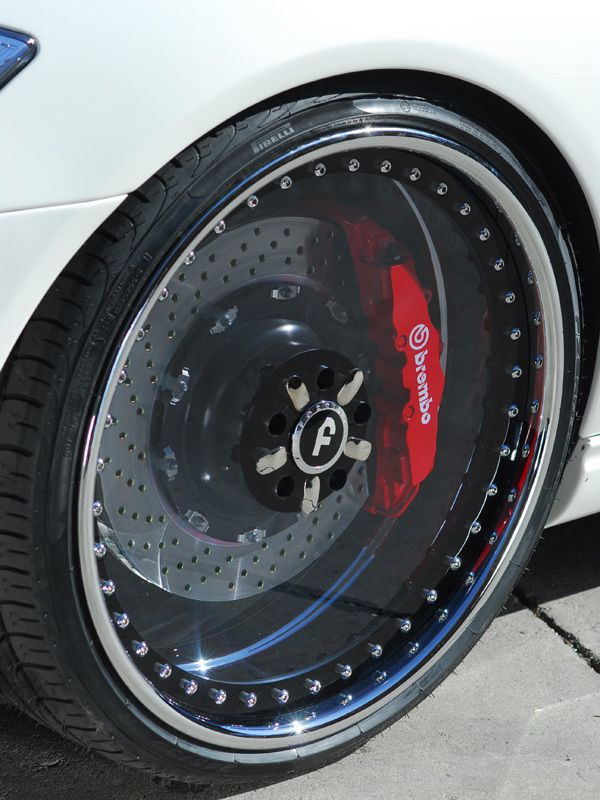
For automatic transmissions, the oil level is even more critical, so setting off on a journey with such a leak is literally condemning the machine. It is even easier to determine that it is an automatic transmission that has flowed than in the case of mechanics, by the characteristic color of the oil, which usually ranges from red to burgundy brown.
Obvious oil leaks from the "transfer case", center differential or rear axle gearbox indicate leaks in the seals or damage to the housing. A “dry” gearbox usually quickly starts to hum and howl, and in the worst case scenario, it can jam right on the go.
Coolant
In a liquid-cooled engine, antifreeze plays an important role and the system itself must remain sealed. However, due to high temperatures, its individual elements may lose their tightness, which is especially true for older cars. We talked in detail about the main causes of antifreeze leakage, and now we will remind you again. Bend your fingers: leaky radiators (main and interior heater), a leaky thermostat (engine or automatic transmission), a burst expansion tank, a malfunctioning expansion tank cap, cracked pipes and hoses, main or additional water pumps, and even the cylinder block itself can be the culprits!
Experienced drivers can recognize antifreeze by tasting a suspicious stain, as ethylene glycol, which is the basis of almost all antifreeze, has a sweet aftertaste. However, we will not advise you to engage in such organoleptics: even though ethylene glycol is a moderately toxic substance, and for poisoning you need to take a couple of sips, but in each specific case it is not known what other impurities may be present in a stain on asphalt. It is better to try the liquid to the touch: antifreeze is slightly oily. So if the stain is not purely oily, but also has a color (greenish, reddish, yellowish, and so on - there are many dye options) and is greasy to the touch, it is most likely antifreeze.
If the antifreeze leak is strong, then you can get to the house or the place of repair by simply adding water to the system. However, this is a rather risky business, since it will be necessary to constantly monitor the level of antifreeze and the temperature of the coolant in the system. If the coolant level drops below the minimum while the engine is running, the engine may overheat. The probability of “boiling” the engine in the heat and in traffic jams is especially high, so if the leak is strong, and it’s summer outside and there are still a few kilometers ahead, it’s better to immediately call a tow truck.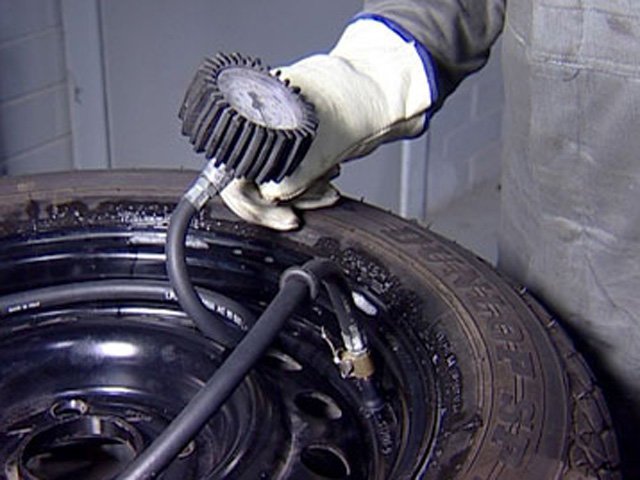
Brake fluid
The most dangerous leak is the loss of brake fluid. If it is already on the pavement, then this usually means that the car has no brakes in the literal sense, because the volume of the brake system, unlike lubrication or cooling systems, is very small - no more than a liter. As a rule, even a small leak of brake fluid leads to the failure of one of the circuits or the complete failure of the brake system, because it is immediately aired. It’s bad that it’s not always easy to notice the place of a leak - for example, the rear brake cylinders are inside the drums, and outside they are covered with shields. A sure and bad sign of a brake fluid leak is traces of fluid on the inside of the wheel.
A cracked brake hose or broken brake pipe will have the same effect - the brakes will simply stop working. In Soviet times, in order to get to the garage, failed brakes on individual wheels were turned off in any suitable way, and any liquid was poured into the hydraulic drive, up to water, castor oil or alcohol.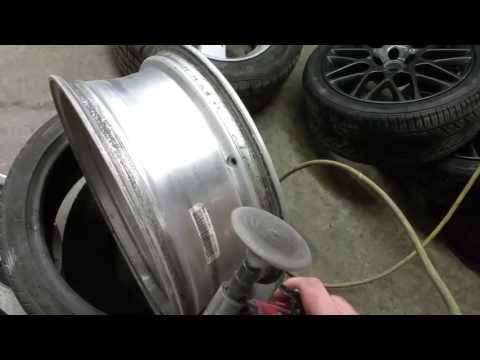 However, we categorically do not recommend any of these "folk methods". Firstly, it is deadly: a drop in pressure in the system means it is impossible to slow down. And secondly, the traffic rules forbid to continue driving with a faulty brake system, and any leakage of “brakes” is a clear sign of a malfunction.
Fuel
It is possible to understand that fuel is leaking from the car by a sharp and characteristic smell - both in the case of gasoline and diesel. There can be several reasons: a rusted or damaged by a foreign object tank, a defect in the metal fuel line, a burst fuel hose, a cracked filter housing, or damage to the filler hose at the filler neck. The result is always the same: fuel flows into the street or, even worse, into the engine.
Loss of tightness in the fuel system can also occur after unskilled repairs - for example, when changing the fuel filter unknowingly on the fuel lines, they simply did not replace the penny sealing rings. It is unnecessary to talk about the high fire hazard of gasoline, so any such leak is a reason to sound the alarm and not only not to continue moving on, but not even to leave the car unattended, because someone may decide to smoke nearby. We will not recommend the “old-fashioned” way to fix a gas tank leak with soap: it was acceptable 40-50 years ago, but now the verdict is clear - only a tow truck.
Power steering
A leaking rail usually leaves marks on neighboring components - subframe, suspension parts, and so on, but reddish fluid from the power steering gets on the asphalt only if the system, as they say, “died”. Leakage can occur not only from the rail itself, but also from hoses and lines, both at the junctions and through cracks in the hoses themselves. Therefore, if there are oil smudges under the machine and a drop in the level in the hydraulic booster engine compartment, you need to inspect all lines for breaks and major damage. Typically, hydraulic boosters use the same red oil as automatic transmissions: this is worth bearing in mind to identify the source of the leak.
It is theoretically possible to drive further with a strong leak and an empty engine compartment tank: even in the absence of oil, the rack retains the ability to turn the wheels.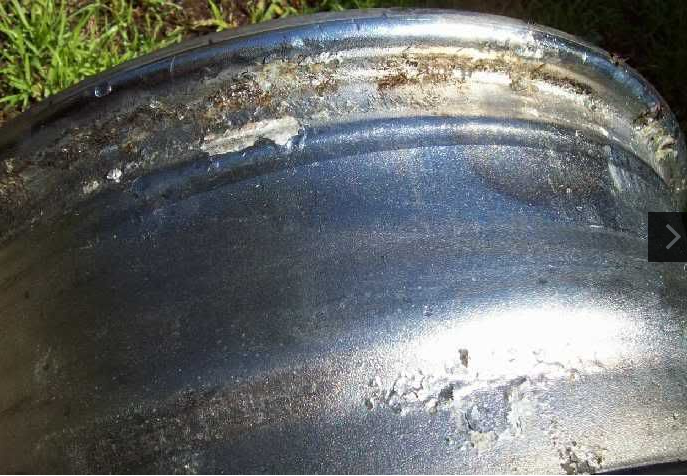 But from the point of view of the law, this cannot be done: traffic rules prohibit the operation of the car in the event of a malfunction of the power steering. Therefore, it is worth moving without oil in the system only as a last resort and for short distances, and at the same time safety measures must be observed. After all, a non-working power steering means that it will take much more effort to turn the steering wheel - even more than on cars without power. In addition, movement with a lack of oil in the system can provoke further breakdowns: the pump can jam or its drive belt breaks, on which, depending on the design features, other units can be tied. Having noticed a leak from this system, you need to do the same as in the case of the engine and gearbox - check the level and add fluid.
Air conditioner
Many drivers panic when they discover that something is dripping from a car with the engine running. In the case of an air conditioner, fears are completely unfounded: if the system is turned on, then the condensate is simply obliged to flow out. For complete peace of mind, you can make sure that it is water that is dripping onto the ground by tasting the liquid to the touch.
But no oiliness in the condensate and on the pipes should appear - this may indicate that the system will soon fail. Moreover, the fact that the air conditioner stops cooling the interior is not the biggest problem, because if the compressor jams, the drive belt may break, and we already found out what this is fraught with in the previous section.
Other options
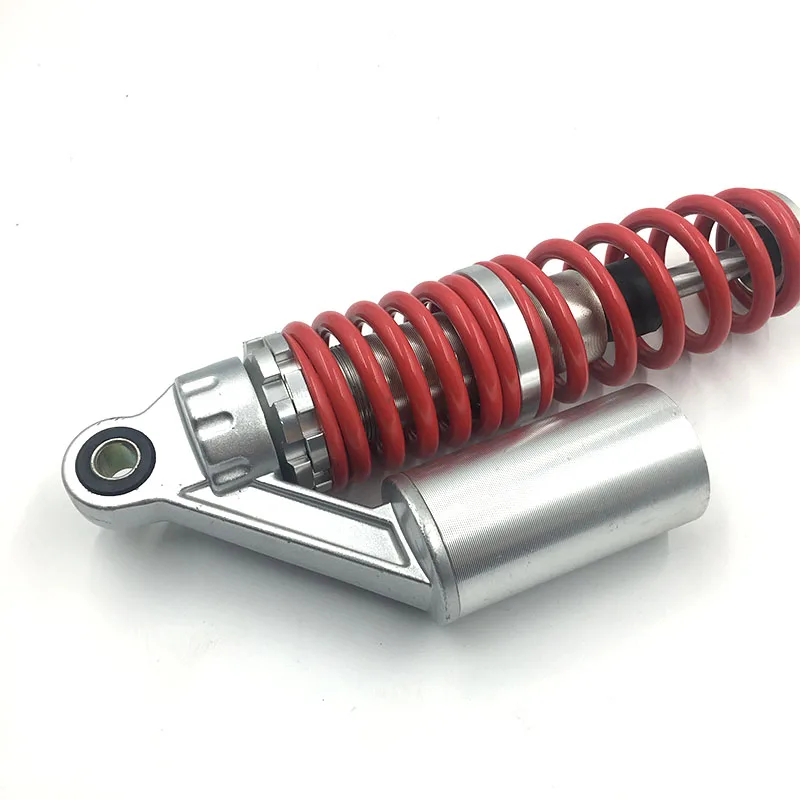
There are several other sources in the car that can leave traces of a leak. The most non-trivial option is a leaky shock absorber, although usually this failed suspension unit only “sweats” and does not flow so that it drips to the ground. Much more often it flows from the washer reservoir, its nozzles or connections on the tubes - these streaks are generally harmless, but also indicate that not everything is in order.
The only exception is leaking headlight washers if they have just worked.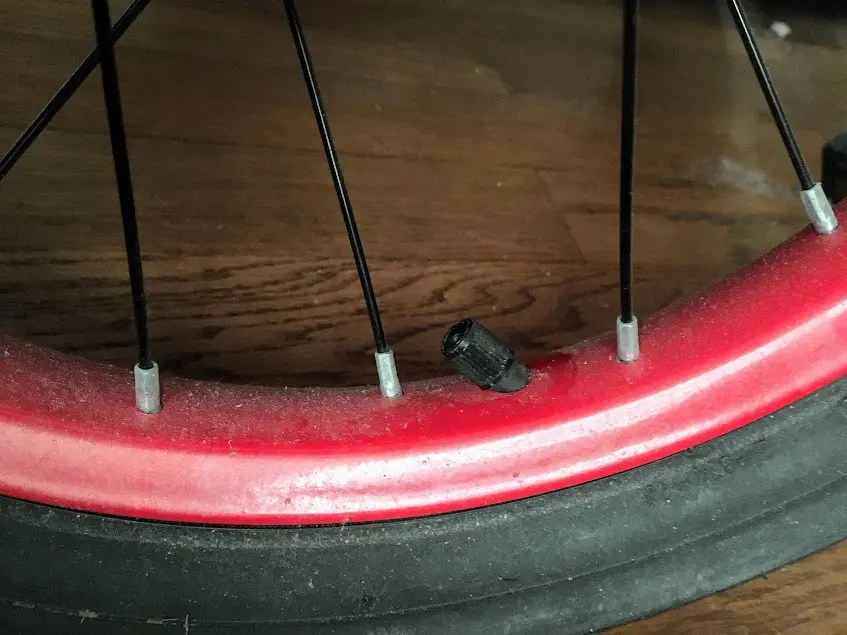 In cars equipped with a headlight hydraulic corrector, fluid leaks from the hydraulic drive are possible, but often the slave cylinders “leak” directly into the headlight. Well, we will finish with water from the exhaust pipe - this is a normal phenomenon, since it is ordinary condensate.
practice Popular questions
Test drives / Test drive Haval Dargo vs Mitsubishi Outlander: the dog is barking, the stranger is coming In the Haval dealership in the south of Moscow, life is in full swing: buyers look at cars, communicate with managers and sign some papers. While I was waiting for the test Dargo, the same cross... 17752 7 205 13.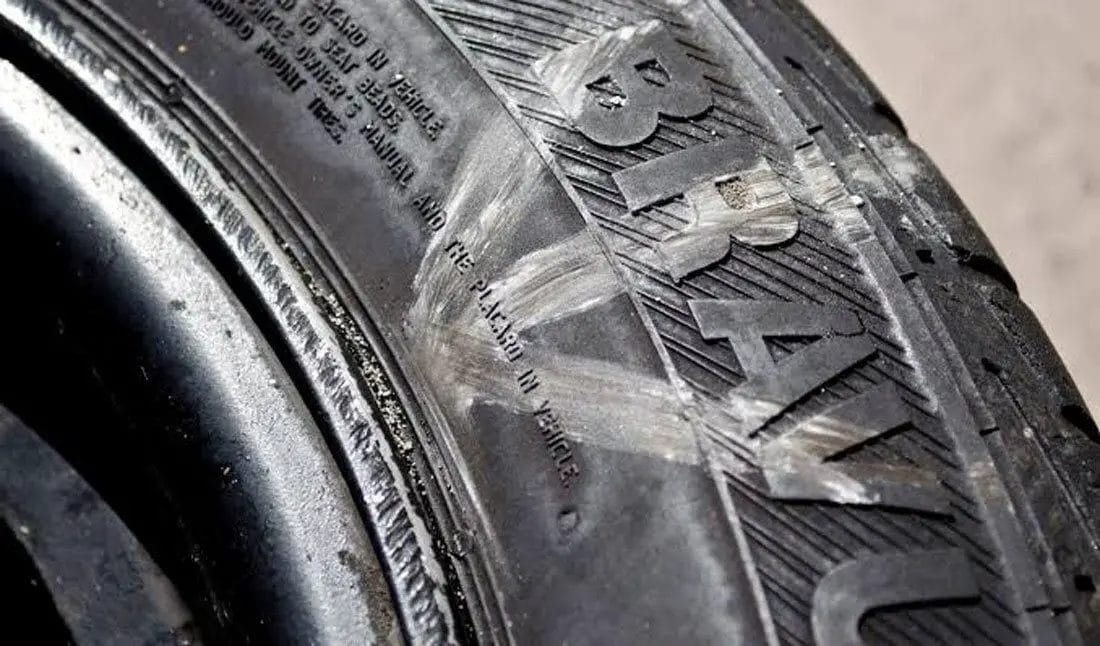 09.2022
Test drives / Test drive Motor from Mercedes, emblem from Renault, assembly from Dacia: test drive of the European Logan 1.0 It would seem that what's new can be told about the second generation Renault Logan, known to every Russian taxi driver, as they say, up and down? However, this car has... 14284 ten 41 08/13/2022
Test drives / Test drive Geely Coolray vs Haval Jolion: Free Cheese? If! Do you want to buy a car today with a full warranty, on credit at an adequate rate, without wild dealer markups? Now this is still a task, because a full-fledged chain of "representation - s... 11463 26 thirty 08/10/2022
On the sidewall of each tire there is an incredible number of letters and numbers that are not always clear to the average car enthusiast. Today we will talk about the FR marking on the tire. What is it and is it worth buying models with such letters?
You can meet this designation only on tires of the Continental brand, which means that we have rubber with a side that protects the disk from damage. If we look closely at the tire itself, we will see an additional element in the bead area, similar to a seal or belt.
Another name for the thickening at the point of contact between the product and the metal is a bump, which protects against mechanical shocks in the profile. Able to withstand lateral damage on bad roads, hitting a sharp stone or hitting a curb separating the pedestrian sidewalk and the roadway.
All such tires are collected in our catalog under this link: tires with rim protection
The need to create tires with such functionality did not arise by chance. Experienced drivers know that during parking, when there is not enough space, rubbing against the curb occurs, as a result of which you can scratch and even damage the disc.
Beautiful and striking, alloy wheels are very fragile. In the case of dents, they are not always amenable to repair, during which they sometimes split. Therefore, drivers try to be extremely careful, especially at night.
Manufacturers, realizing the problem, decided to make a special bead reinforcement, thus protecting the rim from accidental damage.
This item is optional and does not apply to all tyres. Therefore, there are no uniform rules for their production.
This seal is most often used on low profile tyres, where the profile height is below 55% of the width. Wheels with such tires are most prone to damage.
For higher profile tires, this problem is virtually non-existent, since the edge is applied on top of the metal, thus protecting it.
There is a special reinforcement on models made in agreement with car manufacturers in the case of the so-called tire homologation. And also on tires selected for original equipment. At the same time, on a similar model in the same size, which is supplied to the market for secondary equipment, a similar addition may not be available.
Used by premium or big-name brands, each of which indicates the presence of this element in its own way:
As the names suggest, the essence is identical - to protect against damage. We also know about the designation CPJ, which is used by Michelin for tires with the same functionality, produced for the North American market. The absence of a special seal is indicated by the letters FB (Flat Base) - “flat base”, but they are not placed on all tires.