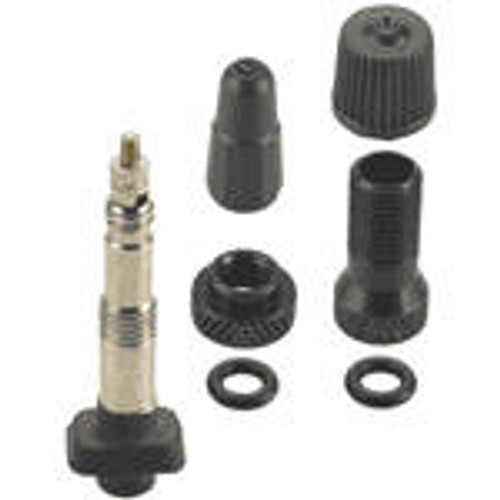
Yes there is an instruction sheet. Click here.
NO special tools are needed. The .625″ stem has a 9/16″ nut, so a deep walled 9/16″ socket works great. The .453″ stem has a 1/2″ nut (12mm works great, too.) Otherwise, any other pliers, wrenches, adjustable wrenches or channel locks will work just as well. Whatever the tool, about the most you will need to tighten is 3 to 4 revolutions of the nut. If you hear a squeak or feel the grommet turning, stop. You’re ready to roll.
A rubber snap in stem may be able to be removed in its entirety with a stem puller or stem hook, channel locks or vise grips. If not, cut it off at the rim. Any part of a stem that cannot be retrieved through the stem hole can be pushed into the tire. If you have a metal stem, remove the locking nut or collar and push the rest of the stem into the tire.
Even Tire Pressure Monitor Sensors (TPMS) devices can be pushed into the tire. In on-highway vehicles, we do recommend you have that tire serviced at your earliest convenience – like maybe when you get home from vacation. In all but high-speed on-highway vehicles, the remaining piece of the stem can remain inside of the tire harmlessly forever.
NO. Do not lubricate QuikStem. If, for any reason, you find QuikStem wanting to spin in the hole as you begin snugging the nut, simply grasp the stem with a firm grip or a gentle squeeze of your pliers just until the nut starts to snug and the rubber seal takes hold of the inside of the rim.
Just snug the nut down to the washer firmly finger tight. No more. Keeping the nut this snug will also keep it from backing off the threads in your toolbox or pocket. A quick wrap of electric tape around the barrel of your stem will also prevent any possibility of the nut coming off during long storage.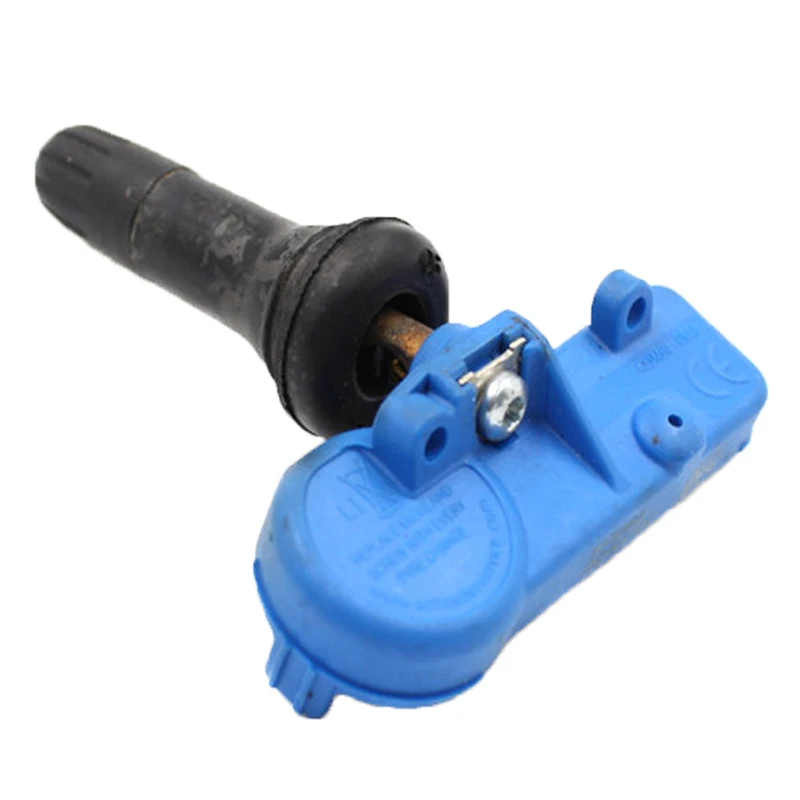
If the rim and hole are in serviceable condition, no. If there is excessive rust or any sharp burrs or gouges around the rim hole, those should be gently cleaned up with a wire brush or small file. Do only the minimum necessary to clean up the hole. It does not need to be perfect and you want to avoid enlarging the hole. In most cases, no prep is necessary. Install and go. QuikStem’s patented 3-Way seal works from the inside of the rim, the outside of the rim and expands within the rim hole itself to make a perfect seal even in imperfect rim holes.
BOTH tires that failed on QuikStem creator Todd Johnson’s 90hp John Deere tractor over the span of 3 days in early 2014 were inner tube tires that dry rotted and cracked at the stem. Just push the remainder of the stem into the hole, insert QuikStem, inflate and you’re back in business. One of QuikStem’s early prototypes – not nearly the quality of the version you can purchase now – has been performing flawlessly in an inner tube tire since early 2016.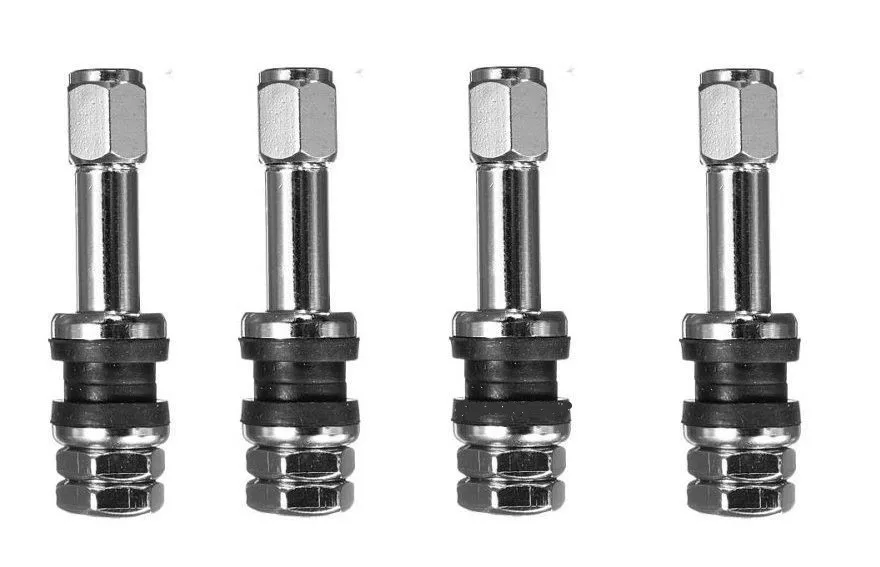
QuikStem is the ideal fix to get a fluid filled tire back in service fast. At first sign of a leaky valve stem on a fluid filled tire, pull the vehicle forward or backward until the valve stem is at the top of the tire, and, if you can, jack the wheel to just a hair off of the ground. This will take the pressure off of the tire and its contents. In most cases, fluid filled tires are only filled to just below the top of the center of the rim.
The easiest and fastest way to install your QuikStem is to use your 9/16″ deep wall socket attached to its ratchet handle as your insertion tool. In some cases, if you’ve been leaking fluid out of your innertube into your tire for some time, some fluid may want to escape as soon as you push in the old stem. The fix is to remove any outer locking nuts from your old valve stem, and using your socket wrench as the insertion tool use your QuikStem to firmly push the old stem into the tire, and keep firm inward pressure on it as you start to snug your QuikStem’s locking nut.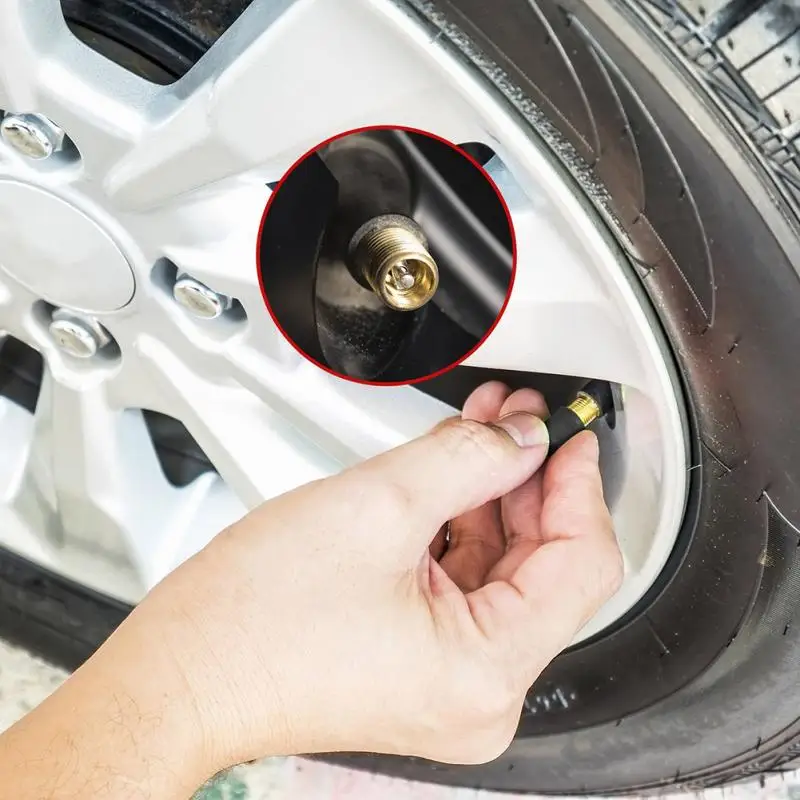 Your QuikStem will seal your rim hole and the grommet will begin to expand as soon as you start tightening. We recommend no more than 3 to 4 revolutions of the nut. If you’re using your ratchet in 1/4 circle arcs it could about 12-15 reps. Third or half circle arcs will be fewer. DO NOT OVER TIGHTEN! You are compressing rubber. It is not meant to lock down metal-to-metal tight. Just snug is plenty. A firm shake of the stem should produce just a slight wiggle. You’ve made a seal that will last for years!
QuikStem will seal your fluid filled tire indefinitely. Of course, some of your fluid will leak out of your inner tube into the main cavity of your tire, so if you or your mechanic are concerned with its long term effects on your rim, you can choose to service the tire later at a time that is convenient for you after you’ve finished your job – or your entire season. Until then, you can keep working with confidence. Remember, liquid and iron need oxygen to create rust.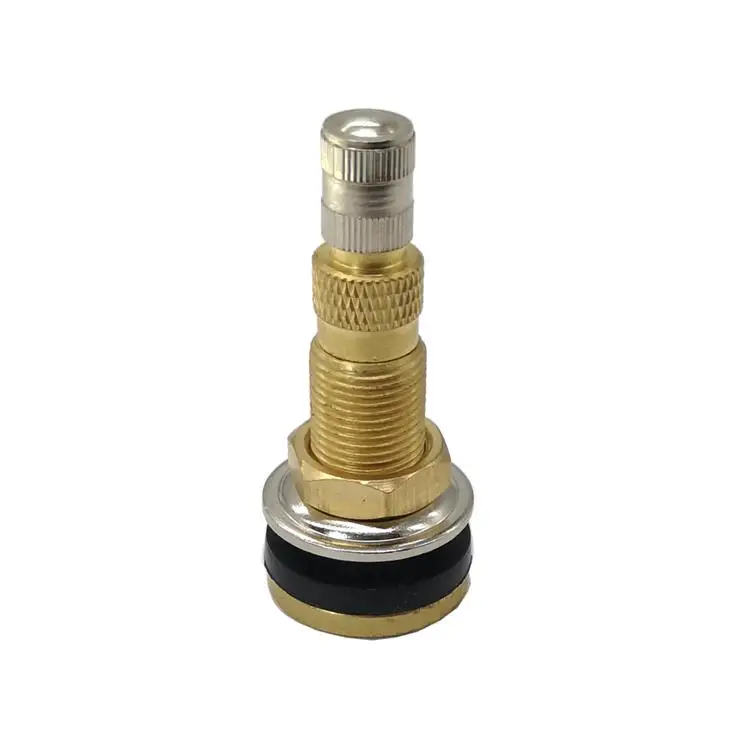 If it brings you peace of mind, at your next opportunity, if you simply remove the air at the top of your tire and have it replaced with nitrogen, you can dramatically slow, or halt, any inner rim corrosion.
Note: The inventor of QuikStem has been running QuikStems in his 90hp John Deere tractor for years. One of his rear fluid filled tires has been under heavy use with a QuikStem in it for more than 3 years now. Looks and works like the day it was installed.
Of the more than 70 tires on his ranch, 17 now run QuikStems. Some have been running for years.
Yes. QuikStems use a standard replaceable valve core that can be removed to install sealant. Especially with the .453″ stems, you can also just remove the whole stem, install your sealant and reinstall your QuikStem. I have found on some of my big tires that have had a .625″ QuikStem in them for years, the rubber takes a partial set in its expanded condition and may be difficult to remove.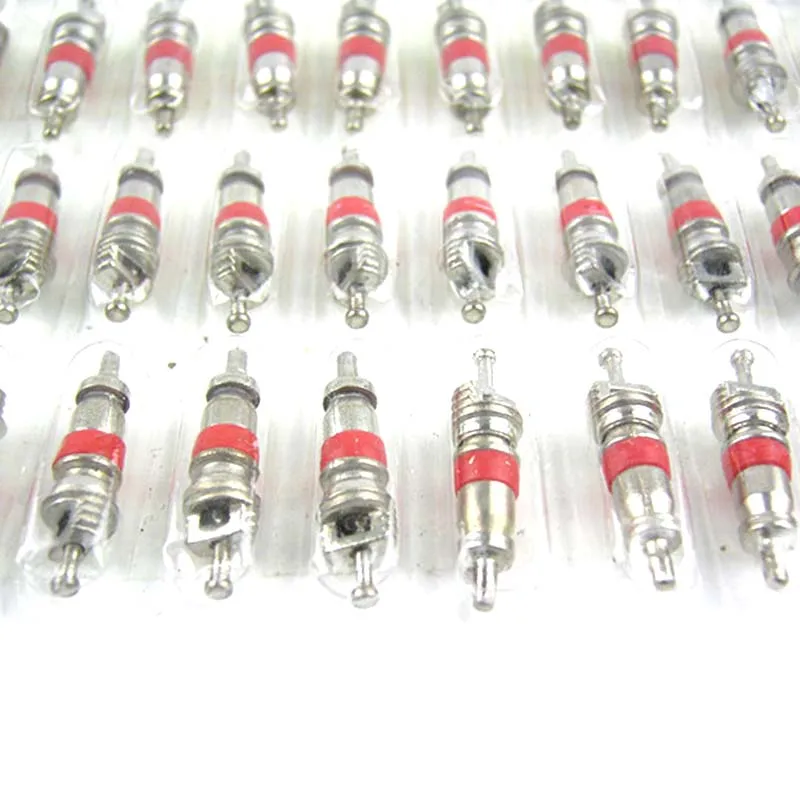 In that case, rather than risking damage to your grommet, just remove the core and install sealant through the stem. Of course that just goes to show just how rugged your QuikStem is.
QuikStem has been working flawlessly in off road applications for over 5 years without any issues, so you can feel confident that QuikStem will get you back to work and keep you working until/if you should choose to return your tire to factory condition. In most off road applications QuikStem can be considered a permanent fix. Of course, if you hit any stem hard enough, you can break it, so once you have your QuikStem installed in your tire, the only thing you really need is one more in the toolbox. That’s why they’re sold in pairs. Under normal use your QuikStem should last for years.
For On Highway Passenger Vehicle Applications, you can trust QuikStem to get you back on the road fast so that you may complete your journey. Only out of an abundance of caution, we do recommend having a certified tire mechanic service your tire to your manufacturer’s standard at your earliest convenience or within 1,000 miles.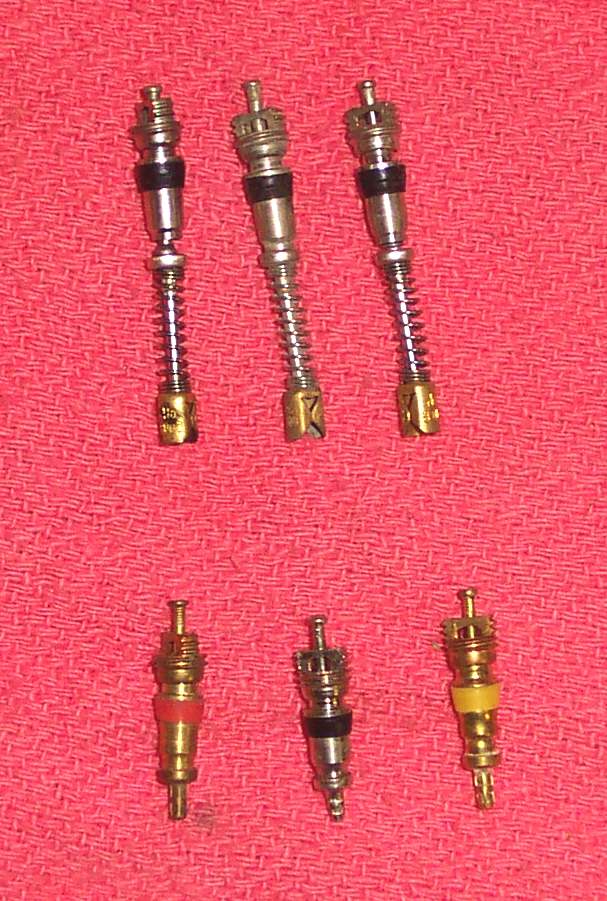
Reading Time: 5 minutes
A broken tractor tire valve stem can put a damper on your day. We use our tractors in some pretty rough terrain, but I’ve found that dealing with brush and felled trees is my danger zone. Things get bent, broken, stabbed, and wrapped up when I’m in a mess of brush, which leaves me with some inconvenient breakdowns.
Most modern small farm tractors have tractor tire valve stems that include a metal body. You might think this makes them sturdy and resilient, but they’re not. Being a thin metal part, one well-placed piece of wood is all it takes to shear the stem off, whereas a rubber stem may give, bend, and return to position.
It’s never fun to have a flat tire on anything, let alone your tractor. What’s more, it seems that you’re almost guaranteed that you’ll get a flat tractor tire in the worst of spots and the worst of times. Be it mud, snow, or brush; it’ll be a challenge to your temperament and ingenuity at best.
If you have a bucket loader and a flat front tire, then you’re in luck! Using the edge of your bucket, it’s pretty easy to lift the entire front end of your tractor off the ground and out of whatever mess you’re mired in. Hydraulics do fade, and bucket loaders will leak, so be sure you put something under the tractor to act as a jack stand of sorts for safety. If you have a flat rear tire and you don’t have a backhoe attachment on at the time, then you may need to get creative with other farm implements or get a good old bottle jack. If all else fails, you may be able to avoid lifting your tractor completely.
Where is the stem? Your tire is likely already partially popped off the rim, so rotate your tire either by driving on it, or spinning it if you manage to lift the tractor. Usually, the best position for the stem will be at the 3 o’clock position or the 9 o’clock position, but the environment may dictate the orientation for you.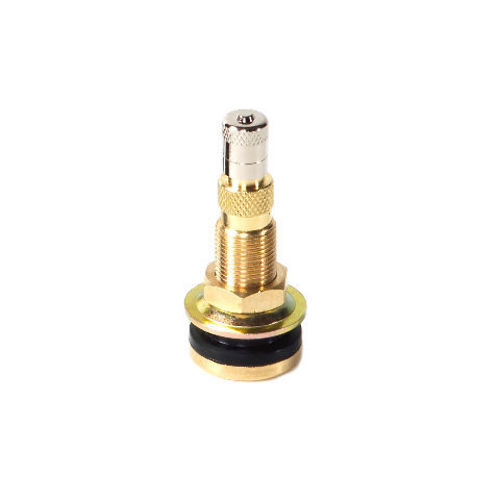 In either case, get the wheel turned so that you can access both the inside and outside of the stem hole at the same time.
Most OEM tractor tire valve stems include a nut on the outside of the rim. Because of the design of these stems, we need to remove this outer nut so we can knock the rest of the stem inward to remove it. For the sake of sanity, a cordless impact tool with an appropriately sized socket will do the trick, but if you don’t have one, you’ll likely need help.
I found that when trying to remove a stem with a ratchet wrench, the stem spins in the wheel. Be prepared to have someone hold the inside portion of the broken tractor tire valve stem with a set of vice grips or long reach pliers. Avoid dropping the broken stem in the tire; you don’t want to go fishing for it later. If you do have an impact wrench, I found that using a length of coat hanger wire to catch the remainder of the stem works out well.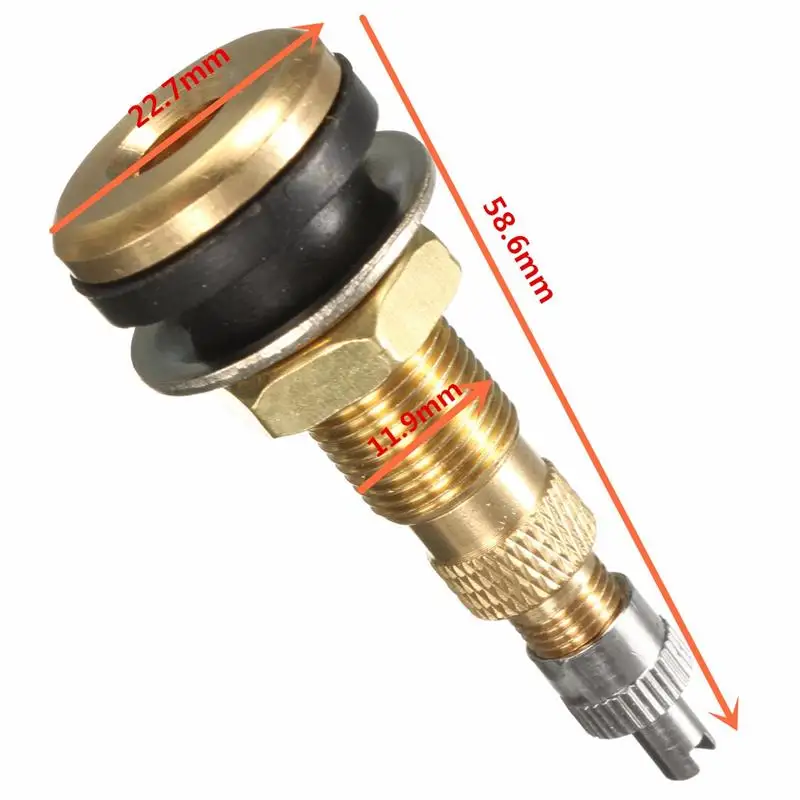 Just poke the end of the wire into the hole in the middle of the stem on the inside, unbolt the nut, and the stem should slide down the wire and into your hand.
For those of us using an off-the-shelf generic rubber stem, be sure you get the correct size stem for the hole in your wheel. Bring the old stem with you to the parts store, or measure before you go. Most valve stems are one of two standard hole sizes and any big box store with an automotive section or tractor equipment section should have them both. If you’re not sure which size it is, buy both and hold on to the other stem for another tire.
Thankfully, there are tools for pulling a tractor tire valve stem into a wheel. Stem puller tools come in various shapes and sizes, but the most common and cheapest tool is a simple steel cable with a fitting on one end to thread onto the stem and a handle on the other. If you thought ahead and bought a spare OEM tractor tire stem, then you may not need a pulling tool, just a wrench and socket.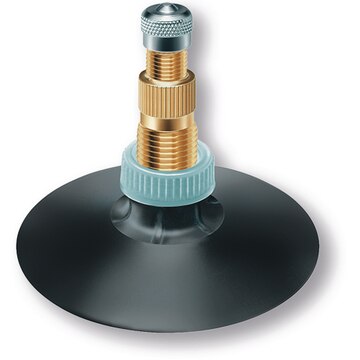 You may additionally need a spoonbill tire tool, a piece of steel rod, or a long breaker bar to manipulate the tire to gain access to the inside of the rim.
For a pull-through rubber tractor tire valve stem, feed the pulling tool into the wheel from the outside. Remove the threaded cap from your new stem and thread it onto the puller dangling inside the tire. Make sure the neck of the stem finds the hole in the rim and pull the stem out by the handle of the puller tool.
Pull until the tractor tire valve stem seats in the rim. If it’s too tight to pull, wrap the stem tool’s cable around the handle of a socket breaker bar and use it as a leverage multiplier. It should seat with a little tug. If you’re having a hard time pulling the stem through, try some dish detergent on the stem. Never use grease, WD-40, PB Blaster, or anything that may be deleterious to rubber. Those products may eat your valve stem over time.
Large tires, especially tall sidewall tires, are easy to manipulate on a wheel.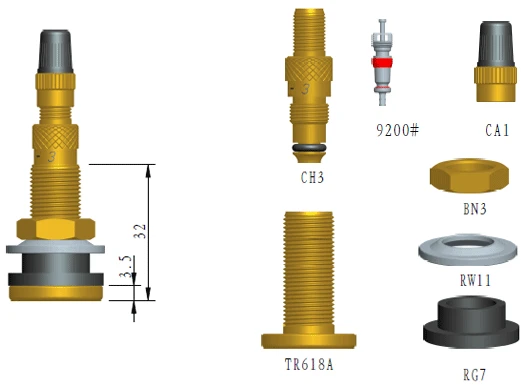 Smaller tires like the ones on the front axle of this compact tractor may require an automotive type tire machine to remove from the rim.
Now that you’ve managed to install your stem, you have the challenge of airing a tire up with a broken bead. The “bead” is the edges of the tire that seal against the rim. First, use dish detergent or soapy water to slick up the beads of the tire and edges of the rim. If you were able to lift your tractor, put a ratchet strap around your tire and tighten it. This will compress the tire and help you get a seal. If you didn’t lift the tractor, you might have to roll a little on your flat tire to get a ratchet strap around your tire.
Once you have a ratchet strap in place, you may need to strike your tire with a mallet or dead blow hammer to finish seating the bead. Keep hitting the tire as you fill it with air to completely seal the bead. Once the tire holds air, spray the beads with soapy water and check for air bubbles. Strike the tire in the areas that show bubbles until they stop, which indicates that the bead sealed fully against the wheel.
If you’re tired of flat tires and broken tractor tire valve stems, consider using tractor tire fluid, especially foam loading. Foam loading will turn your tire into solid foam core tire, which is difficult to replace once worn, but will never go flat on you.
Have you had to change a valve stem creatively? Let us know what challenges you overcame in the comments section below!
| Price | |
| Fitting/removing the load wheel | 350 |
| Installing/removing the tractor wheel | 1200 |
| Mounting / dismantling of the Ural wheel, all-terrain vehicle (Kamaz, KrAZ) | 1200 |
| Removing/installing wheel | 350 |
| Removing/installing double ramp | 500 |
| Spare wheel removal/installation | 350 |
Repair of through damage to the chamber up to 5mm.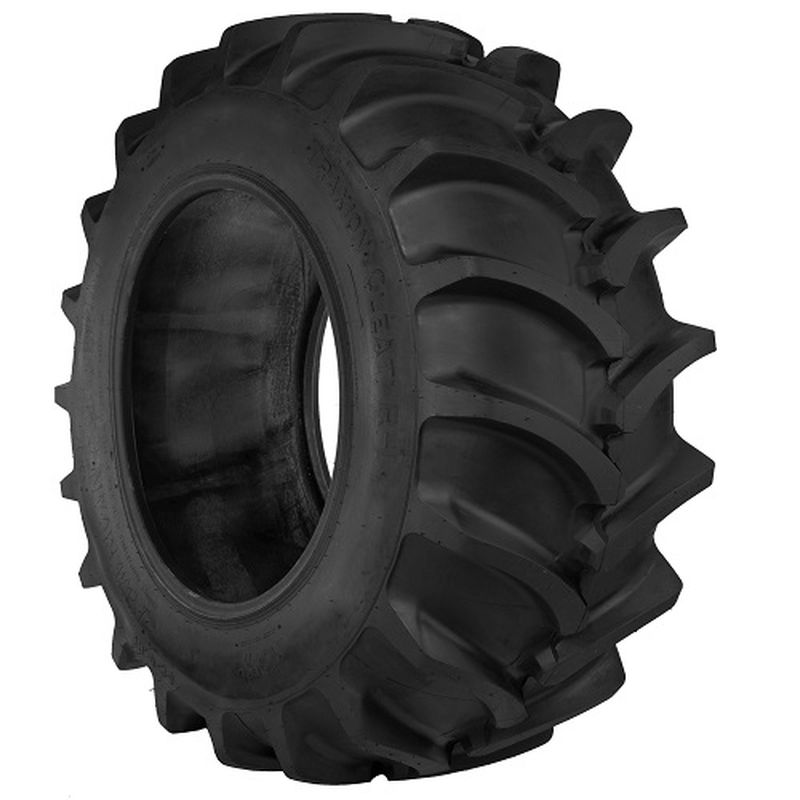 | 150 |
| Repair of through damage to the chamber from 5mm. up to 10mm. | 200 |
| Repair of through damage to the chamber more than 10 mm. | 300 |
| Replacement of truck and agricultural valves. cameras | 750 |
| Truck and tractor tire troubleshooting | 500 |
| Oversized tire troubleshooting | 4000 |
| Bead treatment with sealant | 500 |
| Cosmetic tire repair | 1500 |
| Truck tire repair | from 3000 |
Price list for the repair of oversized tires (oversized tires)
KGS- R
Through cuts
side
| size L / H | 23. | 26.5R25 | 29.5R25 | R33 | R35 | R39 |
| to 130/28 | 10 600 | 13800 | 16,000 | 19 200 | 20 500 | 24 700 |
| to 165/50 | 12600 | 16 200 | 18800 | 22 400 | 25,000 | 26600 |
| to 200/75 | 16,000 | 19 200 | 23400 | 25600 | 29800 | 33,000 |
| to 230/95 | 19400 | 23 200 | 25,000 | 30 800 | 36600 | 37400 |
Damage vulcanization: up to 130/28 - 2000; up to 165/50 - 3,000; up to 200/75 - 4,200; up to 230/95 - 5400.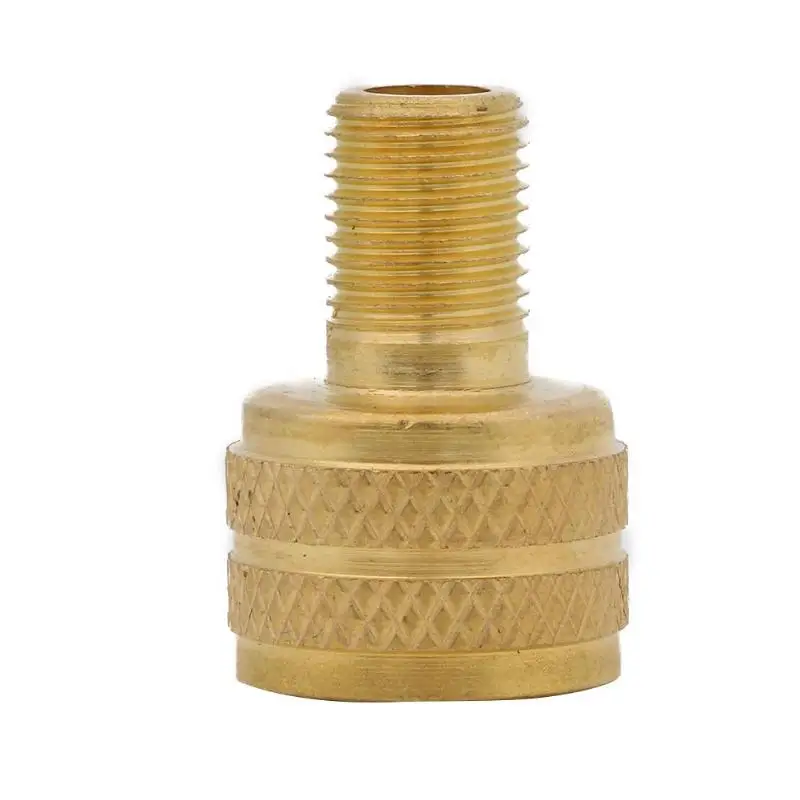
arms
| to 215/120 | 19 200 | 25600 | 32,000 | 36400 | 42 800 | 48 200 |
Damage vulcanization - 3000
running
| to 30 | 11 200 | 14 300 | 14 400 | 16 500 | 18700 | 22 800 |
| to 50 | 13 100 | 15600 | 17 100 | 20 600 | 25 100 | 26600 |
| to 70 | 15,000 | 18 200 | 22400 | 25600 | 35 800 | 32,000 |
| to 90 | 17900 | 23400 | 25 900 | 28400 | 35 900 | 37400 |
Vulcanization damage: up to 30 - 3 200; up to 50 - 4,600; up to 70 - 5,000; up to 90 – 6 400.
KGS- D
plies 18 to 28
| size | _________ R 25 ___________ R 25/29 R 33 R 35 R 39 18-23.5 26.5 29.5 | |||||
| to 70 | 8800 | 10 200 | 11600 | 13,000 | 14400 | 15800 |
| to 90 | 10 700 | 12600 | 14500 | 16400 | 18 300 | 22 200 |
| to 110 | 13 100 | 15600 | 19 100 | 19600 | 22 100 | 25600 |
| to 130 | 16400 | 20 800 | 25 200 | 27 400 | 32 800 | 40 200 |
Damage vulcanization: up to 70 - 2000; up to 90 - 3,000; up to 110 - 4,200; up to 130 – 5 400.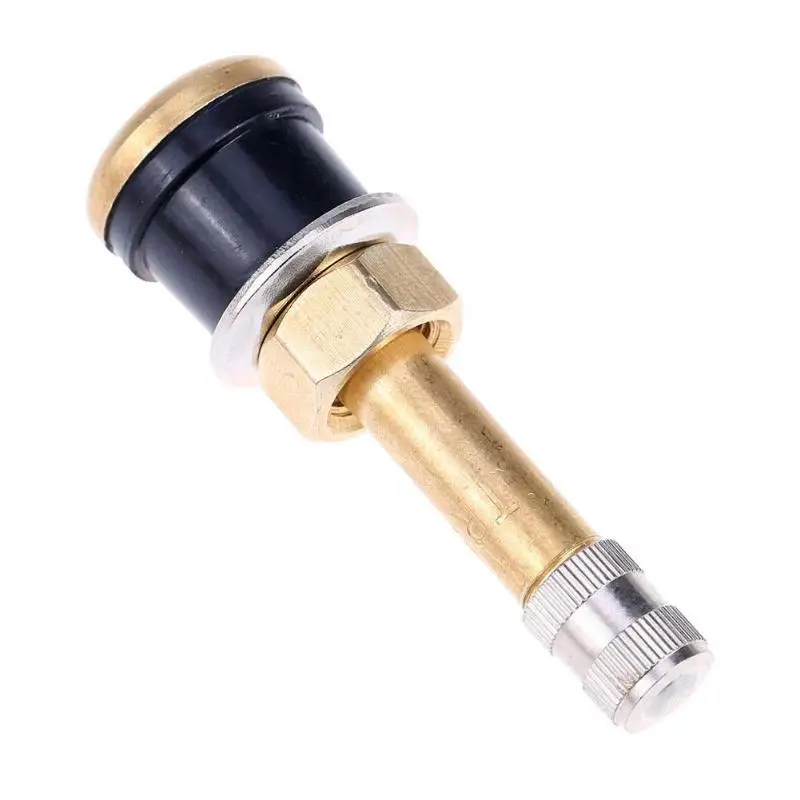
plies 32 to 42
| to 70 |
| 15,000 | 19,000 | 22,000 | 25,000 | 30,000 |
| to 120 | 19400 | 25 200 | 27 000 | 31 800 | 50 600 | |
| to 170 | 25 700 | 30 600 | 34 500 | 38400 | 60 300 | |
| to 220 | 30,000 | 36,000 | 41,000 | 48,000 | 70,000 |
Damage vulcanization: up to 70 - 3200; up to 120 - 4 600; up to 170 - 6,000; up to 220 - 7 400.
- The cost of non-through damage (radial - up to the cord, diagonal - less than 25% of the damaged cord) at the price of damage vulcanization.
- The exact size of the damage is determined after opening the power section of the bus.
- In the presence of additional damage (bundles, rust, presence of fuel and lubricants, etc.), a more accurate assessment of the work is possible only after a direct inspection of the wheel by the master.
- The cost of repairing tires with sizes not specified in this price list is negotiated before the start of work.
Another season of changing shoes is approaching. And you may remember that on one of the tires after the last winter/summer there is a jamb - a small bump. I don’t want to run to the store for the sake of one new tire. We understand. Or maybe it looks even better if repaired?
Yes, not every wheel that has met with a nail, rebar sticking out of the ground or a sharp stone on the road is considered damaged. Everything, of course, depends on the scale of the damage and its location on the tire itself. Some are easily repaired, while others are simply impossible to do - the tire can only be sent to the trash.
A bulge on a wheel, referred to by drivers as a bump or bulge, is the most common tire sidewall defect. It appears due to a collision with an obstacle or after falling into a pit, more often at high speed. The threads of the sidewall carcass are easily damaged by impact, and the tire at this point can no longer hold the load and air pressure - swelling appears. A small bump sooner or later turns into a big one, and driving with such a defect is dangerous - the wheel can shoot at any moment. At high speed, this is fraught with loss of control, departure from the road and a rollover.
The quality of roads in Kazakhstan contributes to the appearance of bulges on tires
Some types of bulges are repairable, although this is a temporary measure.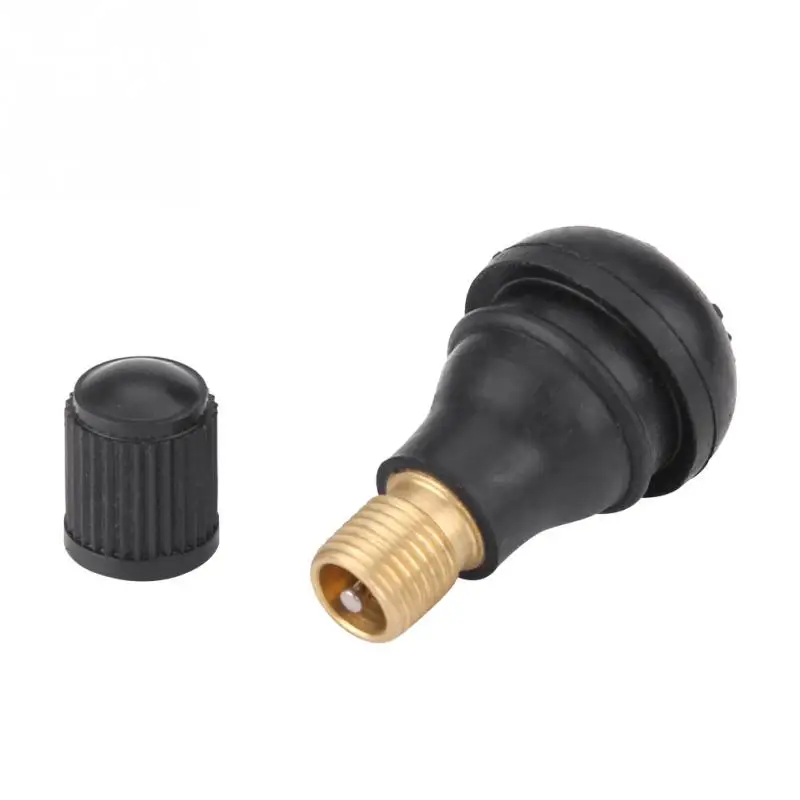 Not a single patch can restore the factory rigidity. Ideally, change the tire.
Special cord patches can extend the life of a tire with a herniation, even if the swelling has appeared on the tread. The sidewall is a different story. If the swelling appeared at a distance of more than 40 mm from the side, it can be repaired. If not, then the wheel needs to be replaced. Blisters on low profile tires are most often non-repairable.
For the safest possible ride with a repaired bump, insert the tube. This is an inexpensive and reliable solution. On our market, you can find cameras made in China and Russia, the latter are slightly more expensive, but also of better quality.
The elimination of a side cut is a serious operation, therefore, as in the case of a bump, you will have to go to the professionals. We need cord patches, fortunately in our time they are of different sizes and with a different number of layers. And if you do it wisely, then you can't do without special tools and vulcanization.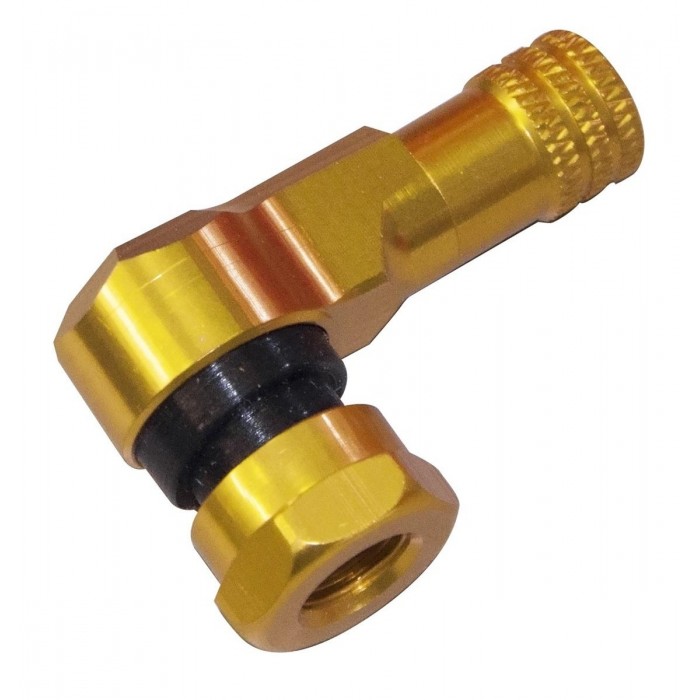
A cut, by the way, cannot be healed in all cases. If the gap is in the shoulder area of the tire, it is unlikely that anyone will undertake to repair it, since no guarantees can be given here. However, our Kulibins take on even the most difficult cases, cutting out parts of the sidewalls from the tires and even weaving the cord on their own.
Tire overhaul. We would not put such a wheel on ourselves
Low profile tires can be repaired, but more difficult. A tear in the sidewall is easier to seal on tires with a medium or high profile.
Sometimes a cut is confused with a pluck. This is when the outer layer of the sidewall caught on something sharp, a tear formed, but the frame itself remained intact. There is nothing wrong with that, although the drivers at the tire fitting company successfully repair the cut, for which they take it accordingly.
If a piece of rubber remains on the sidewall, then glue it with ordinary superglue (101st).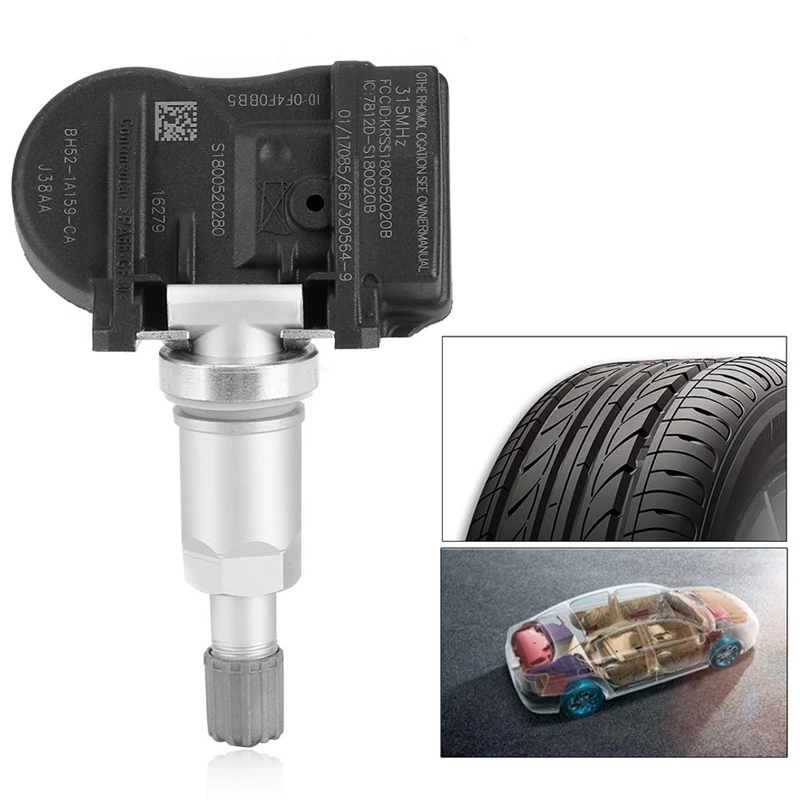 If it came off, then it is better to cover it with raw rubber and vulcanize. Leaving the pluck bare is not recommended, because the tire carcass, often consisting of a metal cord, will quickly corrode.
In Europe, defective or used tires are perforated before being sent to the scrapyard to prevent their resale and possible operation. But they don’t know that we have such holes on the sidewall patched once or twice
Cuts and hernias are not the only possible damage to the side of the tire. You can also spoil the side ring, in the process of changing shoes, for example. If it’s for garlic, then such a tire is already dangerous. Sooner or later, the tire pressure and the load in motion will start to squeeze the rubber off the rim - a wheel explosion can occur.
Repair of this ailment is taken if the wire ring - the base - is intact. There are no special technologies and materials to correct this particular problem, but most often craftsmen use a two-component composition for chemical (also called cold) vulcanization.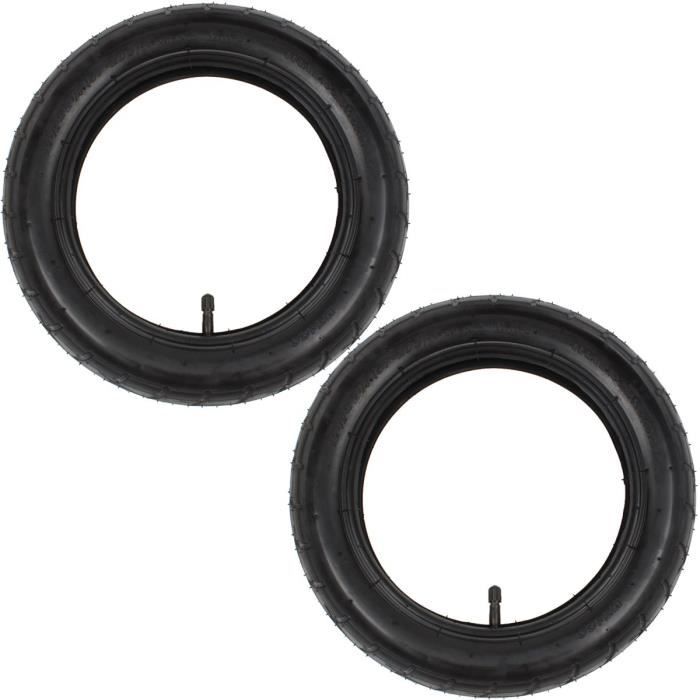 After mixing, the mass is pressed into a fat-free damage. Compound manufacturers recommend waiting 72 hours before mounting a tire. Of course, our masters do not pay attention to this condition - they put the tire right away. And it’s good if the wheel is flat because of this at night in the parking lot, and not on the road.
If the side ring tears are barely noticeable, but the wheel still flattens, then you can use a special liquid - a bead sealer designed to seal a tubeless tire.
These seals have been used in motorsport for some time. In particular, in the American Formula D Drift Series, drivers used compounds to keep the tire on the rim even with minimal tire pressure. Now they are banned.
Pay attention to the left rear wheel of the Nissan Silvia S13. Due to too low pressure, it was literally taken off the disk under load
Every schoolchild has faced this problem when patching the inner tube of his bike after hitting something sharp. Repairing a car tire puncture with your own hands will also not be difficult even on the road. But for this you will need a pump (or compressor) and a universal tire repair kit with harnesses. All this is sold at any car market or gas station.
Repairing a tire on the side of the road with harnesses
The process is simple. If we are talking about the front wheels, then in most cases the wheel can not even be removed, it is enough to turn the steering wheel in the right direction, find the puncture site and carry out repairs. First, the hole is cleaned with a helical awl from the set. The tourniquet itself is smeared with glue and tucked into the eye of the awl, after which it is inserted into the tire hole. With a sharp movement, the tool is removed, and the tourniquet remains in place and clogs the hole. The tails are cut with a knife, but not at the root, it is recommended to leave about 20 mm. The tire is inflated and checked.
Sometimes a nail or self-tapping screw clogs the hole by itself, remaining in it. If you see a hat in a tread, do not rush to pull it out. While the pressure is holding, move to vulcanize. And sometimes they drive with a screw in a tire for weeks.
Repair of a puncture at a tire shop
Punctures are also repaired with harnesses at a specialized service, although among professionals such repairs are not considered long-term. After a few months, the flagella dry out and can let air through. There are more advanced methods like cold and hot vulcanization. The latter is more reliable. In this case, the hole is sealed with an elastic patch, and the funnel from a foreign object is filled with a special compound. After that, a vulcanizer is put on the tire, it heats up the rubber and solders it.
In addition to the plaster, the puncture is also repaired with special cord fungi. Craftsmen process the puncture site: drill it and treat the surface with a tool to roughen it. Then the repair area is lubricated with glue (it is also called cement) and a fungus is introduced. This is done from the inside of the tire. The cap of the fungus is rolled, and the excess legs are simply cut off from the outside.
Repairing a puncture with sealant
With the advent of tubeless wheels and later run flat tires, many automakers began to abandon spare wheels. Instead, repair kits with compressors are supplied with the machines. A repair kit is essentially a bottle of pressurized sealant. Later, such spray cans began to appear on the shelves of ordinary car dealerships.
This method has not taken root in the CIS, because the condition of the roads makes it necessary to have at least a stowaway in the kit, but it can also be considered as a method of repair on the road.
Jack up the car and pump sealant through the nipple into the damaged wheel. Next, you should spin the wheel, then pump it up, lower the car and drive a few hundred meters.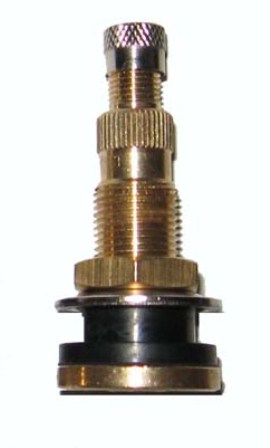 If the tire tightness has not been restored, repeat the procedure.
For commercial vehicles, cutting the tread with a special device (regrower) is a common thing. Moreover, such tire retreading is provided by the factory (marked REGROOVABLE on the sidewall) to increase the service life. But there are entrepreneurs who undertake to deepen the grooves in tires for passenger cars. But they are not intended for such an operation. Often used tires for sale are “refreshed” in this way. Be careful!
What is the danger?
The worst option is that a retreaded tire will shoot out on the road, as when deepening the grooves, the master can damage the undertread layer. Such a tire will not be able to hold pressure at some point. There will be a boom! At best, the tire will indeed last a little longer, but is the game worth the candle? We think it's not worth it.
How is cutting made?
A regrower is used to cut the tread.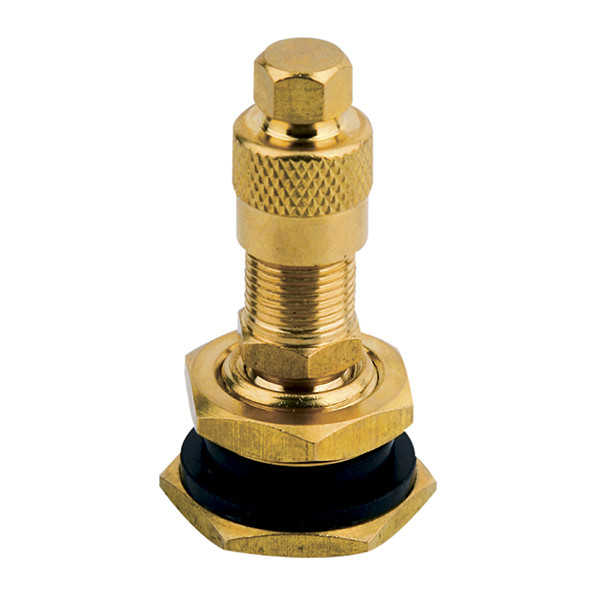 Roughly speaking, this is a large soldering iron with interchangeable tips of various shapes. It goes through rubber like a knife through butter.
If the tire is for passenger cars, then it is worth taking on a regrower only in one case - when part of the tread pattern was welded with "new" rubber during repair. This is where threading comes in handy in order to restore the grooves and symmetry of the tread.
Vehicle operation is prohibited if:
— tires have a residual tread height of less than 1.6 mm;
- tires have punctures, cuts, ruptures that expose the cord, as well as delamination of the carcass, delamination of the tread and sidewall;
- tires in size or load capacity do not match the car model;
- tires of various sizes, designs (radial, diagonal, chamber, tubeless), models, with different tread patterns, winter and summer, studded and non-studded, new and restored, are installed on one axle of the car;
- Tires retreaded according to the second repair class are installed on the front axle.