Tubeless tires are much, much better than the alternative, but that’s not to say they’re perfect. Sometimes, just getting a tubeless tire to hold air can be a challenge, and diagnosing the problem — let alone fixing it — can be frustrating. If you find yourself staring at a flat tire in the garage and muttering “why” over and over again, here are some tips for getting rolling again.
This article won’t cover mounting tubeless tires; we’ll assume the tire has been mounted successfully, but that it won’t hold air for more than a day or so.
No, we’re not celebrating yet, but this will get us closer to our goal by allowing us to zero in on the part that’s leaking.
Fill a spray bottle with water and some dish soap, or really any soap that forms bubbles. Next, inflate the tire to 30psi or so. Spray or just pour the soapy water all around the tire and rim, one section at a time. Note any places where air bubbles appear.
If there is a puncture in the tire itself that is leaking, this is generally an easy fix. Make sure you have plenty of sealant in the tire and move it around until the sealant pools at the puncture. Larger punctures may benefit from a tire plug.
With a sidewall leak, you’re usually better off replacing the tire. It might be possible to patch it, or if you’re really lucky, plug it, but in my experience sidewall repairs rarely last very long.
While rare, some tires have been known to absorb or even weep sealant. Tiny pores in the tire compound fill with sealant when it’s initially added, so you may need to add a bit more liquid to replace what’s been lost. If a tire still leaks through the tread or sidewall in multiple locations despite having good sealant coverage and no punctures, you may want to check with your local bike shop or tire manufacturer to see if the tire should be replaced.
Check to make sure the rim wall isn’t dented. If it is, your tire won’t be able to seal. If you find your rim is slightly bent or dented, it might be possible to get things straightened out enough to hold air. According to Gerow, “a couple of small planks of wood, a vice, and a hammer will get you started.”
Even if the rim wall isn’t visibly dented or misshapen, there could be a small gap between the tire bead and the rim that’s leaking air. Make sure you have plenty of sealant in the tire, and hold it horizontally and tilted to allow the liquid to pool around the part of the rim where you saw the bubbles forming. Shake the wheel gently for a minute or so to let the sealant do its work.
In some cases, the tire-rim connection may not be tight due to buildup of old sealant. “Older tires can have a buildup of dry and hardened sealant at their bead that will create space between the rim and the rubber, causing air leaks,” says Gerow. “When mounting a tire that has already been mounted previously, be sure to remove as much dried sealant from the bead as possible.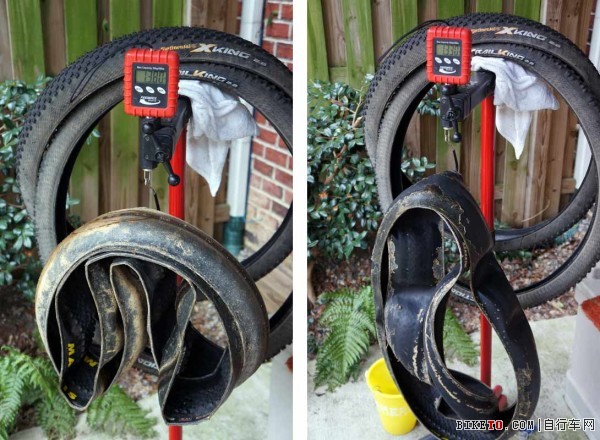 ”
”
Sometimes a tire bead may not be fully seated in the rim. Try pumping the tire up to maximum pressure. The loud popping sound you’ll hear is the bead popping into place. If you didn’t hear that noise the first time you mounted the tire, chances are that is the issue.
After running through the checks above, try soaping the tire again and checking the same spot to see if the fix was a success.
In my experience a leaky valve is often the cause of air pressure losses over time. If the soapy water reveals bubbles at the valve, it’s time to investigate further.
Tubeless valve parts with a valve core remover tool (red, right).First, check the easy stuff: Is the core screwed in tightly? Is the inlet screw loose or bent? A dedicated valve core tool is helpful for proper tightening, and if your fingers aren’t getting the inlet plunger tight enough, needle nose pliers can do the job. Just make sure you don’t over tighten and break the valve, or get it so tight you can’t add air later. If any part of the valve is bent or broken, don’t try to fix it; it’s time to replace it.
If soapy bubbles are forming around the base of the valve, it may not be attached to the rim properly. Most valves have a nut at the base that tightens the valve to the rim. Get this as tight as possible with your fingers, and if necessary give it a slight turn with a wrench. Just be sure to avoid tightening too much because you could damage your rim, especially if it’s carbon fiber, and you may need to be able to remove the nut on the trail in the case of a puncture.
Check the gasket at the base of the valve to ensure that it’s properly seated, and that it sits flush in the rim channel. Add a bit of plumber’s/PTFE tape to seal things if the gasket is particularly troublesome.Next, investigate the valve from the other end, which means taking the tire off the rim. Most valves have a soft rubber gasket that forms a seal around the valve hole in the rim, so check to make sure the valve is seated properly in the rim channel. You can also add a bit of teflon tape around the base of the valve to seal things up.
Sometimes sealant can fill in small gaps around the valve. If you notice air leaking while on the trail, try rotating and shaking the tire so the liquid sealant can get to the valve.
If bubbles form around the spoke nipples, the good news is you’ve found your leak! The bad news is, there isn’t a quick fix. This generally means the rim needs to be re-taped, or at the very least the tape needs to be patched over. If the tape appears wrinkled, ripped, or punctured that’s probably what’s causing the leak. Tire levers can often puncture the tape while installing the bead, causing the tape to leak air through the rim.
There are many tutorials online for taping a tubeless rim, but in general, the idea is to get the rim as clean and as dry as possible before taping all the way around in one go. Be mindful of any gaps where air might be able to leak, keeping the tape flat and taut to avoid blisters or pockets.
Sometimes, tires can be sneaky leakers. Pump them up and they’ll stay rock solid in the garage for weeks, but as soon as you roll in the parking lot, or take a turn, they go soft. You soap ’em up, and there’s not a bubble in sight. In fact, this has happened to me a couple times in just the past few months.
This is usually due to a small cut that only opens up when there’s weight on the tire, or if the tire is pumped up to a higher pressure. In your garage, you can try to simulate the effect of riding by adding pressure above what you normally ride, or by deforming the tire with your hands and looking for air bubbles as the tire squirms.
Gerow notes, “Some tires need to be ridden immediately after setup in order to hold air properly. A new tire that won’t hold air in the garage might be good to go after a short romp on the trail.”
Once you find the sneaky leak, getting sealant to the right spot can do the trick, though a plug may work even better.
Ultimately, tubeless mountain bike tire systems are pretty straightforward and there are only so many spots where air can escape. Imagine that you’re the air inside the tire, and you’re looking for a way out. How would you do it? That’s exactly the mindset you need to solve this mystery.
by Wirnani Garner
Polka Dot Images/Polka Dot/Getty Images
Homemade tire bead sealant can be used on various types of tires. Using it is necessary for them to seal correctly and prevent rim and bead leaks. These sealants are designed to be drawn to area of the air leak and form a plug preventing more damaging from occurring. Although you can purchase these sealants at the hardware store, you can also make your own right at home. There are several different recipes that you can use depending on what you have in your basement or garage.
With chemical ingredients, protective clothing is advisable. The least amount of protection should be a good set of gloves. They do include the same type of common cleaning materials, however, so the toxic effects are no more than using regular sealant and various cleaning solutions. If you are concerned about the environmental effects, these homemade sealers may actually have less of a toxic effect than commercially made ones depending on the brand. The amounts of sealant that is used for each tire is not enough to harm animals. For the proper disposal of old or leftover sealant, place it in a jar with the lid closed tightly.
The basic ingredients that you should check for to make the sealer include mold builder latex, windshield washer, slime, glitter or rubber dust and tap water. These ingredients will allow you to make the basic sealer. The proportions that you use them in will depend on your tire, what you are comfortable with, and even your climate may affect its usefulness. Always check the consistency of the sealer before using it, and test it thoroughly.
The proportions of the ingredients for each of these recipes are simply mixed in a jar and applied when needed. One of the best ones consists of 1 part tubeless slime, 2 parts water, 2 parts windshield washer, 2-4 parts latex, plus silicone until the desired consistency. It may seem a bit watery at first, but it sticks well. The color will be a shade of greenish-brown. Add some glitter or rubber dust for thickener. Other recipes include 8 parts liquid latex mixed with 4 parts windshield washer; 5 parts liquid latex, 5 parts water, and 3-4 parts tubeless slime; and you can also try 3 parts liquid latex, 1 part tubeless slime, and 8 parts water. Of course there are many more proportions that you can try using the same ingredients. One slightly different one would be 1 part liquid latex, 1 part regular non-tubeless slime, plus 3 parts windshield washer fluid. That last one is if you prefer to use non-tubeless slime or if you already have it. There is no need to purchase the tubeless slime.
References
Writer Bio
Wirnani Garner holds a Bachelor of Science degree in physical therapy and works in the medical profession. Her articles focus on health-related subjects, though Garner is proficient in researching and writing about a diverse range of topics.
Unpleasant moments on the road are common. One of them is a wheel puncture. It's good to have a spare in the trunk. But it happens that it is missing, so you need to carry sealant for the sides with you. This tool will eliminate the puncture and reach your destination. Bead sealant for tubeless tires is used to prevent punctures and cuts while driving.
Contents
for unameled wheels are used for two types
These compounds have chem. structure and transform into a rubber compound after curing in combination with air. The compounds are easy to apply, tire repair is easy to do right on the road with your own hands. This does not require disassembly of the wheel.
Latex bead sealant is evenly distributed inside the tire, covering the defective area.
Sealing agents are used for tire fitting, and repair agents are used to renew the tubeless cover. Sealings are divided into: black and means for a tubeless layer. Black ones are used for long-used wheels in order to eliminate air leakage along their edge.
Tubeless Sealant is used on the roughened areas on the sides of the tires before installing the patch from the inside of the tire. Roughing - processing the plane of the tires in areas with defects. When carrying out roughening, the rubber layer is torn off, which preserves the air space. To maintain pressure, the tire must be treated with sealant at the place of its execution.
Bead sealant is selected according to the following principles:
Recommended review video:
The best bead sealant is selected based on tests and positive customer reviews:
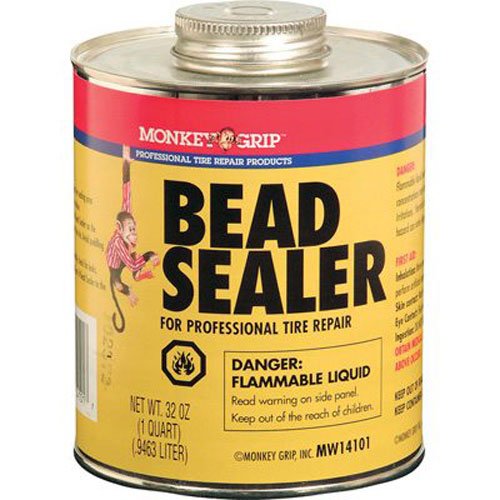
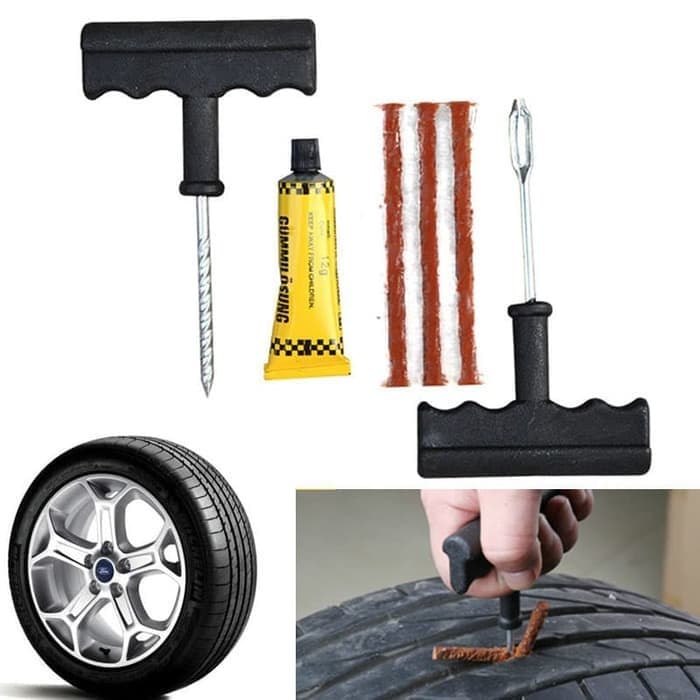 Such a composition is used in tire shops. The composition contains highly flammable compounds, therefore it is forbidden to store and use near fire. When working, use PPE to avoid getting substances into the respiratory tract, skin, and mucous membranes of the eyes. One can at 945 ml is used to treat up to 70 car tires.
 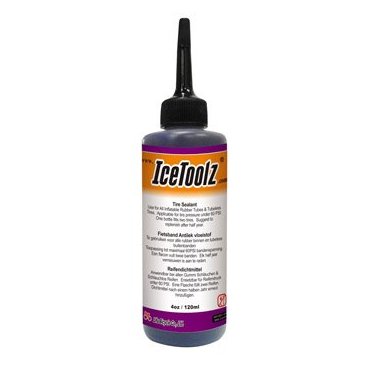 According to the instructions, the place to be glued is degreased before applying the product, which will improve the adhesion of materials and increase the durability of the corrected defect. Available in 800 ml jars with a brush for applying the material.
  Produced in cans (with a brush) with a volume of 1 liter.
 Some craftsmen make their own bead sealant. This is possible, since each factory composition contains rubber, which is found in raw rubber. Therefore, it is enough to purchase such rubber and soak it in gasoline.
When buying rubber, you need to make sure that it contains rubber and not impurities. Otherwise, you will not get a reliable means for sealing.
Thinner is added in an amount to ensure softening and formation of a consistency similar to the store. The resulting mixture is easily applied to the tire beads with a brush.
We advise you to watch the rules for applying the sealant in this video:
The use of such mixtures will keep the impermeability of the inner layer of the wheel, and extend the period of operation.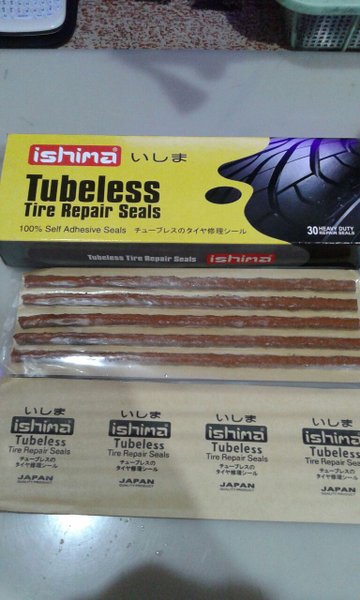 It is advisable to use sealants when using wheels with low-quality rubber.
Did the article help you choose the remedy? Leave a comment, share information on social networks.
Difficult road conditions can lead to various situations, and it happens that the tire of the wheel is punctured. If you don't have a spare wheel in your car, it's a good idea to always have bead sealant for tubeless tires available. The substance allows you to eliminate problems so that you can get to the right place. Also, the tool is used for preventive measures against punctures and cuts of tires while driving. Not all car owners are aware of the features of the use and choice of sealant, these issues will be discussed in detail in the article.
Content
Do I need sealant when fitting tires is a question that many car owners ask. At the same time, it cannot be said unequivocally that the application of the composition is a necessary step for the prevention of all wheels. Sealing the bead of tubeless tires is recommended for processing low-quality or old tires and discs with flaws. In this embodiment, the tubeless layer, located close to the rim, is not dense, which may result in depressurization of the tire.
Why use tire sealant on new tires, with an alloy wheel or another that is not bent? Then the use of the tool is not mandatory, and in some cases it can cause problems. When the near rubber layer is soft, if you seal this area, it becomes hard after drying. Such an action will lead to the destruction of the surface, the layer may be depressurized. When the vehicle is driven on a rough road, the firm position of the tire may cause a crack in the layer, and the air layer will be expelled. Of course, driving with such a defect will not work.
Tubeless tire bead sealing is recommended for treating low quality or old tires and defective rims.
Bead sealant for tires is divided into two types, this feature must be taken into account when choosing. There are latex and liquid with granules. The products are easy to apply, no disassembly of the wheel is required. The solidification process occurs from the connection with air. The latex layer opens inside the material, qualitatively covering the flaw.
For tire work, sealing agents are selected, and for recreating a tubeless layer, intended for repair work. Seals are divided into black and for the tubeless zone. The first one is chosen for old wheels to eliminate air outlet problems.
The second is used for areas with roughness on the sides of the tires, before installing the patch inside the tire. This is called roughening, as a result, the rubber layer is removed to remove the air space. In order for the pressure to remain at the desired level, sealant must be applied to the work area.
For tire work, sealing agents are selected, and for recreating a tubeless layer, intended for repair work.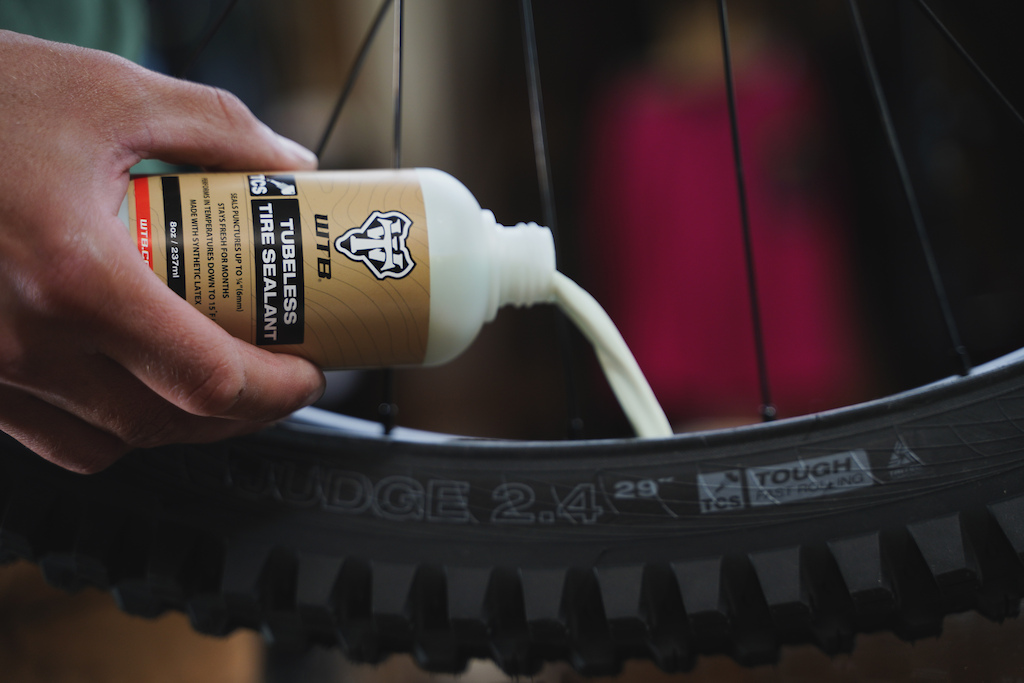
Bead sealant is available on the construction market in various versions, so you need to choose the product carefully. The following selection criteria can be distinguished:
Choose a product according to its intended purpose: preventive measures for tire puncture, elimination or increase of pressure.
In addition to the above parameters, it is possible to purchase low-quality sealant. Therefore, when buying, they often focus on the rating of brands that are popular and have gained a lot of positive feedback from users. The tire fitting sealants of the following brands are distinguished:
Creates a strong protective layer between rim and tyre.
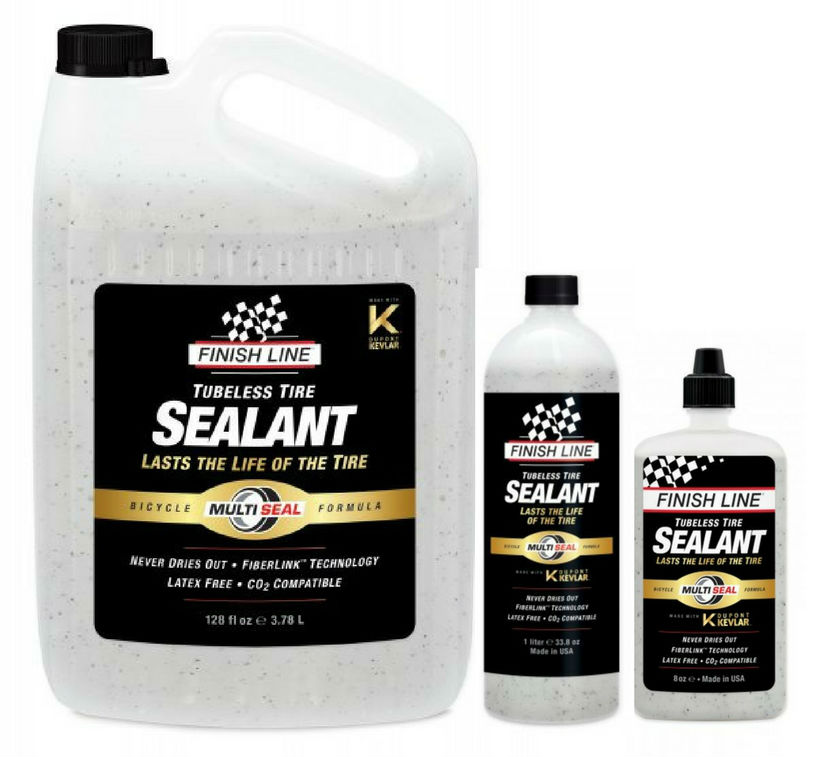 Volumes up to a liter are on sale, a brush for application can be immediately attached to the jar;
 Reliably covers incisions up to 3 mm.
Creates a strong interlayer that eliminates air leakage between the bead and rim.
When working, it does not harden, acquires a gel-like appearance, high-quality sealing of the tire is acquired and the rubber is vulcanized.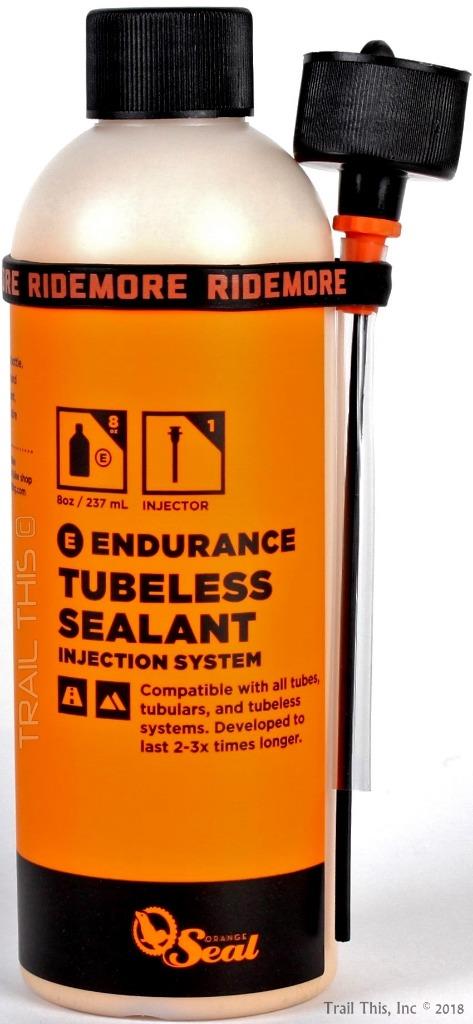
Selected to create a layer inside obsolete tires, can also remove 3 mm cracks.
Can close incisions up to 6 mm.
Craftsmen have developed an option for making your own bead sealant. This became possible due to the presence of rubber contained in raw rubber in the factory sealants. So to prepare the product, you will need to stock up on this rubber, then immerse the material in gasoline.
Before buying rubber, they find out exactly whether it contains raw rubber, there may be only impurities that are unable to give reliable grip and close punctures.
