Troubleshooting an ATV that won’t go into gear or won’t shift gears can be quite complicated, but not always. Whether you can address the issue on your own depends on the severity of the problem and your mechanical skill level.
ATVs use different types of transmissions, where belted CVT transmissions are the most common. The possible causes and the steps required to solve the problem depend on the type of transmission your ATV has.
This post covers some of the most common causes if your ATV doesn’t go into gear. It is meant to guide where to begin your troubleshooting, not as a complete repair guide for all ATV transmissions.
The service manual for your specific brand and model will provide more detailed troubleshooting procedures for your transmission issues.
Check out eManual Online to get factory workshop service and repair manuals for your ATV.
Please note that it’s easy to worsen a transmission issue if you don’t know what you are doing.
Some of the repairs require special tools such as a clutch puller or a clutch disassembly tool. If the repair seems intimidating to you or you do not have the right tools, it is recommended that you take the bike to a dealer technician.
Page Contents
We recommend you begin the troubleshooting by testing whether you can shift gears when the engine is not running. This initial test allows you to narrow down the possible culprits of your gear-shifting issue.
If you can shift gears with the engine off, you know that the gear-shifting mechanism and the inside of the gearbox most likely work fine.
Gear shifting problems that are only present when the engine is running are usually clutch- or belt-related (Step 3) or caused by a high idle (Step 2). You may find that the bike wants to creep or move forward when in gear at idle. But even without creep, the problem may be with one of these components.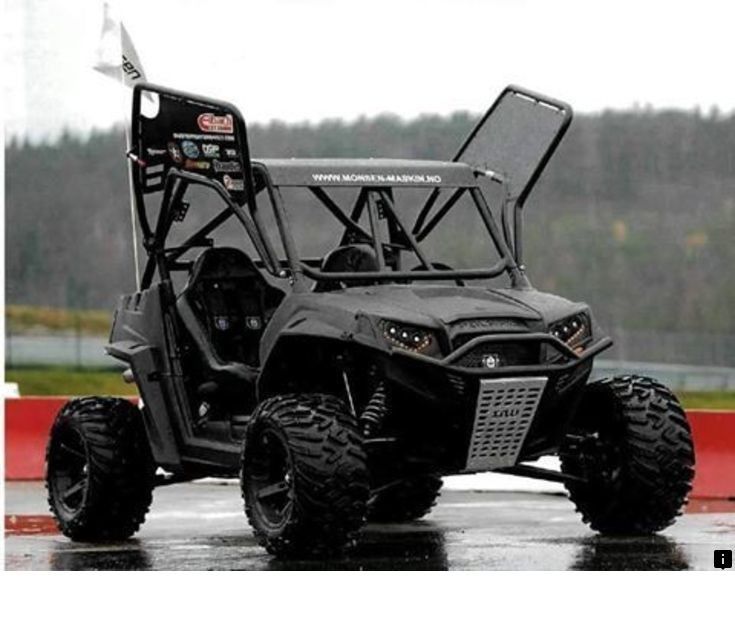
If you cannot shift gears with the engine off, we recommend you jump straight down to Step 4.
Many ATVs come with an automatic clutch that engages when you apply throttle, and the clutch speeds up. The same principle applies whether you have a wet disc clutch or a dry clutch, as you find on a belted CVT transmission.
If the ATV, for some reason, idles higher than it’s supposed to, it may cause the clutch to engage slightly, putting a small but constant tension to the metal gears inside the gearbox. This pressure on the gears makes the ATV very hard to shift.
Most ATVs should idle around 1100 to 1200 RPM. If your bike’s idle is higher than this, you must address the cause of your high idle.
There will be an adjustment screw to set the idle for carbureted ATVs. Refer to your owner’s manual for the correct setting for your bike. Adjusting the idle on a fuel-injected ATV is usually a job for a mechanic.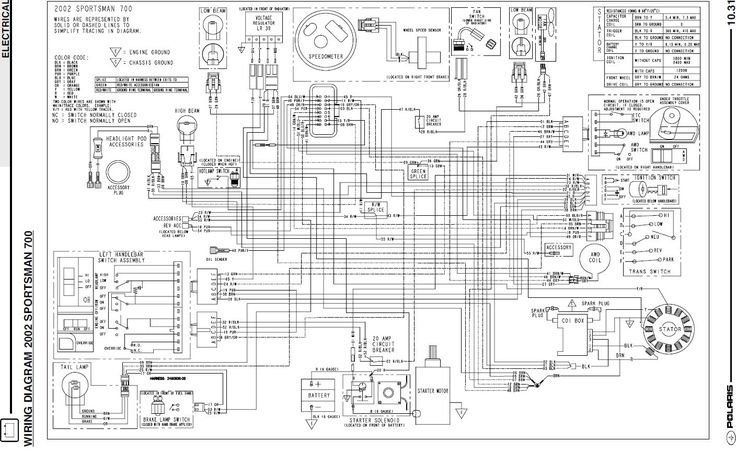
Related: How to Idle a Four-Wheeler: Proper ATV Idle Adjustment
When idling, the primary clutch on a belted CVT transmission is supposed to spin freely without engaging (not pulling on the belt). This relieves the tension on the gearbox and allows you to shift gears.
When you hit the throttle, the primary clutch closes and pulls the belt. The belt makes the secondary (driven) clutch spin, creating tension between the gearbox’s gears.
This is how a CVT transmission works:
However, when the transmission is not tuned correctly or has a mechanical issue, it may engage and spin the secondary clutch even at idle.
To troubleshoot an issue like this, you need to remove the belt cover to inspect the clutches and see how they behave when the engine runs, both at idle and when revving in neutral.
Please note that the clutches will be spinning at high speeds. Keep your hands and all loose objects away from the clutches to avoid severe injury.
If the primary clutch is packed with dirt, it may bind or not open enough to release the belt. Now is a good time to pull the clutches for proper cleaning and service.
The springs inside a CVT transmission clutch may weaken over time, preventing it from functioning as it should. Clutch springs are replaceable, but you may need special tools to pull and disassemble the clutch.
If the motor mount is bad or has come loose, the primary clutch may be out of alignment. Use a pry bar to see if you can lift the whole engine. You should barely be able to see the engine move, if at all.
The drive belt should ride in the clutch assembly center, not touching the primary’s two clutch sheaves. If it does rub against one of the sheaves, it will cause unwanted tension on the belt.
The alignment between the two clutches can be adjusted by adding or removing metal shims/spacers between the sheaves, usually on the driven (secondary) clutch.
Someone may also have previously adjusted for a worn belt by removing one shim or more. When installing a new belt, you may need to add those spacers back to prevent binding, leading to gear-shifting issues.
If the drive belt is worn too much, it will ride low on the sheaves, causing a slight creep.
We recommend that you only use OEM belts. There are aftermarket belts available that offer better performance and longevity at a smaller price. But slight variations in production tolerances can cause issues such as the clutch engaging too soon.
Aftermarket belts also use a harder compound to make them last longer, which may wear your clutch sheaves over time.
Remove the belt cover. If the belt is shredded, it may have gotten wrapped around the driven shaft, causing it to bind up.
Polaris ATVs with EBS (engine brake system) have components that may wear out in time. Inspect the EBS fiber washers (one on each side of the EBS bushing) on the primary clutch to see if they are worn out. If the washers are worn, the belt may not ride in the grooves as it should and instead ride one of the sheaves.
Some ATVs with engine brake systems have a primary clutch with a one-way sprag bearing, a so-called one-way clutch. It is supposed to spin freely in one direction and be locked in the other direction.
This bearing may go bad over time, preventing the clutch from turning freely. It may be hard to tell if the bearing is ok; just a slight drag may cause shifting issues.
In this case, the problem is likely with the gear-changing mechanism or the transmission’s internals. Begin by troubleshooting the externals as they are the most accessible.
Some ATVs have adjustable gear linkage. If not adjusted correctly, the bike will not shift as it should.
On ATVs that have manual clutch transmissions, you should make sure that:
To test your gearbox for internal damage without splitting the case, you can try this method:

One of the most common issues one could be facing with a gearbox’s internals is having a worn or bent shift fork.
The shift fork is what shifts the gears in place. It can’t push the gears completely in place if it is bent or worn.
Some ATVs use an oil-sump wet clutch combined with the dry clutches on the CVT belt transmission. You also have some Honda ATVs with hydrostatic transmissions that use oil to drive the ATV forward.
Here are a few things to check out whenever any of these types of ATVs won’t go into or shift gears.
Ensure the oil level is correct, or the bike may not shift as it should.
If the oil is old or contaminated, it needs replacing:
Using an oil pressure gauge, it is possible to measure if the oil moves well through the engine. If the pressure is weak, you may have bad seals and need to open the engine.
ATVs with an electric shifter, like the Honda AS models, use an electric motor to shift through the gears. If the motor does not work, the bike will not shift gears.
The only way to make it shift is by using the emergency shifter (a short-shifting shaft sticking out the left lower side of the engine, use the supplied gear change tool). If the bike shifts when using the emergency shifter, you need to address the shifter motor.
If the ATV has been submerged, you must ensure all the water is drained from the shifter motor.
Remove the motor. If the motor does not turn even when hooking it up directly to a battery, it may be burnt out and need replacing.
It is easy to forget that an electric-shift ATV needs electricity to shift.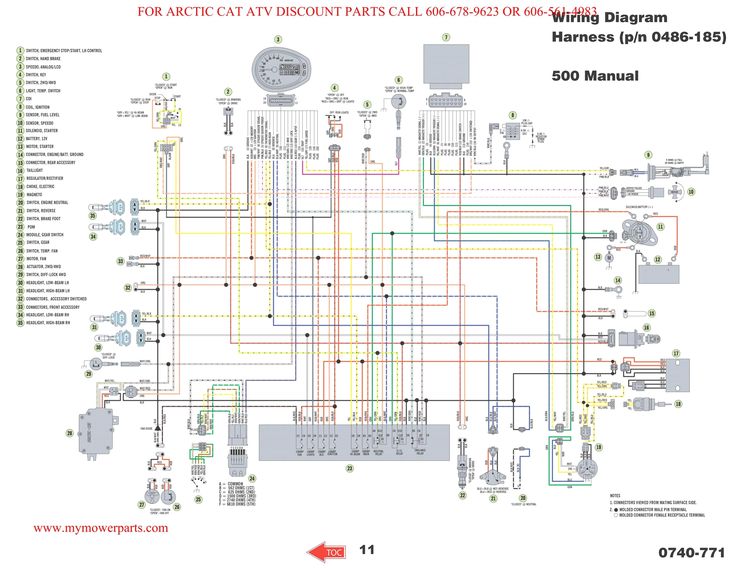 Make sure the battery is properly charged and in good condition.
Related resources:
How to charge an ATV battery
How to troubleshoot an ATV battery that is not charging.
If you try to shift on an electric shift ATV, you may hear the shift motor moving, but it does not shift completely.
You may find that the problem is worse at colder temperatures. Fixing this issue is relatively easy. All you need to do is replace the old gummed-up grease with all-temperature, white lithium grease.
For the complete procedure, go to Hondaatvforums.net
Located on the carburetor, the Honda ES models have an angle sensor that tends to go bad. After replacing the sensor, make sure it is clocked correctly.
When this happens, there is usually no need to worry. In fact, most ATVs are affected by this issue, some more than others.
What happens is that the wheels must be rotated slightly for the gears inside the gearbox to sync (line up).
You may have noticed that this phenomenon worsens when trying to shift in and out of “park” when standing on a hill.
The best way to avoid this is by applying the parking brake before putting the transmission in “park.” This way, the gears won’t bind up, and you can shift in and out of gear effortlessly.
Etsy is no longer supporting older versions of your web browser in order to ensure that user data remains secure. Please update to the latest version.
Take full advantage of our site features by enabling JavaScript.
( 75 relevant results, with Ads Sellers looking to grow their business and reach more interested buyers can use Etsy’s advertising platform to promote their items. You’ll see ad results based on factors like relevancy, and the amount sellers pay per click. Learn more. )
Articles
02 Dec
Any wheeled vehicle - from a bicycle to a multi-ton truck - has a transmission in its device: a system that transmits rotation from the engine to the wheels. The operation of the transmission - and therefore the speed of travel - can be controlled by shifting gears.
Gear shifting is organized differently in each mode of transport. In the article below, we will tell you exactly how to shift gears on ATVs, and what gearboxes are found on such equipment.
Gearboxes for ATVs can be of two types:
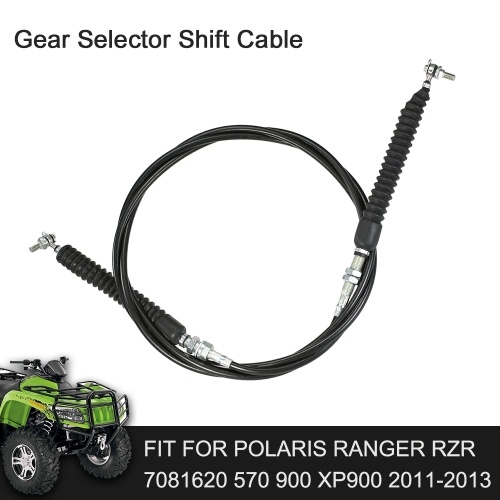
Rare and mostly found in older models, but other variations can be found. For example - "automatic" with the ability to manually shift gears.
Manual ATVs are a little more difficult to drive (at least at first, until you get used to it), but you can more accurately select the appropriate mode. And vice versa: CVT "boxes" are much easier to operate, they are easy to master for a beginner who gets behind the wheel of an ATV for the first time. But on the other hand, with active driving along a route with variable difficulty, riding a CVT will be a little less convenient.
For example: you are driving on a flat packed dirt road on H and you see a large stretch of muddy road ahead with deep mud (or a steep hill, or bumps, or stones). You will have to come to a complete stop and shift to L, drive through mud, and when you get back on a dry road, come to a complete stop again and shift back to H. , like motorcycles, and a manual clutch lever on the handlebar on the left.
The foot lever device can be of two types:
The shift itself is carried out in the same way as on motorcycles:
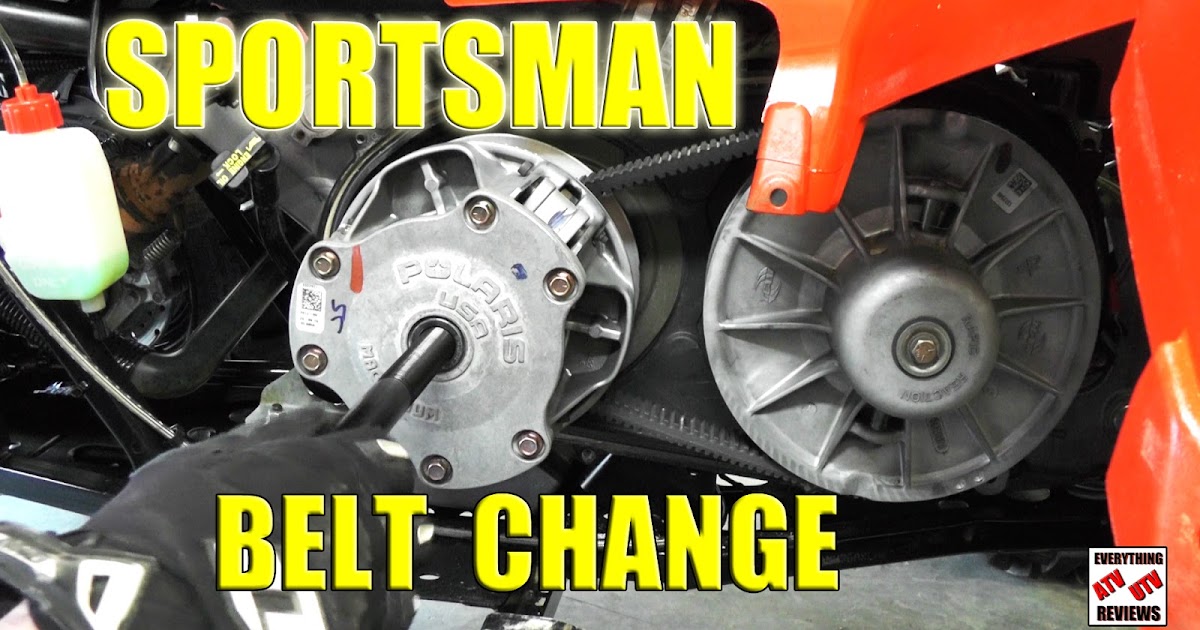 If you have experience driving any vehicle with a manual transmission, you will quickly get used to an ATV with such a gearbox.
 When exactly to switch speeds up and down is determined by the tachometer, speed, road complexity, weight of the load taken and the characteristics of the ATV itself (power, weight).
CVT gearboxes are much more common on ATVs. The clutch does not need to be depressed in them, and the “mode” of driving forward is selected from two (most often) options: in high (suitable for driving on an easy route) or in low (for difficult sections, steep climbs and towing) gears.
An important difference from driving in a manual transmission: switching between L and H is carried out only when the ATV is completely stopped, with the brake applied. To select a mode, move the knob to the desired position. Switching between L and H on the go is impossible.
The rest of the gears - park, neutral and reverse - of course, are also included when the ATV is standing still.
Gears are transmission modes that allow you to adapt your ATV to different tasks and road conditions. Shifting increases traction or top speed.
In this article, we will tell you how to change gears correctly on ATVs with different types of transmission so as not to break anything and confidently overcome any routes.
The CVT is the most popular 4WD utility ATV.
The variator consists of two pulleys. A belt is stretched between them, which rotates along a larger or smaller radius as the engine speed changes. This ensures a smooth change in gear ratio. In fact, the same thing happens as when moving the gears in a manual transmission.
The variator is combined with the gearbox. The shift lever can be in five different positions:
L - downshift;
H - overdrive;
N - neutral;
P - parking lock;
R - reverse.
Downshifting allows the ATV to climb steep slopes, off-road or carry loads more easily and without harm to the CVT. In overdrive, the technique can develop maximum speed. It is recommended to use it for driving faster than 10 km/h.
There is no conventional clutch on an ATV with a CVT. Instead, a centrifugal automatic. Therefore, before each shift, be sure to come to a complete stop, apply the brakes and reduce the engine speed to idle.
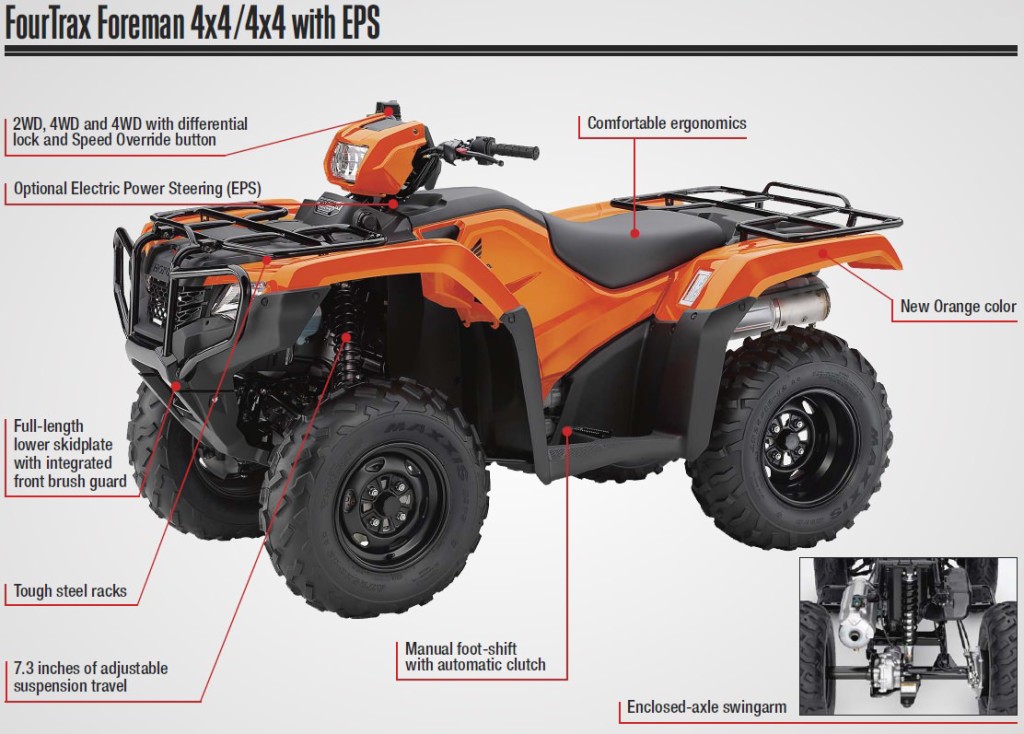
To stop, just remove your finger from the throttle trigger - the ATV will quickly slow down and stay even in the H or L position until the driver again increases the engine speed.
For a long stop, it is better to switch to neutral. To prevent the vehicle from rolling away, you can apply a hand brake or a P gear.
Manual transmission is commonly used on small displacement RWD ATVs. Structurally, it is similar to the transmission of a high-speed bicycle, only instead of sprockets there are gears. They are connected in different combinations depending on the selected gear.
In order not to break anything when changing gears, there is a clutch. This mechanism decouples the transmission from the engine and allows the gears to engage without load. To control the clutch there is a separate lever on the steering wheel.
On an ATV with a manual transmission, the gears are shifted by a lever located at the left footrest. How exactly depends on the specific model. Popular options:
N is a neutral gear, in which the vehicle will not go anywhere. R is reverse.
This is what a manual transmission looks like on an ATV0115 What is the difficulty. It can be difficult for a beginner to move off. If you release the clutch too quickly or add insufficient rpm, the engine will stall. If you give too much gas and drop the clutch, the vehicle will move with a jerk and may even jump out from under the rider.
What to do. At first, you can try to start without gas at all - just release the clutch smoothly and slowly. This will help you feel the moment when the ATV is ready to go and you need to increase the engine speed.
What is the difficulty. At first it is not obvious when to switch.
What to do. You can focus on the sensations. If vibration is felt, the ATV twitches and accelerates sluggishly, you need to switch down, and if the engine “roars”, up. Another option is to look at the speedometer. Each gear has its own optimal speed range. Here are the average values:
