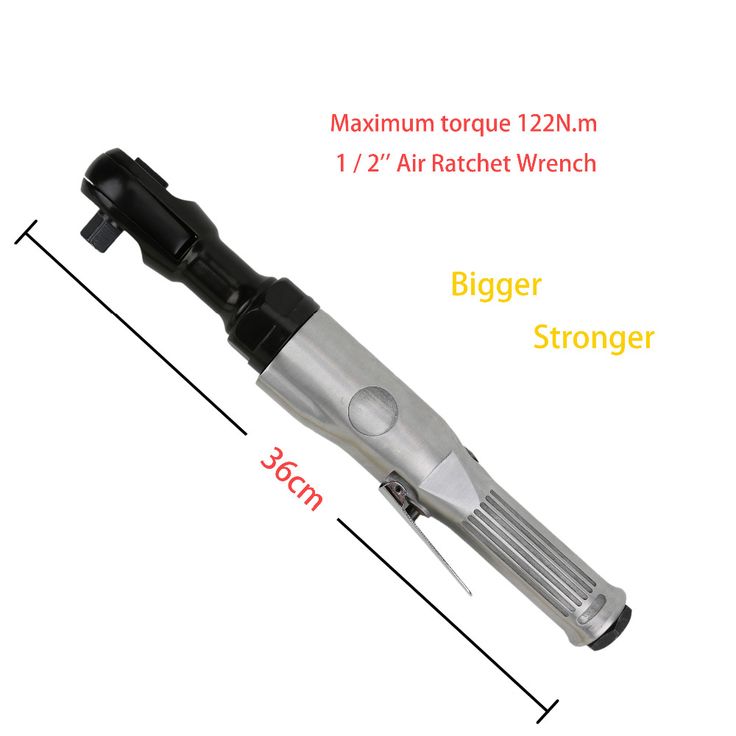
Impact wrenches are the most common Pneumatic tool a auto mechanic uses. After awhile we start to notice a drop in “Gun”performance . Many companies use inferior parts inside their impacts intentionally. Why pay the tool truck man inflated repair prices. Repair your tools yourself and save that $100 service fee. We will show you How.
 As the tool operates the veins are forced away from the center of the wheel. Therefore you do not want to grease this part of the tool. A light thin oil is all that is required here. Now is also a good time to clean and wash out the empty rear section of the body. I like to use a good solvent cleaner with high evaporation. Notice the 2 holes at the 6 o clock position. This means that our tool has equal power in both forward and reverse. If the holes were positioned at 5 or 7 oclock it would represent a stronger direction for loosening or tightening. Here is a view of all the parts removed from the rear section of the tool. Your impact model may be different from ours. I recommend taking pictures as you go. It makes reassembly a breeze. For the rear end of the Impact I only grease the open bearings. Everything else gets a thin coat of oil.
 Now you can reassemble the rear of the impact and service the front. The front of the Impact is the same process as the rear. Remove the 4 Allen screws and tap the Nose off with a dead blow hammer. Here is the Twin Hammer assembly removed as a whole from the tool. The Twin hammer assembly is held together with 2 dowel pins (bottom right) that will slide right out. Left top is the Anvil. You want to inspect this for excessive wear. Since our model is a Twin Hammer there are 2 (bottom left) hammers. You also want to inspect these as well as the hammer cage (Top middle). Our ZIW812 did not need any of these parts replaced. They were in very good condition. The front of the impact likes alot of grease. everything was washed and re greased along with the front bearing housing. The tool is ready for reassembly and testing.
We tested the ZIW812 after it’s service. As expected it was back to top form. A simple vein replacement was all that was required. Since we stock replacement parts for all our tools. Our down time was only minimal. When buying pneumatic tools, Don’t always shop price. look at offered services and the availability of service parts. That $99 impact may cost you more money in down time or service fees than you expected. Like our Facebook page to see videos of our tools in action and please check out our website. www.zippair.com We hope you find this helpful and if you have any questions we wold be glad to help you out.
167 products
These repair kits and parts are used to maintain, protect, and modify impact wrenches.
Impact Wrench Protective Covers
Impact Wrench Accessories & Replacement Parts
Repair Kits & Parts for Air-Powered Impact Wrenches
Offset Extension Wrenches
Shear Bolt Wrench Sleeves
Impact Wrench Protective Covers, sorted by Accessory Type, ascending
Loading.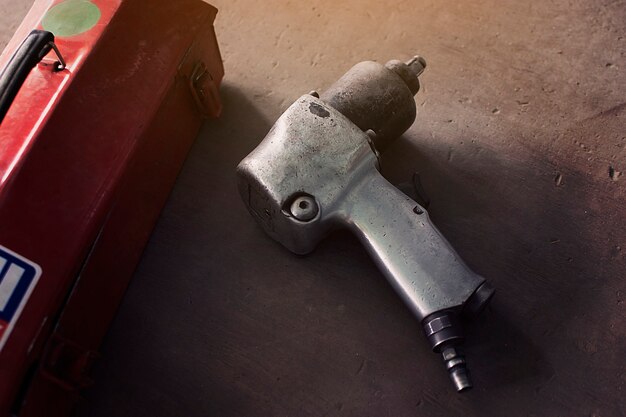 .. .. |
Impact Wrench Accessories & Replacement Parts, sorted by Accessory Type, ascending
| Loading... |
Repair Kits & Parts for Air-Powered Impact Wrenches, sorted by Accessory Type, ascending
Loading.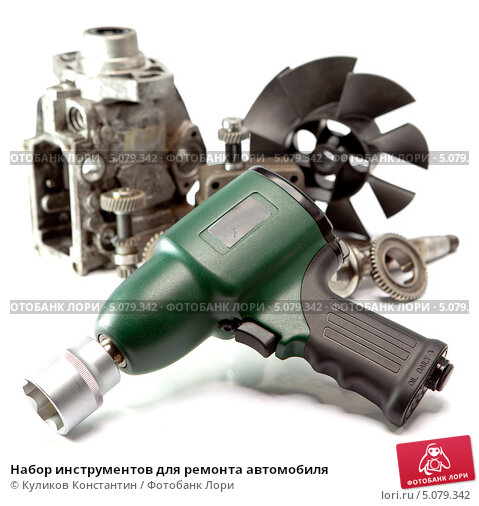 .. .. | ||||
| Loading... |
Offset Extension Wrenches, sorted by Accessory Type, ascending
| Loading... |
Shear Bolt Wrench Sleeves, sorted by Accessory Type, ascending
Loading. .. .. |
Pneumatic wrench is a tool without which it is very difficult to imagine work in construction and car service. Use it to work with threaded products for tightening or loosening connections.
The wrench device is not that complicated, but at first glance, it seems confusing. Most often, the wrench parts are strong and durable, have a long service life, but can fail at any time due to natural wear or heavy and regular load.
You can identify the causes of the breakdown of the wrench on your own, without resorting to the help of specialists.
To independently determine the causes of failure of the wrench, you need to know its device. The pneumatic wrench consists of:
A wrench can fail not only due to natural wear, but also under active load, as well as elementary pollution.
Repair of a pneumatic wrench will be needed in such cases:
Such problems can be caused by failure of bearings, valves, rotor blades, impact elements. All these parts can be repaired, if they cannot be repaired, they can be completely replaced.
First of all, you need to get to the internal elements of the tool, for this you need a hexagon, with which you should unscrew the back cover. Then remove the speed controller from the housing. Experts recommend filming the entire disassembly process so that there are no problems with the assembly of parts.
Be sure to inspect the tool inside. All elements must be lubricated, not have corrosion or oxidation, as well as chips. Damaged parts must be replaced with new ones.
If the wrench is many years old, or it has not been turned on for a long time, the cause of the breakdown can be the most commonplace - corrosion of parts. In this case, they must be cleaned and lubricated.
If these actions did not return the tool to work, the reason is the wear of the parts. Inspect each element, paying special attention to bearings and rotor blades. Such elements fail the very first. The rotor blades must fit snugly against the walls.
All replacement elements can be purchased at specialized stores or workshops. You can install them yourself. After replacement, be sure to lubricate all components, this will improve the performance of the tool.
The correct operation of any tool directly depends on the lubrication of its components. The easier the device works, the longer its service life. That is why special attention should be paid to the lubrication of parts, this will not only improve the performance of the wrench, but also significantly extend its life. To lubricate the elements, it does not need to be disassembled, just add a few drops of oil to the nozzle, and then start the wrench for a few seconds.
Return to the list
Pneumatic wrench is an indispensable tool for working with threaded connections.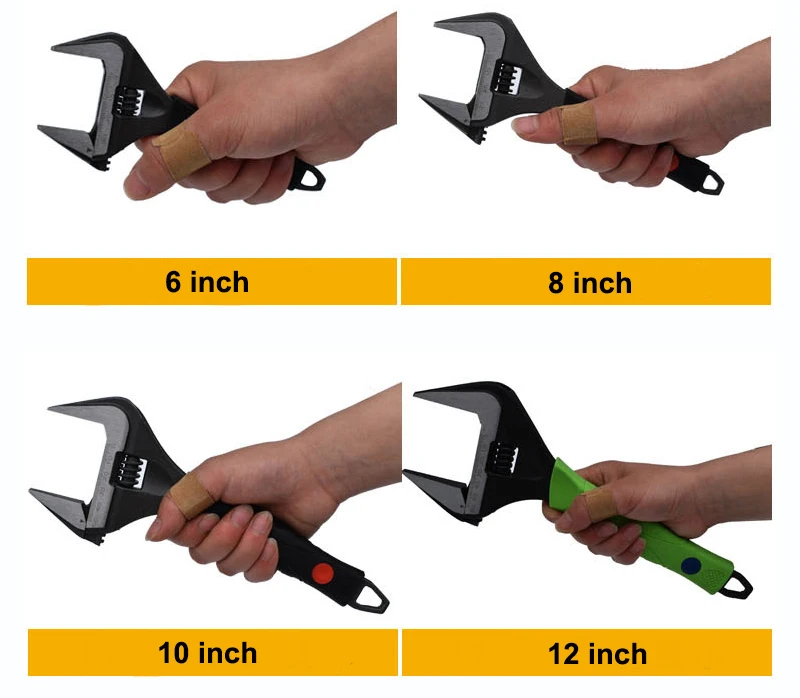 It is widely used in car services and numerous construction works. Excellent for tightening nuts and loosening tight joints.
The design of the pneumatic wrench is quite simple, but at the same time it consists of many details that are incomprehensible at first glance. Often, the parts of the mechanism have sufficient strength for a long service life and fail only due to wear or increased loads. Most of these problems can be detected at home without the need to contact specialists. How to determine the location of the breakdown and fix the problem, we will tell in this article.
To understand the cause of a tool breakage, you should understand how it works (fortunately, the mechanism here is very simple). The pneumatic wrench consists of a fitting to which the air hose from the compressor is attached. Next comes the start button, which directs the flow of air into the cylinder with the rotor and blades spun by high pressure.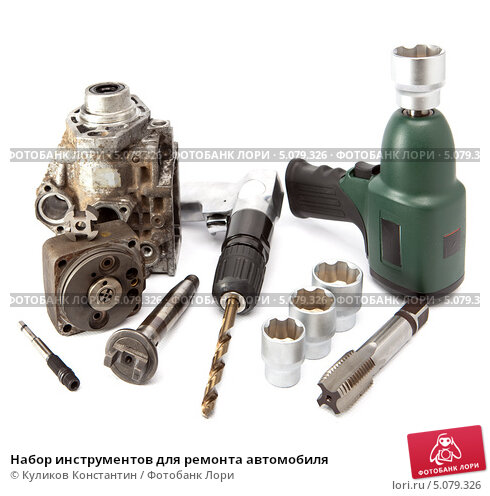 The motor transmits rotational movements to the stop, where nozzles for tightening nuts are installed. If the wrench is impact, then between the stop and the rotor, there is an impact mechanism.
For greater clarity and understanding of the wrench device, below are photos and videos of the tool in the analysis.
Breakdowns or malfunctions in the wrench can be caused by wear, damage or severe contamination of its mechanism. There are many video faults, below we present the most common ones.
Parts that can cause this problem include: bearings, rotor blades, valves, springs, impact cams, seals, and speed controller.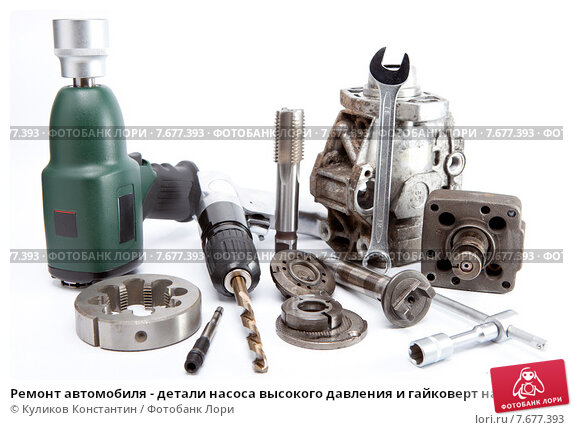 Depending on the level of damage to the part, it can be repaired or replaced. Let's take a look at how you can bring your wrench back to life.
Usually this process does not cause any particular difficulties, due to the simplicity of the design of the tool and the minimum number of unscrewed elements. The first thing to do to get to the "insides" is to unscrew a few bolts on the back cover with a hex. After unscrewing, remove the cover with gasket and speed control. Having gained access to the main mechanism, carefully remove it from the case, be sure to remember the sequence of parts. If you are afraid to mix up the parts during assembly, take a photo or video of the disassembly.
After taking out all the parts, the first thing we have to do is evaluate their appearance. Parts must be lubricated, free of rust and oxidation. Next, we need to inspect the mechanism for chips. If parts are damaged, they must be replaced.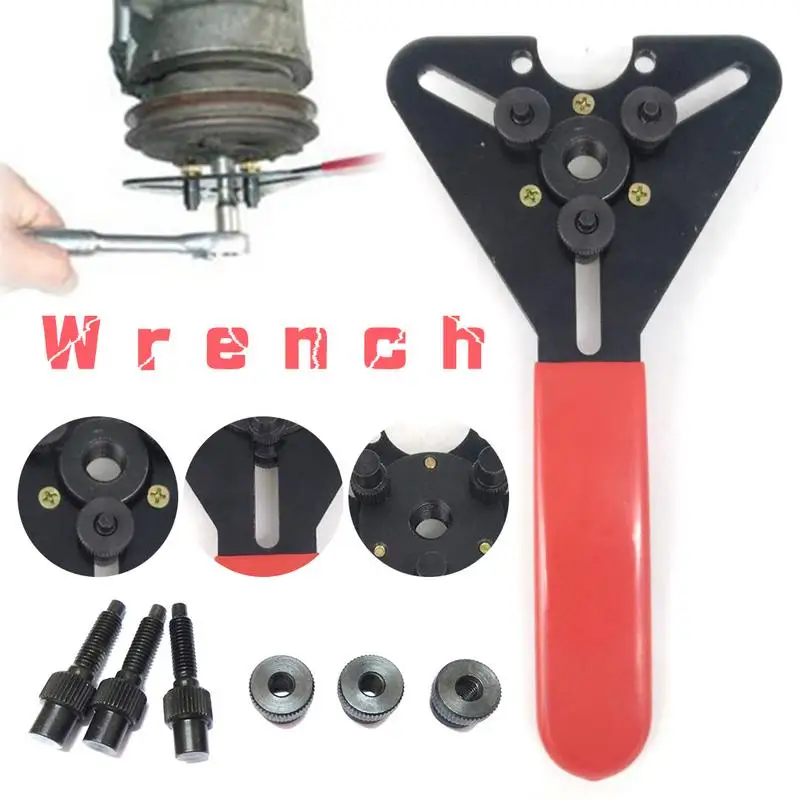 You can read the name of the pneumatic wrench parts in the image above.
If your tool has been in use for many years and has not been used for a long time before the failure, then it is possible that the cause of the breakdown lies in the banal corrosion and rust that formed on the mechanism during a long time of inactivity of the tool. The solution to this problem may be elementary cleaning of parts followed by lubrication. Even if this method does not restore the working capacity of your tool, in order to work in the future, it should not be dirty and without lubrication.
The tool may not function or work properly even with a clean, lubricated mechanism. In this case, the cause of the malfunction lies clearly in the breakdown or wear of a certain part. Here you should carefully inspect each component for chips, cracks or abrasions. Closer attention should be paid to bearings and rotor blades, as these parts are most prone to mechanical damage.
You should also carefully inspect the cylinder block and make sure that the rotor blades fit snugly against its walls. This happens when the wrench has been running without oil for a long time, as a result of which the rotational force drops significantly. If there is a clear play, you have 2 options for repairing an air wrench: installing a new block or grinding the old one. Grinding is required to be carried out on the machine for a perfectly flat surface.
There are many types of breakdowns, but they are all solved by identifying and replacing the defective part. Therefore, in order to repair your wrench, you should disassemble it, assess the condition of the mechanism, find the broken part and replace it. Replacement parts are usually available from specialized workshops. They cost much less than a new wrench and you can install them yourself. New parts will work for more than one year, they only need to be lubricated and cleaned in a timely manner.
The service life of any power tool depends largely on the quality of the lubrication of its parts. The easier the mechanism will work, the less wear will occur. If you want the wrench to serve you faithfully for more than one year, follow the elementary rules for servicing the tool.
The wrench mechanism does not need to be disassembled to add oil. It is enough to add about 8-10 drops of lubricant to the tool nozzle where the air hose is installed, then start and let it idle for 30 seconds so that the oil is quickly distributed over the parts. This procedure should be repeated every 3-4 hours during continuous operation, and also before cleaning the instrument for storage.
If you use the tool all the time, adding oil every 4 hours can become a chore. To eliminate unnecessary distractions from your workflow, install a wrench oiler (lubricator) that will supply oil gradually during operation. This method is more convenient and provides constant lubrication of parts, just do not forget to add oil to the lubricator itself.
In addition to the main rotor mechanism, there are parts in the nutrunner that require grease, non-flowing lubrication.