You’ve planned a motorcycle road trip for weeks, but when you open the garage door, you see it. Your motorcycle has a flat. For an experienced rider who knows how to change a motorcycle tire, this might be a simple fix. If you’re not sure, it helps to learn what to do to replace your bike’s tire.
To get you on the road again, here’s how to change a motorcycle tire[1] in eight steps .
Raise the end of the bike to lift the wheel off the ground. Use a socket to loosen and remove the axle. Release the chain and remove the brake caliper. Put your axle back in place to hold the caliper’s position.[2] It’s a good idea to consult your owner’s manual to learn any steps to take that are unique to your bike’s make and model.
To deflate the tire[3], unscrew the cap on the valve and remove the valve stem core with a special tool. Some valve stems come with built-in caps instead of separate pieces.
When you wondered how to change a motorcycle tire, you might not have realized that you need motorcycle tire changing tools. However, you don’t want to damage your valve stem by trying to remove it with something random from the garage. If you don’t have one already, pause the project and head to your local auto supply store to get a valve core remover.
The bead is the inner edge of the tire where it meets the rim. At the auto parts store, you can also purchase a bead breaker tool to make the job easier. Try to find one with tire spoons, which you’ll use to wedge the tire off the rim.
Insert the tool between the tire and wheel rim and move the tool around the bead. Flip the tire over and repeat this process on the other side. You can use a spray silicone lubricant or glass cleaner to prevent the bead from re-sticking as you move the tool around.[4]
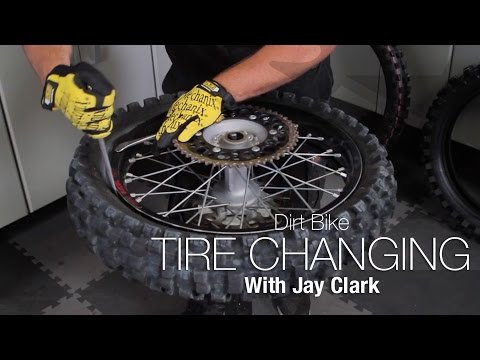
Carefully insert a tire spoon under the bead and push down to pull the tire up.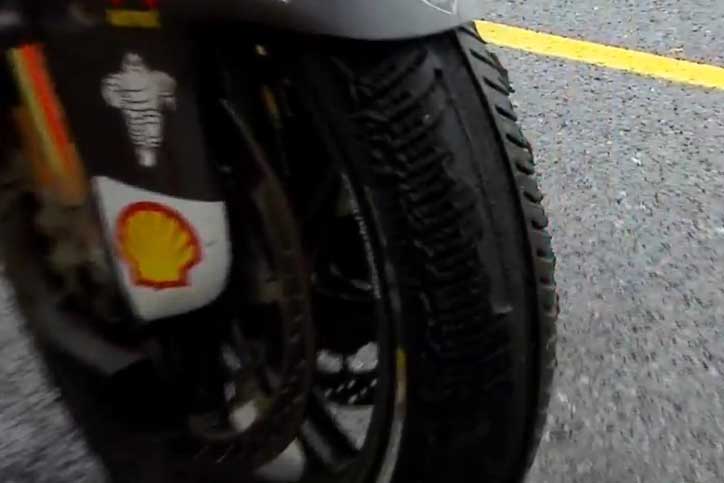 Leave a tire spoon in the spot where you pulled up the tire in order to hold it in place.
Use a second tire spoon to pry the tire away from the rim several inches from the first tire spoon. Leave the second spoon in that spot. Retrieve the first spoon and move it a couple inches. Repeat this until the entire tire separates from the rim. Then flip the wheel and repeat the process on the other side.
Alternative step: If your tire has a tube, you’ll need to unbolt the valve stem from the rim and remove the old tube.
Wipe out the inside of the rim and the inside of the new tire to ensure there’s no debris. Coat the edges of the new tire with bead lube. Hand sanitizer or hand soap work in a pinch too.[5]
Alternative step: If your tire has a tube, insert the new, uninflated tube into the tire. Be sure to insert the valve stem into the hole in the rim.
Use the tire spoons to carefully wedge the entire tire under the rim on one side. Flip the wheel over and repeat this process on the other side.
Fill the tire until it’s completely sitting along the rim. Be sure to check the air pressure. You might have to inflate the tire past the recommended riding pressure number.[6]
Follow your user manual’s instructions to remount the wheel. Check the air pressure again and adjust the alignment of the rear wheel and chain tension.[7] Ensure that all the fasteners are tight before you head out.
Owning a motorcycle offers great recreational opportunities, but it also comes with responsibilities. From insuring your motorcycle to maintaining it, remember to set aside time to properly care for your bike and learn motorcycle riding safety tips. Before you head out on your next adventure, talk to an insurance agent to make sure your motorcycle has the level of insurance coverage you need.
[1] https://www. cycleworld.com/how-to-change-a-motorcycle-tire/
[2] “How to Remove Rear Motorcycle Wheel,” YouTube (September 4, 2016).
[3] https://www.rideapart.com/articles/245897/how-to-change-motorcycle-tires/
[4] https://www.cycleworld.com/how-to-change-a-motorcycle-tire/
[5] https://www.rideapart.com/articles/245897/how-to-change-motorcycle-tires/
[6] https://www.rideapart.com/articles/245897/how-to-change-motorcycle-tires/
[7] https://www.motorcyclistonline.com/how-to/how-to-check-front-and-rear-motorcycle-wheel-alignment-mc-garage-tech-tips/
Changing a motorcycle’s tire size is one of the most common maintenance tasks that bike owners face. But, changing the wrong size of a motorcycle’s tire can make it behave unpredictably. Here are some tips to keep in mind when changing the tire size of your motorcycle. You should also be careful about the type of motorcycle you buy – some motorcycles have radial tyres, while others are mated with bias tyres.
Buying too large a motorcycle tire can cause a host of problems. It can compromise your handling and may ruin your meter. It may also cause your chain and swingarm to rub. There are ways to avoid buying a too-large tire. Check the spec sticker on your motorcycle and online data spec sheets to make sure it will fit. Buying a motorcycle tire that barely fits may also be too large when you ride.
When choosing a motorcycle tire, know what type of load you will be carrying and your riding style. If you buy a cheap tire, it might not be able to carry the weight you need or sustain the speed you need. While it may be tempting to save money, it is not a good idea to buy a tire that is too large. Running a tire that is too big or too small for your motorcycle will cause premature tire wear and damage to the rim.
When buying a new motorcycle tire, record the mileage you ride with the old one. This will give you a benchmark for measuring the life of the new motorcycle tire.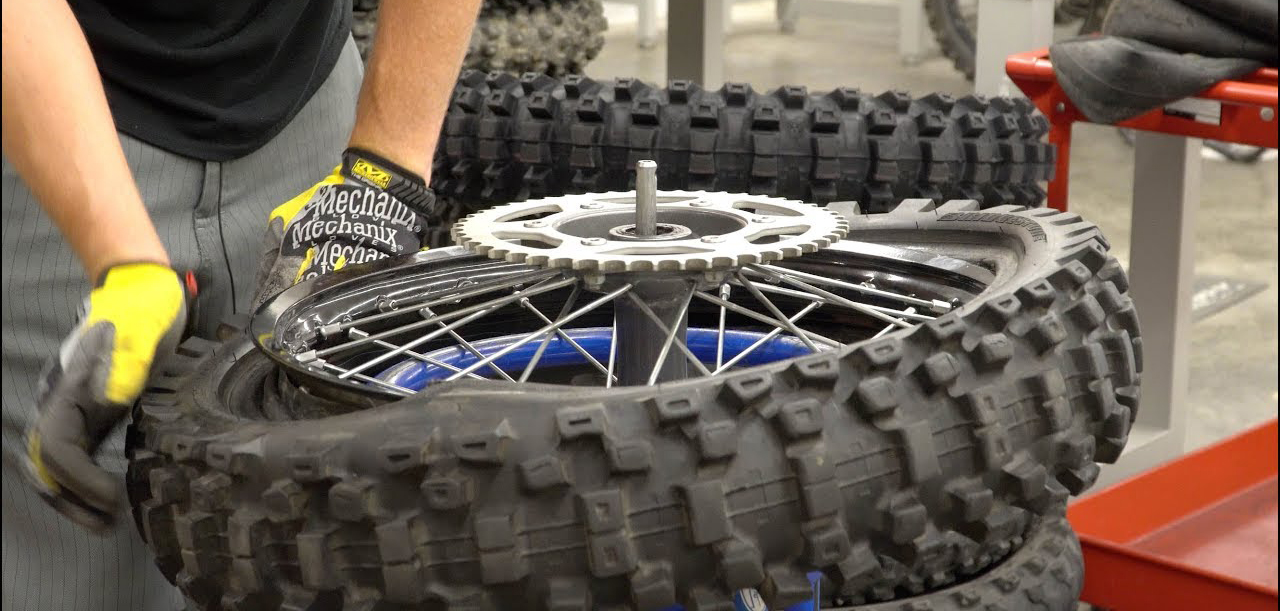 While many riders will expect their new motorcycle tire to last the same amount of time, that is rarely the case. Moreover, the type of riding you do will change over time. Experienced riders will also consider things such as track-like days and two-up touring.
When buying a motorcycle tire, you should first check the size. While most bikes will come with a spec sticker that specifies tire size, you may need to look up the exact measurements on your bike. Usually the DOT code at the end of the tire identifies the size in terms of its width and aspect ratio. If it’s smaller than this, you’re probably getting the wrong tire. If you’re not sure how to find the correct size, you can also check online data spec sheets. The size 77 represents a load capacity of 908 pounds. On a typical load rating chart, the corresponding size is between 47 and 87, or 1,202 pounds.
Besides the size of the tire, you should also check the manufacturer’s reputation. Tires made by trusted brands like Dunlop and Michelin will have more durability than a cheap motorcycle tire.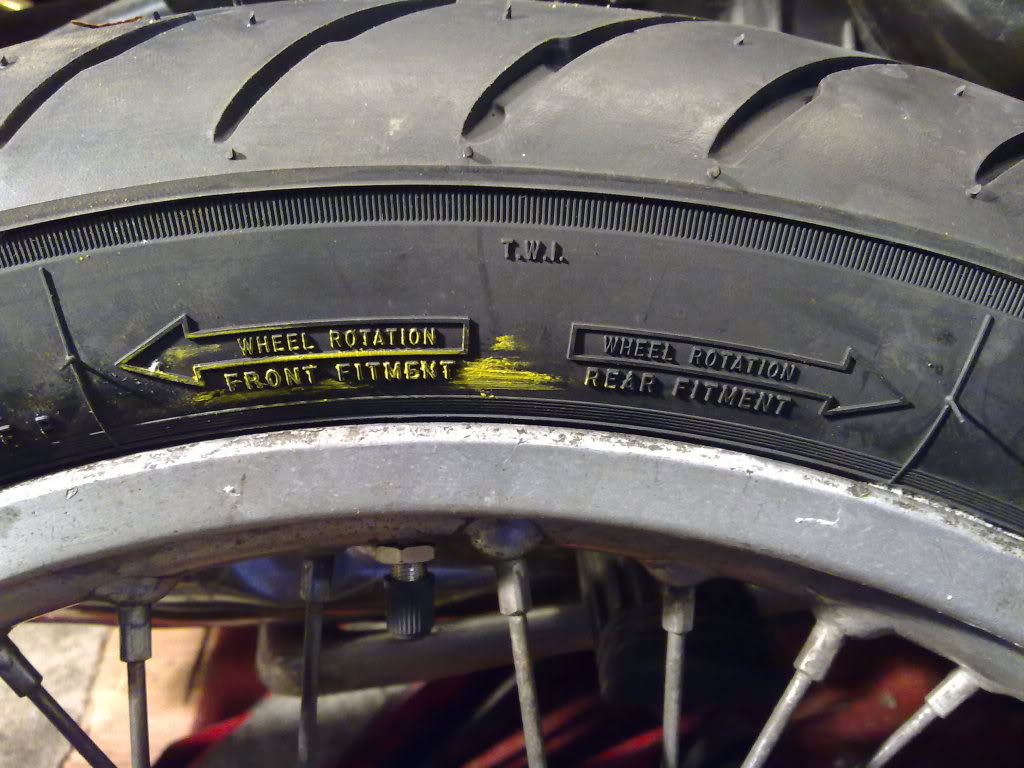 However, beware of brands that don’t have a long history and aren’t a trusted brand. Buying too small a motorcycle tire can make riding very dangerous. You may even end up injuring yourself.
Some motorcycle owners try to use the same size on both the front and rear tires. Purchasing too small a motorcycle tire can lead to an accident because the smaller one can’t handle the weight and maneuvers of the bike. Also, getting a larger motorcycle tire may rub against the frame or wiring. This could be a costly mistake. So, you should pay attention to the manufacturer’s guidelines for motorcycle tire size.
If you’re planning to buy a new motorcycle tire, you must be aware of the motorcycle tire size and rim size. Motorcycle tire size is usually denoted in inches, but it may also be written in metric or alphanumeric system. To find the correct motorcycle tire size, follow the following steps. First, determine the wheel diameter. Then, check the width of the tire.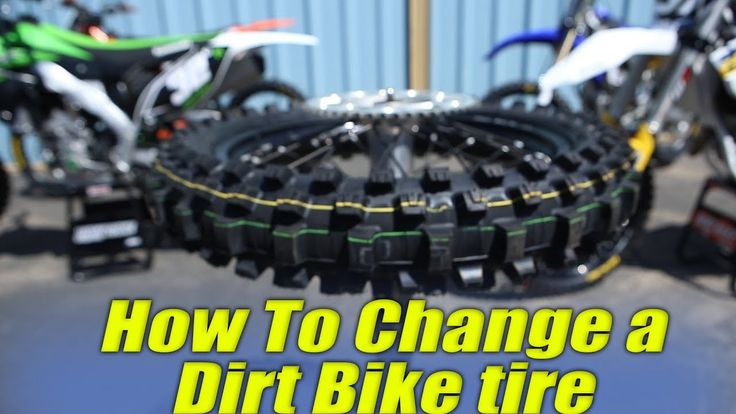 If the width is greater than the width, you should purchase a larger tire.
Then, choose the tire size and type according to your riding style. If you ride a touring motorcycle, you should purchase tires that can accommodate the combined weight. It’s important to check the maximum load rating on the motorcycle tire, as well as the manufacturer’s manual. Motorcycle tires can be expensive, but they’re often worth the price. In this article, you’ll learn about the different motorcycle tire sizes, as well as their benefits and disadvantages.
To determine the correct tire size, check the sidewall of your motorcycle tire. It will contain a set of numbers that indicates its size. For example, a 29-inch-size motorcycle tire will have an aspect ratio of 90. The height of the sidewall is proportional to the width of the tire, and the height is shown as a percentage. For instance, a 700×25-c motorcycle tire will have a width of 25mm.
When you need to change the size of a motorcycle’s tire, you can buy a bias-ply tyred motorcycle.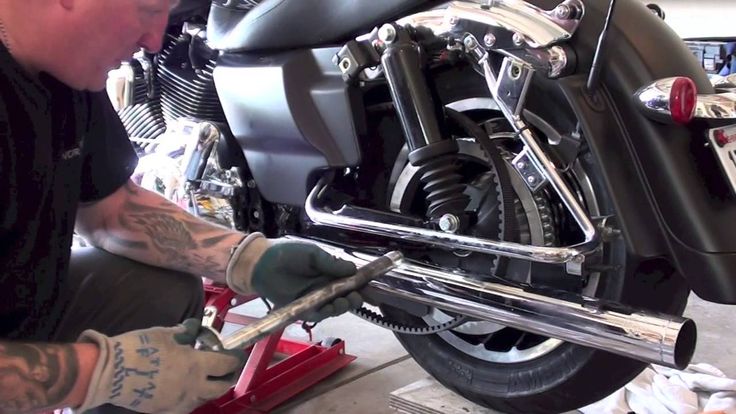 These tires come in a variety of sizes, and the letter designation is helpful for selecting the correct tyre. Listed below is a breakdown of the different letter designations and how they relate to tire size.
Radials are the newer technology, and have taken the motorcycle tire market by storm. But, bias-ply tyres still have their place. Which type of tire is right for your motorcycle depends on how you plan to use it and how much you ride. Here are some guidelines for buying a bias-ply tyre for changing the motorcycle’s tire size:
Bias-ply tyres differ from radials in construction and load-carrying capacity. Bias-ply motorcycle tires are more resistant to shock and provide good traction under heavier loads. These tires are made with alternating layers of fabric cords on a bias. The additional thickness in the carcass is beneficial for the rider, but it can also create heat problems.
Buying a bias-ply nyre to change a motorcycle’s tyre size is an excellent way to increase the width and load-carrying capacity of the bike.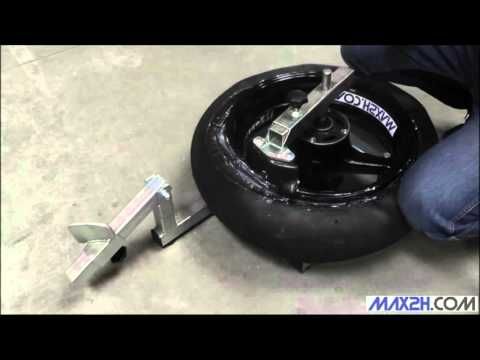 However, if you plan to use it to haul cargo, you must consider the size of your bike’s bike papers before buying a bias-ply nyre.
Changing a motorcycle’s tire size will drastically affect its handling, especially if it is on a small displacement bike. It will also have a major effect on its unsprung weight, or the weight of components that aren’t supported by the suspension system, such as the brakes and wheels. Here are some tips to change a motorcycle’s tire size. Read on to learn more. Also, remember that the proper tire size should not be more than one half an inch larger than the bike’s total width.
First, jack up the motorcycle. If it is not already jacked up, use stands to stabilize the motorcycle. Then remove the rear wheel and install the new one. You must carefully align the sidewalls to make the new tire fit snugly. Make sure to align the rotation marker with the valve stem on the rim. Make sure the psi is right, and then inflate the tire to the appropriate pressure.
Another important factor in changing a motorcycle’s tire is its aspect ratio. A wide tire will cause the motorcycle to ride higher or lower, whereas a narrow one will be more comfortable and give better cornering performance. In addition to determining the proper tire size, check the bike’s manufacturer’s specifications to ensure that you get a fit that’s right for your motorcycle. Once you’ve established the correct size, you’ll need to consider the other aspects of the motorcycle’s ride.
If you are planning to change the tire size on your motorcycle, there are several important safety considerations that you should keep in mind. Motorcycle tires come with specified maximum speed and load ratings, which are important for the bike’s performance. When changing the size of the tires, keep in mind that it will alter the unsprung weight of the motorcycle, which will affect its handling and cornering ability. You can choose to purchase a new motorcycle tire if you are certain of the type of riding you want to do, but it’s better to consult your owner’s manual before making any changes.
If you are an experienced motorcycle rider, you probably already know which category your motorcycle tires fall into. However, you must still do your homework to ensure that you choose the right tire size for your bike. Tire technology is evolving rapidly, so it’s vital to keep an eye on the newest changes in tire sizes to ensure that your motorcycle is safe. Make sure you follow the manufacturer’s guidelines and follow all safety precautions.
If you plan to change the tire size on your motorcycle, be sure to change both front and rear tires. If one is different from the other, you may encounter handling issues and will end up with an expensive bill. Changing motorcycle tires before the recommended age can be expensive, so make sure you research properly. Check the tread, and also look for cuts, cracks, and foreign objects.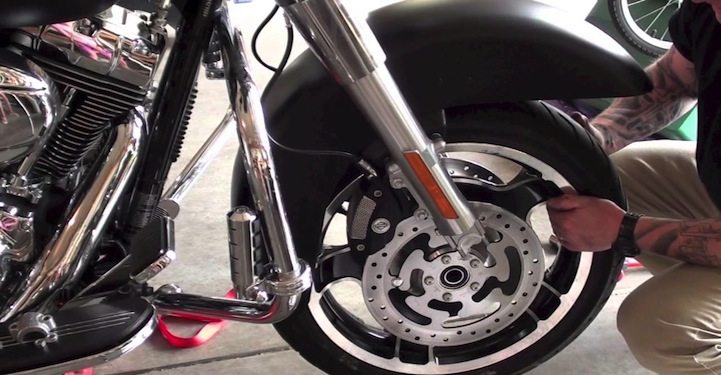 If you find any of these problems, contact your motorcycle’s manufacturer.
For All Motorbike Tires
Click Here For Tire Prices
| DIY
| |||
Model: Yamaha Yzf R6 In this video tutorial, we will see how to disassemble the front wheel on a Yamaha YZF R6 motorcycle by following the instructions below. Published 7 April 2022 by ScegliAuto | Replacing the Royal Enfield Classic 500 air filterLet's learn step by step how to disassemble and replace the air filter of the Royal Enfiled Classic 500 motorcycle engine. after removal, we can remove the old air filter cartridge as shown in the video. We just have to go and install the new air filter of the right type by inserting it in the right direction; So, put back the cover of the air cleaner box and start the engine! Watch the video! by ScegliAuto more videos Posted on 9 November 2022 byScegliAutoPosted on 9 November 2022 by ScegliAuto Posted on 9 November 2022 by ScegliAuto Posted on 9 November 2022 by ScegliAuto Posted on 9 November 2022 by ScegliAuto Posted 9November 2022 by ScegliAuto Posted on 9 November 2022 by ScegliAuto Posted on 9 November 2022 by ScegliAuto Posted on 8 November 2022 by Scegli Auto Posted on 8 November 2022 by ScegliAuto |
There is not always a way to call a tow truck, and driving on a flat tire, “chewing” the rubber and killing the rim is at least uncomfortable.
The very first replacement of rubber on a motorcycle or scooter gives reason to think - what is better in terms of quick repairs: tubeless ones that do not require wheel disassembly to eliminate a puncture, but leave the rider helpless if, along with damage, it “led” and flattened the edge of the disc? Or chambers - allowing sealing almost ring breaks (if only there were enough patches), but requiring the removal of rubber from the rim for this? The unequivocal answer is no. Few classics, straights or tourers today remain "loyal" to tube rubber models: tubeless tires are lighter, softer, warm up and cool down faster thanks to simplified heat transfer. In sports, more precisely - enduro and motocross, chamber - on the contrary, prevail: only spoked wheels can "play", withstanding strong alternating loads during landings and impacts.
The nuance is that a tire with a chamber can be put on any spoked or cast disc, and a tubeless one can only be placed on a cast one, because only it can ensure tightness. Tube – can be installed in a tubeless tire as an emergency measure. In case of major damage to the sidewall, cracks or curvature of the edges of the rim, this will make it possible, after pumping up the wheel, to reach the nearest tire service (and there already - straightening, balancing and other maintenance according to the rules). True, for such a focus, it is advisable to take a camera with a face value one less than the diameter of the disk, otherwise it will create folds inside that will rub for a couple of hundred kilometers. The resource of such a “treatment” is large - until the next puncture, like a new one.
It depends on the magnitude of the damage whether it will be possible to eliminate it on your own, or whether you will have to “surrender” to the motorized tow truck. In tubeless - holes up to 5–6 mm are patched, in chambers - as much as there is enough glue and patches, the main thing is the condition of the tire.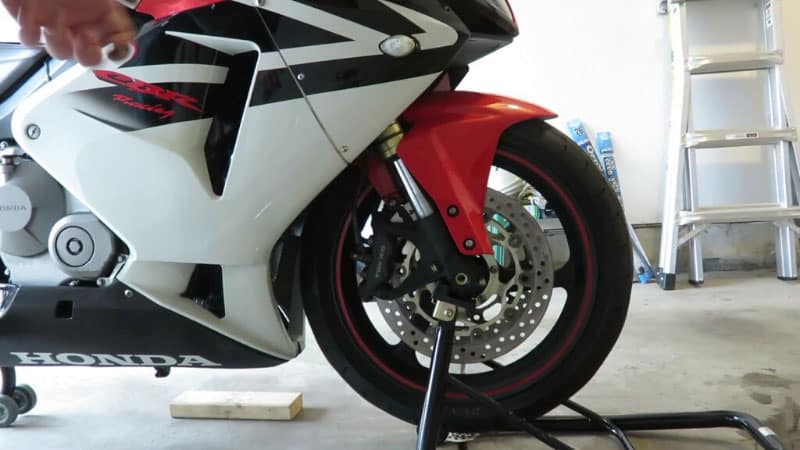 To determine the extent of the disaster - find a place where you can safely stop without violating traffic rules (where it is prohibited - you will have to sacrifice tires and drive on).
If the wheel deflates slowly, and the object that pierced it is still inside, you can try to carefully drive to the tire shop. A completely deflated "pancake" will have to be resuscitated on the spot, or - remove the wheel and take it to the service.
To find a hole in a tubeless tire, if it is very thin and not immediately visible, the wheel must be pumped up, slowly pouring water - bubbles will go. In place, tubeless tubes can be “harnessed”, or filled with sealant inside, without removing from the motorcycle.
With the second type of tires - more difficult. A torn balloon must be removed from the tire to detect a defect and seal. In a good way, the wheel must be removed from the motorcycle and disassembled on a clean, flat, hard base. Suppose such a “patch” can be provided even off-road, but how to remove the wheel on a motorcycle if it does not have a central stand? And shooting is not required. The motor must be carefully laid on its side, after making sure that the faucet is closed, gasoline does not flow out through the tank cap (antifreeze does not flow from the tank if the motor is “dropsy”), and removing the plastic or wardrobe trunk with fragile contents (if any).
You will have to unscrew the wheel from the motorcycle only if you need to replace the tire, or it is decided to patch the tubeless tube with a “fungus”. In the absence of a central stand, this will also have to be done on a lying bike, or - make this stand from improvised materials (bricks, stump, car jack), placing them under the crankcase protection from below, the central tube of the frame, the duplex jumper (but not under the plastic, itself engine crankcase or attachments!), under both footrests - if they are not folding, or - under the pendulum. Before removing the rear wheel on a motorcycle, the front fork must be loaded with something, or an even higher lining is made.
In a motorcycle tire fitting shop, tubeless tubes are repaired by cold vulcanization. They are removed, disassembled, the puncture site is cleaned from the inside, degreased, lubricated with glue and a calibrated “fungus” patch is inserted into the hole from the inside. The fungus itself is a thin plate of rubber with a “leg” tube in the center. The leg - by the guide wire is dragged through the hole of the damage, and the "hat" seals it.
After half an hour - you can put the tire back. The reliability of such a repair is high, the patch does not cause a significant imbalance, the service life of a sealed tire does not decrease.
This method is also applicable on the road, the main thing is to have the necessary equipment and materials with you:
The fungus repair procedure does not require much experience. The main thing is to keep it clean, fully clean the place where the patch fits, let the glue dry slightly to a dull finish and press (roll) the surface of the fungus with high quality, expelling all the air between the layers. If necessary, you can degrease the place before gluing with gasoline, but without the rest of the above, it will not be possible to fully carry out repairs.
The compressor is sometimes replaced by a small cylinder of compressed air or carbon dioxide. Unlike a mechanical pump, it will immediately create a “throw” of pressure, pressing the tire beads against the rim flanges (in emergency cases, even a fire extinguisher was used to pump flat tubeless wheels). When connecting the compressor, start the bike's engine before you start inflating the tire - let it idle. Otherwise, the motor can "land" the battery, and you will not start.
Manometer - needed for control. It is undesirable to pump over the repaired tire. It is recommended to "inflate" 0. 2 atmospheres less than the nominal value. Inflating too little is also bad: a flat tire has a larger contact patch with the road, so the place of a fresh patch will deform more.
“Burning” a tubeless tube and sealing its internal cavity through a nipple are quick, simple methods that do not require special skills. To repair the damage, you only need the materials themselves, and how to pump up the wheel.
Now in Moscow, and not only, 6-5 varieties of cans with a sealant are sold - a quickly hardening "liquid rubber", with a volume of 800 to 250 ml.
Applying "Anti-Puncture" is simple: put a tube with a fitting on the nipple of the camera, turn the can over, and hold the button according to the instructions. Then - pump up the wheel, cleaning the nipple from the foam, roll it, making a full turn to distribute it.
The sealant is blown out with air into the puncture hole and clogs it, solidifying. After 20 minutes - you can go. Reliability of repair is high. Resource - until the next puncture.
If you have a compressor, start immediately pumping up the wheel, so it will be easier to work with a puncture, insert a patch, and it will swell faster.
Procedure:

You can go in 5 minutes, you just need to make sure that it doesn’t descend anywhere else.
Outwardly identical, repair kits for harnessing wheels can differ in price by almost half. This variation is explained by different configurations - one will have only three items, the other - six or seven.
A complete tubeless tire repair kit contains:
Regardless of the cost, you need to choose a kit in which the harnesses will be reinforced, and the awl - with a deep spiral winding (notch), and not a “needle file”. Inserting a flagellum is sometimes easier with a regular thin screwdriver. If there is no glue in the kit, or it has dried up, the flagellum is moistened with gasoline.
At motorcycle service stations and car services, holes in the chambers are closed by hot vulcanization: a layer of raw rubber is applied to the cleaned, fat-free puncture site and, after squeezing it well, it is heated with a special “iron”. Iron - burns, layers - are fused into a single whole. Reliability of repair is high. The resource will be almost like a new one.
Cold vulcanization (patching) - used if the workshop is not equipped with a vulcanizer. In this case, the quality of the service and the reliability of the repair will depend on the accuracy of the master. For the convenience of gluing, the camera is completely removed in the service, but, I repeat, this is not necessary. It can be repaired on the spot in the same way (there are no other options except for replacing the camera), but without removing it from the motorcycle.
This can only be done if you have two metal mounting blades. At least one, the second can be replaced with another flat tool. You can still disassemble the wheel with a wide screwdriver and a “family” key wrapped with electrical tape. But this is only as a last resort, otherwise you can damage the cord.
Sequence of work:
 Let the glue dry for a minute.
 The fencing must be carried out twice as carefully and more slowly than dismantling, lubricate the side with water or soap, “help” more with your hands, otherwise there is a risk of picking up the edge of the chamber with a spatula and tearing it.
Important! If the wheels of the motorcycle are equipped with tow bars - before pressing the tire bead from the rim, you need to loosen this tow bar! But do not unscrew the nut completely, do not disassemble to the end.
A standard “first aid kit” (a set for repairing classic motor rubber) contains only patches and glue, so it is advisable to supplement it yourself with a piece of “skin” or a needle file. You can degrease with gasoline, or apply a little glue first and wipe off immediately, rolling up the dust with it.
Now there is no shortage of specialized motorcycle workshops not only in Moscow - in all major cities there are motorcycle helpers who help motorcyclists directly on the track, or tow to where you can quickly change the camera, or patch the tubeless correctly, so that there is no trace left. Where there is a guarantee.
Self-replacement of a tire on a motorcycle requires a certain physical condition, and for the first time - a “kilometer of nerves”. At the service station, instead of you, automation will “sweat”, which will not lock up the board and will not scratch the disc coating with a spatula. The main thing is to do it quickly (if you need to go urgently, the price sometimes does not matter).
Repair at the service - may be the only possible one if, due to driving on a flat tire, the tire nipple is turned and torn off. Especially if he flew off and got lost, but there is no spare. In mototiremontazhke - there is always a set of consumables for any wheel diameter. In the same place, in extreme cases, you can buy a new tire, or a used dokatka.
In addition to the patch, for normal operation of the wheel, balancing must be ensured. This is generally a useful procedure during any change of rubber, otherwise if there is a strong imbalance, the wheel bearing will inevitably break due to vibrations, and the hands will quickly get tired and “buzz” after long rides.
The first couple of tens of kilometers - do not drive, go at the speed of the stream.