When you purchase through links on our site, we may earn a commission at no additional cost to you. Learn More
Leaks along the tire bead are relatively common in ATV tires regularly run in mud, sand, and rough and rocky surfaces. This type of leak is typically relatively small, allowing the air to seep out overnight or over a few days.
To fix a leak at the tire bead on an ATV tire, you have several alternatives where these are the most common:
Each of these methods has its pros and cons to consider. Depending on your specific situation and what is causing the leak, one approach may be better suited over the other. We’ll cover each of them in detail in this post.
Bead leaks happen when the tire does not seal properly against the rim’s bead in a tubeless wheel. The bead area of the rim needs to be completely clean and undamaged for the rubber to make a tight seal against the rim.
Typical causes of bead leaks on an ATV tire:
Disassembling the tire from the wheel and addressing the issue causing the leak should be your primary alternative if you have the required time and tools. If performed correctly, it will provide a permanent repair without any of the cons that come with the other alternatives.
Pros:

Cons:

You may or may not already know where the tire is leaking. Even if you suspect that the leak is near the bead, it’s a good idea to verify exactly where the leak is located and make sure there are no additional leaks before moving on.
Use a valve stem removal tool to remove the valve stem. This will completely deflate the tire in just a few seconds. Alternatively, you can use an air-down tool to remove all the air. However, this method is more time-consuming than removing the valve stem core from the tire valve.
Depending on what is causing the leak, you may or may not have to break the bead to address the issue adequately.
If the leak is caused by dirt caked in between the rim and tire, but the rim is otherwise undamaged, you may get away with pulling back the tire slightly for cleaning. You can do this by finding a way to apply weight to the tire’s sidewall until there is a small gap between the rim and tire.
Cleaning without breaking the bead is easier on larger tires such as car tires or tractor tires. On smaller ATV tires, it’s less fiddly if you manage to break the bead completely. The result should be better as well.
If the rim is corroded or damaged, you are better off removing the tire from the rim entirely for proper access to the affected area.
There are several ways to break the bead of a tire at home. My personal favorite is using a portable tire changer tool. These are readily available, relatively cheap, and work well on most ATV tires.
I recommend bolting the tool to the floor if possible. I installed threaded concrete bolt anchors to remove the device when not in use. A bolted-down tool ensures more control of the process and better leverage.
Tip: To boost the success rate and reduce the risk of tire sidewall damage when using this type of tool, leaves a tiny amount of air still in the tire before you break the bead. This will prevent the tire sidewall from giving in, causing the tool to slide out of position as you apply pressure.
As a cheap alternative to a store-bought tool, you could consider making a DIY bead breaker like the one I used before buying a dedicated tool.
Two pieces of wood and a couple of strong hinges give you a decent bead breaker in no time. Remember to cut the short piece of wood at about a 15 degree angle for better grip by the rim.
Check this post for a few other ways of breaking the bead on an ATV tire.
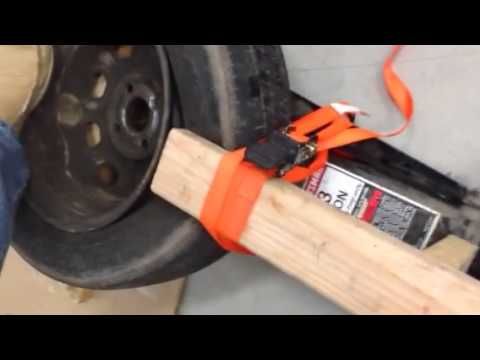
This is how you break the bead:
A bead-breaking tool can be worth the investment, particularly for ATV owners who struggle with tire issues regularly.After breaking the bead, you need to find out what issue is causing the leak. Use a flashlight for a good view. Look for dirt, corrosion, or rim damage; Sometimes, you may even find more than one issue that needs to be addressed.
Continue as described below according to your observations.
When you ride in dirt, mud, or sand, small particles and debris may begin to work their way in between the rim and tire. As more dirt builds up, it creates space for even more dirt until it eventually breaks the seal and causes a leak.
Both steel and aluminum rims may rust or corrode, but steel rims are particularly prone to leaks caused by rust.
Dirt and sand trapped between the rim and tire may wear down the paint over time, eventually causing the exposed metal to rust. Metals expand when they rust, creating gaps and an uneven surface that lets out air.
To fix a corroded rim, you need to remove the corrosion and apply a coating to prevent further corrosion issues.

Consider sandblasting and powder coating the rim for an even better and more professional result. I won’t detail how to do this in this post as it requires tools that typically only enthusiasts or professionals have access to.
The same method applies if the paint on your rim is flaky and starts to come off. Sand down all of the affected areas and apply fresh paint.
If you hit a rock a bit too hard or scrape the side of your rim against a hard surface, the rim may become damaged, preventing a tight seal.
You can repair minor nicks and dents by removing the tire from the rim and smoothing out the damaged part with a Dremel tool or fine-grit sandpaper.
Larger dents or cracks that may affect the rim’s structural integrity should only be addressed by a professional. Visible cracks left unattended may expand gradually until complete failure down the line. While tire sealant or installing an inner tube may keep a cracked rim airtight, it should only be considered a temporary fix.
Before you seat the tire back onto the rim, please take note of the maximum air pressure the tire can safely handle. Never, under any circumstances, exceed the specified max air pressure.
Bead sealer is specially designed to seal troublesome bead leaks that otherwise are hard to repair. It also helps prevent leaks, making it a good option for those that regularly find themselves with bead leaks.
Pros:
Cons:

Bead sealer is applied as a thin coat to the inside of the rim where it touches the tire. Follow the supplied instructions carefully for a good result.
Another option to try if you don’t have access to bead-sealer is a quality silicone sealant, applied the same way as the bead sealer.
Ensure not to inflate the tire before the bead sealer or silicone has completely set, as it will force out the sealant.
When you’re out on the trail and don’t have the tools or time to fix the leak properly, or if you’re simply looking for a quick fix, consider using a tire sealant such as Green slime.
Pros
Cons
Another option to fix a stubborn leak is installing inner tubes in a tubeless tire. However, tubes in low-pressure off-road tires are not always the best option.
Pros
Cons
Check out this post if you want to learn more about the pros and cons of installing tubes in ATV tires.
Sadly, there is no way to prevent bead leaks altogether. But, by applying one or more of the actions below, you will significantly reduce the risk of it happening.
If you know that you ride in a way that dirt will build up and eventually get a leak, it is better to clean when you have tools and time. Implement cleaning the bead into your maintenance.
How often you should do this procedure depends on how much and under what conditions you ride, but once a year could be a good starting point.
Bead sealer does not only help seal current leaks, but it also helps prevent new leaks down the line. The sealer keeps the gap between the rim and tire shut, so that dirt cannot begin to build up.
Inner tubes not only fix current leaks but will also help prevent upcoming leaks from causing any issues.
4.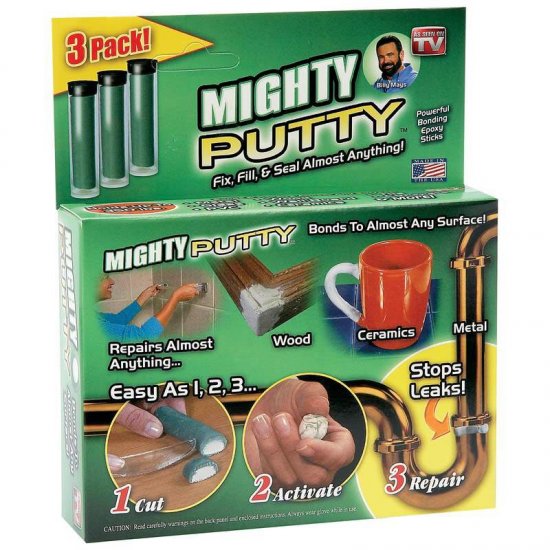 4 out of 5 stars 1,619 ratings
Amazon's Choice highlights highly rated, well-priced products available to ship immediately.
Amazon's Choice for "tireject tire sealant"
Currently unavailable.
We don't know when or if this item will be back in stock.
Size: Compact Car, Mid-size Sedan
This fits your .
See more product details
Shop products from small business brands sold in Amazon’s store. Discover more about the small businesses partnering with Amazon and Amazon’s commitment to empowering them.
Learn more
Small Business
This product is from a small business brand. Support small. Learn more
Note: Products with electrical plugs are designed for use in the US. Outlets and voltage differ internationally and this product may require an adapter or converter for use in your destination. Please check compatibility before purchasing.
Range Rover has a huge number of mechanisms and accessories that provide additional comfort when using it. For example, the tailgate of the trunk. This is a handy tool for placing large objects in the trunk and taking them out with ease. The mechanism of its opening is quite reliable, but it can still fail from time to time. Therefore, today we decided to tell you how the tailgate lifting mechanism on the Range Rover is diagnosed in our LR-Expert service.
How does the tailgate on a Range Rover work?
In fact, there are no particularly complex elements in its design. It opens by hand, by removing it from the latches. Its system has mounts and stops that prevent it from leaning back sharply, falling and damaging your bumper. If the bead stops closing normally, then the problem is most likely due to corrosion or rust of the fasteners. Perhaps due to a sharp impact or other external factors, the bracket was damaged, which ensures the movement of the part along a certain trajectory. In any case, you need the intervention of a specialist and a visual diagnosis.
How is the tailgate lift mechanism diagnosed on a Range Rover in the LR-Expert service?
If a customer comes with a complaint about the tailgate, then our specialists immediately proceed to dismantle, remove the lining and visually inspect the mechanism. This must be done as carefully as possible so as not to accidentally damage the skin. Otherwise, the owner of the car will have to spend a lot of money on its repair. For this reason, we urge you not to attempt to inspect the tailgate yourself. It is better to turn to professionals to get fast and high-quality help. You will find answers to the question “Where to find such professionals?” in the profile service LR-expert in Moscow. Our workshop employs mechanics who have been dedicated to the maintenance of Land Rover vehicles for many years. Over the years of service practice, they have encountered all possible Range Rover malfunctions, so they know how to act competently in a given situation. Their vast work experience allows them to select the right diagnostic technique and repair tactics so that the result is fast, impressive, and most importantly economical. We also invite you to:
1. Carrying out a complete technical diagnostics of all systems, components and assemblies, during which we will promptly identify all current and potential malfunctions.
2. Repair work of any mechanism, as well as replacement of obsolete or failed parts.
3. Improving the appearance of the car, detailing, removing chips and scratches, updating paint, restoring the paintwork, applying a protective preservative or film.
4. Chip tuning, automatic transmission flashing, ECU software update.
5. Washing on the basis of our service, detailed dry cleaning, interior upholstery restoration.
After the winter period, you can find poor thermoregulation and thermal insulation in the pool, leaks, deformation of the bowl, moving away from the walls of the finish, and so on. After 6-7 years of active use of an artificial reservoir, chips, cracks and abrasions may appear in the reservoir. Repair in this case is simply necessary.
Before fixing the detected problems on the surface of the pool bowl, you need to understand the causes of the breakdown. This will help avoid future damage.
If there is serious damage to the concrete tank, it will be necessary to refill with mortar. To do this, the floor and walls are cleaned of shaky parts, treated with soil, and then formwork is created. The concrete layer must be at least 5 cm. After that, they are treated with liquid glass, waterproofing and finishing material.
During the construction process, durable and frost-resistant concrete grades are used, multi-layer waterproofing is carried out, but due to contact with water, the tightness of the tank is lost. Most often, repair of the pool bowl is required, which is considered an expensive and difficult job. It is impossible to fix leaks and clean chips on your own. It is better to entrust the work to professionals who will do everything according to technology using reliable materials.
Depending on the nature of the work, there are:
If the damage affected the reinforcing layer of the bowl, then the necessary capital work. In this case, you will have to install new reinforcement, pour concrete, perform surface treatment and finishing.
It is not worth reanimating dilapidated structures that leak from all sides. It is easier to dismantle the concrete bowl, build a new pool. Destroying tanks have old communications. Partial repairs will be a waste of money and time.
It is easy to perform, it concerns the elimination of minor errors and malfunctions. These include a partial chipped cladding made of tiles or mosaics, local damage to the grout.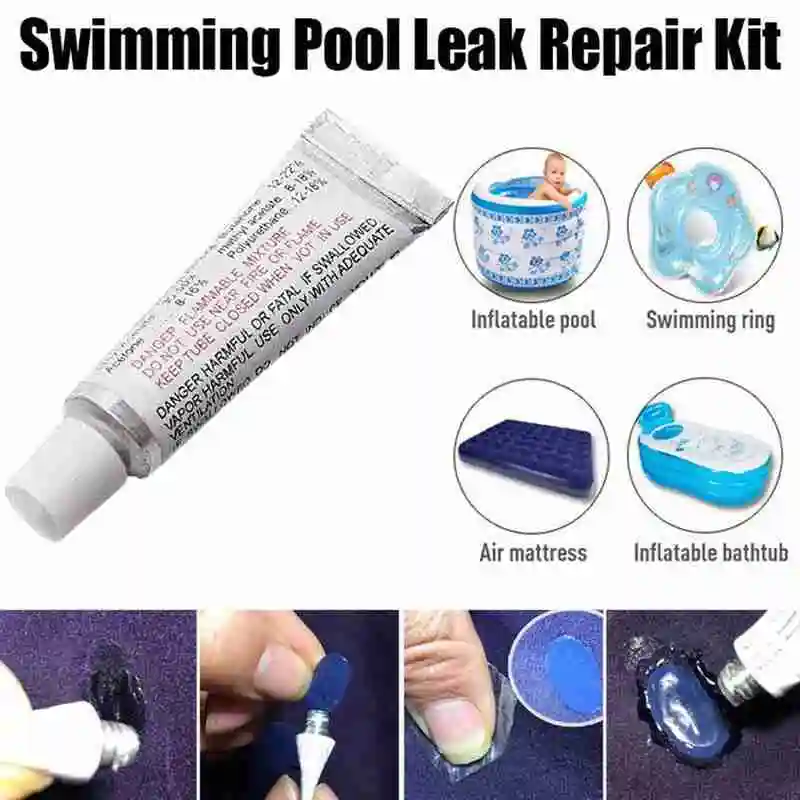
Our company "Pool Center" will perform any type of repair of the concrete pool bowl, including the replacement of the waterproofing layer and finishes. This will allow in a short time to restore the functionality and aesthetics of the artificial reservoir.
At the first stage, fault diagnosis, inspection of the bowl, equipment and communications are carried out. Our employees select the necessary materials. An estimate is drawn up, which must be agreed with the customer. Usually there are 3 types of breakdowns. Of these, only 2 cases require repair of the concrete bowl of the tank. Let's consider them all.
In the process of repair, the following is performed:
 It can be mastic, PVC membrane or sealant.
 The causes of failure include the use of low-quality materials, long service life, violation of concreting technology. After the repair, the client accepts work from the company's employees.
If the chips are large, and the sealant solution cannot fix the leak or the reinforcement needs to be restored, then capital work is carried out.
Repair of the concrete base of the pool in this case is carried out as follows:
The third failure of concrete bowls is related to equipment failure.
Repair work related to the restoration of the pool bowl requires a serious investment of money. You can't do it cheaply. After a thorough inspection of the damaged tank, we will announce the cost of services. It makes no sense to postpone the repair of an artificial reservoir until later. In the future, this will result in even more expensive repairs.
For qualified advice, timely service and repair of the concrete bowl of an artificial reservoir, please contact the specialists of the "Pool Center". Call one of the phone numbers listed on the site. We perform the work immediately after the conclusion of the contract, which indicates the terms of the repair and the final cost. The company assumes warranty obligations, the duration of which depends on the type of repair and the range of services.