Knowing how to change a tire is a necessary skill for all drivers. If you rely on a cell phone to save you in a roadside emergency, there’s always that chance you will forget to charge it, be out of range, or leave it at home. Flat tires can happen anywhere, and a cell phone is no substitute for knowing how to change a flat tire.
Thankfully, changing a tire isn’t all that hard! Just adhere to the following guidelines to be prepared in case you have a flat.
These items should have come with your vehicle:
Jack
Lug wrench
Fully inflated spare tire
Vehicle owner’s manual
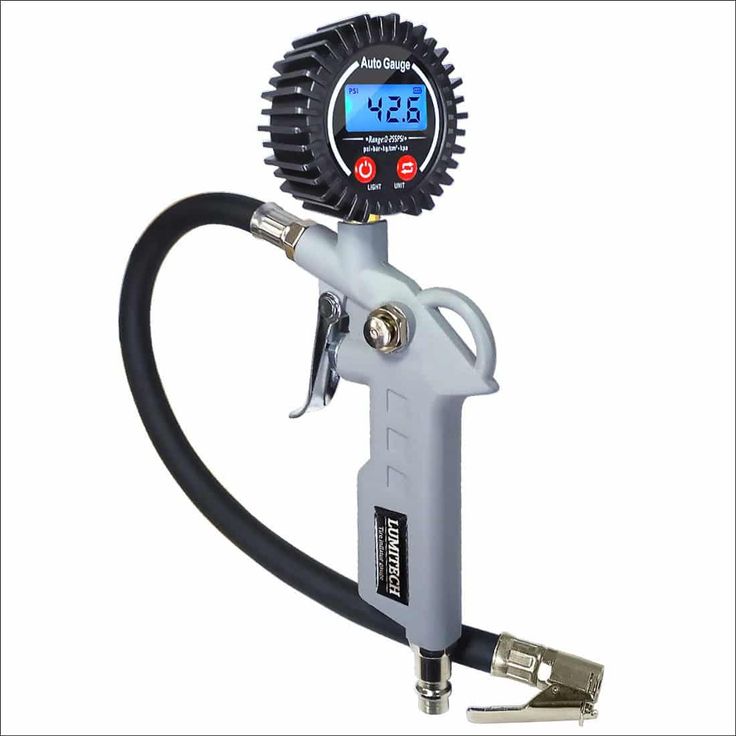
If you have misplaced any of these items, or if your car did not come with these items, you should purchase new ones right away. And be sure you’re regularly inflating the spare tire to your vehicle manufacturer’s recommended PSI. You should check the spare’s air pressure every time you check your other tires.
Remember to check pressure every month and before long trips or carrying extra load.
Here are some items that don’t come with your vehicle but that you should stow in your trunk or glove box in case you have to change a flat tire:
Flashlight with working batteries
Rain poncho
Small cut of 2"x6” wood to secure the jack
Gloves
Wheel wedges
As soon as you realize you have a flat tire, do not abruptly brake or turn. Slowly reduce speed and scan your surroundings for a level, straight stretch of road with a wide shoulder. An empty parking lot would be an ideal place. Level ground is good because it will prevent your vehicle from rolling. Also, straight stretches of road are better than curves because oncoming traffic is more likely to see you.
Never attempt to change your tire on a narrow shoulder near oncoming traffic. Keep moving (slowly) until you find a safer spot. While driving on a flat risks ruining your rim, replacing a rim is better than being hit by an inattentive driver.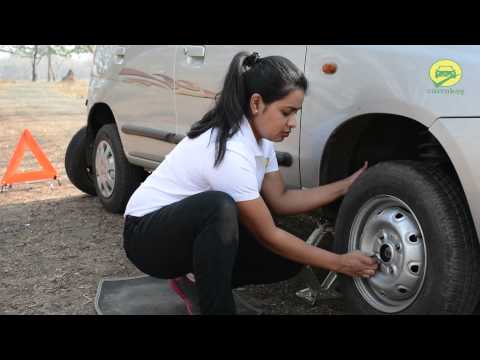
Make sure to consult your owner’s manual and review their specific steps on how to change a flat tire for your vehicle
Your hazard lights or “flashers” will help other drivers see you on the side of the road. To avoid an accident, turn them on as soon as you realize you need to pull over.
Once stopped, always use the parking brake when preparing to replace a flat tire. This will minimize the possibility of your vehicle rolling.
Wheel wedges go in front of or behind the tires to further ensure the vehicle doesn’t roll while you fix the flat tire. If you’re changing a rear tire, place these in front of the front tires. If your flat tire is at the front, put the wheel wedges behind the rear tires.
Bricks or large stones will work just as well as “real” wheel wedges. Just be sure they’re large enough to stop the car from rolling.
If your vehicle has a hubcap covering the lug nuts, it’s easier to remove the hubcap before lifting the vehicle with the jack. If your lug nuts are exposed, you can skip ahead to Step 6.
Use the flat end of your lug wrench to remove the hubcap. This will work for most vehicles, but some hubcaps need a different tool to come off. Consult your owner’s manual for proper hubcap or wheel cover removal procedures.
Using the lug wrench, turn the lug nuts counterclockwise until you break their resistance. You may have to use force, and that’s ok. Use your foot or all of your body weight if necessary.
Loosen the lug nuts about ¼ to ½ of a turn, but don’t remove them completely yet. Save that for when it’s time to remove your tire/wheel from the vehicle.
The right place for the jack is usually beneath the vehicle frame alongside the tire that’s flat. Many vehicle frames have molded plastic on the bottom with a cleared area of exposed metal specifically for the jack. To safely lift and avoid damage to the vehicle, follow the instructions for jack placement in your vehicle owner’s manual.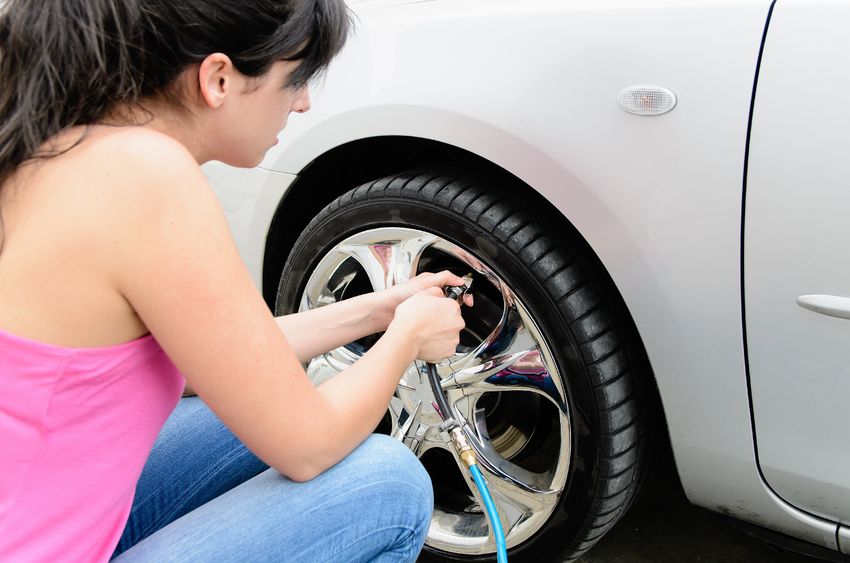
To prevent the jack from settling under the weight of your vehicle and coming off balance, place a small cut of 2x6” wood beneath it before attempting to raise your vehicle. This tactic is especially helpful on asphalt.
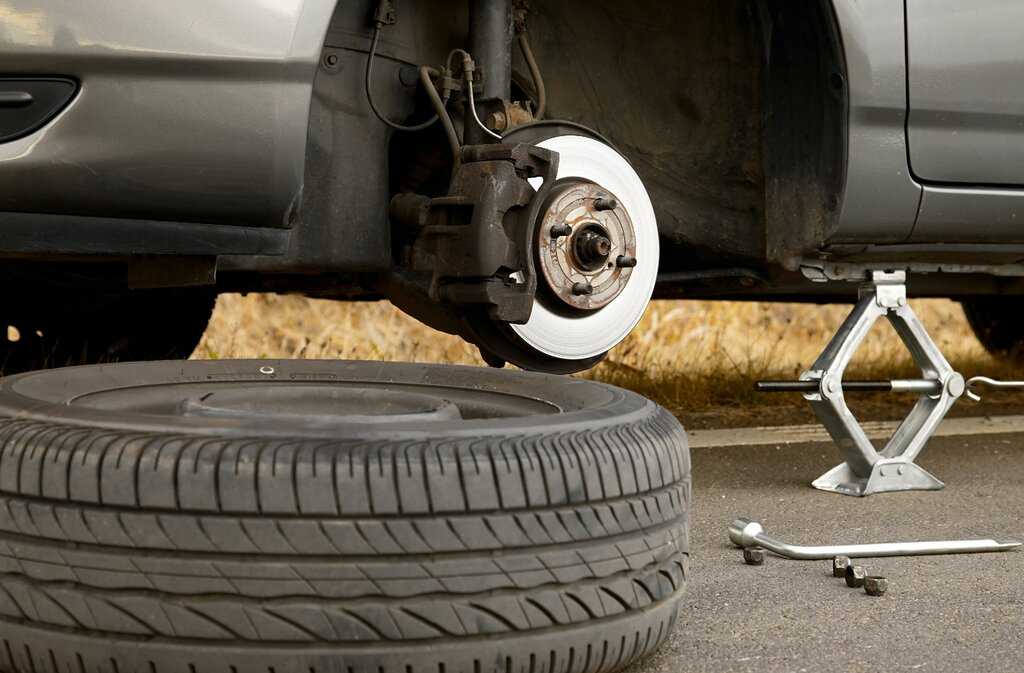
With the jack properly positioned, raise the vehicle until the flat tire is about six inches above the ground.
Never put any part of your body under the vehicle during or after raising the vehicle with the jack.
Now it’s time to remove the lug nuts all the way. Since you've already loosened them, you should be able to unscrew them mostly by hand.
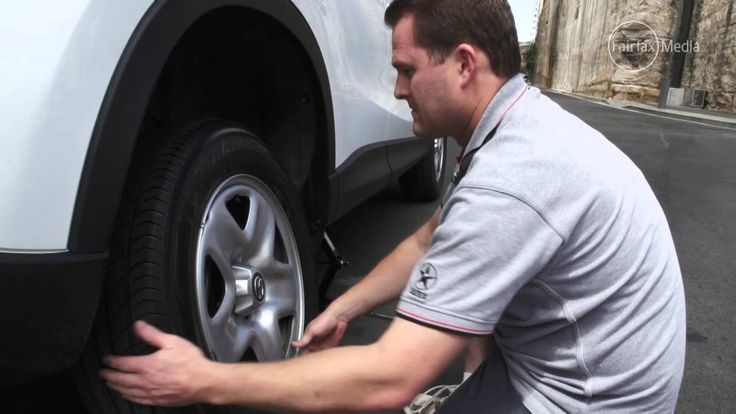
Gripping the tire by the treads, pull it gently toward you until it’s completely free from the hub behind it. Set it on its side so that it doesn’t roll away.
Now place the spare on the hub by lining up the rim with the lug bolts. Push gently until the lug bolts show through the rim.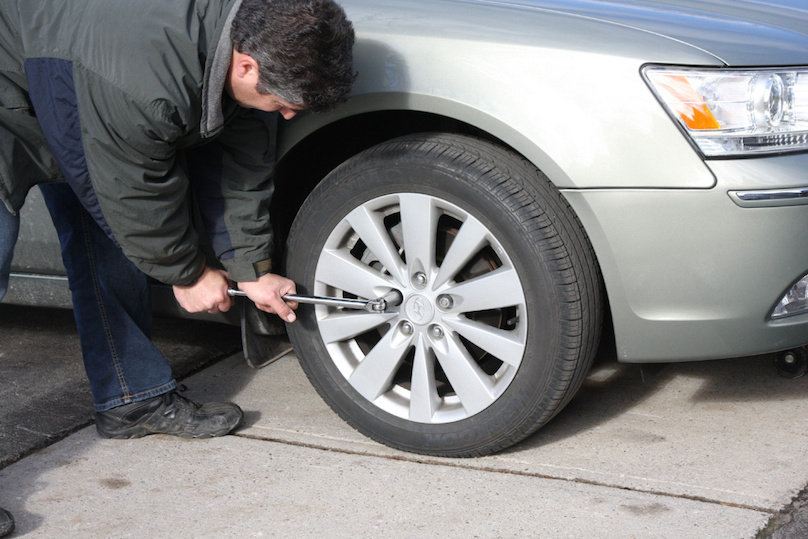
Put the lug nuts back on the lug bolts and tighten them all the way by hand. Once they are all on, check each one again, tightening as much as possible. You will tighten them with the wrench after lowering the vehicle to the ground.
Use the jack to lower the vehicle so that the spare tire is resting on the ground but the full weight of the vehicle isn’t fully on the tire. At this point, you should tighten the lug nuts with the wrench, turning clockwise, as much as you can. Push down on the lug wrench with the full weight of your body.
Bring the vehicle all the way to the ground and remove the jack. Give the lug nuts another pull with the wrench to ensure they’re as tight as possible.
If the hubcap you took from the flat tire will fit your spare, put it in place the same way you removed it initially. If it doesn’t fit, stow it away with the tire when you stow your equipment.
You have before you a jack, a lug wrench, wheel wedges, your flat tire, and possibly a hubcap. Don’t forget to put all of them in your vehicle before driving away.
You should check the tire pressure of the spare tire to make sure that it is safe to drive on. “T-Type” temporary spares, also called “mini-spares,” require 60 psi (420 kPa). If the tire needs pressure, drive (slowly) to a service station immediately.
Temporary spare tires aren’t made to drive long distances or at high speeds, so drive cautiously until you’re able to visit a tire technician. A professional should be able to determine whether your tire needs a repair or if it’s time to replace it.
Aside from taking your tire to a professional, the above procedure shouldn’t take more than 15 to 30 minutes to change a tire. Just be sure you don’t leave out any steps.
It’s beneficial practice changing a tire in your garage or driveway to ensure you’re ready to handle this situation if it ever happens to you.
Knowing how to fix a flat tire is great, but regular tire maintenance is even more important. In addition to reviewing this guide regularly, remember to do the following:
Keep your tires properly inflated
Rotate your tires according to the manufacturer’s guidelines
Monitor for tread wear
All of these precautions will extend the life of your tires and reduce the likelihood of a flat. While there’s no way to prevent flat tires completely, proper care can improve performance and ensure your tires last as long as possible.
There’s never a good time for a flat. That’s why Bridgestone DriveGuard tires are masterfully engineered to keep you moving for up to 50 miles at speeds up to 50 MPH without disruption.
There’s never a good time for a flat. That’s why Bridgestone DriveGuard tires are masterfully engineered to keep you moving for up to 50 miles at speeds up to 50 MPH without disruption.
See Details Find Your Fit
Home > Company > Tire Safety > Choosing Tires > Replacement Guidance
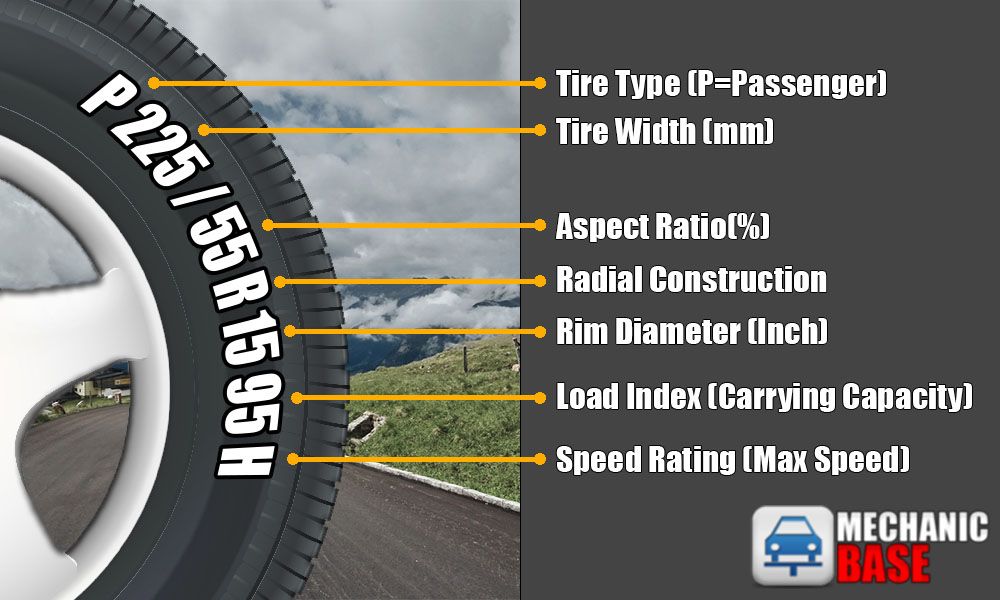
The best way to know if it’s time to buy new tires for your vehicle is to have them inspected by a professional, but there are ways to check them yourself. To meet legal safety standards in the U.S., a tire’s tread needs to be at least 2/32” deep. If the tires do not meet the 2/32” standard or are approaching not meeting it, you should replace your tires.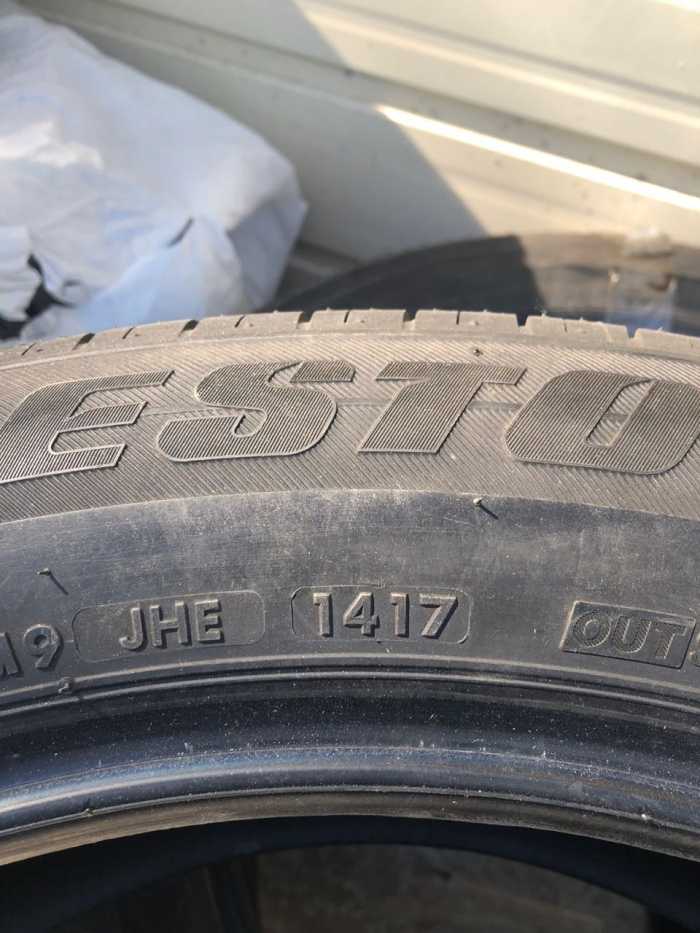 When replacing tires, it’s important to select the right tire size for your vehicle. Not sure what size you need? Learn more about determining tire size.
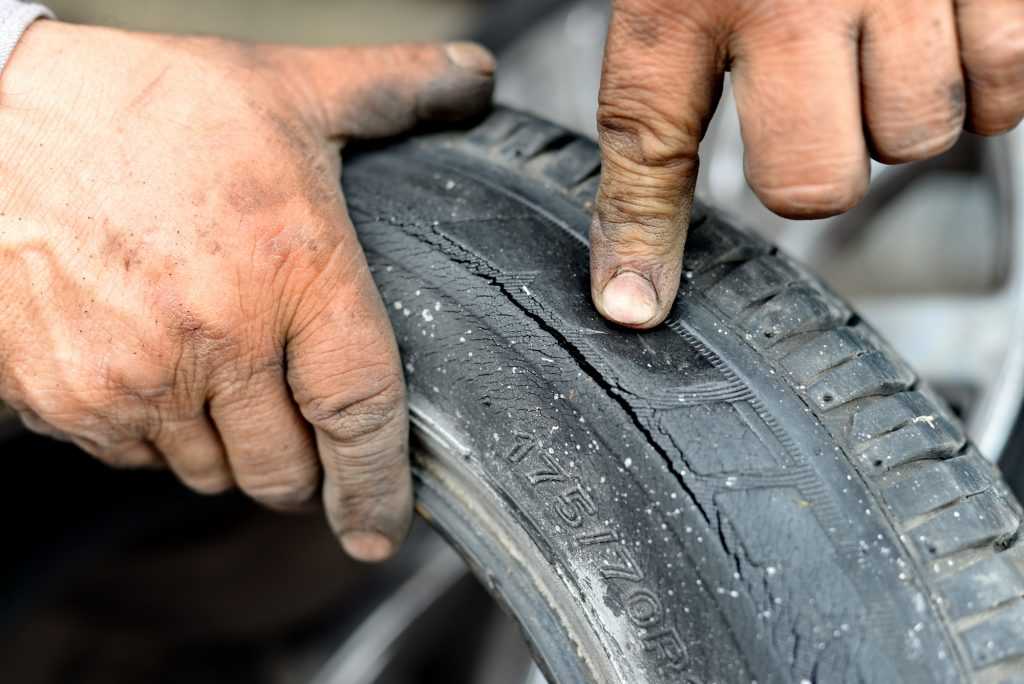
Tires should also be free of sidewall damage and irregular wear for optimal performance and safety. It’s also a good idea to learn what types of damage can be repaired vs. replaced so that you can safely extend the life of your tires.
You can evaluate your tires on your own through a visual inspection. Start with the tread — the part of the tire that contacts the road surface. Make sure the tire tread is deep enough and worn evenly all the way around without any irregularities. All DOT-regulated tires feature built-in treadwear indicators, commonly called “wear bars”, that will help you see when the tread is getting low. These indicators can be found in various places throughout the tread and will be even with the tread surface when the tread is worn to two-thirty seconds (2/32) of an inch. You should also examine each tire’s sidewall to ensure there is no visible damage.
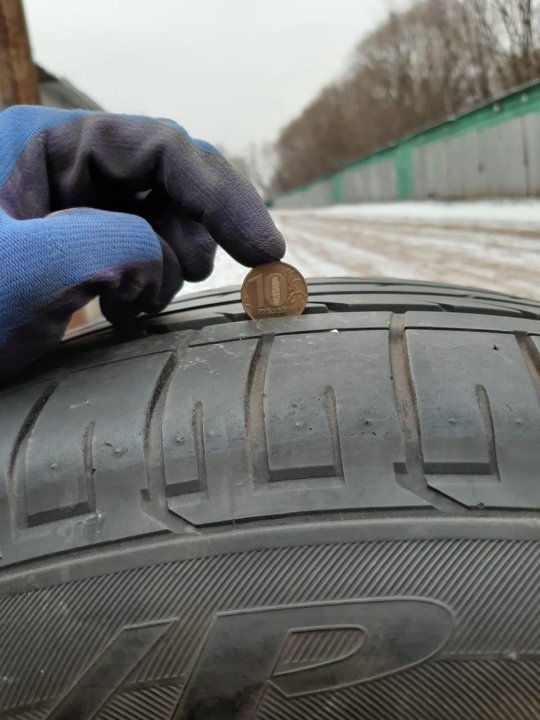
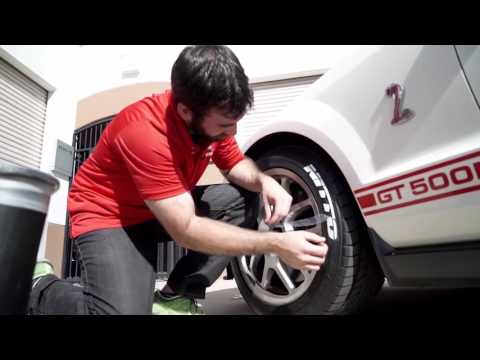
You can also use the Penny Test to check your tire tread. This test can be performed in your own driveway in just a few minutes.
The idea of the penny test is to check whether you’ve hit the 2/32” threshold. Here’s how it works:
Check all four tires, especially in areas that look the most worn. If any parts of your tire fail the penny test, it may be time to replace the tire.
Consistent wear around the whole tire is normal. Uneven tread wear could be a sign of improper inflation, wheel misalignment, or a variety of other things. If you see uneven tread wear, you should have a technician inspect your vehicle.
If your tires pass these tests, you may not need to buy new tires just yet. It’s a good idea to reassess the tread every few thousand miles, or once a month, and even more often if you’re putting a lot of wear on your vehicle or driving long distances.
No matter how new your tire is, Bridgestone recommends checking inflation pressure every month and scheduling regular inspections with a pro. After five years, an inspection is essential to determine if a tire is still road-worthy.
We recommend tires that were manufactured 10 years prior (or longer) be taken out of service and replaced with new tires. Same goes for the spare. If it’s 10 years old, it needs to be replaced, even if it appears new.
It’s important to note that the age of a tire is not the only indicator of whether it needs to be replaced.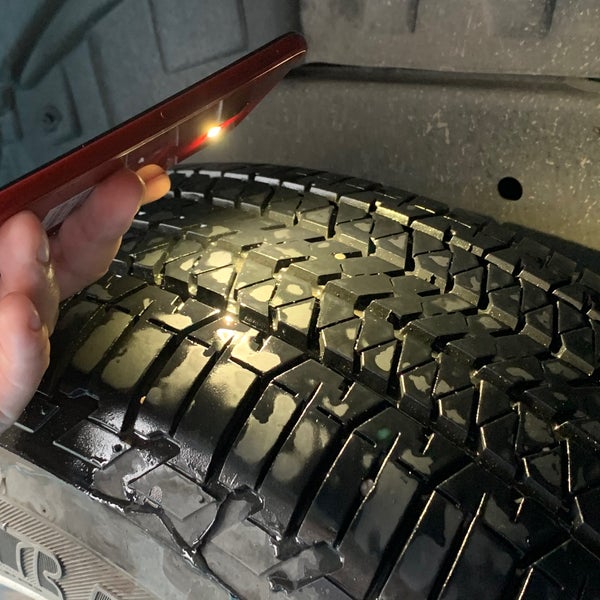 Many tires will need to be replaced before 10 years of age due to routine tread wear and other conditions such as punctures, impact damage, improper inflation, overloading and more. If a tire is worn out or otherwise unserviceable from damage or conditions of use, it should be replaced regardless of when it was produced or purchased.
Another common tire-buying question is if it’s necessary to replace all four tires at once. The simple answer is yes. It is recommended to replace all four at once because your tires are key to the performance and handling of your vehicle, it’s important for them to be as identical as possible. If your tires don’t match, one end of your vehicle may not be able to respond as quickly as the other, making it difficult to control. Your tires are what keep your vehicle connected to the road, so having an even surface is vital.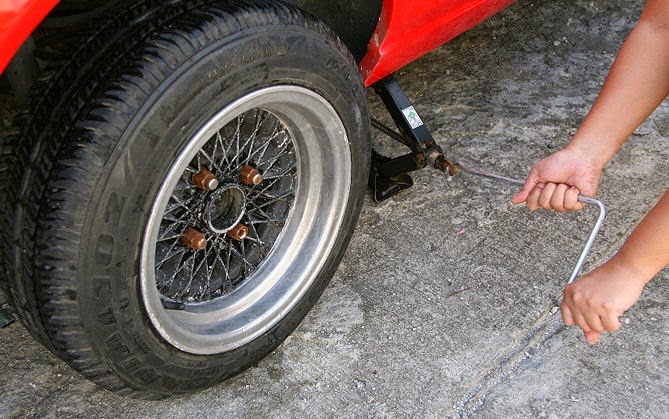
If you are in a situation where you will be replacing fewer than four tires, select tires that are similar to what is currently installed on your vehicle. If you are replacing just two tires, those two tires should only be installed on the rear axle. You should only consider tires that are within the same category as your existing ones.
If you have a vehicle that came equipped with a staggered fitment (different size tires on the front and back) then you should check your vehicle owner’s manual for replacement recommendations.
There are a lot of risks associated with buying used tires. Since you don’t know the history of the tires, it can be difficult to know if they’ve been previously run under inflated, overloaded or have other unseen internal damage which could lead to an unexpected failure. Used tires might also have uneven wear, which can cause noise, vibration or other problems and may need to be replaced much sooner than new tires.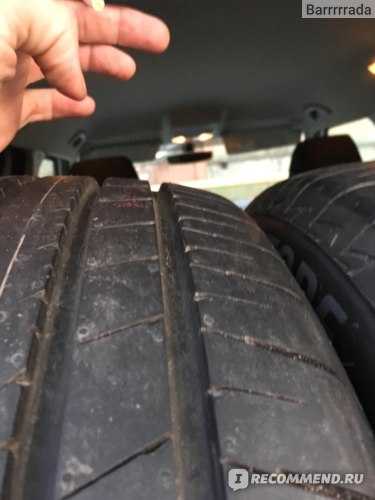 It is best to replace tires with new tires of the same category, size, load capacity and speed rating as recommended by your vehicle’s manufacturer.
When it comes to recalled tires, there is only one position to take. We do not want anyone driving on recalled tires. We are committed to replacing, free of charge, any Bridgestone or Firestone tire (or other brands warranted by Bridgestone) subject to a customer satisfaction, quality and/or safety recall, at any time. The easiest way for consumers to get answers to questions about recalled tires is to call 1-844-293-7514 or locate an authorized Bridgestone or Firestone dealer to examine the tires in question. You can also check current tire recalls online at the National Highway Traffic Safety Administration site.
There’s no reason to guess. Talk to a tire dealer or other authorized professional so you can make certain you’re choosing the best tire option for your vehicle. Find out if tire rotation and balancing are included with your new tires. If they are not, see if you can bundle the maintenance service. Ask the dealer to outline the manufacturer’s warranty and replacement options to make certain your new investment is protected in the long run, and inquire about any specials they may be offering. With these tire-buying tips and some trusted ratings in hand, you should be able to confidently pick out new tires.
Bridgestone consistently strives to connect with drivers through our stores, dealers and media campaigns to raise awareness and educate consumers on safe driving and tire safety. We encourage all consumers to learn all they can about tire safety and why it's important to have their tires, including the spare tire, regularly inspected by a qualified professional.
Position on Recall Awareness and Tire Age
Bridgestone Americas, Inc.
 We are committed to replacing, free of charge, any Bridgestone or Firestone tire (or other brands warranted by Bridgestone) subject to formal recalls, at any time. The easiest way for consumers to get answers to questions about their tires is to call 1-844-293-7514 or locate an authorized Bridgestone or Firestone dealer to examine the tires in question.
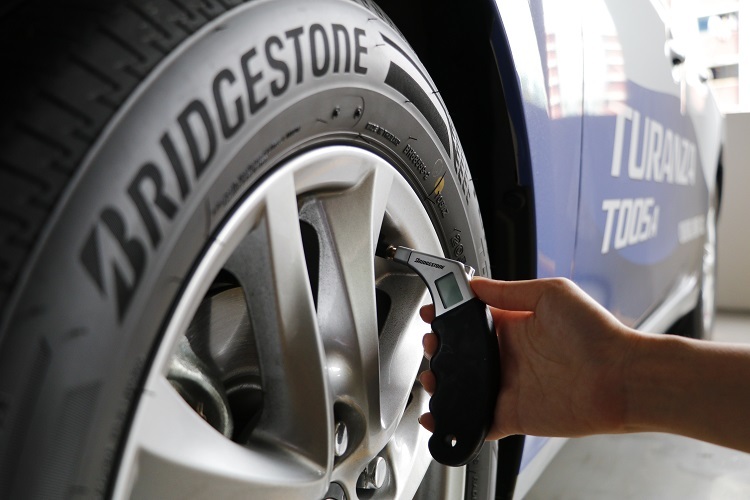
Learn about our mission, our achievements, and our ongoing commitments
Read Our Origin Story
The season for changing car tires from winter to summer begins when the roads are clear of snow. Studded tires are no longer suitable for driving on asphalt, as strong friction occurs. When buying tires, you need to make sure that they are the same in everything (size, marking, tread pattern).
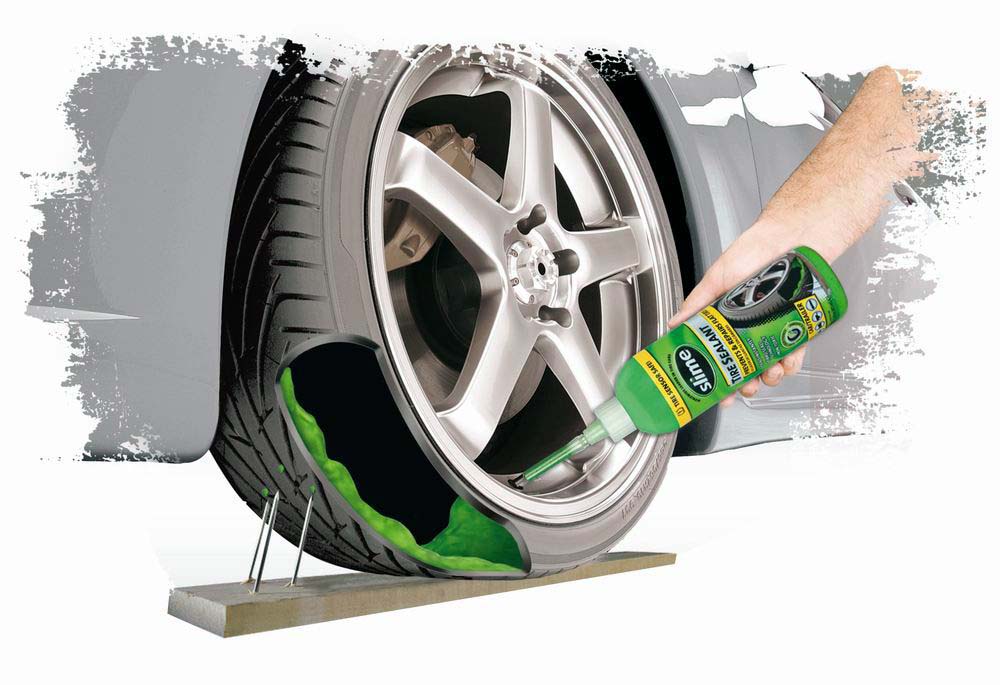
Bridgestone summer tires are available for a variety of vehicles from passenger cars to heavy trucks. The range of models is large and every motorist can find something to their liking. Some tires are made using the latest technology and allow the car to move even after a puncture.
Tires provide excellent maneuverability in bad weather, save fuel and improve safety. Bridgestone tires are designed so that the shoulder block is mostly in contact with the road, and the tread provides good corner entry.
The types of tires are discussed below and recommendations are given on how to install summer tires correctly.
Contents
 This type of tires is intended for small city cars. They can be installed on the car in any position.
 The tread pattern improves motor skills even on snowy surfaces. These tires are highly valued among sports car enthusiasts.
 Wheel installation requires strict adherence to the rules and conditions. Therefore, tires are further divided into two types:
If there are no such inscriptions on the wheels, then such car tires are not divided into "Right" and "Left". And it does not even depend on the tread pattern. Directional and at the same time asymmetric car tires can be produced.
One type does not exclude the other. But at the moment this is rare, since the "Right" and "Left" Bridgestone tires do not provide any advantages.
In the case when tires are changed immediately in pairs, it is recommended to put new tires with an unerased tread pattern on the rear axle, and leave the old ones in front. This will enable the driver to better control the car on a wet track.
Installing Bridgestone asymmetric tires is quite easy and intuitive. When installing tires of this type, the inscription "Outside" or similar must be on the outside. For example: "Facing outwards" or "External". On the inner surface there should be an inscription "Inside". The main thing is not to confuse the inside with the outside.
Although handling and traction will not be greatly affected, manufacturers warn against using tires in this way, as this can lead to uneven tread wear, as well as increased noise and excessive vibration. The inscription "Inside" during installation remains invisible, because it is directed towards the car. Thus, a sign that asymmetric tires are installed correctly is the visibility of only the "Outside" inscription.
If asymmetric tires are installed incorrectly, the vehicle is less controlled when driving.
You need to be careful when driving with incorrectly installed wheels and do not exceed the speed limit.
Bridgestone directional vehicle tires must be installed so that when the vehicle is moving forward, the wheel travels in the direction of the pointing arrow on the sidewall of the tire near the "Rotation" lettering.
As mentioned earlier, "Right" and "Left" car tires are installed strictly on their sides in accordance with the inscriptions on the tread.
Bridgestone symmetrical-type automotive tires do not have an outer side, they do not have a specified direction of rotation and direction for installation. For these reasons, they can be placed in any position, as well as interchanged without fear of making a mistake.
If the Bridgestone symmetrical tires are installed incorrectly, the vehicle will be less controlled when driving. You need to be careful when driving with incorrectly installed wheels and do not exceed the speed limit.
The best source of information on how to properly remove and install tires is your vehicle owner's manual. It has a lot of useful advice and tips.
Installation sequence is:
 Be sure to check the wheel nuts and their condition. You need to loosen and tighten them. If there is significant resistance or any roughness, then such defects must be corrected before installing the wheels. There are thread restoration kits. They will help.
So, all the main types of summer tires and ways to put new tires on a car were considered. If there is a fear of carrying out the procedure on your own, then the correct installation of Bridgestone tires should be carried out by the masters.
The direction of rotation is not available on non-symmetrical Bridgestone tires. This means that they can be mounted anywhere in the car. They are labeled accordingly.
Contents
and how to determine the correct direction of rotation.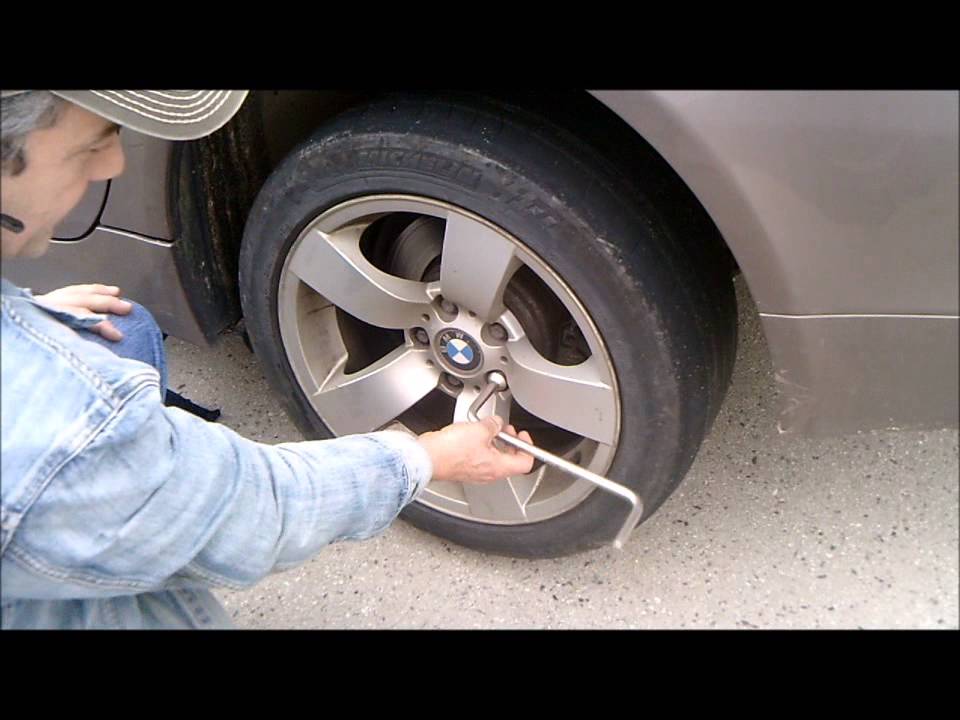 If the installation is carried out correctly, on the contrary, it seems that the structure looks asymmetrical. But that's okay, that's how it should be.
The main thing is that when installing the wheels, the driver himself should be looked at with the inscription Outside. This applies to all wheels.
There are several designations for the working surface. Each has its own Bridgestone markings.
The designers do their best to ensure that the wheels on all axles work as a single unit.
BridgeStone asymmetric busbars, non-directional, have been specially developed to optimize these highly conflicting requirements.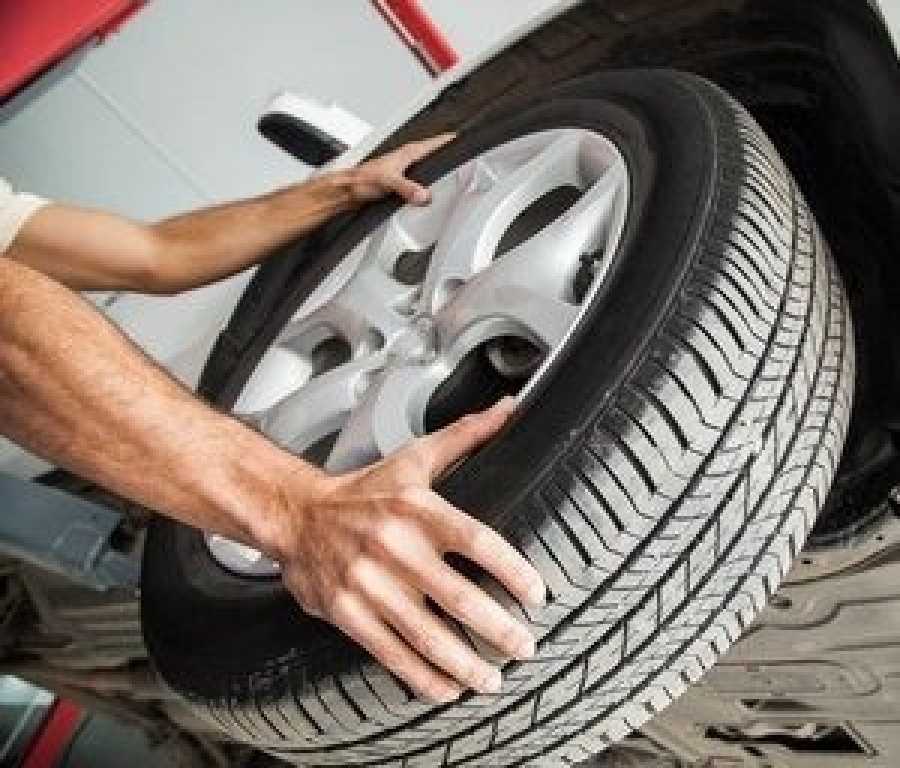 Such wheels must lie flat on the road surface. At the same time, it is important that water is also removed from the contact, with maximum efficiency.
To optimize the performance properties, the outer part is specially made rigid. This is especially important for those who often enter high-speed turns. Thanks to high-quality contacts, tread wear in such situations is minimized.
Stable starting power is provided by the inside of the BridgeStone tires. The same goes for braking. Or such an indicator as the effective removal of water from under the wheel.
Every 50-70 thousand kilometers it is recommended to move asymmetric tires from one axle to another. This is necessary in order to avoid uneven wear on the tread to the maximum. But there are a few more rules to keep in mind.
 And from the back right to the front left, and so on.
No special skills or abilities are required to install Bridgestone asymmetric tires. Just remember a simple set of rules. The inscriptions on the inner and outer sides have already been mentioned. Then, after installation, these inscriptions should no longer be visible. Only an indication of the outside should catch the eye.
But with directional tires, things are a little more complicated. They must be set so that the rotation of the wheel coincides with the indication of the arrow on the sidewall when the vehicle moves forward. Only on the side indicated on the tire, wheels with left and right orientations are placed. When taking into account the side, one must rely on forward movement.
Symmetric tires have neither direction of rotation nor sides.
They can be installed in any of the available positions.
The vehicle's driving performance is drastically reduced if directional, asymmetric tires are fitted incorrectly. The wheels themselves don't work properly. Therefore, the characteristics are not fully disclosed, even if they are correct.
The process itself should not cause any problems. It is better to look in the owner's manual of the vehicle in advance. It gives specific advice, recommendations on how to proceed.
 Now the nuts can be unscrewed, completely get rid of the wheels.
Rubber nuts require additional checks. If there are even the slightest defects on them, they are corrected even before the final installation of the wheels. The store sells special kits for restoring threads on such tools. They will become indispensable helpers.
 There will be additional vibration of the steering wheel. Otherwise, the tire fastening will be in jeopardy.
This type of product is suitable for both conventional cars and trucks. The name reflects the structure of the frame. The fibers in such tires are located at an angle to the direction of travel, 90 degrees. The label will give you the information you need.
Radially, the fibers are located on the sidewalls - they look like rays going outward from the center. Thanks to this, even in the transverse direction, the shape of the tire remains stable. The steel cord is used to ensure that the force transmission is optimal, including in the longitudinal direction.
And in this variety, the carcass is made of special fibres. They are also located at a certain angle to the direction of movement. The fibers form a mesh, stacking on top of each other.
This design made it possible to create tires with a round shape. The diagonal variety of products is not equipped with a steel cord. Therefore, it is not suitable for joint operation with trucks. They are easy to recognize, the marking is applied accordingly.
These types of tires are used where contact with the coating must be ensured not only at the bottom, but also on the sides.