Toggle Nav
Search
All CategoriesCables & ComponentsHydraulic Lines & FittingsControls & HandlebarsToolsWhat's New
Advanced Search
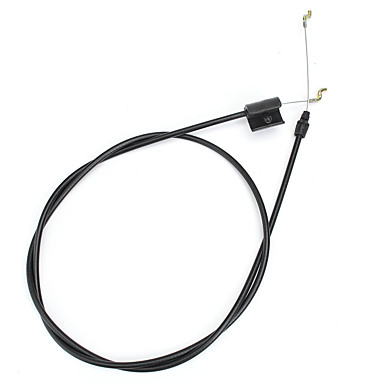
What are Push/Pull Cables?A push/pull throttle is a dual cable throttle operation where the pull cable opens the throttle plates, while the push cable, along with a throttle return spring, closes the throttle plates. The “push” cable is a misnomer as the push cable also pulls.
A push/pull throttle cable is an upgrade to the old standard single throttle cable linkage. The throttle grip works on the carburettors when twisting/throttling up and when releasing/throttling down. This is a step up to the single throttle cable type where only a spring is responsible for throttling down.
With a push/pull throttle, should the spring fail, twisting the throttle will pull the throttle linkage back to idle.
In a crash, if the steering stops on a bike and is pushed in a bit from hard falls, the cable can often get caught between the frame and fork tube. This crushes the cable housing a bit, and the cable will bind. If a rock or something gets caught in the carb housing (if somehow the cover fell off) the spring won't close the carb slide. The second cable pulls the carb closed so it isn't stuck wide open. On a road race bike at 165mph+ approaching a tight turn with little run off area, riders want that peace of mind that if they close the gas, it will close. It is for this reason that it is now illegal in many countries to remove the push cable and rely on the spring to close the throttle.
See our range of cables and components >
Throttle Free Play Adjustment
Over time cables stretch and will need adjusting to reduce the amount of free play on the throttle. This adjustment will allow a smoother feed in of the throttle. Most manufacturers recommend 2-3mm of free play. To check the free play, roll the throttle forward until it stops and then gently open it until you feel tension on the cable. The distance between the closed position to the tension position is the “throttle free play”. To measure the distance, two triangles can be cut out of masking tape and one placed on the grip and one on the throttle housing. Then as the throttle is twisted the distance measured.
If the free play is out of specification, there are two places where cable slack can be adjusted. The first is up at the throttle and the second is at the carburettor. The in-line adjustors up at the throttle are for fine tuning the free play, whereas the adjustors at the other end are for bigger changes.
There are a lot of different throttle set ups, the most common of which is to have two cables with one adjuster. The principles to adjustment, however, is basically the same, namely, to slide the cover off the in-line adjuster and release the lock nut.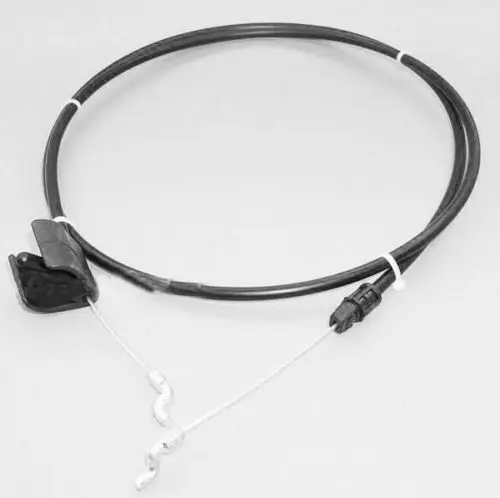 Then turn the adjuster to get the 2-3mm free play. Once that is achieved, tighten the lock nut and spray some silicon on the adjustor before sliding the cover back. Operating at the other end requires the same principles, although access is less easy. When adjusting at the engine end of the cables ensure that the adjustor at the other end is set to the middle so there is scope for fine adjustment either way.
The last, but important stage, is the safety check. Swing the bike from lock to lock to ensure that the throttle doesn’t tighten up. This should also be done with the engine running to ensure that the idle doesn’t rise as the lock positions are reached. If this happens, more adjustment will be required.
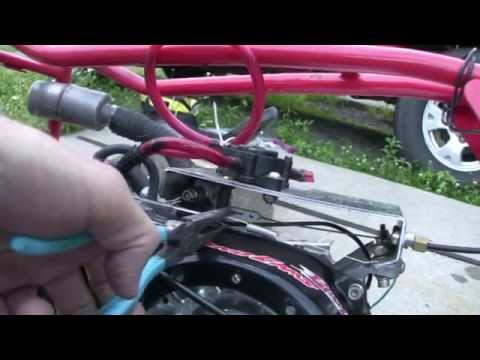
Installing Push/Pull CablingWhen installing a new cable, it is important that the routing of the original cable is checked and noted. Also, ensure that the dimensions of the cables are identical, allowing for the fact that old cables do stretch over time.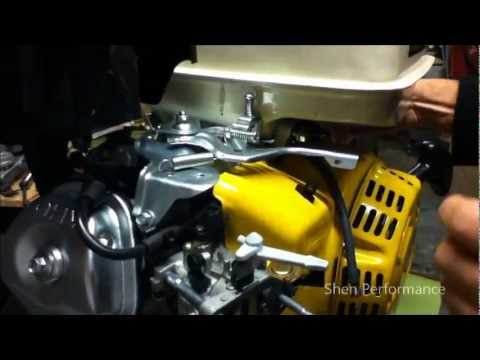
Prior to installation the cable should be lubricated with some light oil to lubricate the inner cable. By holding the cable upright and moving the inner cable up and down, the oil will be eased down the cable.
In routing the cable, ensure that there is a gap between the cable and any heat source and keep ties loose to allow the cables to move. Always connect and adjust the pull/ open cable first whenever possible.
Where nipples require lubrication in levers or linkages, use a small amount of copper grease rather than heavy greases which attract dirt and restrict the movement of the nipple, causing excessive wear and stress on the nipple and cable.
Once the cable has been installed, check the steering lock to lock and check the operation of the cable at both extremes of steering in the same way as when adjusting the free play.
Maintenance of Teflon Push/Pull CablesGood cable maintenance will prolong the life of the cable and maintain its operation. In the case of MX bikes, it is a good idea after a race meeting or as often as possible after power washing to remove the cables from the bike and flush them through with a blast of air, either from a pneumatic system or from a can of CO2 (often used to clean computers).
The nipples can also be lubricated, if required, with Copper grease.
The same maintenance regime can be applied to trial bikes.
In the case of road bikes, cables should be removed and flushed through with a blast of air at the beginning and end of the summer. Again, once they have been cleaned, the nipples on the ends of the wire could be lubricated with a light 3 in 1 general purpose oil and Copper grease.
As with the installation, the use of heavy engine oils, chain lubricants or grease to lubricate cables should be avoided as this will attract dirt, increase cable wear and reduce the operation of the cable. Although good maintenance will prolong a cable’s life, they should, nevertheless, be replaced at regular intervals.
For advice and for the purchase of top-quality cable, including marine grade stainless steel inner wire and PFTE (Teflon) liner for super low friction smooth operation, get in touch with us today or start shopping now.
Disclosure: We may get commissions for purchases made through links in this post.
The 1988 Yamaha Terrapro is among the most useful innovations of the 1980s. Unknown to many, this utility quad pioneered the lineup of belt-driven and differential-equipped vehicles we enjoy today. The mower could be removed to convert it into a fun, recreational ATV. During workdays, attachments could transform the Terrapro back into a utility vehicle that would take care of tall grass and young saplings.
Produced from 1987 to 1988, the Yamaha Terrapro goes down in history as the first and only ATV to have power take-off (PTO) capabilities.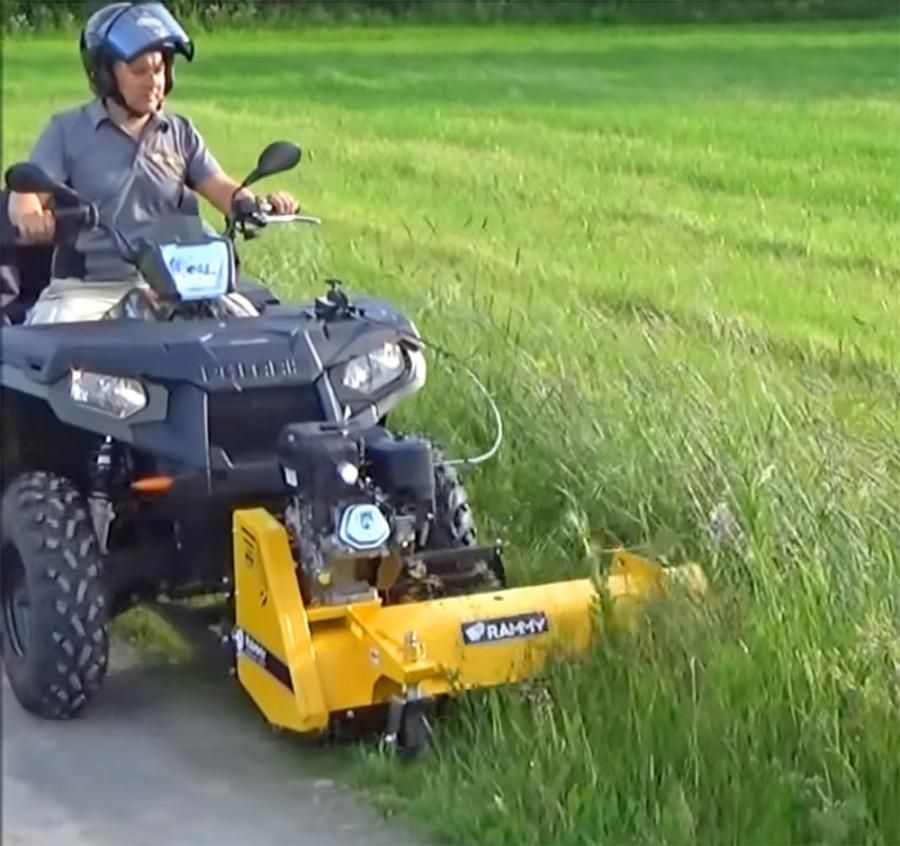 Featuring a 350cc 4-stroke engine, hydrostatic transmission, and locking rear differential, this quad proved to be ahead of its time.
Like the Big Wheel 350, Yamaha created the Terrapro with the right intentions but at the wrong time – 30 years too early. Had it been produced later, given liquid-cooling and 20-hp power output at least, it would have smoked 500-class ATVs with its versatile application. But even with its primitive tech and fan-cooling system, this riding mowing machine is still considered the best vehicle of its kind. Intrigued? Continue reading to learn more about this vintage four-wheeler.
The Yamaha Terrapro was 10th in the line of Yamaha off-road vehicles since the US release of the Tri-Moto, and 6th in the line of four-wheelers produced in the ’80s before the 1988 Consent Decree fully sealed the ATC ban. Sandwiched between the ’87 Big Bear 350 and ’88 Blaster, the Terrapro was the only quad with power take-off capabilities.
This one-of-a-kind feature allowed the wheeler to use a wide array of Yamaha Terrapro attachments. Among them were rough-/finish-cut mowers, tillers, agricultural sprayers, post-hole diggers, and more.
While enthusiasts remember the iconic vehicle for its versatility, what made the Terrapro truly unique was that it was Yamaha’s very first utility vehicle. Its design and mechanism may very well be the archetype for the present-day Ultramatic V-belt transmission and a limited-slip differential.
The biggest reason this does not seem to register with many off-roaders is due to the machine’s single-year production. Its ATV scene stint was so short that consumers have never even heard of the vehicle in some parts of the US and other countries. Not only did this impact the machine’s popularity, but it also made finding replacement parts a challenge.
Despite Yamaha Terrapro parts being pricier and claim that working on the quad is nightmarish, many avid supporters and enthusiasts attest to and defend the reliability of the quad.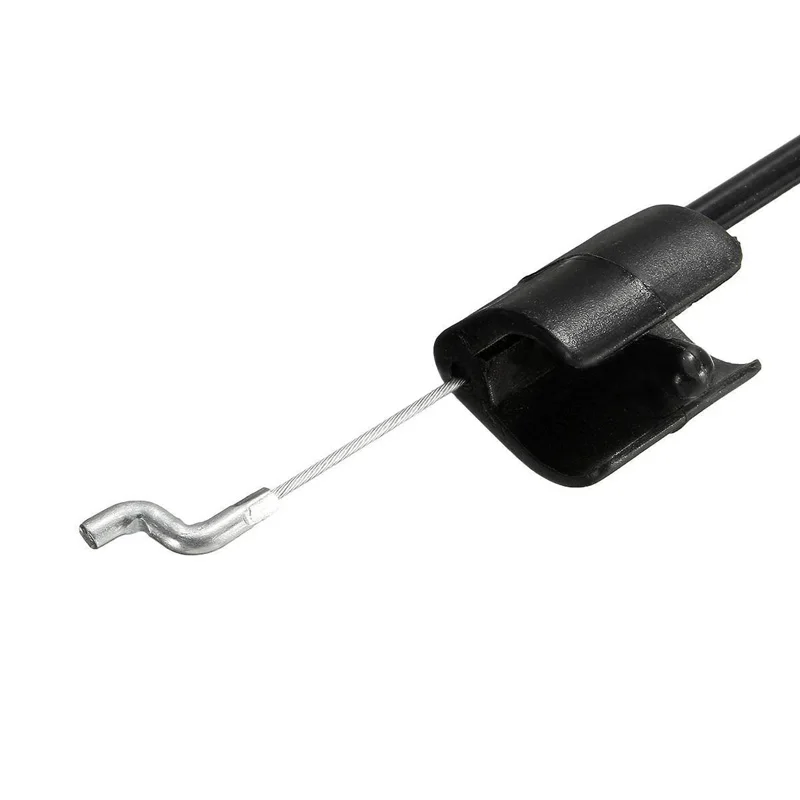 Riders growing up in the early ’90s learned how to mow their lawns on that bad boy. Owners claim only replacing a clutch cable, brake pads, and a fuel cutoff valve since purchasing it brand new in ’87. Like any other off-road beast, the Terrapro is loyal and will last many years when treated and maintained well.
 It has a thumb-control throttle and a lever that controls the gas (like a tractor), and a kill switch that works only when the PTO is engaged. PTO runs off a belt and, depending on attachment, may require an RT-38, FM-48, B-15, or RC-42 variant. The quad also has a rear differential lock that prevents the machine from tearing up the grass. The differential lock is located on the left side and looks like the same level as the choke by the ignition switch.
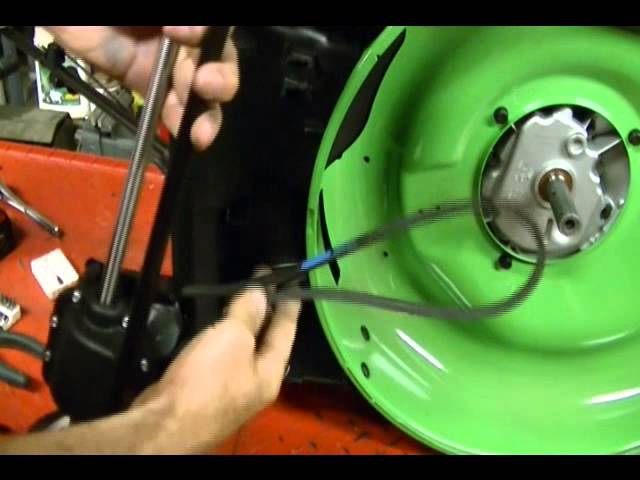 They are also great for increasing acceleration and improving handling and cornering on days when you take off the mower and take out your four-wheeler for an adventure ride.
There are very few resources that provide complete specs and maintenance information on the Yamaha Terrapro for free. Search results would not even provide overall vehicle dimensions. If you happen to own this quad, get a Yamaha Terrapro Service Manual (view on Amazon).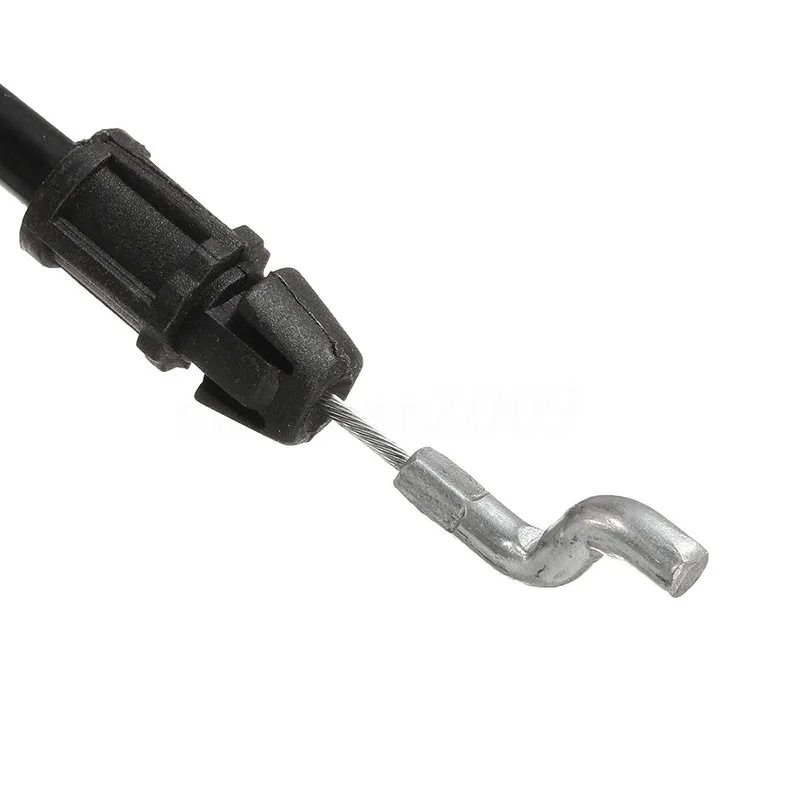 It’s handy for first-line troubleshooting and order replacement parts and rebuild kits for your quad.
Nada Guides only shows retail pricing (and not the MSRP) for the Terrapro – between $375 and $2,700. Auction listings value the classic blue machine between $180 and $2,735. Typically, a Terrapro in good working condition would include an operable transmission with Hi, Lo, and PTO speeds and add-ons like a seed spreader or a brush hog. Sellers would usually declare attachments (if any). Among the most common ones are the FM-48 Mowing Deck (SN: 2035) and the RT-38 Roto-Tiller (SN: 480).
Expect the ATV to have undergone minor home repairs and some broken knobs, worn handgrips, bent cargo carrier, torn seat cover, and bent or crusted footpegs. Be ready to shell out a few bucks as some of these preloved vehicles may need hydraulic work.
Stock rings may require replacement as well. However, this should not be concerning, as a set of rings from any other 350-cc ATV should work – as long as the bore-stroke ratio match. It is rare to find a Terrapro with shiny plastics and a rust-free frame, let alone less than 1,000 hours.
Considering that the vehicle is 33 years old, it is only natural for owners to run into a few issues. But its single-year production, difficulty in securing replacement parts, finding Terrapro-savvy mechanics and dealers, and comprehensiveness of its service manual make attempts to fix its problems a tad too challenging – for the beginner rider, at least. Since not everyone is an experienced off-roader, I have listed below top Terrapro issues to help the nouveau owner out:
A tell-tale sign behind this malfunction is if the lever switch is not working right, accompanied by the wheels spinning nonstop. Pulling out the lever switch and resetting it will do the trick. Doing this is pretty simple if you know what to look for. However, learning it if you have never seen the lever switch before is the hard part.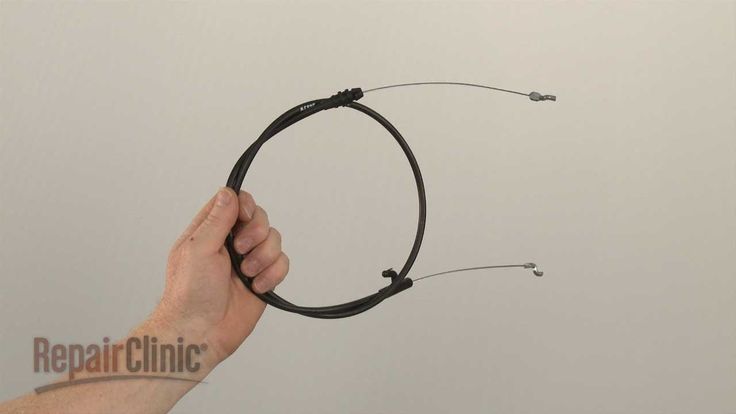
You may notice that when you fully depress the foot brake with all your weight and pull back on the lever, it will randomly not go down far enough or click. Or the clutch may not work in reverse or would not disengage. When these symptoms occur, check the spring-pulled cable coming off the rear brake pedal, and trace it towards the shifter.
In most cases, you will find the cylinder at the end of the retracting cable bent. This happens quite often as the cylinder can easily get caught on the housing’s lip, preventing it from shifting. If this does not turn out to be the probable cause, it could be due to the vehicle sitting for too long.
The most common reason your rear brakes will not work is if they are bone dry. To fix it, you will need to add the appropriate brake fluid then bleed the brakes. Doing these steps will show if you have any leaks in the sealed system. If these first two steps do not work, then you probably need to manually adjust the brakes forward to bring them within range after adding fluid.
Some owners do struggle with shifting on the Terrapro. Sometimes, the cable frays, causing rough shifting. Should you encounter this problem, pull the shift cable loose from the casing and try the lever to see if it moves freely. If so, it would indicate that the problem is with your shifter and cable. Getting a new cable will resolve the issue. Many PTO, clutch, and throttle cables are for sale on online reseller sites like eBay and Amazon.
There are several scenarios where your quad may not run in high, namely:
Getting this problem outside of the said scenarios require you to narrow down the issue, which typically traces back to an electrical problem, an electrical safety cutoff, insufficient fuel supply, or a broken switch (located near the two-point hitch on the rear). Should the culprit be a broken switch, this can be cut off and shorted together with the use of spade connectors.
Another thing worth looking into is the speedometer, as it has a magnetic reed switch that sends a signal to the CDI that prevents over-revving of the engine. If that reed switch is not working, the CDI will erroneously think that the engine is sitting still and will cut out instantly at higher speeds. You can test a reed switch along with a speedometer rotation. Similarly, an implement safety switch will prevent the PTO from engaging if nothing is hooked up. Pushing the governor throttle forward without any towing implement will also kill the engine.
Bypassing safety switches on the Terrapro is one of the many solutions proven to resolve the vehicle not running in high.
A world-renowned leader in motorsports, off-road vehicles, personal watercraft, and outboard motors, Yamaha Motor Company Limited began as a piano manufacturer in 1887 before venturing into automobiles, speed boats, and all-terrain vehicles. It was not until a decade after World War II that the Japanese firm parted ways with its parent company to concentrate on motorcycle production, hence becoming Yamaha Motor Co. , Ltd. To date, the maker of the Yamaha Terrapro is known for spawning the ATV industry in the ’80s and creating breakthrough, life-enriching products, and services that reflect its mission of creating Kando.
Despite its limited time in the ATV scene limelight, the Yamaha Terrapro was able to make a lasting impression not only with adventurers but more so with hardworking farmers and ranchers. Its low ground clearance, three-point hookup, strangely satisfying bodywork, and practical fitments are only some of the features that folks simply cannot get over.
The Terrapro was such an impressive innovation, with the sole drawback of being created at the wrong time and introduced to consumers who did not know any better.
The good thing is that consumers nowadays have grown more knowledgeable in maximizing all-terrain vehicles’ inherent capabilities and taking care of these vintage machines, and using them for the purpose they serve.
And while it has been three decades since the birth of the ultimate farm ATV, the riding community and general public continue to look forward to Yamaha and other big ATV manufacturers to come up with a utility vehicle as practical but twice as powerful as the Terrapro.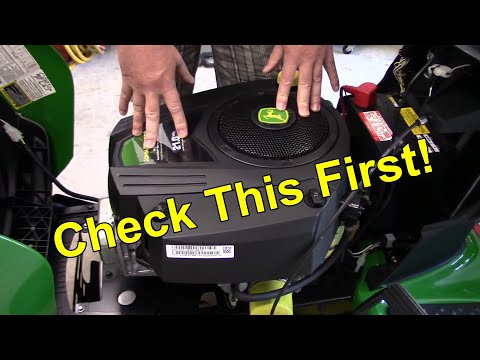
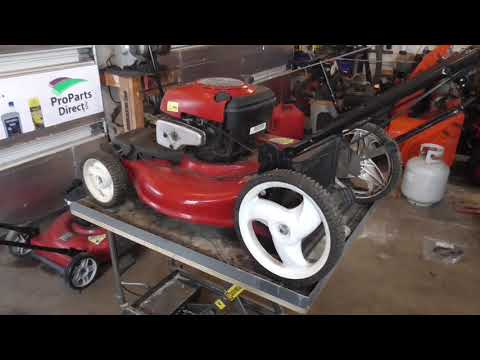
A working gas lawn mower is essential for the gardener to keep the grass clean. Because modern lawn mowers operate so reliably, it's easy to assume they will continue to run; it's frustrating when they don't work well.
If the throttle cable breaks, cut off the broken end and use a shorter throttle cable, or if it breaks further, replace the cable strand. If the throttle cable is stretched, it must be shortened, and if it is clogged or bent, the throttle cable must be replaced.
Lawn mower throttle cable is perhaps the simplest part of the engine; however, it must work optimally or else it will have a disproportionate effect on the machine. If it is broken, the engine will not run, and if it is stretched or blocked, the mower will not generate full power.
Table of Contents
Two areas can break, and each requires a different action to fix.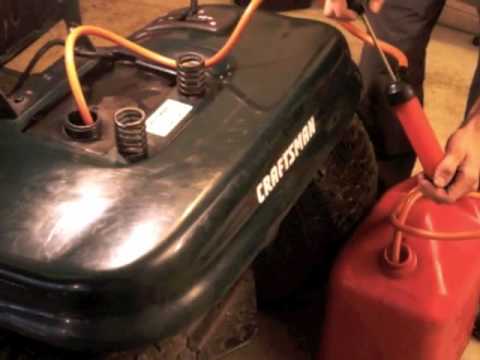
If the lawnmower throttle cable breaks very close to one end of the line, chances are you can fix it.
If the cable breaks further from either end, the following steps must be taken.
If the cable snaps near the end of either side of the cable, follow these steps.
If cable breaks more than one inch at either end, you will need to replace the line.
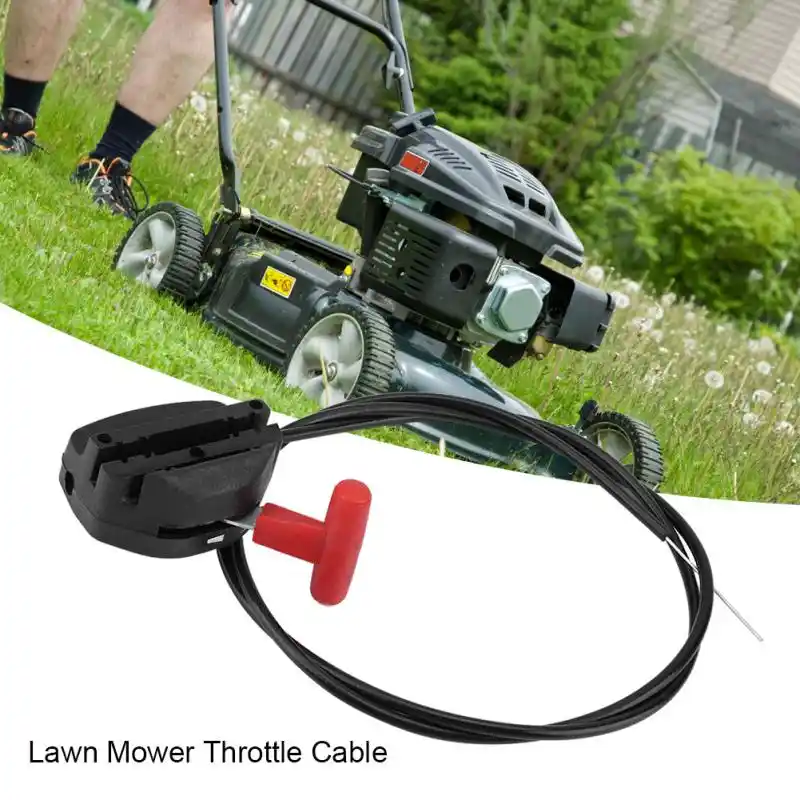
You can purchase a new lawn mower throttle cable that is pre-attached to a new throttle lever assembly. Amazon] or make a new one by following the steps below.
Over time, the throttle cables stretch, bend, and misalign, resulting in insufficient throttle lever rotation. As a result, the lawn mower engine does not reach full speed and seems to be underpowered.
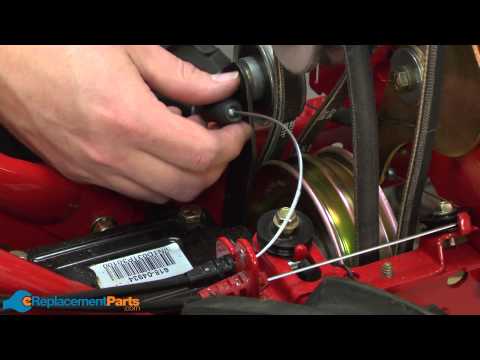
You can check this by manually manipulating the throttle lever. The throttle lever is attached to the throttle cable on the engine. Fully pull back the throttle lever while the engine is running and check that the machine can operate at maximum speed.
If it revs at full power, the throttle cable doesn't pull it far enough.
Depending on the mower model, the cable can be adjusted or the mower does not have an adjustment mechanism; you will need to shorten the cable by hand.
If your lawn mower is equipped with a cable adjustment mechanism, refer to your lawn mower manual for instructions on how to adjust it.
If it is not possible to adjust the length of the mower cable, follow these steps.
 The best way to choose is to study the mounts at the ends of the cable and determine which one you can best reproduce.
 If there is no visible damage to the lawnmower cable, but it is very tight, check that the cable is not kinked or clogged.
Depending on the mower model, the lawnmower throttle cable usually has a dual purpose.

On most lawnmowers, completely disengaging the throttle causes the engine to get no fuel and shuts down.
Lawnmower throttle cable connects the throttle control attached to the handle and the throttle lever on the lawnmower carburetor.
Pulling or pushing the throttle cable changes the angle of the throttle lever.
The throttle lever is attached to the throttle valve (throttle) inside the carburettor.
When the throttle angle is changed, the amount of gas entering the carburetor changes. As a result, the amount of fuel entering the piston chamber through the intake valve is regulated.
This results in less air/fuel mixture for the combustion cycle and lower engine speed.
These are circumstances in which the lawnmower cable cannot adjust the throttle lever angle correctly.
It is always best to replace your lawn mower's throttle cable when the cable wears out. Also, using a new cable is always better than a refurbished one.
Throttle cable usually lasts about 5 years. However, this also depends on how often your lawn mower is used. The more you use your lawn mower, the more wear and tear you will notice.
Throttle cable is designed to control the motor and blade speed. Running the mower at full throttle makes it more efficient.
A broken, damaged, or strained lawnmower throttle cable will prevent the lawnmower engine from operating optimally. The good news is that each of these problems is easy to fix and the associated costs are minimal.
You don't need to be a licensed lawnmower technician to fix a broken throttle cable.
You need to perform a few basic diagnostic processes to track down the cause of the problem and follow the steps in this article to correct the situation.
Sharing care!
Lawn mowers are one of the most important technical garden equipment that owners of large lawns cannot do without. Still, like any other equipment, lawn mowers cannot avoid breakdowns . If this device does not work as you would like, or does not start at all, do not rush to the service - if you identify the problem, in most cases you can solve it yourself.
Before taking on more serious actions, first check the three most important factors - fuel, oil, combustion. It is for these reasons that many problems arise with lawn mowers.
The oil level must be checked every time before starting work. It is extremely important that it is not only enough, but also not too much - otherwise the excess will fall on other parts and damage them .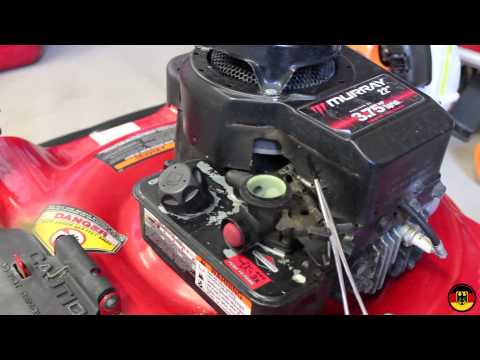 A similar situation can occur if the mower is placed in the wrong position. It can only be raised so that the candle is directed downwards and not turned over to the side where the tank is located. Lawn mowers should be lubricated after they have been in operation for approximately fifty hours, at least once a year. What oil to fill in mowers depends on their specific model.
Very often this garden tool does not work properly because its fuel has already aged. The fuel expires in about a month and then it is no longer usable - except when a stabilizer is used. Also, do not leave this device with unreleased fuel in winter - it is likely that at the beginning of the new season, you will encounter problems with the fuel tank or carburetor.
This action can help when the engine does not start. If you are not sure how to install the mower engine ignition, follow these steps:
If none of the above problems solved yours, finding a broken lawn mower, look for other solutions.
Try cleaning or replacing spark plugs. However, if this does not help and the engine continues to junk and stall, you will have to contact a repair specialist, as problems may be hiding in the carburetor or its mixture.
Before going to the workshop, try changing the air filters, spark plug and check if the speed control is in the right position. It needs to be raised as much as possible.
If you have already taken care of the oil, try cleaning the vent and changing the spark plug.
It is most likely that oil has come into contact with the mower due to the incorrect position of the mower. In that case start the mower and wait until all the oil has burned out - during this process, the smoke can be especially thick.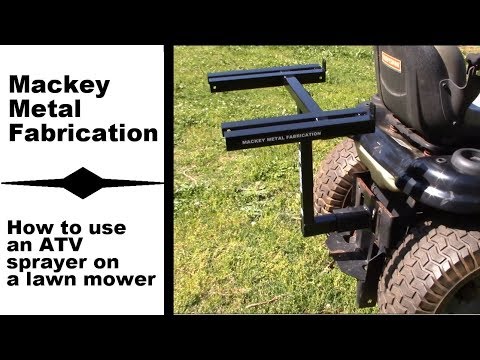 Then check if the oil level is still sufficient. If these steps do not help, you will have to turn to professional repair.
First, try to remove the non-rotating wheel yourself - clean it and grease the bearings. If this does not help, this may be due to a defect in the gearbox, which cannot be corrected by itself.
This most often happens when the blades collide with some very hard object or the grass is too tall. Try to check if the cable is correctly positioned, but it is likely that more serious repairs will have to be taken care of. Often the cause lies in a broken gearbox spring and a loose or completely torn off drive belt.
It may be blocked by accumulated grass - gently lift the mower with the candle up and try to clear the grass. If this does not help, it may be that the knife is not mounted correctly - in this case, it is best to contact a specialist.