With so many types of oil on the market, it's important to know what kind of oil your particular ATV requires. All types of oil serve roughly the same purpose, but not all types of oil are suitable for every type of ATV engine. Using the wrong oil could result in severe damage to your ATV. So, what kind of oil does an Arctic Cat ATV take? We've done the research to get the answer for you.
Arctic Cat recommends three types of oil for their ATVs:
How do you choose the right oil for your Arctic Cat ATV from that list? In this post, we'll discuss the different types of oil, and delve into which oil is best for your riding style and how often you should change ATV oil. Keep reading, and we will also explain how to change the oil on two of Arctic Cat's most popular ATVs.
Before you continue reading, let us say we hope you find the links here useful. If you purchase something through a link on this page, we may get a commission, so thank you!
No matter what kind of machine we're talking about, they all need some type of lubrication to work properly. Without lubrication, metal parts grind against each other and become broken and worn out. Engine oil lubricates engines. Below, we'll get into the specifics of each type of oil that Arctic Cat recommends for their ATVs.
The cheapest Arctic Cat ATV engine oil option is 10W40. This a conventional oil for Arctic Cat ATV engines. Like any other oil, 10W40 optimizes transmission protection and decreases component wear by lubricating all the metal parts that make up your engine and drivetrain.
Synthetic oils are becoming increasingly popular across all types of engines. While synthetic oil is not always required, many people prefer to use synthetic oil due to its increased performance capabilities and other benefits that these types of oil provide.
One of the significant benefits of ACX 0W-40 oil is advanced rust and corrosion inhibition, meaning that this oil contains compounds to prevent the internal workings of your engine from becoming rusty or building-up corrosion. As you can imagine, this means that your engine could have a longer life compared to using conventional oil.
If you ride your ATV during cold weather, ACX 0W-40 will provide better performance than conventional oil. Specifically, cold starting your engine will be easier.
On the downside, ACX 0W-40 oil is typically more expensive than 10W40 conventional ATV oil.
Click this link to find ACX 0W-40 Synthetic ATV Oil on Amazon.
ACX 15W-50 is a new, full synthetic formula with a heavier viscosity than the original ACX 0W-40 synthetic oil. Whereas ACX 0W-40 offers better performance in cold weather, ACX 15W-50 is specially formulated for hot weather.
Hotter weather means hotter engines, and ACX 15W-50 prevents thermal breakdowns under extreme heat.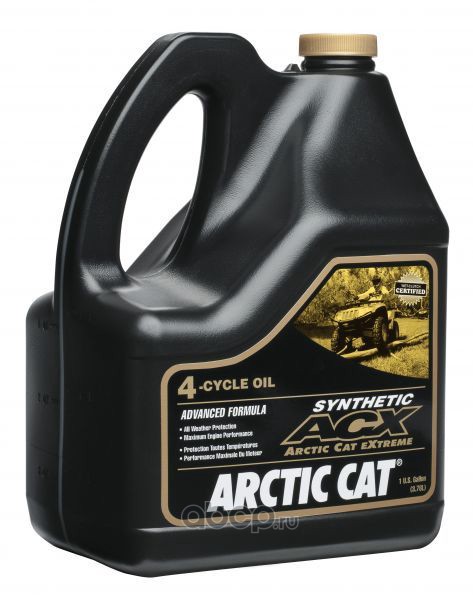 This oil will deliver the best high-temperature engine protection of the three oils discussed here.
Although this oil will outperform ACX 0W-40 and 10W40 oils in hotter environments, it is not recommended for use when the ambient temperature is below 32 °F because the heavier viscosity will make cold starting more difficult.
Some claim that using regular motor oil in an ATV is perfectly fine. However, you may want to consider sticking with specialized ATV oils for a few reasons.
For starters, ATV oil is specifically designed for use in an ATV. Most ATV manufacturers even make their own brand of oil, formulated for optimum performance of their ATVs. Your ATV operates under significantly different conditions and environments than your car or truck typically do, so ATV engine components have different needs.
Another benefit of using ATV specific oils is that these specially formulated oils also lubricate the transmission. Properly functioning transmission is essential to your ATV's performance and engine longevity. This is different from oils used in a car or truck because a separate fluid is used to lubricate the transmission.
As machines operate, dirt, dust, metal filings, and other types of contaminants work their way into the oil. To keep your ATV running at peak performance and to ensure it has the longest life possible, it's crucial to perform regular maintenance such as changing your oil.
Changing the oil in your ATV is a pretty simple task, and doing it yourself can save you both time and money. Read on to learn more about changing the oil in an Arctic Cat ATV.
The owner's manual for your ATV should include a detailed, preventative maintenance section. This manual section should include everything you need to know about changing the oil on your specific ATV.
As a general rule, most ATVs will need to have their oil changed every 50 to 100 operating hours. Depending upon riding conditions, you may need to change your oil more or less frequently. Consult the owner's manual to find out what Arctic Cat recommends for your ATV.
One of the most popular Arctic Cat ATVs is the Arctic Cat 500. The Arctic Cat 500's last production year was 2017, but there are still a lot of these ATVs out on the trails.
Changing the oil in an Arctic Cat 500 is a simple job.
 Torque the drain bolt to 21 foot-pounds.
Torque the drain bolt to 21 foot-pounds.https://www.youtube.com/watch?reload=9&v=WHigRjkiUx8
Arctic Cat also makes 700 series ATVs. Changing the oil in an Arctic Cat 700 is very similar to changing the oil in an Arctic Cat 500.
To change the oil in an Arctic Cat 700, follow the same simple procedure. Start by removing the dipstick, then the drain bolt (don't forget your oil pan!). After the oil has drained out, reinstall the drain bolt and change the oil filter. Remember to torque your bolts to the correct specs. Next, fill the engine with the amount of oil your user's manual recommends, and reinstall the dipstick. Let the engine run long enough to circulate oil through the system, then shut it off and let the oil settle. Check the oil level on the dipstick to confirm that you have put in enough oil.
There are three types of oil that Arctic Cat recommends for its ATVs: 10W40 ATV Engine Oil, ACX 0W-40 Synthetic Oil, and ACX 15W-50 Synthetic Oil. The oil that you should use is dependent upon in what kind of conditions you run your ATV. Change your engine oil at least every 50 to 100 operating hours, and for best performance and engine life, only use oil formulated specifically for your ATV.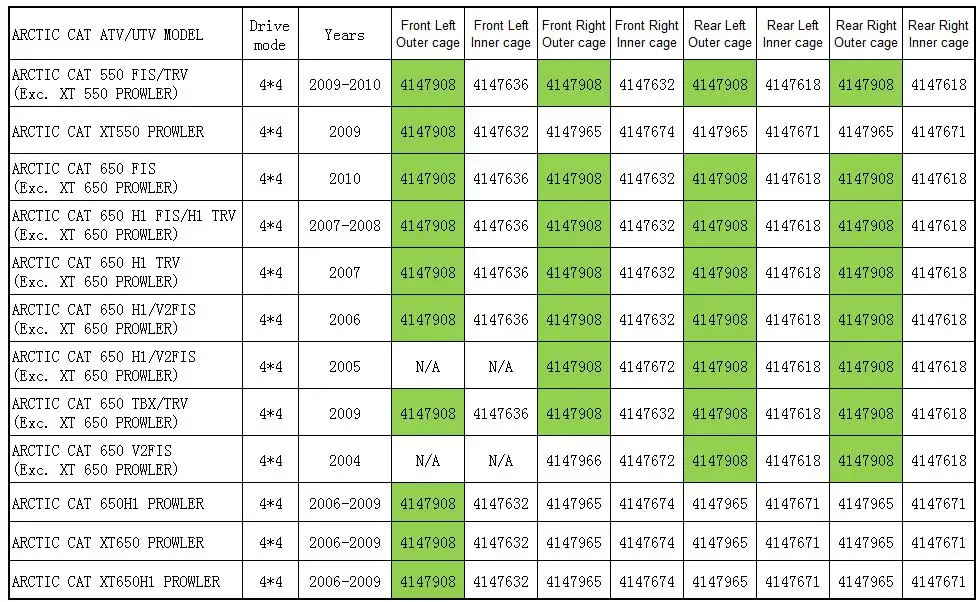
HOW OFTEN TO CHANGE ATV OIL? MANUFACTURER RECOMMENDATIONS ATV OIL IS GRITTY ENGINE IS NOISIER TICKING NOISE WHEN YOU START THE VEHICLE OIL LEVEL DROPS UNEXPECTEDLY FAST
The oil in your ATV is extremely important. Fresh oil in your vehicle keeps all your engine parts protected and lubricated. Leave it too long between changing the oil in your ATV, and you risk severe damage to your vehicle.
You may have noticed that ATV oil changes are required more often than the oil changes of a car. This is because ATV engines run hotter, at higher revs, with less oil. This means the oil will lose its viscosity faster.
It’s worth also noting that ATV engine oil is different from standard automotive oil. While you could technically use automotive oil, ATV oil includes additives to improve viscosity and help fight off rust.
Besides the oil, consider the various filters your ATV uses. A dirty air or oil filter not only causes poor performance but also lets debris enter the engine and means you’ll need to change the oil much sooner.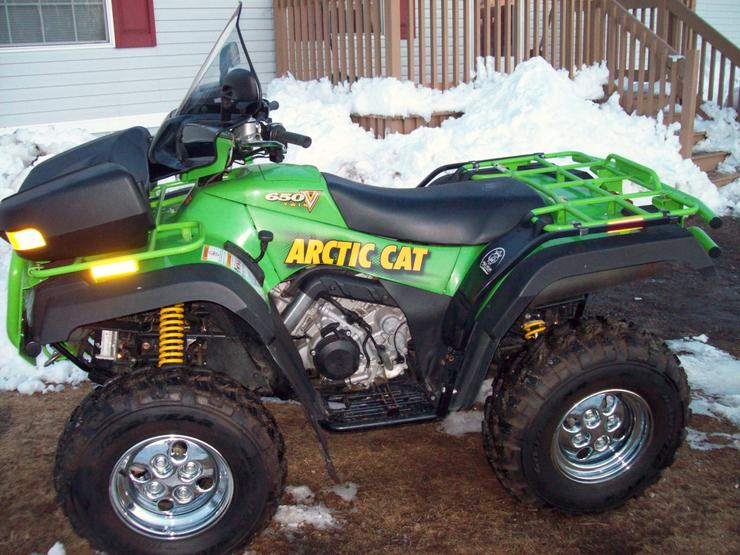 Take care of the filters of your ATV, and your oil will last and perform its duties for much longer.
ATV manufacturers all recommend you check the owner’s manual for your ride for the specifics of when to change your oil. There are quite a lot of differences in measurements and methods.
If you own a Polaris ATV, for example, you’ll be advised to perform the first oil change after 25 hours (or one month) on a new ATV. Then you’ll need to complete an oil change every 6 months, or every 100 hours of riding, or every 1,000 miles you ride, whichever comes first.
Other ATV manufacturers will suggest you change the oil every year or every 100 hours of riding. So, each ATV is different but broadly follows the same timetable.
If you don’t keep such a close tally of how many miles or hours you ride, there are other signs that your ATV needs an oil change, as outlined below.
ATV are waterproof & breathable riding gear
Find out the items that suit your needs
Your ATV oil will pick up various contaminants that have made their way into the engine.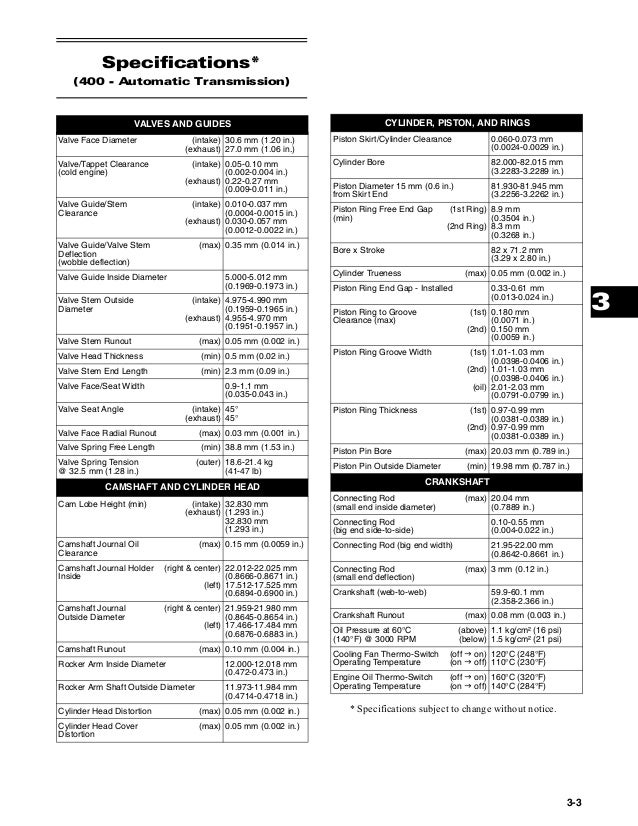 This is one of its main jobs. The oil should pick up dirt and grime, so a darker oil color is normal. But if you check the oil and it feels gritty, this suggests the oil is past its best and needs replaced.
Your oil doesn’t need to stay golden. In fact, if you’ve been riding for a while and the oil is still golden, it just suggests that the contaminants are being trapped in the oil filter.
Increased engine noise can be difficult to notice. But if you do perceive an increase in engine noise, this can be because the oil is failing at its job lubricating the various valves, bearings, and crankshafts, so they’re knocking against each other more. Time to check your oil.
Oil is immediately circulated through the engine when you start it up. If your oil is dirty or gritty, then it’s harder for the valves to work. This can present itself as a ticking or knocking sound when you’re starting up your ATV. If you haven’t changed your oil in a while and you start hearing this ticking sound, it’s time to change the oil.
Between oil changes, you typically have to add a little oil to keep the level up to the recommended level. If you find the oil level is deficient and you’re not sure why, an oil change is in order.
Now, the reason for the oil level dropping could be a small leak. Sometimes a leak at the drain plug is the culprit, and other times it’s just the air filter. Replacing the drain plug washer and the air filter may fix the problem. Try it, and run your ATV again. If you’re still losing oil at breakneck speed, it’s vital to get your ATV serviced immediately, so damage to the engine parts is minimal.
ENDURO Camogrey
the most durable
279 EUR
AQUAMASTER Red
reliability & comfort
677 EUR
ALL SEASON Black
69 EUR
SPEEDMASTER NEW Graphite
209 EUR
Explore all
Maintenance is performed to keep the motor equipment in working condition, as well as to increase the uptime. Pre-identified and eliminated breakdowns and malfunctions allow you to prevent more serious malfunctions. An ATV, snowmobile or scooter that receives regular maintenance has a longer life span. The frequency of maintenance is prescribed in the service book of motorcycles.
In 4-stroke ATV and snowmobile engines, the engine oil is changed every 2000 km. (In a new engine, the first oil change must be done at a mileage of 300 km, then 1000 km, then every 3000 km.) At each oil change in the engine, it is advisable to flush the engine with flushing oil before filling in new oil. This procedure makes it possible to completely wash and drain the exhaust from the engine of an ATV, UTV or snowmobile.
When changing the engine oil in an ATV engine, be sure to change the oil filter. Before installing a new filter on an ATV engine, be sure to fill it with at least 1/2 full of oil. If there is none, as a rule, these are engines with a volume of 300 cc and below, then there is a mesh on the drain plug at the bottom of the engine crankcase, it must be washed in gasoline.
Transmission oil in gearboxes and gearboxes is recommended to be changed every 3000 km. Changing the gear oil in a new ATV or snowmobile is carried out after 300 kilometers.
The air filter maintenance interval when operating the motorcycle on dusty roads is 500 km. When performing maintenance, check the air filter. The filter element consisting of foam rubber must be washed in special. solution. Next, the foam element must be dried and treated with a special. air filter fluid.
Spark plugs should be checked every 1-2 thousand km. run. After 5000 km. the spark plug needs to be replaced. When replacing a spark plug, be sure to set the spark gap as recommended by the engine manufacturer. For engines of various models of motor vehicles, the most suitable in all technical parameters, NGK and Denso brand spark plugs.
The fuel filter must be replaced at every service. On some models of ATVs, the fuel filter is located directly in the gas tank. In this case, a fuel cock with a filter element is installed.
Due to the fact that the ATV engine is often used in extremely difficult conditions, elevated temperatures and excessive loads cause conventional automotive oil to lose its properties, viscosity, etc. As a result, the pressure in the ATV engine lubrication system decreases, which can lead to “oil starvation” with all the ensuing consequences. The ATV engine must only be filled with Motul brand engine oil. This oil contains all the necessary additives to ensure the normal operation of all ATV engine components in all operating modes.
Maintenance of UTVs and snowmobiles is not only about changing consumables such as filters and oils, it is just one of the service items. The maintenance procedure for motor vehicles is a series of works aimed at identifying and eliminating deficiencies affecting the safety and trouble-free operation of all units.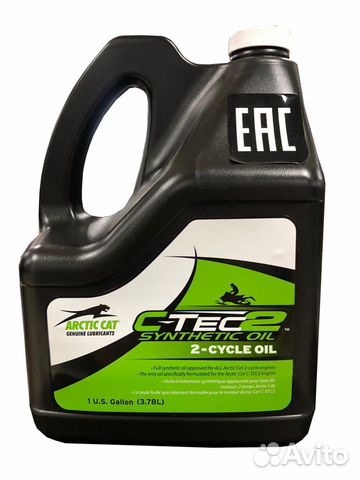
For maintenance of ATVs, snowmobiles and UTVs, our workshop stocks all the consumables and parts you need. In the absence of the required spare parts, we place an order and carry out repairs in a short time.
At MOTODOCTOR , you can carry out ATV, snowmobile or scooter maintenance according to the vehicle maintenance card. We install only original spare parts and use high quality technical fluids. You can sign up for ATV or snowmobile maintenance by calling +7(903)-752-17-36
Our ATV, UTV and snowmobile maintenance service is located at: Zelenograd, st. Andreevka, building 495
Chain Care
A ATV chain on a chain drive is one of the most important elements that needs to be groomed and cherished and thoroughly cleaned. At the same time, you need to do this regularly, then your ATV will serve you much longer. Lubricate the chain only after you clean it, otherwise the grease mixed with dirt will interfere with the operation of the system.
When it comes time to change the chain, change it along with the sprockets, because putting a new chain on the old sprockets will kill it very quickly. When changing the chain, pay attention to what kind of chain you need - they exist in two types - standard and o-shaped, and you cannot replace one with the other, so choose the one that fits your ATV, you can read about it in the user manual.
Cleaning the carburetor
Kazuma ATVs require periodic cleaning of all important parts, and some of this work can be done on your own. A clean carburetor is the key to the proper operation of the entire ATV engine, so do not put it off indefinitely. First, unscrew all the fasteners that secure the carburetor and remove it from the ATV. Don't forget to collect all the screws and nuts so you can reattach the carburetor.
Using a wrench, unscrew the bottom of the carburettor. Use a WD-40 type cleaner to treat all holes, then blow them out with a pump. Now you just have to fix the carburetor in place and connect all the necessary wires and hoses to it.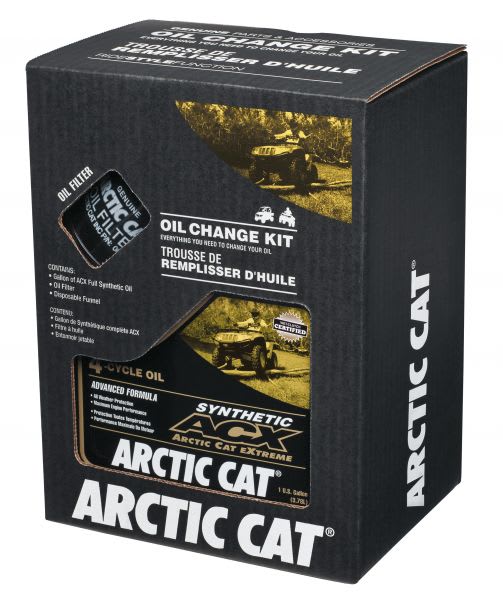
To make sure everything went smoothly, start the ATV, if it doesn't start, pull the throttle and keep trying until the ATV starts.
Changing the oil
Changing the oil and oil filters is an important part of ATV maintenance. If you are going to change the oil filter, why not change the oil in the quad bike as well? This is not difficult to do and you can easily cope with this task yourself, without resorting to the help of a mechanic.
Do not forget, of course, that ATVs can differ in design and it is best to study the process of changing the oil in the instructions for your ATV. There you will also find out how often it is worth changing the oil and how many kilometers the ATV can travel between oil changes and cleaning the oil filter.
In order not to run later, prepare all the tools you need for the job.
Find a spot for your ATV where you can easily turn around. Not in the sense of an ATV, but just approach him from all sides.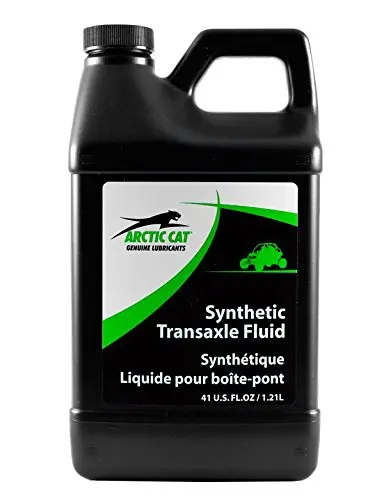 It is better to change the oil with warm oil, so start it up and let the ATV warm up first. Remove the plastic that hides the filter and the oil fill hole. Locate the oil drain hole at the bottom of the ATV and, using a pan, drain the used oil.
While the oil is being drained, you can remove the oil filter. Before installing a new oil filter, thoroughly clean all surfaces that touch it from dirt. Lubricate the new filter with oil and put it in place, it remains only to tighten all the nuts that hold the filter and tighten them well with a wrench.
When the oil is completely drained, close the drain plug and discard the used oil. According to the rules, it should be disposed of in a specially designated place. Now pour the right amount of oil into the ATV, for this it is better to use a funnel so as not to pour everything around. Check that oil does not leak from the filter and from the bottom of the drain hole.
Start the ATV and let it idle for a while. Let the ATV cool down a bit and check the oil level, if you don't have an oil gauge on the dashboard you can use a dipstick.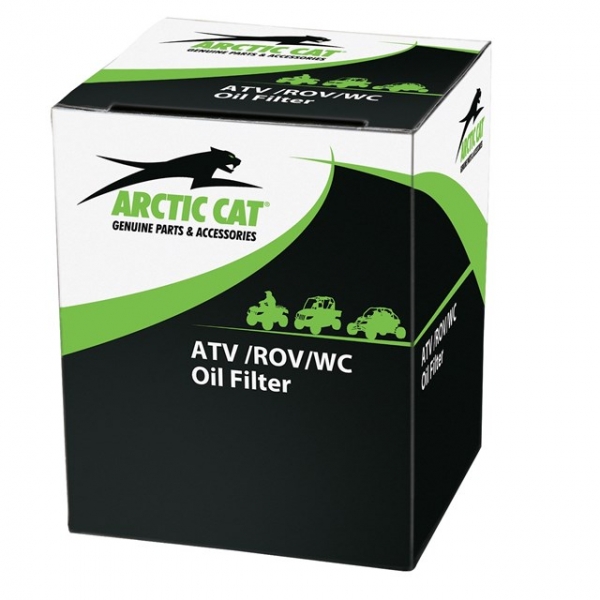 Some of the oil has already been distributed throughout the ATV system, so you will have to top up a little. It remains to fix in place all the shields that were removed in order to get the filter.
Clean the air filter
A clogged and dirty air filter does not allow air to enter the engine in the right amount and the ATV cannot burn fuel with the required efficiency. But moving on dusty and dirty roads on our ATV, we pollute the air filter especially quickly. Therefore, you need to clean it more often.
It is not difficult to do this and it is absolutely not necessary to go to the workshop for this every time. Read the manual and find the air filter in your ATV. Usually it is located under the driver's seat, but there are exceptions to the rule.
Clean the area around the filter and its plastic cover. Remove the filter cover and, unscrewing the central nut, remove the filter. Do this carefully so as not to break the filter. Rinse it in warm water - any soap will do, rinse it until the water looks clear.