Ask a question, get an answer ASAP!
☰
×
GET A QUOTE
| Save Big on Auto Repairs | Get a Quote |
Tire valve stems are the valves located in a vehicle’s wheel where the tires are inflated from. They contain a spring loaded valve core that seals itself using the air pressure inside of the tire. Over time valve stems may get old, crack, become brittle, or begin to leak, causing larger problems with your tire and your driving experience.
When valve stems begin to leak, the tire will no longer hold air. Depending on the severity of the leak, the tire may leak air slowly, or in more sever cases not hold air at all, warranting replacement of the valve stem.
In most cases the the fastest way to replace a valve stem is to take it to a tire shop and have them remove the tire and replace the valve stem using aid of a tire machine. However, for instances where this is not an option, a tire can be removed and the valve stem changed manually. In this step by step guide we will cover how to remove a tire from a wheel manually, using a tire iron, to replace the valve stem.
Materials Needed
Step 1: Loosen the lug nuts. Loosen the lug nuts of the wheel from which the valve stem is going to be replaced.
Step 2: Raise the car on jack stands. Set the parking brake, and then raise the vehicle and secure it on jack stands.
Step 3: Remove the wheel. Once the vehicle is raised, remove the wheel and set it flat on the ground with the outside of the wheel facing up.
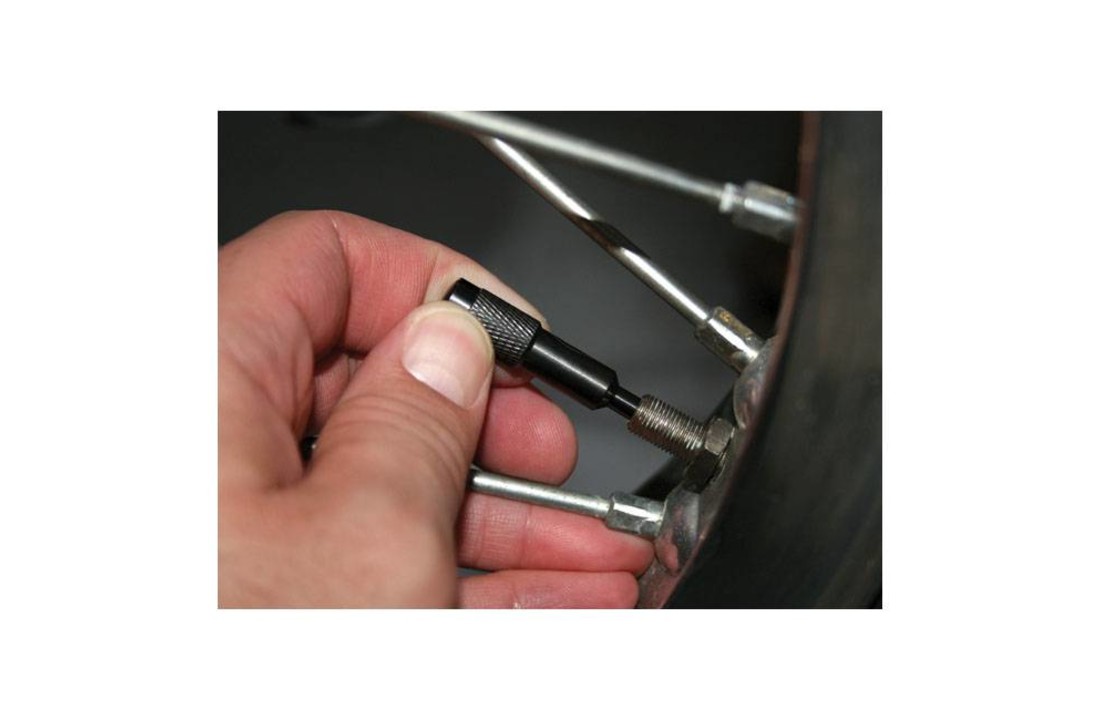
Step 4: Deflate the tire. Remove the cap from the valve stem, and then remove the valve stem core using the valve stem removal tool to release the air from the wheel.
Once the valve stem core is removed the tire should deflate on its own.
Step 5: Separate the tire’s bead from the wheel. Next, use the sledgehammer to break the tire’s bead free from the wheel.
Hit the sidewall of the tire using the sledgehammer in the same place until the bead breaks loose.
When the bead breaks loose you may hear a crack or popping sound, and you will see the inside lip of tire visibly separate from the lip of the wheel.
Once the bead has been broken, continue around the tire with the sledgehammer until the bead is completely broken all the way round the tire.
Step 6: Lift the lip of the tire up from the wheel. Once the tire’s bead has been broken, insert your tire iron between the edge of the rim and the inside lip of the tire, and then pry upward to pull the lip of the tire over the edge of the wheel.
Once you have pulled the lip of the tire over the edge of the wheel, work the tire iron around the rim until the entire lip of the tire is off the rim.
Step 7: Remove the tire. Grab the tire by its removed lip and pull it upward so that the opposite lip that was at the bottom of the wheel is now touching the top edge of the rim.
Insert the tire iron in between the the tire’s lip and the edge of the wheel and pry upwards to pull the lip over the edge of the rim.
Once the lip is over the edge of the rim, work the tire iron around the edge of the wheel until the tire is removed from the wheel.
Step 8: Remove the valve stem. Once the tire is removed from the wheel remove the valve stem. Use the needle nose pliers to pull the valve stem free from the wheel.
Step 9: Install the new valve stem. Take your replacement valve stem and install it from the inside of the wheel. Once it is in position use the needle nose pliers to pull it through into place.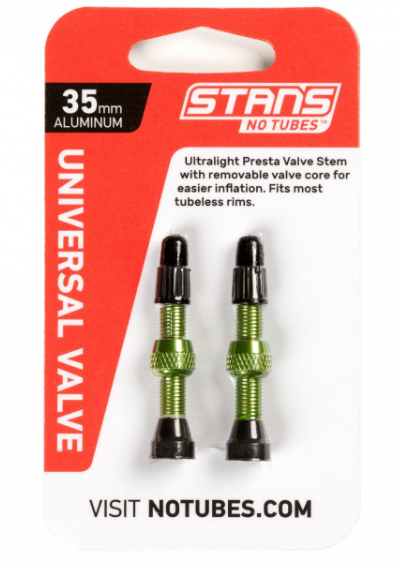
Step 10: Reinstall the tire. Reinstall the tire onto the wheel by pressing it down over the the rim until the bottom bead clears the edge of the rim.
Then press the side of the tire down underneath the edge of the wheel, tuck your tire iron in between the lip of wheel and the bead, and then pry the bead over the lip the of the wheel.
Once the bead clears the lip of the wheel, work your way round the entire wheel until the the tire is completely installed on the wheel.
Step 11: Inflate the tire. Once the tire has been re-installed onto the wheel, turn on the air compressor and inflate the tire to the correct specification.
For most tires, the recommended pressure is between 32-35 pounds per square inch (psi).
Step 12: Check for leaks. Once the tire is properly inflated, double check to make sure that there are no leaks of any kind, and then reinstall the tire onto the vehicle and lower it off of the jack stands.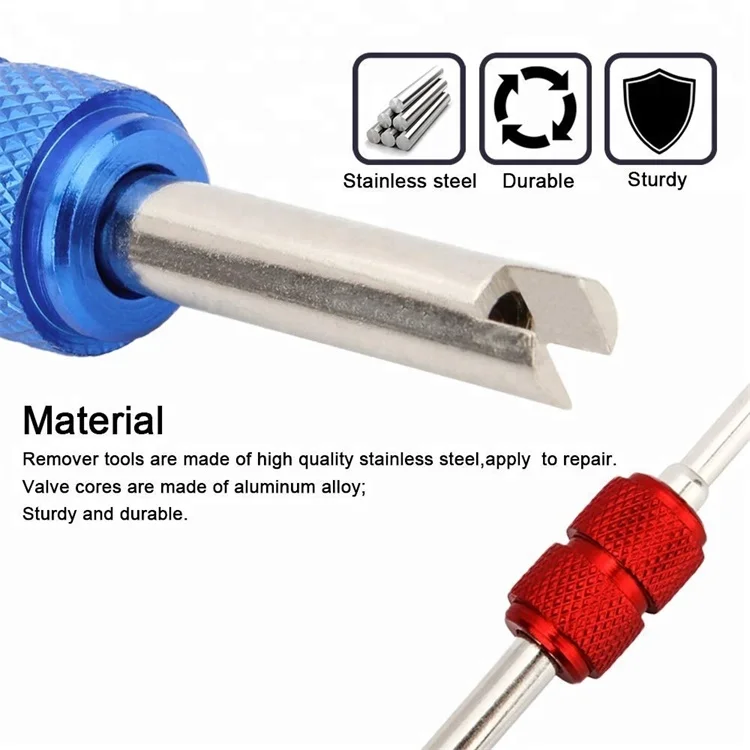
For most cases, the easiest course of action to replace a valve stem would be to simply take it to a tire shop, have the tire removed with a machine, and then have the valve replaced.
However, in the instances where that is not an option, a valve stem, and even a tire, can be removed and replaced manually with the correct tools and the correct procedure. If you find that there is a leak or damage in the tire and not just the valve stem, you may want to replace the tire entirely.
Tires
wheels
The statements expressed above are only for informational purposes and should be independently verified. Please see our terms of service for more details
4.2 Average Rating
Service Hours
7 AM - 9 PM
7 days a week
Phone Number
1 (855) 347-2779
Phone Hours
Mon - Fri / 6 AM - 5 PM PST
Sat - Sun / 7 AM - 4 PM PST
Address
We come to you at no extra charge
Guarantee
12-month/12,000-mile warranty
Our certified mobile mechanics perform over 600 services, including diagnostics, brakes, oil changes, scheduled mileage maintenances, and will come to you with all necessary parts and tools.
Get a fair & transparent quote instantly before booking.
Earn up to
$70/hr
Apply Now
Our certified mobile mechanics make house calls in over 2,000 U.S. cities. Fast, free online quotes for your car repair.
GET A QUOTE
GET A QUOTE
How to Clean Brake Dust
Brake Brake dust (https://www.yourmechanic.com/article/what-is-brake-dust) is residue that accumulates on a car’s wheels over time. The dust comes from the brake pads (https://www.yourmechanic.com/article/what-are-brake-pads-made-of), which wear down over time from the friction of braking. The pads slowly wear down (https://www.yourmechanic.com/article/how-long-do-brake-pads-last_2), and the...
How Bad Driving Prematurely Wears Out Your Car
Bad drivers and bad driving habits can cause strain on car parts, especially the tires, brakes, body, and electrical and steering systems.
How to Handle a Burst Tire
Tires burst when the tire pressure is too low or too high, there is a mechanical defect in the tire itself, or a foreign object damages the tire.
How do I wash the wheels on my truck?
Over time, the tires on your truck will become dirty. Cleaning the wheels regularly will ensure that they maintain their shine. To clean the wheels. Use Motorcraft Wheel and Tire Cleaner to clean the wheel. Remove tar and grease. Rinse...
Noise at higher speeds, engine revs in park
Hello. The first step would be to have the new tires that you installed inspected for defects and to make sure that they were properly balanced. I would also have the wheel bearings (https://www.yourmechanic.com/services/wheel-bearings-replacement) checked as they could be causing...
Steering wheel hard to turn
Most people don't know this but your steering and your brake booster have a lot to do with each other. Often times if you pump the brakes while trying to turn you will experience stiffness. If this is the problem...
Cities
Maintenance
Services
Our service team is available 7 days a week, Monday - Friday from 6 AM to 5 PM PST, Saturday - Sunday 7 AM - 4 PM PST.
1 (855) 347-2779 · [email protected]
Read FAQ
GET A QUOTE
Locate the stem valve and remove the cap.
Using the Schrader valve core bit in your 1/4" driver, unscrew the valve core from the stem.
Allow the tire to fully deflate before proceeding.
Edit
To reach the valve stem, you will need to break the bead on the tire. The bead on a tire is where the rubber meets the rim.
Insert the pry bar in between the rim and the tire. Push the pry bar as far down as possible. This will require a large amount of force.
The bead is broken when the tire is visibly separated from the rim. Use the pry bar to hold the tire down by leveraging it against the small lip inside the rim.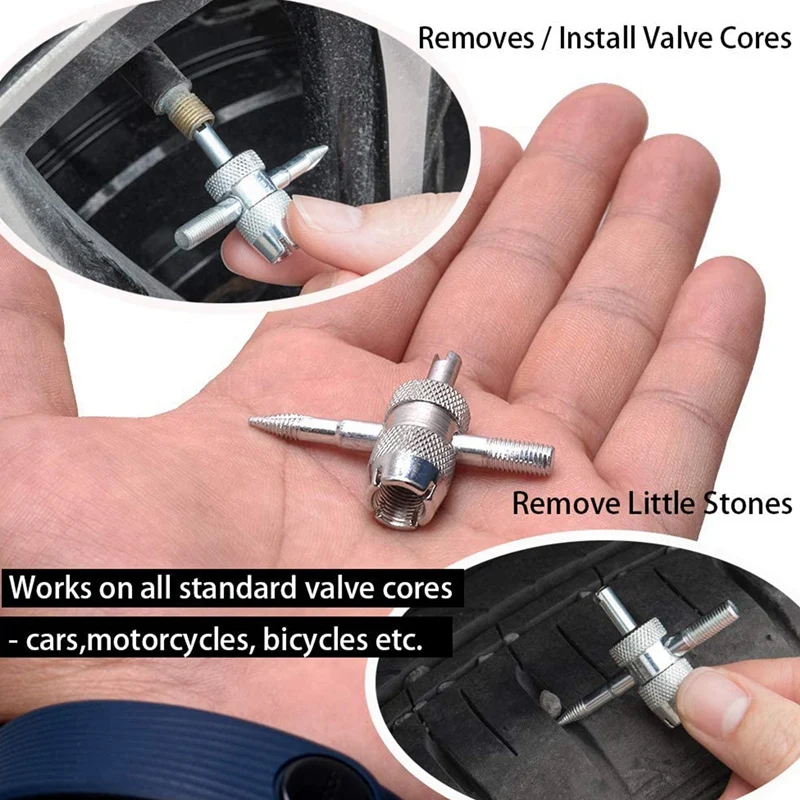
Edit
Locate the stem valve on the inside of the rim. It will be a large piece of rubber underneath the lip.
Use the diagonal cutters to cut off an appropriate amount of rubber from the under-side, as shown.
Remove the stem by pulling it through the face of the rim.
Edit
Insert the new stem up through the rim. Use the diagonal cutters to help pull the stem into its seated position. There will be an audible pop when it is in correctly.
When using the diagonal cutters, take care not to pinch the stem too tight.
If you are having trouble seating the stem, use the rim as leverage.
Edit
The tire must be re-inflated. Simply use your air compressor to inflate the tire.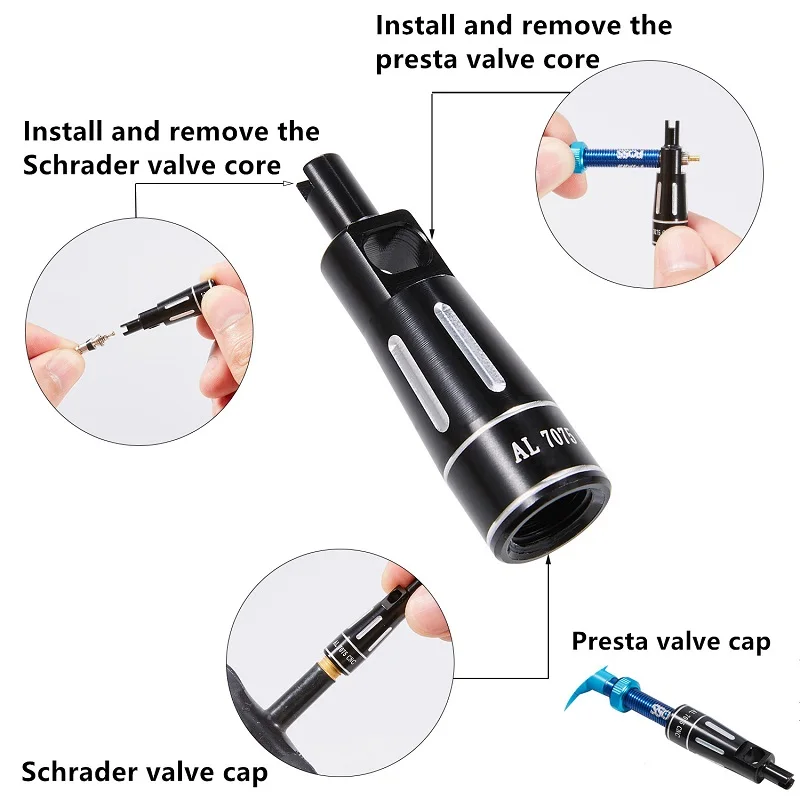 We recommend re-inflating to 32 p.s.i. to check for leaks.
When inflating, the tire will produce a loud pop as the bead returns to its place. If the tire is having trouble inflating, squeeze the tire against the rim to create a seal.
Edit
with 3 other contributors
Badges: 7
+4 more badges
• Manometer;
• Technical specifications for the motorcycle and its tires;
• Motorcycle hand tire pump or air compressor (compressed air units can be found at some gas stations).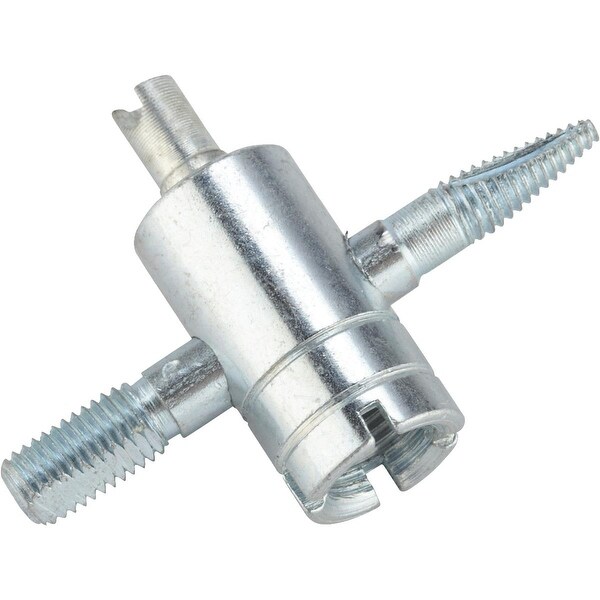
The pressure gauge should measure pressure within the appropriate range and in the appropriate units that you can work with (in Europe it's bar, in North America it's pounds per square inch (PSI)). Many professional pressure gauges are capable of measuring in both units. Slider type gauges with a sliding plastic stem are relatively inexpensive, but they are capable of making fairly accurate measurements.
The correct tire pressure for a particular motorcycle will be indicated in its Owner's Manual. If it is not at hand, then this question can be checked with a mechanic, read the specification on the side of the tire of the selected brand, or call the dealership where you bought the motorcycle.
A manual motorcycle tire pump does a great job when it comes to pumping air and is much cheaper than an air compressor. In addition, it is easy to carry and does not require electricity. A tire pump is an essential part of a motorcycle tool kit. Of course, if necessary, you can use the pumps at gas stations, but always double-check the pressure with your own pressure gauge.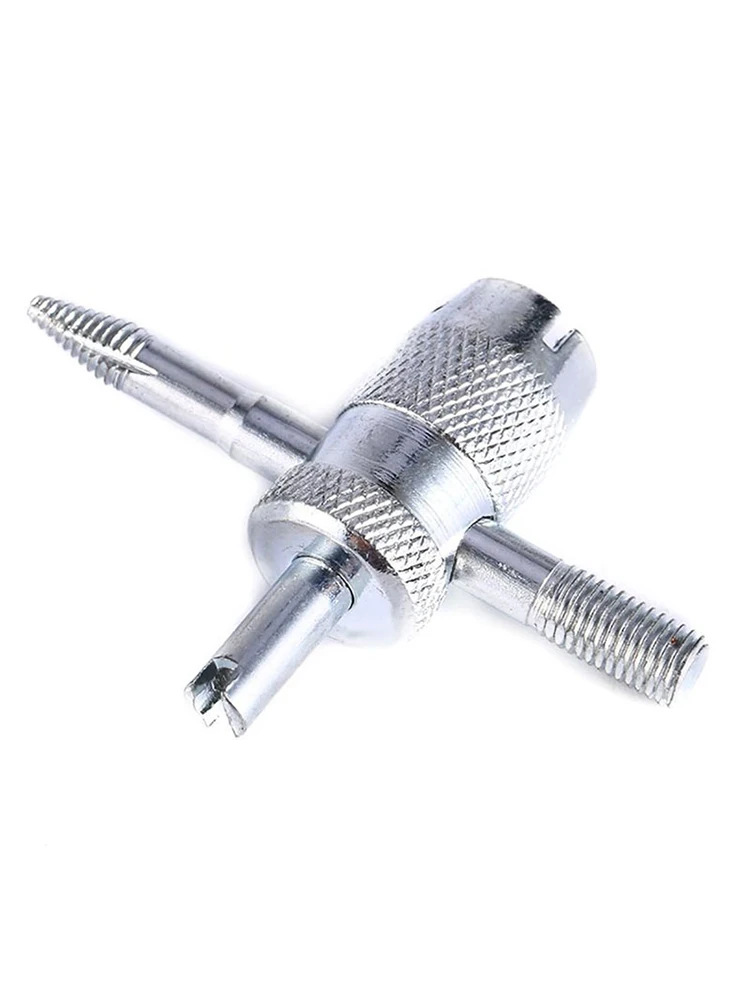
Advice:
Be sure to use your own pressure gauge to check the pressure level after filling the tires with air. Service station pump gauges are considered relatively inaccurate measuring devices. Also, your pressure gauge should be the only one that will be used to ensure correct readings. Each measuring device is unique in its own way.
Over-inflated tires will cause premature tire wear, both the tread itself and the tire rim may be damaged. Excessively high pressure can also reduce traction.
• Locate the valve stem on the inner surface of the wheel rim. For convenience, it may be necessary to roll the motorcycle back and forth until the valve stem is easily accessible. Sometimes the valve stem has a cap (which protects the valve from dirt, debris, and damage). In order to remove it, you need to unscrew it by turning it counterclockwise.
• After removing the cap, the end of the valve will be visible.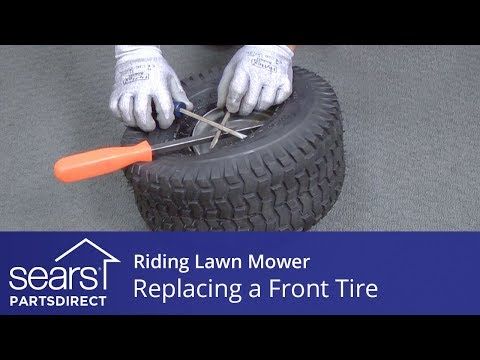 Make sure it is clean and then install a pressure gauge on the end of the valve, carefully aligning it before pressing on the valve stem.
• First check that the pressure gauge has been reset to zero or that the dipstick has been returned to its original position. If a hissing noise is heard or air is felt to come out, this means that the pressure gauge is not set correctly and the measurement results will be incorrect.
• Remove the pressure gauge and try again. If no air leakage sounds are heard, the pressure gauge is correctly attached. Most pressure gauges retain their readings after they are removed from the valve. If a slider gauge is used, be careful not to move the end of the gauge before reading the measured pressure.
• By knowing the tire pressure level, it can be adjusted accordingly to achieve the desired value. When pumping air, it's always easy to pump too much in and then bleed to get the pressure you need. However, it is worth adding air little by little, and then you need to check again until the correct pressure is ensured in the tires.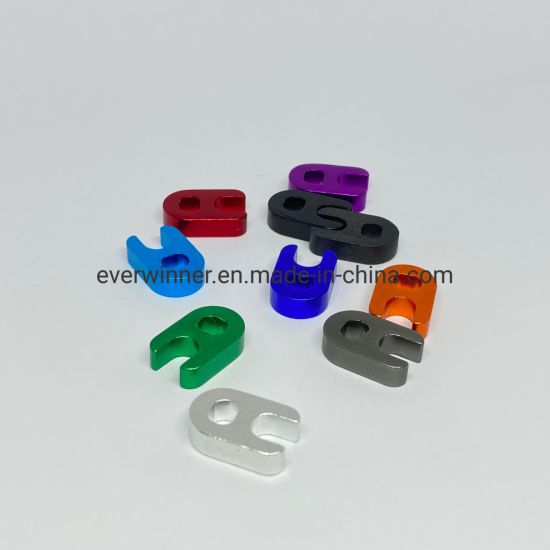
• If excess air is to be bled out, the pin in the center of the valve stem can be pressed down with a fingernail, or often at the opposite end, gauges have a small angled tip for this purpose. Once the pressure is at the desired level, replace the valve stem cap.
Checking the tire pressure on the rear wheel is a bit tricky due to the presence of the chain and rear brake discs. If the motorcycle is equipped with a center rack, then it will be very useful for this task.
Repeat the above process for the rear tire. When finished, screw the cap back onto the cleaned valve stem.
Look for the following: tread depth, signs of uneven wear or undulations, signs of aging such as small cracks in ruts, and any signs of puncture damage. If you find something like a nail or screw in your tire, but the tire is still holding pressure, don't remove it until you've taken the motorcycle to the nearest service station. If you remove a foreign object from the tire, it can immediately release all the air.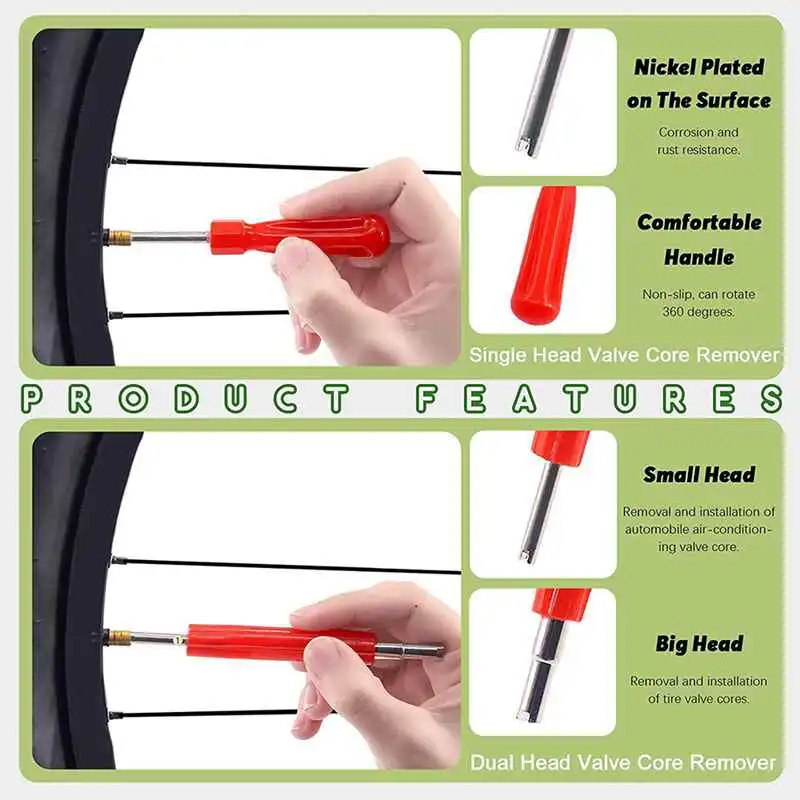 In this case, you may need recommendations for self-repair of motorcycle tires, which we have already talked about earlier. If any unusual wear or discoloration of the tire is noticed, it is recommended to consult a service center or a mechanic.
This procedure may seem tedious at first, but it is essential that checking tire pressure becomes as common as checking that a helmet is fastened before a ride. The procedure will be faster after the driver becomes familiar with this process.
Carefully monitor the technical condition of the tires so that they effectively serve their full life, and problems can be noticed at an early stage before they become serious.
Home
-
Articles
- Why motors die prematurely
Contents
The motor of a car is actually a solid thing. But sometimes he dies too. How, why and how to avoid it? Let's figure it out.
Let's consider the most common cases of "sudden death" of motors, but not to enjoy the "horror story", but to figure out why this could happen. Is the motor itself to blame? Or we ourselves were the root cause of the trouble.
SCARY #1: WHEN HEAT IS NOT GOOD
The motor is a heat engine. In order for it to work, something must give off heat in it. The fuel is burning - it means that the engine is warming up, and this is normal, this is the normal mode of its operation. But it is impossible to heat indefinitely, each metal from which the parts are made has its own threshold of heat resistance. If the temperature limits are exceeded, there can be many miracles. In this case, pistons and valves are the first to suffer.
So where does overheating come from? And is the motor to blame? There can be several reasons for overheating. Firstly, this is an accident of the cooling system - a torn pump drive belt, a collapsed impeller, a low level of coolant in the cooling system.
Secondly, old engines are prone to overheating, on the working cavities of the cooling jacket of which dirt and deposits have accumulated. Especially - if you saved on high-quality coolant or generally rode on the water for a long time.
Thirdly, overheating of the engine causes low-quality, poor and therefore slowly burning fuel. Low octane and frequent knocking in the engine can also be causes of overheating.
Fourthly, overheating leads to knocked down engine adjustments - a late ignition or injection angle, too lean and too rich a mixture.
And, fifthly, this is a poor-quality “gasket” between the steering wheel and the seat, forcing the motor to work in modes unusual for it. Especially the motor "likes" when the speed is low, and the accelerator pedal is recessed into the floor! After all, the pump is barely spinning, and the load on the motor is large. Heat that is unable to escape into the cooling system warms the engine, often excessively.
And where is the fault of the motor itself? He is not guilty ... Some examples of what is observed in this case are in the pictures. There are also our comments on the causes of trouble.
"Bumped" pistons.
The car was driving and driving and suddenly began to “get dumb”, lose momentum ... An autopsy showed that the pistons were pulled up! What happened? The motor at some point overheated - why, it is not known. But seizures on the top of the piston usually occur when temperatures in the combustion chamber are too high. This is either the stumps were uprooted by the car, or the ignition timing was too late, or the mixture was too rich. This can be the case with buried rings, but here they are alive - not our case. When heated, the piston expanded more than it should, and the gaps between it and the cylinder are already very small. When overheated, they closed - the bully went. The verdict is either the driver is inhumane, or the mechanic in the service with crooked handles.
On the Niva, where this piston came from, the radiator of the cooling system was pierced. And it was in the forest. The driver decided to hold on to civilization - the result is obvious. Overheating again, but then the inter-ring jumpers of the piston suffered - they were not just broken, but melted! It is also good that the engine was stopped on time - the piston did not have time to jam. And that could break the connecting rod and damage the block. So far - only the replacement of pistons. Ufff.. got off easy!
The engine started shaking at idle, a black exhaust appeared, it began to start up badly. An autopsy showed that the interring jumpers were simply broken. The driver decided to save on gasoline. And cheap gasoline obviously did not get octane. The result - detonation, overheating of the piston - and that's the trouble. By the way, the exhaust valves also burned out ... That's what savings result in!
SCREAM #2: TAPTING THE VALVES…
Among engine engineers, there is still a legend about a superjournalist who, in her article in a certain federal publication, lyrically described the start-up of a diesel engine on a steamboat: “Rhythmically tapping the valves, the diesel picked up speed. ” It's not good when the valves start to tap - on the pistons, for example. And this happens when the valve sticks.
What could be the reason for such a miracle? There are several of them too. For example, the engine can be overheated, the valves, especially the exhaust ones, react to this with an exorbitant increase in temperature, the valve stem expands beyond the permissible limits and it jams in the guide sleeve. We have already considered possible causes of overheating above.
This also happens if the valve spring bursts - an infrequent but possible case. The valve can dry out and simply fall out into the cylinder - here you already have to make claims to the mechanic who tried to repair the motor.
And the valve can also coke - when a coat of deposits grows on the part of its rod that goes into the exhaust channel. Decomposed oil can lead to the same result - hard varnish and coke deposits, falling into the gap between the valve stem and the guide sleeve, can wedge it.
Often, the valves “hang” on an unheated engine, when they suddenly “throw gas” sharply. This, by the way, is one of the reasons why we always advise at least a little, but warm the engine in winter. And yet - this can be given by faulty hydraulic lifters or hydraulic pushers of the gas distribution mechanism. The reason is their wear or clogging, which is usually also the result of using low-quality oil.
And again, is there somewhere the fault of the motor? And again, either the driver who does not like his car, or a crooked mechanic is to blame.
And the results are awesome. Or just terrible. So let's look...
The valve is stuck in the piston.
We drove and drove, suddenly - a roar from under the hood, and they stopped driving ... An autopsy showed that the piston had a new structural element, which was not originally provided for by the creators of the engine. The valve is frozen, and the reason is the same overheating of the motor.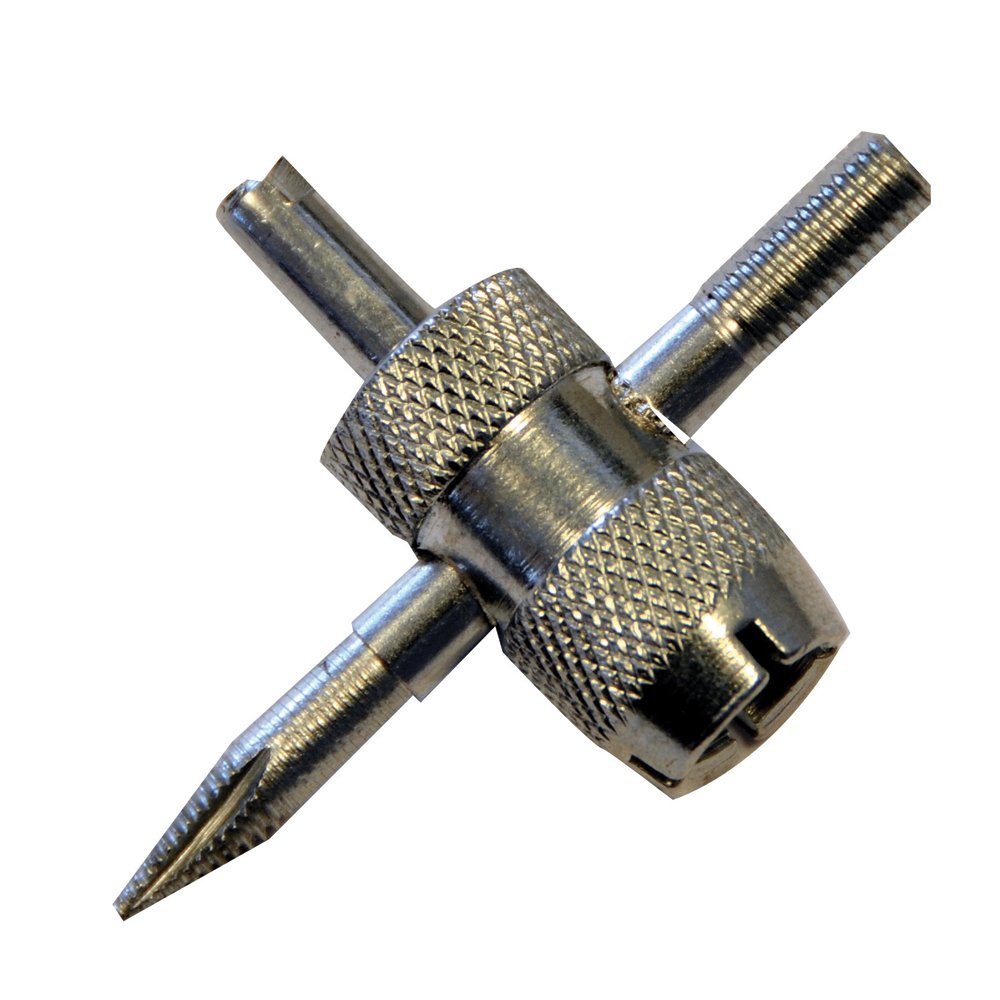 The deposits knocked off the piston allow us to put forward a hypothesis - the case was not without detonation. So, again the owner decided to save money.
The valve fell out into the cylinder.
And there are also valves like this ... Here it did not freeze, but on the contrary, it got dry and fell out into the cylinder. The result is the same: engine overhaul. The reason is the “high-quality” repair of the cylinder head that preceded the defect.
The valve has remained in the head and a hole has formed in the piston.
And then the piston met the valve in a serious mode - with a high speed and load. And they didn't stop the engine. The valve remained in the head, but the hole in the piston left the engine no chance.
SCARY #3: SCARY WORD WEDGE!
Jamming of the motor is one of the favorite “scarecrows” of some servicemen when it is necessary to encourage the client to tasty (for them, of course) and expensive repairs.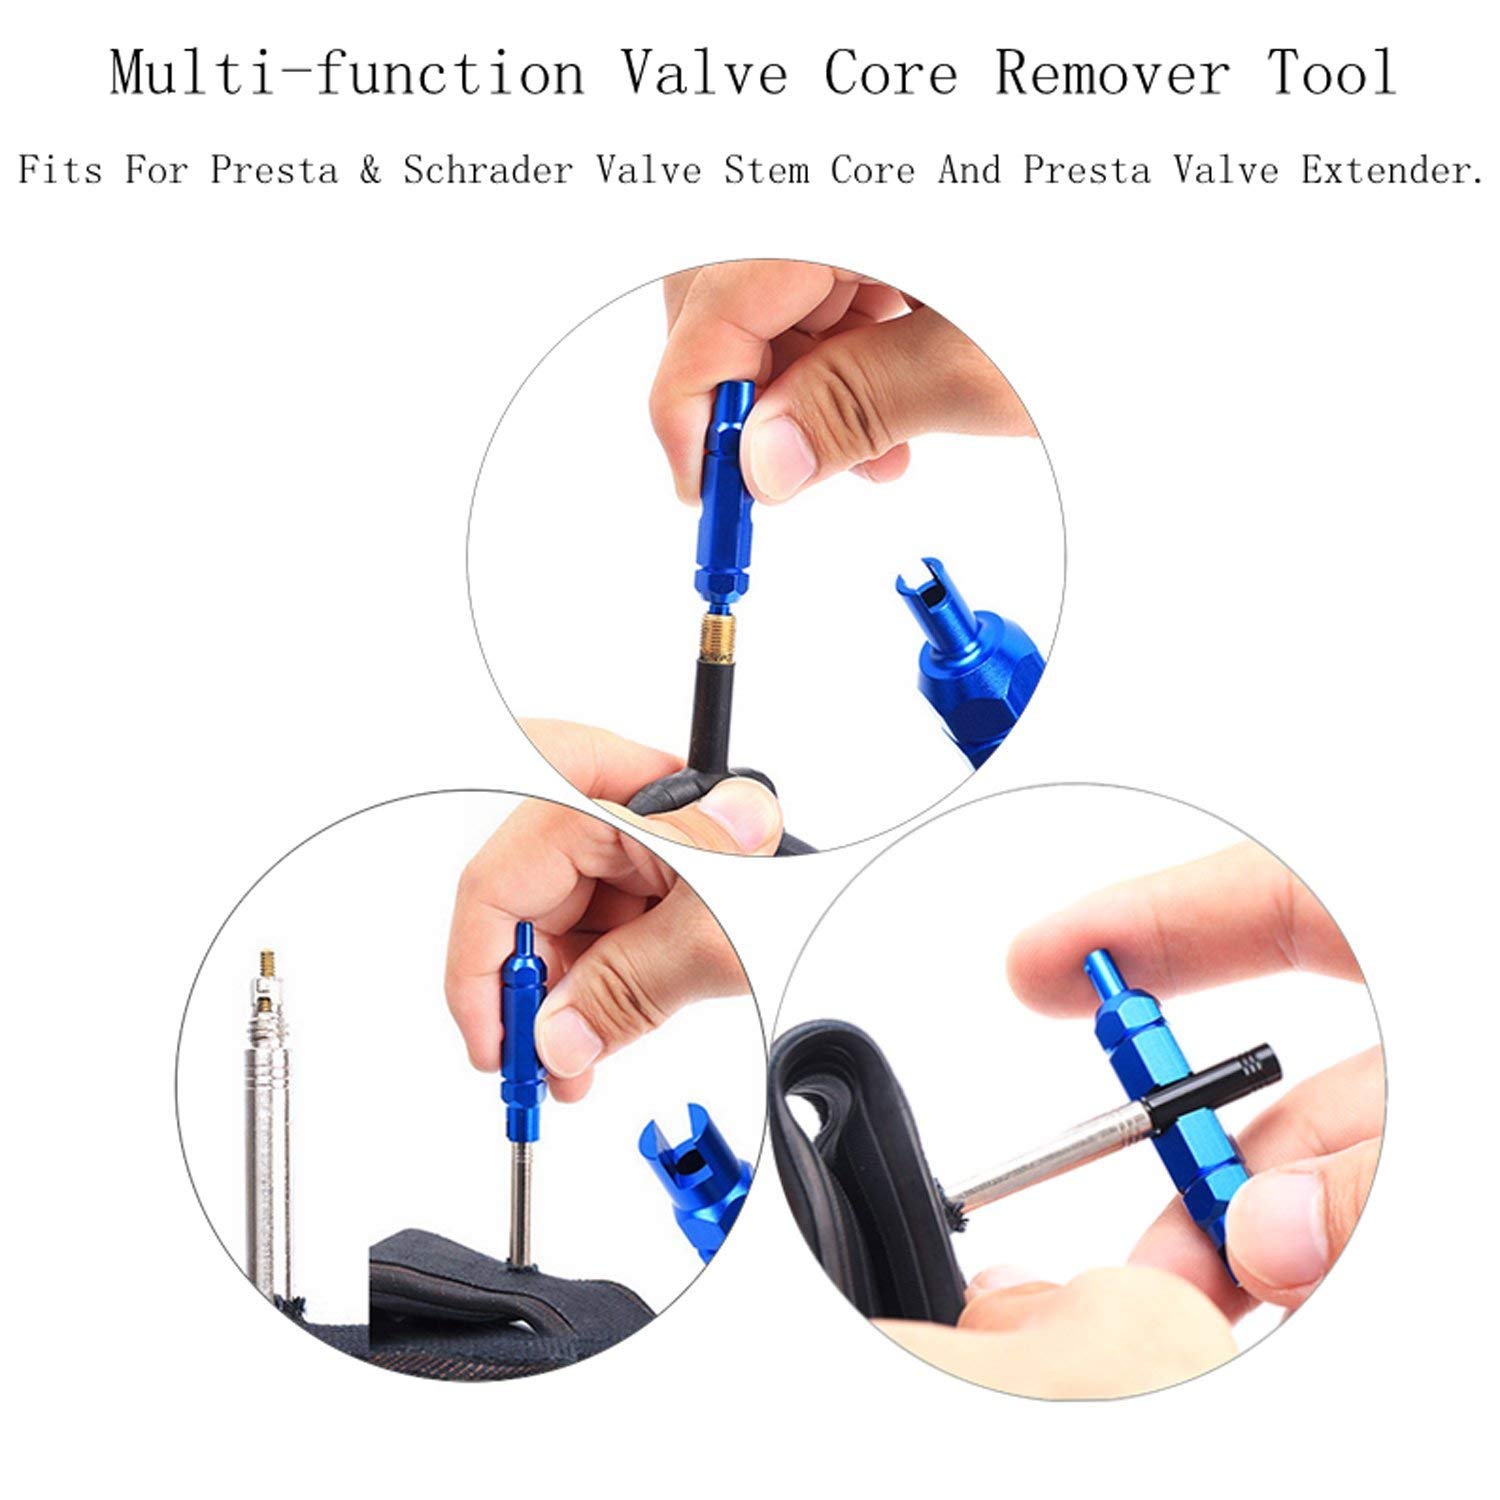 However, it happens infrequently, but if it happens ... The consequences are really terrible - not always, and a major overhaul can help. The bottom line is simple - the crankshaft bearings are no longer lubricated, and under heavy load, the surfaces of the shaft and the bearing shell come into contact. The liner breaks from its regular place, and the shaft wedges. This is called "turning the liners". The result - lifted shaft necks and torn beds of bearings on connecting rods and main bearings, and in the worst case - a break in the rod of the connecting rod and the “hand of friendship” that follows - a fragment of the connecting rod that crawled through the collapsed block.
And again - to the reasons for turning the liners. Again, there are many of them, and none of them is directly related to the design of the motor.
So, it precedes the rotation of the bearing caps, that is, the situation when it ceases to be properly lubricated. This happens when the operation of the lubrication system is disrupted - the oil pump breaks or wears out, the oil filter becomes clogged, and its bypass valve does not work. Or when there is not enough oil in the engine for some reason. They pierced the oil pan, took out the crankshaft oil seal, or simply didn’t keep track - the oil burned out beyond all limits ...
And it can also happen when the oil in the engine starts to go crazy - it suddenly thickens, polymerizes, forms mud plugs in the channels of the oil system. We wrote more than once about the reasons for such an ugly behavior of the oil.
In addition, a “wedge” can be obtained if the engine is not operated in the modes for which it is designed. Example? Please! If you try to tow KAMAZ with a Grant, or uproot stumps with a Priora, then with a high degree of probability you can turn the liners. This is the zone of "towing" modes, when the speed is low, and the load on the engine is full, this is the death zone for bearings. By the way, overheating also lives here - and they are not only terrible for pistons with valves, but also for bearings.
And yet - if you do nothing, when you see how the oil pressure signal light blinks at idle, then sooner or later you will stumble upon this trouble. Motor wear slowly but inevitably destroys bearings.
Turning the liner - the same "wedge"
This is one of the consequences of the "oil plague", a phenomenon in which oil suddenly turns into black, almost non-flowing tar. The lubrication of the bearings stopped, on the connecting rod, the most loaded neck, the liners turned - the same “wedge”. The main journals got off with a lot of wear ... Could this have been noticed and prevented? Of course you can! You just need to look under the hood more often and monitor the level and condition of the oil. And the oil pressure warning light should have blinked long before that!
Connecting rod after turning the bearing.
And this is what the connecting rod looks like after turning the liner. There is only one diagnosis - to a landfill, only replacing the connecting rod and grinding the shaft will help. And for modern "downsizing" motors, the shaft cannot be removed from the engine, which means that the replacement of the block along with the shaft . .. And it often costs almost the same as the used car itself.
SCARY #4: WATER IS RUINING THE MOTOR…
And there is such an extremely unpleasant defect - water hammer. In terms of consequences for the engine, it is terrible - here even a “capital” may not be required, only a complete replacement of the motor ... But its essence is simple - water gets into the cylinders from somewhere, which, when the piston moves to the top dead center, does not let it go there. And then - the connecting rods bend or even break, the crankshaft bearings "sit down", and the shaft itself can burst. Fragments of connecting rods wave "friendship handles" through holes in blocks, steam, noise and other fireworks under the hood.
The causes of water hammer can also be different. Most often, coolant enters the cylinders through a punctured cylinder head gasket. And most intensively water oozes into the cylinders when the engine is not running. But it starts with the appearance of characteristic white smoke from the exhaust pipe.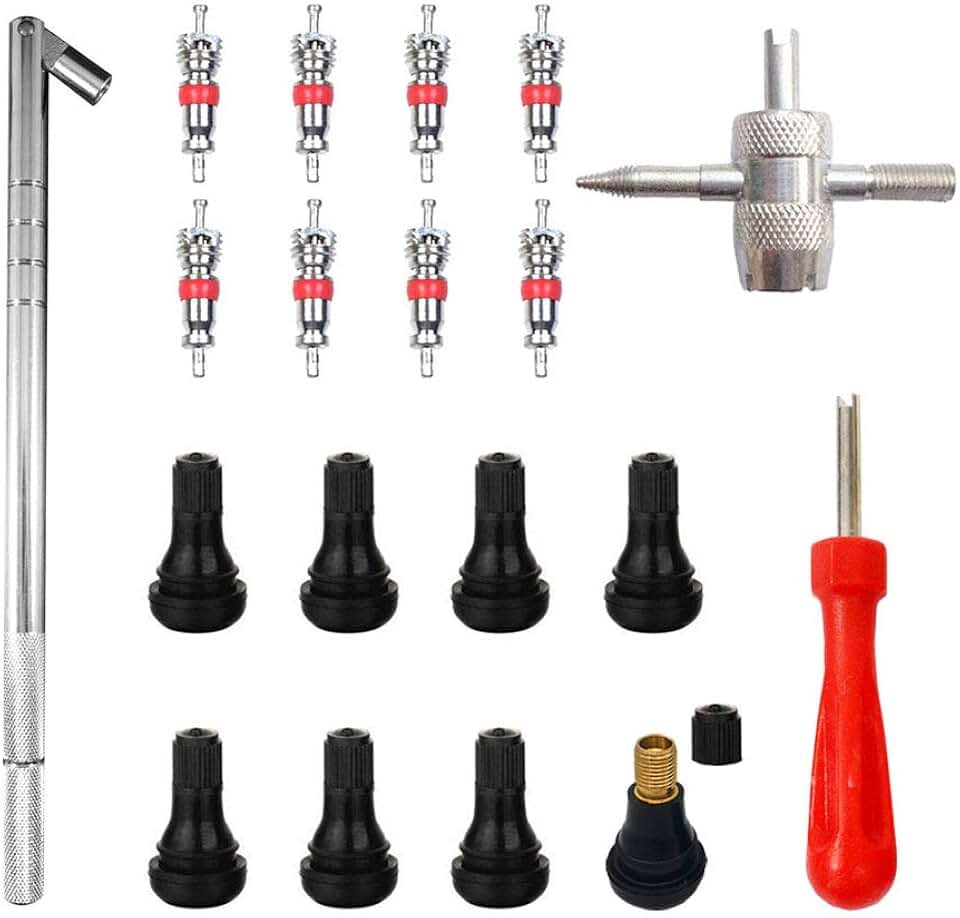 If they saw him - run, and preferably on a tow truck, for repairs! Otherwise, you can see what is shown in the photos below.
Gasket burnout can also have several different causes - ranging from the same banal overheating of the engine to improper assembly after repair. This may also be due to prolonged detonation in the cylinders.
And the reason for the appearance of water in the cylinders can be banal - if a dashing "rider" starts to force deep puddles to wade. Yes, it is so spectacular that the roof is covered with a fountain of water!
So what's wrong with the motor? Just such a water hammer is always a consequence of the excessive dashing of the car owner, often bordering on stupidity.
Here are the typical consequences of a water hammer - a hole in the block, which is no longer subject to repair. It was a diesel engine, the compression ratio was high, it took a little water in the cylinder for the pogrom. An autopsy showed that the cylinder block gasket was a bat .