No matter what sort of vehicle you drive, what sort of engine it has (or even if its electric), and how aggressive or gentle you are behind the wheel, eventually the brake pads will get worn out. Most parts of the car are made to last, but brake pads are made to wear little by little with use, so save much more expensive parts from needing to be replaced. Brake wear should be a concern of everyone who drives, because while wear won't cause a catastrophic failure, it can increase stopping times.
What could have been a close call, may now result in a fender bender instead.
Ideally you’ll want to replace your brake pads before they get to this point where the metal baking plate contacts the brake rotor, because it can quickly wear grooves in it. That’s why it is important to check the thickness of your brake pads at every tire rotation, or at least once a year.
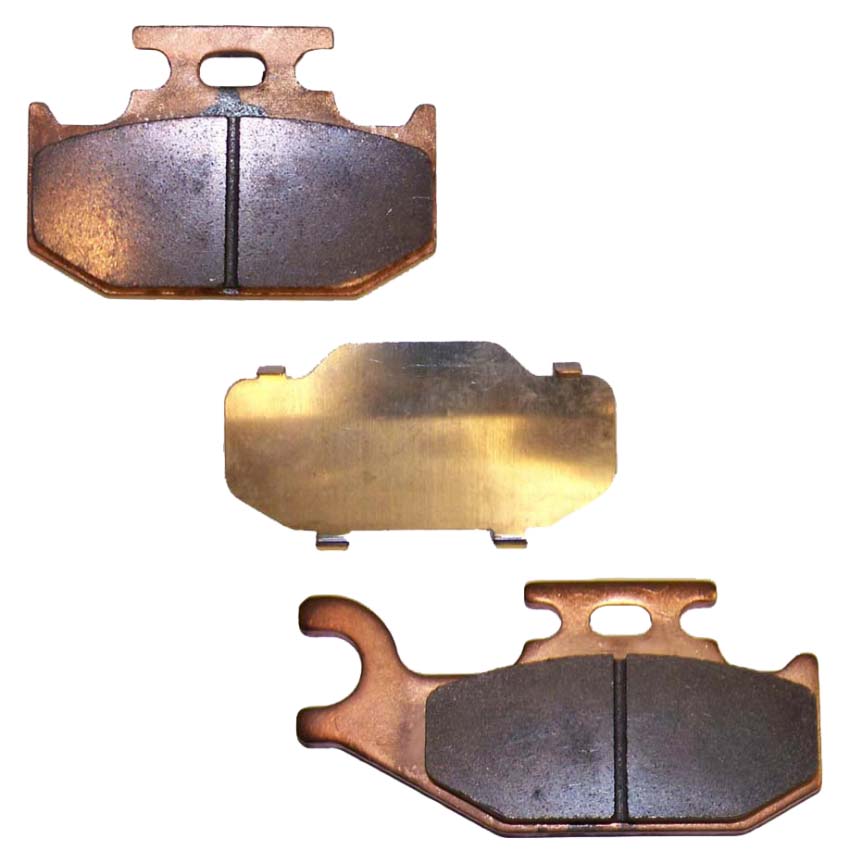
They may only be small, but the brake pads play a vital role! The braking system consists of hydraulically actuated pistons, within the brake calipers. The pistons force the brake pads against the brake discs and use friction to convert kinetic energy (motion) into thermal energy (heat) – which is why brakes get hot in use.
The actual pad consists of a steel backing plate covered with a layer of high friction material. As you brake, minute amounts of this material are worn away by rubbing the disc, and create the dust which coats your wheels.
The composition of the friction material is what dictates how well the pads grip or bite, and how quickly they wear. Different compounds of pad may last longer, but not bite as hard, or resist brake fade caused by heat.
There is always a trade off between performance and service life, and some pads are designed to keep working in extremes of heat that would otherwise damage a 'normal' brake pad.
As the pads wear down they need to be replaced well before the steel backing makes contact with the disc. Some pads require a visual inspection, some incorporate audible wear indicators (that squeal as the brakes wear low), and others contain sensors that trigger a warning light on the dashboard when they get to a prescribed limit
Discover how to replace the front brake pads on your car!
There is no federal safety standard for the minimum brake pad material left, but in the UK the legal minimum is 1.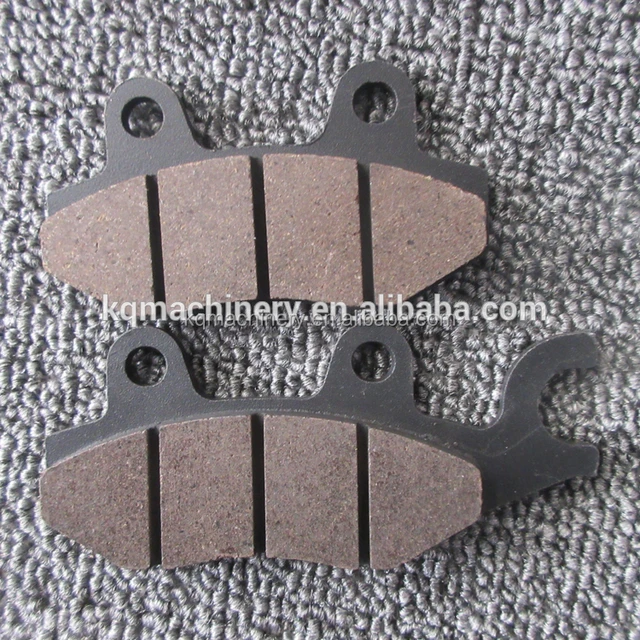 5mm. A new brake pad will be around 12mm thick or 1/2 inch, and pads with sensors typically start to warn you when they get to 3mm or 1/8 inch, with a squeal or a warning light on the dash. Most manufacturers and mechanics will also agree that you should probably replace your brake pads once they reach 75% worn, or 3mm thick.
Since the front brakes do roughly three quarters of all the braking, they tend to wear out three times faster than the rear, unless you drive a truck and haul heavy loads or tow. Rear disc pads can be checked similarly, but rear drum brakes are much harder to check.
Pedal Feel
When driving you may notice you have to press the pedal further to get the same amount of braking. That’s a dead giveaway the brake pads are wearing out. Stepping on the brakes only moves the pads a very small amount, but magnifies the force you use on the pedal, for thousands of pounds of clamping. The hydraulic system is supposed to automatically adjust for the wear of the friction material, but it isn't perfect.
If your brakes are extremely worn, the system may need all the brake fluid in the master cylinder to compensate. Run the master cylinder reservoir dry and you'll get air int eh brake lines and extrememly mushy pedal feel.
Noises
When you have to brake hard, if there is a deep whooshing or groaning sound, that’s a sign your pads are getting low. Most modern brake pads have little metal tabs set to contact the disc when the pad is 3/2rds or 3/4ths of the way worn, which creates a high pitched squeal. The wear indicator squeal will go away briefly when you step on the brakes.
The tabs won't damage anything by rubbing on the disc, but let it go too long, and you may end up with no friction material. If the metal backing plates grind on the discs it is much less effective at stopping, but also damages the discs.
Mileage
There is no hard and fast rule with how long a set of pads should last, however, you can apply a bit of common sense. Generally speaking, pads can last from 25,000 to 60,000 miles. If you have three kids and you drive a big, heavy people SUV, you’re looking at the lower number, especially if you do any towing. If you drive an economy car, or a hybrid, then you’re going to be looking at the bigger number. But also, think, really
think about your driving. Are you an early braker? Are you late on the brakes? Do you gently come to a stop or tend to stand on the brakes? All this can affect the life of the pads. Hard braking means a short life.
Pulling
Does your car pull to one side or the other when you hit the brakes? If it does, this could be a sign the pads are worn unevenly, a pad askew in the caliper, or a caliper that is sticking. This is where you need to go back to a visual inspection of both sides for even amounts of wear. If one side has little wear, that caliper may be bad. Or if a brake pad is worn on one edge and not the other, it may not be contacting the disc parallel and solidly..
Even if just one side is worn, brake pads should always, ALWAYS be changed in pairs. Never change just one side. Pads are only sold in sets of four anyway, with a pair for each caliper.
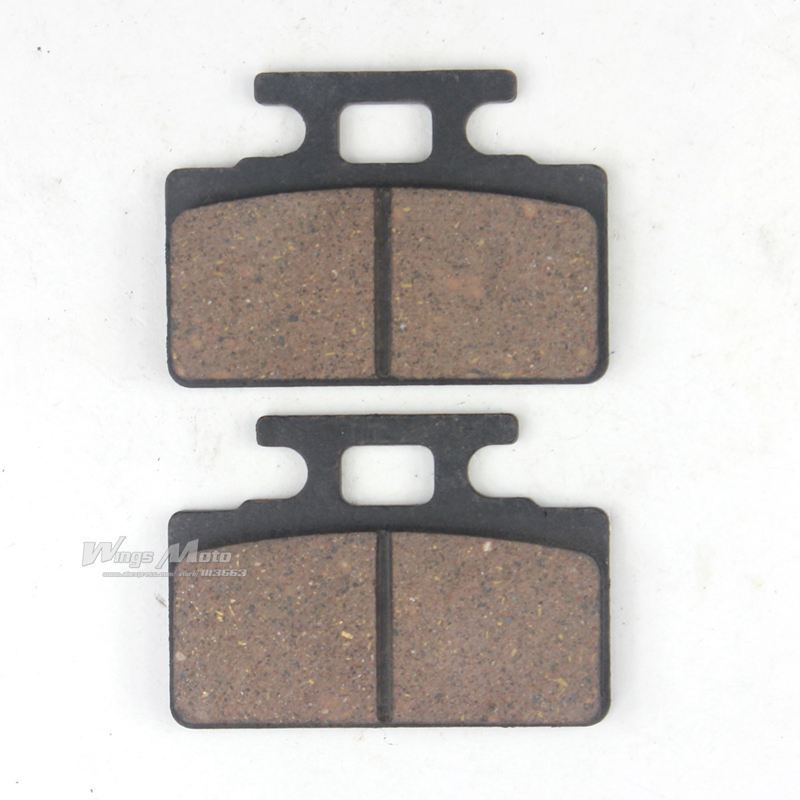
There are lots of different types of friction material but the main types are are:
 These are the most common pads fitted to cars and trucks.
Pad material is chosen to work within an optimum temperature range – hence you'll get different pads designed for a hatchback economy car, compared to those fitted to a big truck or sports car.
Not only is the friction material different, but the size of the pads can vary, with large or performance cars featuring substantially bigger pads than more humble vehicles.
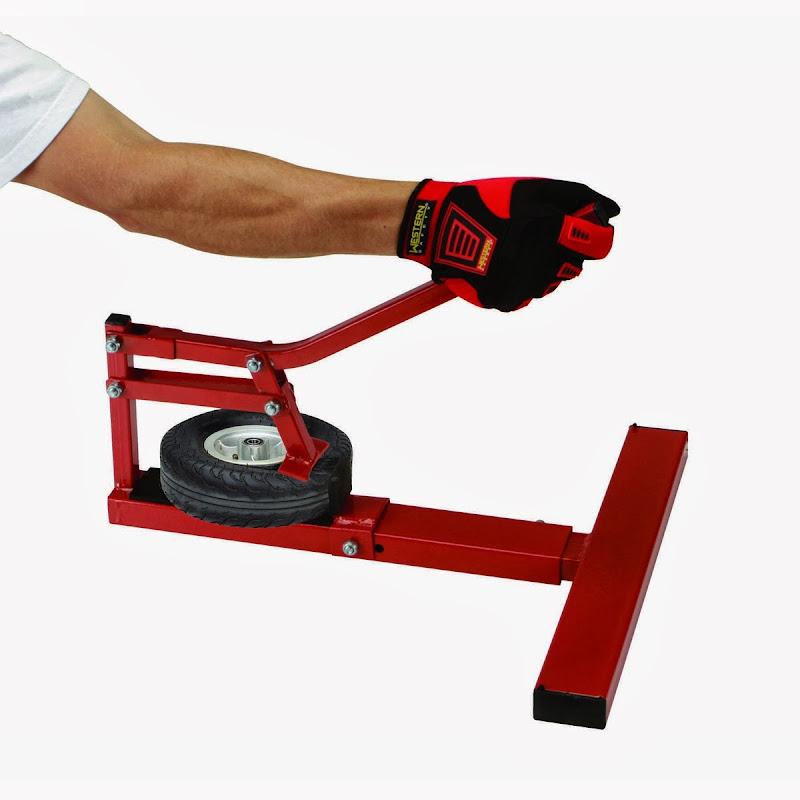
After riding your ATV for a few months, it will be time to change the brake pads. As you traverse terrain of all kinds, whether you're a trail rider or prefer using your ATV for farm work, the brake pads will eventually wear down with use. While you could have a professional complete the task, you can check and replace your brake pads on your own, as well as the rest of your brake system. This won't only save money, but also help you get better acquainted with the internal mechanisms of our ATV. There are many step-by-step guides out there that will steer you in the right direction. However, they could miss a few significant points for changing brake pads, rotors, and other areas of your brakes, especially for those who haven't gone through this process before. Here are our best tips for brake changes and general maintenance that can serve as guidelines for beginners and reminders for experienced ATV riders.
With regular use, brake fluid absorbs moisture and air, which is why it must be checked periodically. Just like with engine oil, it gets dirty. Take a look at your ATV owner's manual and flip to the maintenance chart. Here, you'll find the manufacturer recommendations on how often you should replace your brake fluid. This will depend on the age and mileage of your ATV. It'll also mention what kind of brake fluid your ATV needs, which is important. If left unchanged, bad brake fluid can damage seals, wear out calipers, and even deteriorate brake lines.
Keeping track of your brake pad thickness will ensure they don't get too thin on you and you're riding metal on metal. As they age, they'll innately become thinner, but when there's 1/8" or so left, it's time to change them.
Keep them clean as well. Very dirty brake pads can decrease the effectiveness of your brakes. Just brush mud, dirt, or other grime off from time to time.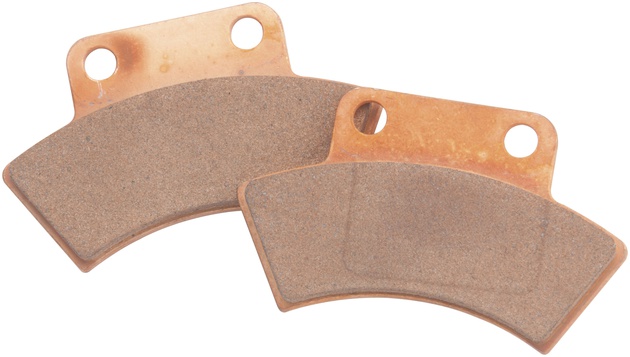
When brake pads wear down, so do brake rotors. These help slow your ATV down when you squeeze your brake levers. If your brake fluid reservoir is low, you may need to change your brake rotors. This is because the calipers need more fluid to move the pads enough to reach worn down rotors. A micrometer will help you determine your rotors' thickness, which can then be compared to the wear limits given by your owner's manual. Essentially, when you check on your brake pads, do the same for your rotors.
Your ATV's brake lines should never be loose. Keep them tight and secured to the frame away from sharp edges. Make it a point to check your hose for holes and visible wear. Over time, it will need to be replaced. If your hose has holes, dirt and air can enter the break line. This directly affects your ATV's braking capability. If your brakes feel mushy or they're skipping, you'll have to do what is called bleeding. When you bleed your brake lines, you loosen the drainage nipple of the back of the brake caliper and allow the brake fluid to drain out. The idea here is that the air bubbles and/or dirt will escape out of the lines. Need help with bleeding your dirt bike brakes? There are many resources online in written and video formats to walk you through this process. When this process is done, be sure to replace the correct kind of brake fluid.
Keeping up with your brakes is a must. This process can far exceed just the brake pads, requiring attention to other components making up your brake system. When you realize your brakes aren't as effective as they once were, you could find yourself in a bad situation. With these tips in mind, you can develop a maintenance routine for your ATV that complies with your owner's manual. With a solid maintenance schedule, you should never hear the awful screech of bad brakes on your ATV. Need to find a quality brake pad kit to keep on hand for a future change? We have them right here for Polaris ATVs and many other manufacturers.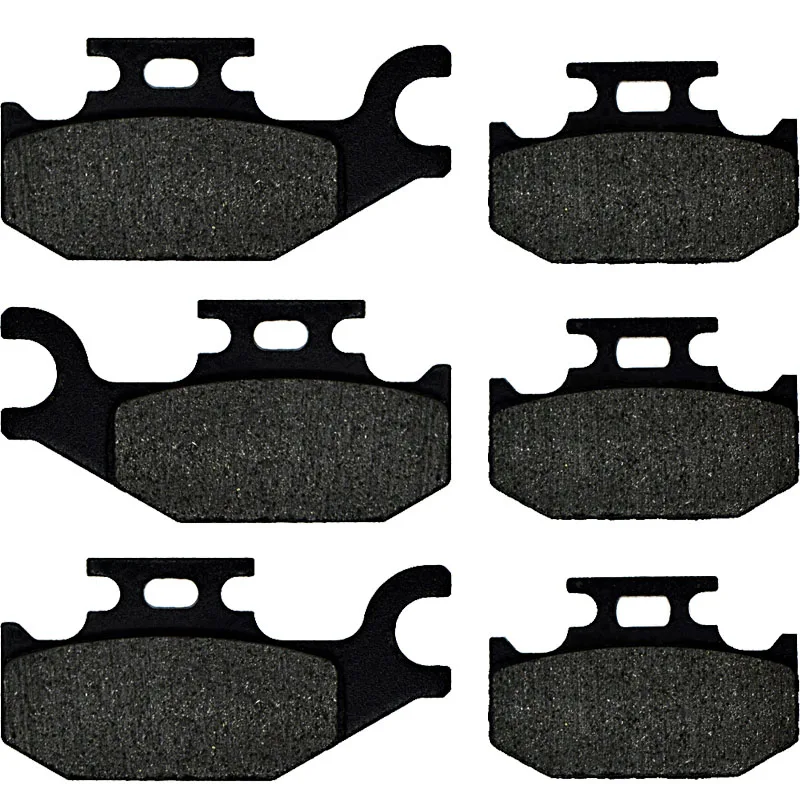 Quickly find your make and model to shop brakes, other essentials, and accessories.
Children's ATVs are equipped with a number of protective options (control, speed limiter, bump stop). But the main safety element of an ATV for a child is the brakes. Therefore, it is important for parents to regularly check the system and change its components in a timely manner. And for this you need to figure out how the brake pads for a children's ATV are mounted, and when they need to be changed.
Brake pad wear can be determined by eye. If the element is worn out badly, then it is time to replace it. But for this you need to disassemble the caliper, so it's easier to focus on other "symptoms". If you notice that:
Such signs occur both due to the natural wear of the pads, and when they are damaged (crack, chip, etc.).
It is recommended to check the system 2 times a season or every 350-450 km. Of course, the brakes of children's vehicles are not subjected to significant loads, but even minor damage to the pads can lead to a deterioration in their performance.
To change the pads, you will need a Kids ATV Brake Kit. On average, brake pads for two-piston calipers cost between 200-300 UAH. (set of 2 pieces). However, such parts “live” for a long time, on one set you can skate more than 1000 km.
Another option is to make your own pads. To do this, you need a friction material that is suitable in thickness. Blanks are cut out of it, which are turned and polished. Given the low power of children's devices, such crafts serve no worse than factory products.
Tools you will need are wrenches to remove the wheels and calipers, a hex wrench, and a screwdriver (to push the piston in).
To change the pads, jack up the ATV and remove the front wheels. The rear caliper is usually located in the center of the axle, so it is not necessary to remove the wheels. After that you need:
Note: If the system has not been serviced for a long time, rubber boots should be purchased and replaced in advance.
Also, after replacing the pads, it is necessary to pump up the system.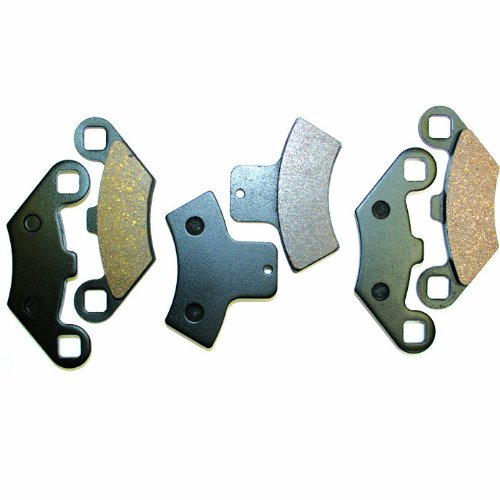 To do this, press the brakes several times until they become elastic. Also apply the brakes and try to roll the quad to check the operation of the system.
After installing the pads and servicing the calipers, it is important to bleed the brakes on your child's ATV. To do this, you will need a screwdriver, a wrench, new fluid (0.5 l), a hose and a bottle to drain the old composition.
The procedure is as follows:

Important: When the pedal “falls” during pumping, it is important to tighten the fitting so that no air enters the system.
The final stage of maintenance of the brake system is the cleaning and lubrication of the levers on the steering wheel and pedal (hinge). Your task is to check the condition of the nodes and remove dirt from them.
Let's start with levers. They must be completely removed, cleaned and treated with a penetrating lubricant. After applying the product, wait 5 minutes until the spray turns into a liquid. After that, you need to lubricate the mounting bolts and install the levers on the steering wheel.
Then unscrew the brake foot bolt, clean the hole and apply grease to the fastener.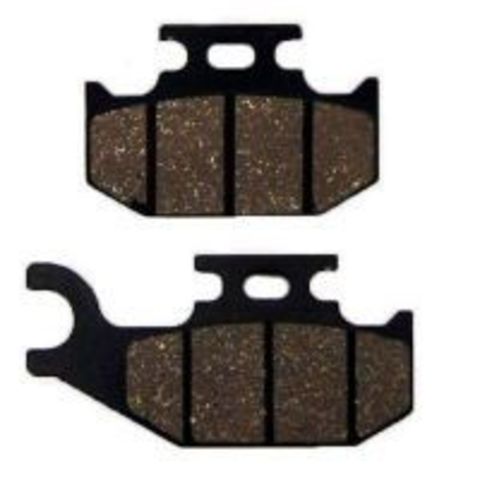 Thread sealant is applied to the bolt before installing the pedal.
11/16/2020 1291
Most popular type, standard on most motorcycles. Sintering is the process of fusion of metal particles under the action of heat and pressure to form a friction material that is highly wear resistant. Therefore, these pads are well suited for racers, urban riders and those who ride in steep hilly terrain.
Dignity. Sintered brake pads provide a stable coefficient of friction and good grip. They also withstand high temperatures, are fade resistant, and work well even in bad weather conditions. As a rule, they also last longer than other types of pads.
Disadvantages. They wear the brake discs more. If you don't want expensive maintenance, consider using organic pads: pads are easier and cheaper to replace than discs. Sintered pads also make more noise when braking.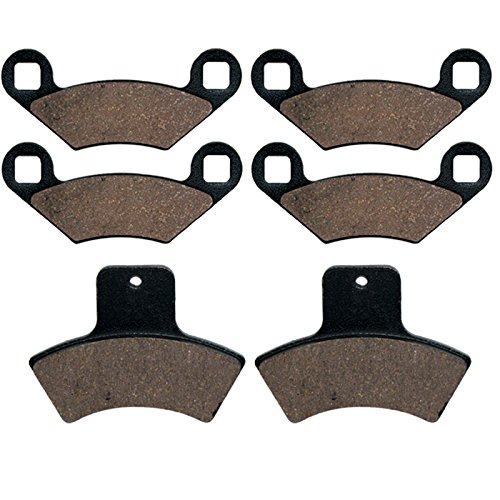
Made from a mixture of fibers and fillers mixed with resins. Some organic pads use fiber components such as Kevlar and carbon fiber to improve durability. Organic brake pads have a softer compound, which translates into a smoother feel when using the brakes. Excellent initial grip gives more control at low speeds.
Advantages. They do not wear out the brake disc so much, so they will have to be changed less often. The softer materials in organic pads also make them quieter than sintered pads. Organic pads produce less brake dust and are usually less expensive than sintered pads.
Defects. Fast wear and high temperature intolerance. Once they reach their maximum operating temperature, the pads quickly lose their coefficient of friction and deteriorate. Also, in bad weather conditions, a layer of plaque may appear on them, which will affect their work in the future.
Made from organic materials with 30% copper content.