Changing a go kart tire is easy. This guide will show you how to remove and replace the tires on your go kart, ATV, or golf cart rims. Let's get started!
Often, people ask me if any specialized tools are required to change a go kart tire. The short answer is: no (just some elbow grease). Most smaller ATV, golf cart, and go kart tires can be removed with just a few simple tools that you may already have hanging out in your garage.
Here is the list (with links) of the tools you should have prior to replacing your tires:
When selecting tires to replace your old ones, just look on the sidewall of the tires you already have. This number should be the one you search for to match your rim.
Here are two examples of tire sizes, and how to read them:
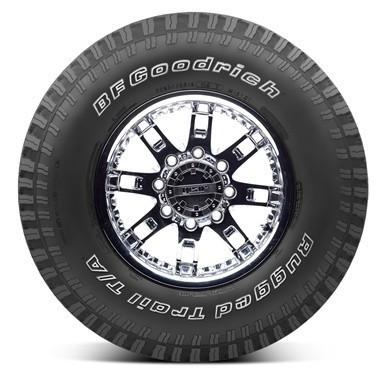
For most racing go karts, slicks or rain tires are the way to go. Yard karts and golf carts can use turf saver tires. For off road use, nothing beats knobby or v-tread tires. Click on the image below to check out where I get all my go kart tires:
Breaking the bead from the rim, especially on old, crusty tires, could be a chore. The bead is the innermost portion of the tire that is actually steel wires, which are covered in rubber.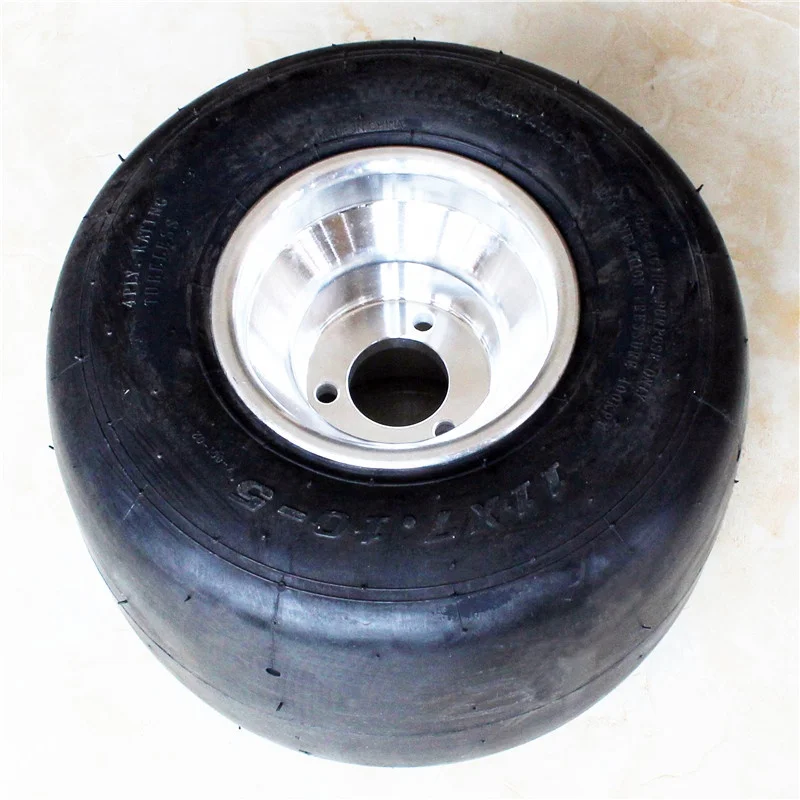 Breaking the bead means that this rubber coated steel ring becomes separated from the rim itself, allowing you to remove the tire from the rim.
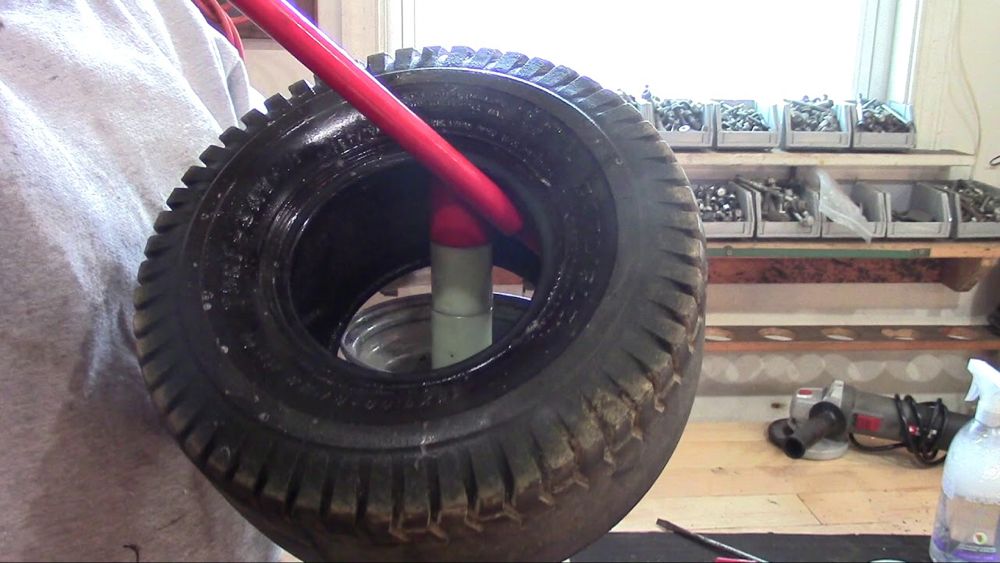
First, you should let all the air out of the tire, which can be accomplished by removing the valve from the stem with your 4-way valve tool.
Next, you should mix a little dish-soap and water together, then pour it on the area where the rim and bead are touching. As you work around the bead pushing down with a pry tool or screwdriver, the dish-soap mixture will flow into the space, lubricating the bead and rim for easier tire removal. You may have to press down on the bead in a few areas around the rim edge before the bead will break free from the rim. If you are having a lot of trouble with breaking the bead, you can always get a tire changing tool, which gives you the extra leverage to separate the tire from the rim.
De-mounting the tire from the rim only requires a few pry tools, and proper positioning of the bead on the rim.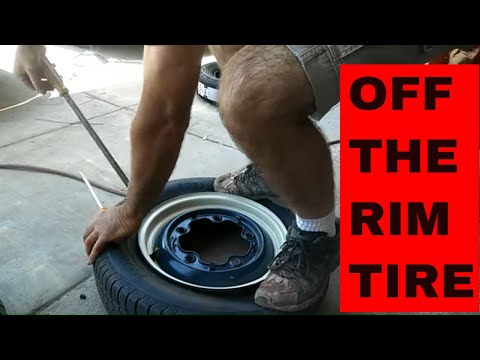 Press the bead toward the middle of the rim with your knee or hand, which will allow a small space on the opposite side of the tire to open up, where you will insert your pry tool or screwdriver to begin pushing the bead over the exterior edge of the rim. Work additional pry tools under the bead, working in a circular fashion until the bead pops off of the rim.
You are now halfway finished with removing the tire from the rim. Next, you position the remaining tire bead toward the thinnest (center portion) of the rim, while simultaneously prying the opposite end of the tire bead off of the rim. If you do it right, the bead will pop off relatively easily. If you fail to position the bead on the narrow portion of the rim, there will not be enough space to allow the bead to slip off of the exterior portion of the rim.
I recommend replacing the tubeless rubber snap-in valve for one piece rims every time you replace your tires. Why is that? Well, valve stems are made of rubber, and rot just like tires do. Additionally, the valve inside the stem can corrode and eventually fail. Replacing the valve stem requires breaking the bead, so why not replace the valve stem while you have the tire off? It will save you time and effort in the future, and will give you piece of mind knowing that you have the proper seal for your one piece rims.
Most tubeless valve stems are snap-in style valves, which need to be cut from the base and pulled out of the rim. A pair of side cutters makes quick work of the valve stem.
Next, partially insert the new snap-in valve stem into the rim hole, then screw the 4-way valve tool onto the stem threads. You can now pull on the 4-way tool, which will allow the rubber stem to ‘snap’ into place on the rim.
Tubeless valve stems come in a variety of lengths, and widths. The most important part is measuring the diameter of the hole in your rim, which will most likely be 0.453″. The below table shows all the available valve numbers you can choose from:
| Industry Valve Number | Max Inflation Pressure (PSI) | Effective Length (Inch) |
Hole Diameter in Wheel (Inch) |
|---|---|---|---|
| 412 | 65 | 0. 88 88 | 0.453 |
| 413 | 65 | 1.25 | 0.453 |
| 414 | 65 | 1.50 | 0.453 |
| 415 | 65 | 1.75 | 0.453 |
| 418 | 65 | 2.00 | 0.453 |
| 423 | 65 | 2.50 | 0.453 |
| 415 | 65 | 1.25 | 0.625 |
| 425 | 65 | 2.00 | 0.625 |
Mounting new tires to rims is basically the opposite of removal. Start by lubricating the edge of the rim and tire bead with a mixture of water and dish-soap. Next, push the tire bead over one edge of the rim. For smaller tires, the bead can be pushed over by hand. For larger tires, you may need to position the bead on the narrow portion of the rim, then use a pry tool 180 degrees opposite of the bead to allow the tire to slip onto the rim.
Once you have the the first half of the tire bead mounted to the rim, take your locking pliers, and clamp them down to the rim edge.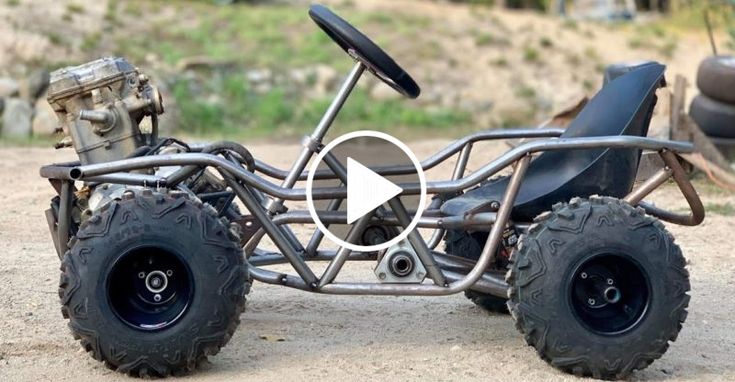 The locking pliers will act as a second hand to prevent the tire bead from rotating off of the rim while you use the pry tools to work the bead over the edge of the rim. As previously mentioned, please make sure you push the bead over to the narrowest cross section of the rim, which will allow the rest of the tire bead to easily slip onto the rim.
You are almost finished with your new tire installation, but a major obstacle still remains: seating the tire bead to the rim. With all of these methods, you will need to remove the valve core first, then apply compressed air through a compressed air nozzle.
Here are three ways to seat the tire bead to the rim:
 While you pull on the rope, apply compressed air to the open valve stem until the bead pops into place on both sides of the rim.
After you have the tire bead seated on both sides of the rim, simply reinstall the valve core, and inflate the tire. Make sure you read the side-wall of the tire for PSI inflation settings.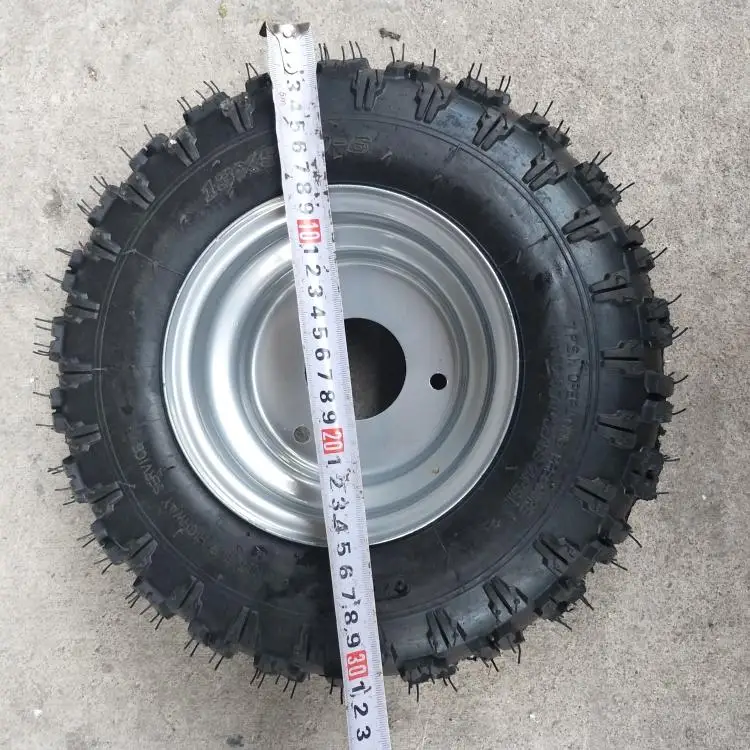 For most go kart, ATV, and golf carts, low pressure tires should be inflated from four to ten PSI.
Congratulations! Now that you have installed your new tires, you can enjoy them driving around at your favorite riding spot.
If you like this maintenance tip, please like it, comment below, and share it!
Need other maintenance tips for your go kart? Check out the go kart maintenance tips and tricks section.
Trying to remove the tires from these 60's era rims from an old kart I'm rebuilding. Removed one tire fairly easily, but the rest are giving me ****!!! Two tires I can't remove either rim half, and the last I was only able to remove 1 half. Any advice? Thanks!
Soapy water and lots of pry bars, unless you have access to a bead breaker.
No bead breaker, but plenty of pry bars. Should I just pry the rim as best as I can and then soapy water near the bead?
Or should I try to submerge the whole thing in soapy water?
Ended up submerging in soapy water, down to one last half! Lol.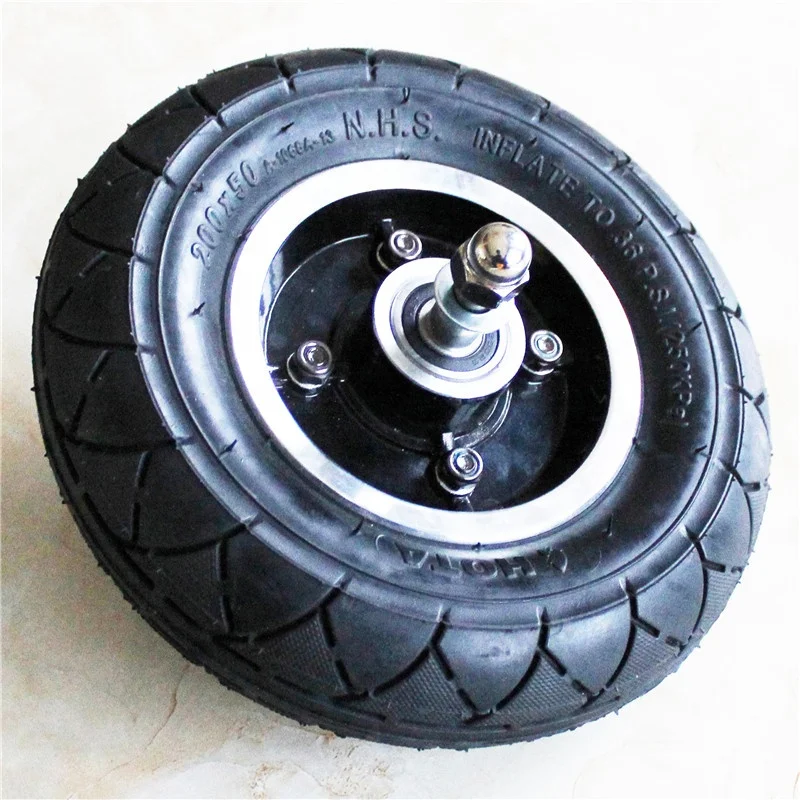 Thanks for the tips!
For future reference... large flathead/small pry bar... Wedge between the rim n tire, as far as possible, w/out goin crazy... pry up on rim, turn the wheel an inch or two... repeat. Do this all the way round, 2-3 rotations... Rim will just fall out eventually. Its a gradual process, but IMO, better than the 'eww' factor of a dirty/soapy/wet wheel.
Im guessing your not caring for the tire as in to keep them? If not just cut the thing off.
Use some tin snips and a saw to cut the tire off, be off in a jiffy.
yup just work your way around the bead with a big screwdriver itll go. the trick is to work it off evenly
I have used a large bench mounted vise before to squeeze the tire then used the pry bar.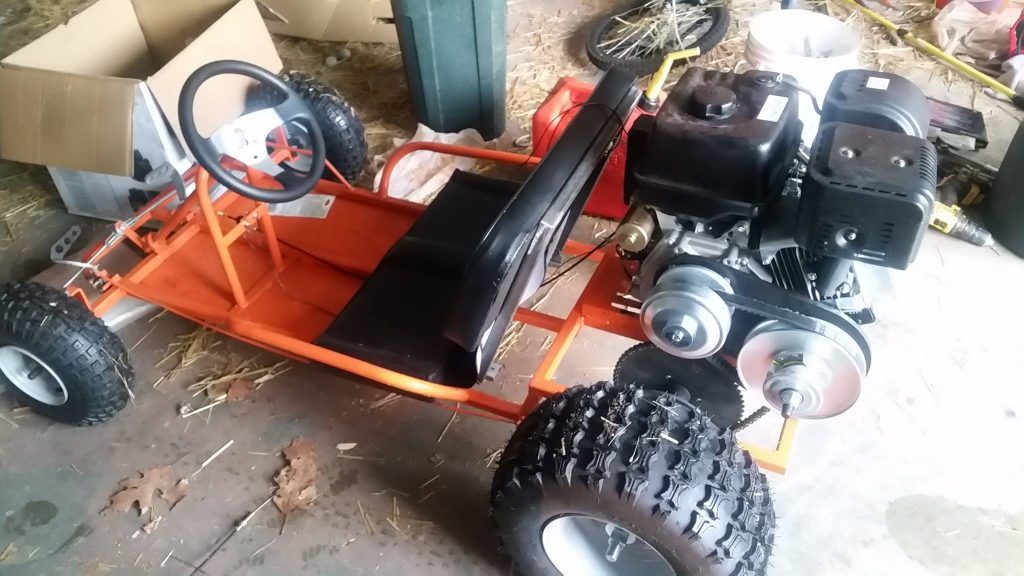
mckutzy said:
Im guessing your not caring for the tire as in to keep them? If not just cut the thing off.
Use some tin snips and a saw to cut the tire off, be off in a jiffy.Click to expand...
This works well also. Minus i screwed up and made a huge mess with a cutoff wheel !
NOTE : Make sure you use a wire wheel or something to clean the wheel really well before remounting the new tires.
December 23, 2021LikbezTips
Follow these simple recommendations, and tires will serve you for more than one season.
Share
0 You can listen to the article. If it's more convenient for you, turn on the podcast:
Be sure to label each tire before removing the wheels from the car. In the next season, you can easily install them in their places and avoid premature wear due to uneven tread wear.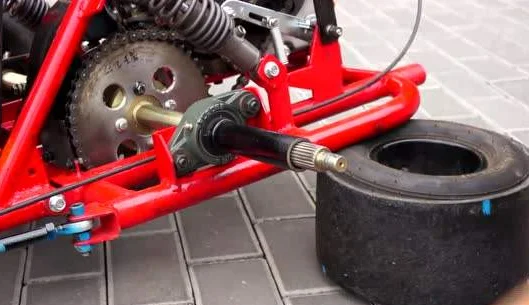
Mark the tires with a marker, chalk or stick stickers on them, indicating which of the wheels they were on. For example, "LP" - left front, "R" - right rear, and so on. If you use special storage cases, then they usually already have the appropriate labels. In this case, the main thing is not to confuse.
It doesn't matter if you want to store your tires with or without rims, they need to be cleaned first. And the point here is far from perfectionism, but the fact that prolonged exposure to abrasive particles from dirt, stuck pebbles and other foreign objects damages the tread and accelerates the aging of rubber.
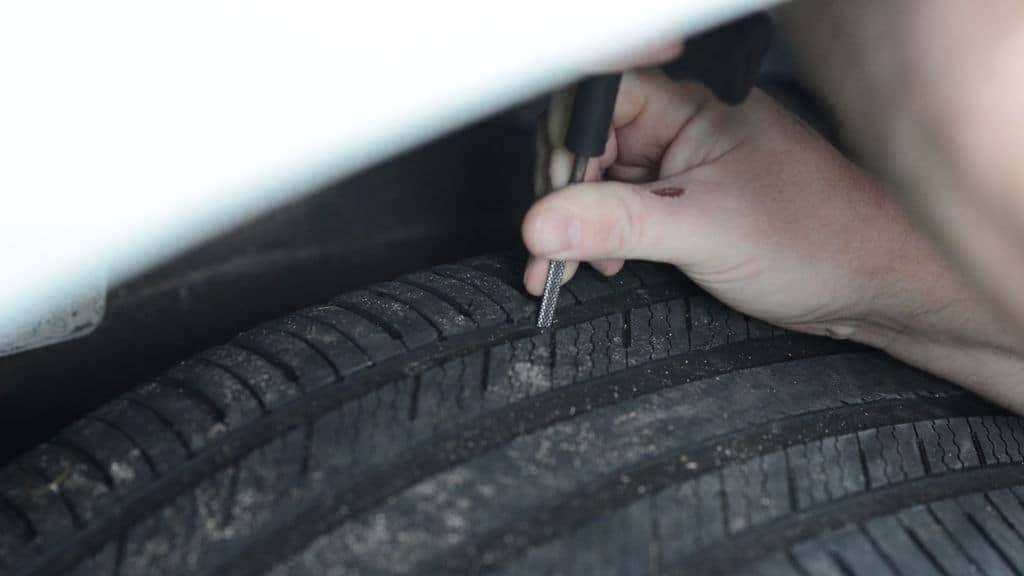
Take a coarse brush and wash off all the dust, salt residue and other dirt accumulated inside the tread grooves. Inspect the tire surface for deep cuts and cracks. Remove stuck screws, nails and stones.
After water treatment, dry the tires until all moisture has completely evaporated. Otherwise, mold may form on the tire, and corrosion centers may form on the rim.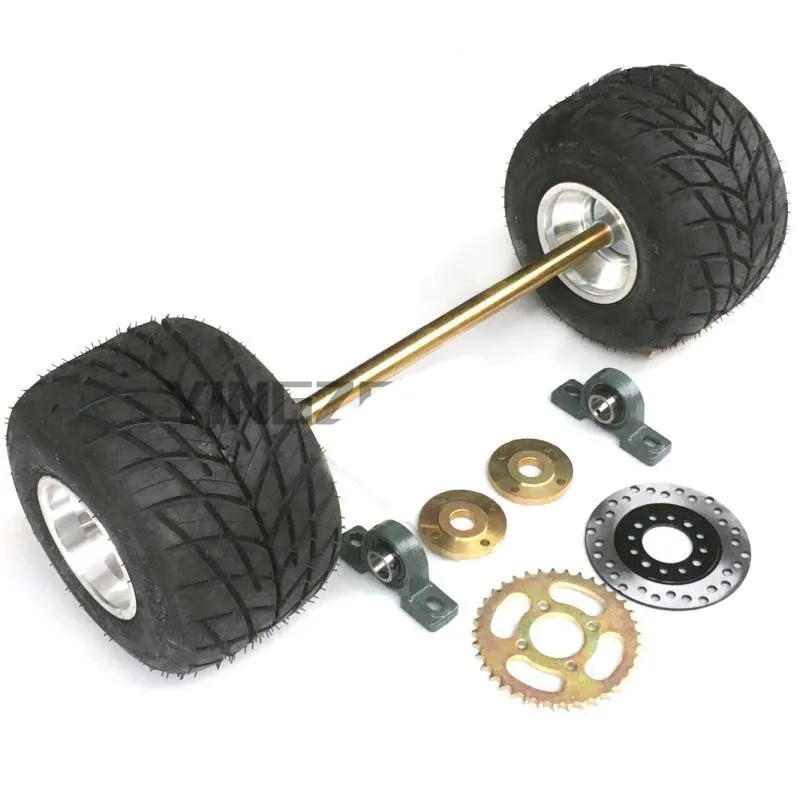
Don't forget to restore the marks if they are washed away!
To preserve the properties of rubber, it is advisable to cover the tires to protect them from sunlight and high humidity. As covers, both special purchased options and ordinary plastic bags or cling film are suitable.
Textile covers are made of breathable material that allows air to circulate. If you have these, then just put them on the tires. When constructing an impromptu protection from bags or cling film, leave small gaps to ensure natural ventilation. Otherwise, condensation may form inside, which will damage the tires.
Do not store tires anywhere. According to GOST, which regulates the handling of tires of all types, they should be stored in rooms with a temperature of -30 to +35 ° C and humidity in the range of 50-60%. And also away from heaters, fuels and lubricants and ozone-producing devices.
At home, the main enemy of rubber is ultraviolet radiation. The sun's rays dry out the material, which reduces its elasticity and leads to cracking. High humidity is also dangerous, but it is rare in everyday life. And providing insulation from containers with oil, gasoline, solvents and other chemicals is not so difficult.
The best option would be a garage, if there is good ventilation, a basement is also suitable. A balcony is the least preferred, but if there is no other way out, then at least protect the tires from the sun.
In addition to where the tires are stored, their placement also plays a big role. There are several options for the correct placement of tires, depending on whether they are on rims or not.
Stack the complete wheels on a flat surface. It is impossible to place any objects on them, using them as a table or stand. If there is not enough free space, hang the wheels along the walls, hooking the rims of the disks with hooks.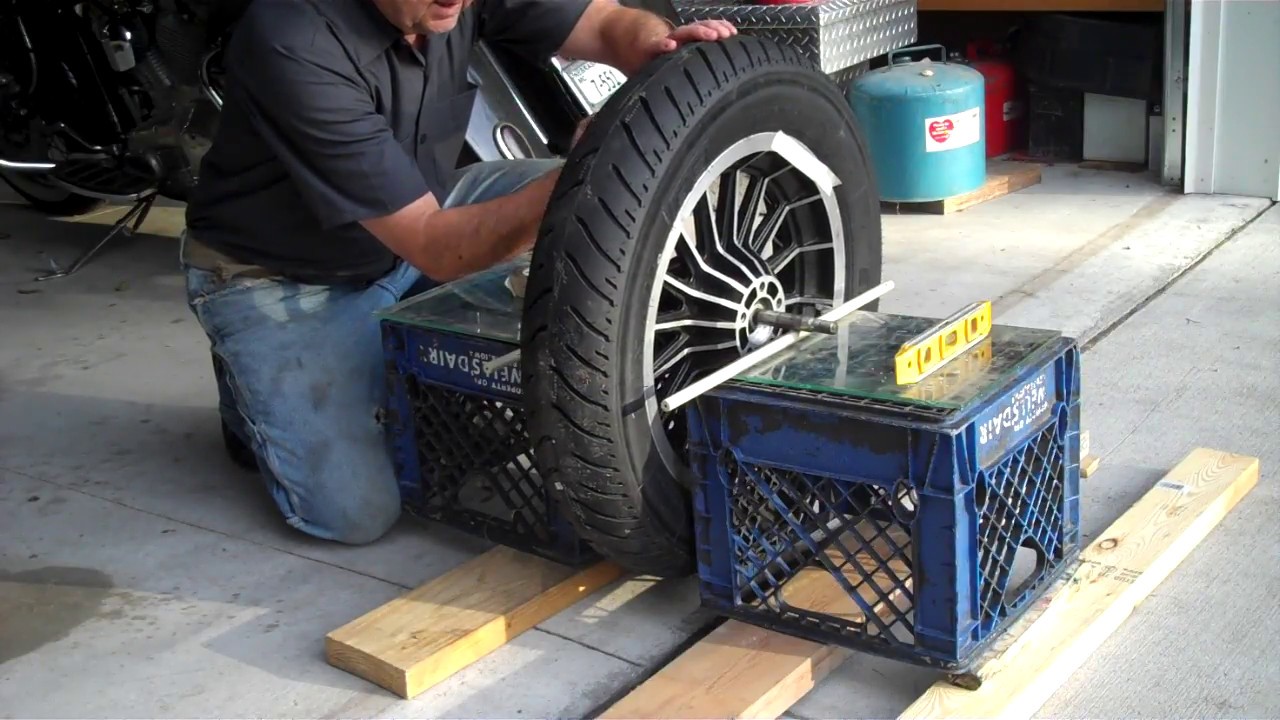 In both cases, lower the tire pressure by about half.
If you don't have a second set of rims and you store the tires unpacked, stack them vertically in one row. At the same time, once a month or so, do not forget to turn each tire a quarter of a turn to change the fulcrum and prevent deformation.
Read also 🚗🔧🧐
This is the second part of the article about tire parameters (the first part is here).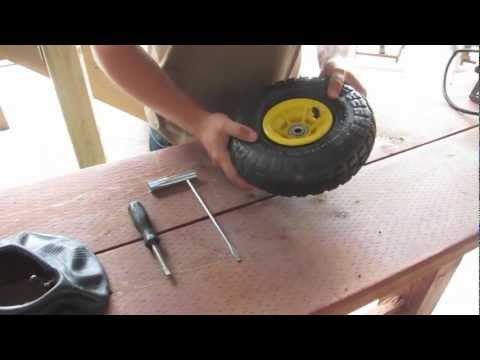 In this part, you will learn about tire pressure and temperature changes in different weather conditions and on different track surfaces, as well as how front and rear kart ruts affect tire pressure.
Pressure and temperature
Determining the operating temperature of a tire and determining the type of track surface can make your job much easier.
You can determine the temperature of the working surface by analyzing the surface of the tire. If the surface is very smooth, then the tire is not warming up, and if tracks appear on the surface in the form of peeling or bubbles, then the surface is too hot.
If you have already found your ideal tire pressure and the weather is getting colder, you will have to increase the pressure to get the correct tire temperature because the air temperature has dropped and the track temperature has dropped accordingly. The same is true in the opposite direction, since by the middle of the race day the temperature becomes higher than during the morning practice.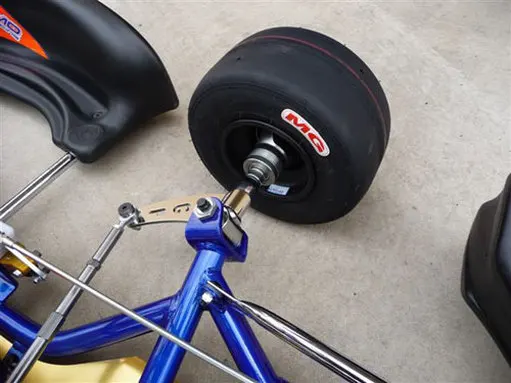 Your best bet is to monitor your data based on track temperature and record it.
The change in pressure will depend on the number of right and left turns on your track, if their number is the same, then the pressures will be almost the same on the sides.
If you are in an area with high humidity, you will most likely experience problems with temperature and tire pressure. The water content in the air will cause the pressure to rise more. Some use nitrogen in these situations. Do not use soapy water to put the rubber on the rims as the water in the tire will boil and the pressure will build up excessively!
Track the condition of the track and the amount of rubber on the pavement. If the asphalt is smooth, then you must increase the pressure so that the wheel warms up. If there is a lot of rubber on the track, then you will have to lower the pressure so that the wheel does not overheat.
According to manufacturer's recommendations, most kart tires are designed to operate in the 74-85 o C (165-185 o F) temperature range. Keep in mind that tires cool down very quickly once they leave the track surface.
Almost any kart tire will fail when its surface temperature exceeds 93-99 o C (200-210 o F) degrees. Therefore, a kart tire whose temperature is close to the upper limit has the best performance.
Pressure and tread
When working with tyres, you have only two things that you can adjust, and that is the pressure and the position of the wheels relative to each other (tread).
How is everything going?
If the tire pressure is initially too high, you will have great grip at the beginning of the race, but then you will lose grip by the middle of the race, and even more so towards the end. With too little pressure, you will need to drive many laps to reach the working pressure of the wheel. You need your tires to warm up for 1-2 laps and the pressure becomes optimal. But this is not easy to achieve.
The first thing to do is to measure the tire pressure immediately after you have finished your race or practice.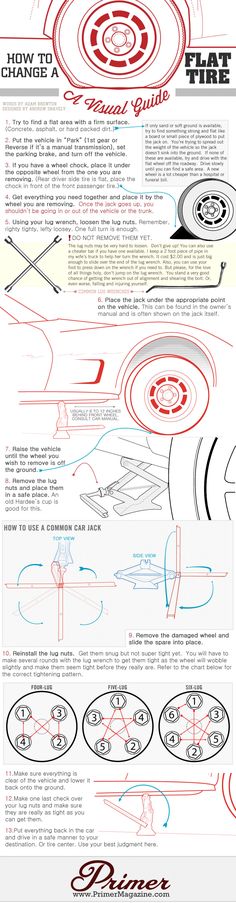 If your pressure has increased by more than 2 PSI, then you need more air. But, do not pressurize more than 1 PSI during one ride. Drive out again and see how long it takes for the tires to warm up. Further, it is only a matter of trials and your own mistakes. Most often, 16 PSI in front and 18 PSI in the rear are taken as the starting point of reference, then they work with pressure to increase or decrease.
Another parameter you can change is the distance between the wheels. How does this affect grip level?
At the beginning of your race, it can be difficult to identify front and rear hooks, even though it seems easy.
If the back of the kart has a very good grip, then the kart will not turn properly because the rear wheels will push the kart in a straight line. Adding grip at the front will improve the balance, but when all wheels have too much contact with the track, the motor will need to put more power into cornering. Moving the rear wheels outward will reduce rear traction, move the wheels at the same time, and no more than 5mm apart.