Knowing how to change a tire is a necessary skill for all drivers. If you rely on a cell phone to save you in a roadside emergency, there’s always that chance you will forget to charge it, be out of range, or leave it at home. Flat tires can happen anywhere, and a cell phone is no substitute for knowing how to change a flat tire.
Thankfully, changing a tire isn’t all that hard! Just adhere to the following guidelines to be prepared in case you have a flat.
These items should have come with your vehicle:
Jack
Lug wrench
Fully inflated spare tire
Vehicle owner’s manual
If you have misplaced any of these items, or if your car did not come with these items, you should purchase new ones right away. And be sure you’re regularly inflating the spare tire to your vehicle manufacturer’s recommended PSI. You should check the spare’s air pressure every time you check your other tires.
Remember to check pressure every month and before long trips or carrying extra load.
Here are some items that don’t come with your vehicle but that you should stow in your trunk or glove box in case you have to change a flat tire:
Flashlight with working batteries
Rain poncho
Small cut of 2"x6” wood to secure the jack
Gloves
Wheel wedges
As soon as you realize you have a flat tire, do not abruptly brake or turn. Slowly reduce speed and scan your surroundings for a level, straight stretch of road with a wide shoulder. An empty parking lot would be an ideal place. Level ground is good because it will prevent your vehicle from rolling. Also, straight stretches of road are better than curves because oncoming traffic is more likely to see you.
Never attempt to change your tire on a narrow shoulder near oncoming traffic. Keep moving (slowly) until you find a safer spot. While driving on a flat risks ruining your rim, replacing a rim is better than being hit by an inattentive driver.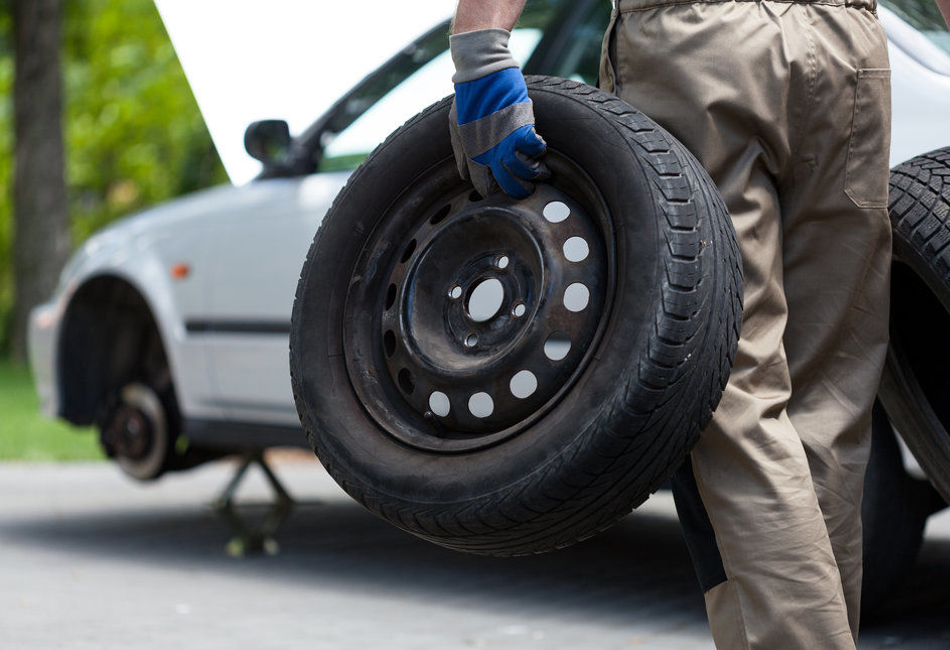
Make sure to consult your owner’s manual and review their specific steps on how to change a flat tire for your vehicle
Your hazard lights or “flashers” will help other drivers see you on the side of the road. To avoid an accident, turn them on as soon as you realize you need to pull over.
Once stopped, always use the parking brake when preparing to replace a flat tire. This will minimize the possibility of your vehicle rolling.
Wheel wedges go in front of or behind the tires to further ensure the vehicle doesn’t roll while you fix the flat tire. If you’re changing a rear tire, place these in front of the front tires. If your flat tire is at the front, put the wheel wedges behind the rear tires.
Bricks or large stones will work just as well as “real” wheel wedges. Just be sure they’re large enough to stop the car from rolling.
If your vehicle has a hubcap covering the lug nuts, it’s easier to remove the hubcap before lifting the vehicle with the jack. If your lug nuts are exposed, you can skip ahead to Step 6.
Use the flat end of your lug wrench to remove the hubcap. This will work for most vehicles, but some hubcaps need a different tool to come off. Consult your owner’s manual for proper hubcap or wheel cover removal procedures.
Using the lug wrench, turn the lug nuts counterclockwise until you break their resistance. You may have to use force, and that’s ok. Use your foot or all of your body weight if necessary.
Loosen the lug nuts about ¼ to ½ of a turn, but don’t remove them completely yet. Save that for when it’s time to remove your tire/wheel from the vehicle.
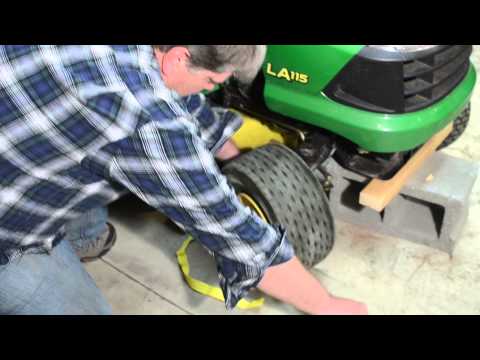
The right place for the jack is usually beneath the vehicle frame alongside the tire that’s flat. Many vehicle frames have molded plastic on the bottom with a cleared area of exposed metal specifically for the jack. To safely lift and avoid damage to the vehicle, follow the instructions for jack placement in your vehicle owner’s manual.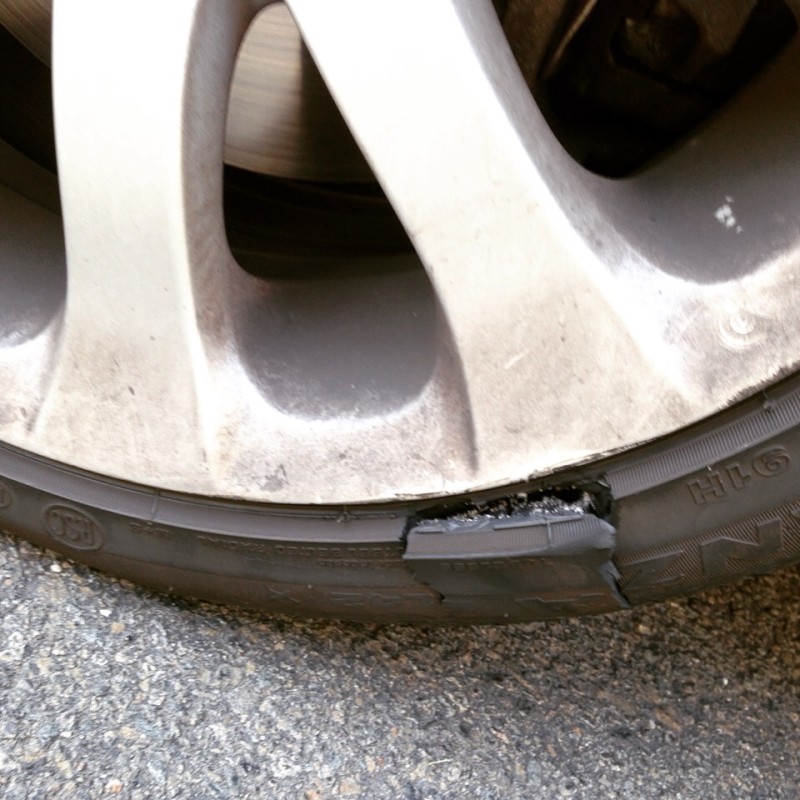
To prevent the jack from settling under the weight of your vehicle and coming off balance, place a small cut of 2x6” wood beneath it before attempting to raise your vehicle. This tactic is especially helpful on asphalt.
With the jack properly positioned, raise the vehicle until the flat tire is about six inches above the ground.
Never put any part of your body under the vehicle during or after raising the vehicle with the jack.
Now it’s time to remove the lug nuts all the way. Since you've already loosened them, you should be able to unscrew them mostly by hand.
Gripping the tire by the treads, pull it gently toward you until it’s completely free from the hub behind it. Set it on its side so that it doesn’t roll away.
Now place the spare on the hub by lining up the rim with the lug bolts. Push gently until the lug bolts show through the rim.
Put the lug nuts back on the lug bolts and tighten them all the way by hand. Once they are all on, check each one again, tightening as much as possible. You will tighten them with the wrench after lowering the vehicle to the ground.
Use the jack to lower the vehicle so that the spare tire is resting on the ground but the full weight of the vehicle isn’t fully on the tire. At this point, you should tighten the lug nuts with the wrench, turning clockwise, as much as you can. Push down on the lug wrench with the full weight of your body.
Bring the vehicle all the way to the ground and remove the jack. Give the lug nuts another pull with the wrench to ensure they’re as tight as possible.
If the hubcap you took from the flat tire will fit your spare, put it in place the same way you removed it initially.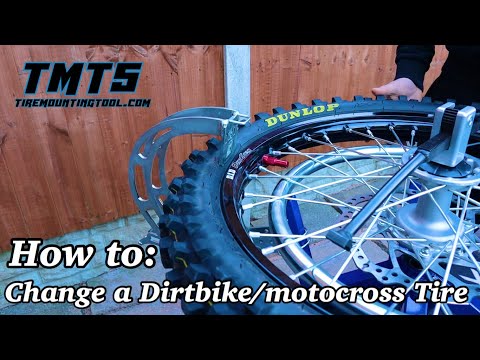 If it doesn’t fit, stow it away with the tire when you stow your equipment.
You have before you a jack, a lug wrench, wheel wedges, your flat tire, and possibly a hubcap. Don’t forget to put all of them in your vehicle before driving away.
You should check the tire pressure of the spare tire to make sure that it is safe to drive on. “T-Type” temporary spares, also called “mini-spares,” require 60 psi (420 kPa). If the tire needs pressure, drive (slowly) to a service station immediately.
Temporary spare tires aren’t made to drive long distances or at high speeds, so drive cautiously until you’re able to visit a tire technician. A professional should be able to determine whether your tire needs a repair or if it’s time to replace it.
Aside from taking your tire to a professional, the above procedure shouldn’t take more than 15 to 30 minutes to change a tire. Just be sure you don’t leave out any steps.
It’s beneficial practice changing a tire in your garage or driveway to ensure you’re ready to handle this situation if it ever happens to you.
Knowing how to fix a flat tire is great, but regular tire maintenance is even more important. In addition to reviewing this guide regularly, remember to do the following:
Keep your tires properly inflated
Rotate your tires according to the manufacturer’s guidelines
Monitor for tread wear
All of these precautions will extend the life of your tires and reduce the likelihood of a flat. While there’s no way to prevent flat tires completely, proper care can improve performance and ensure your tires last as long as possible.
There’s never a good time for a flat. That’s why Bridgestone DriveGuard tires are masterfully engineered to keep you moving for up to 50 miles at speeds up to 50 MPH without disruption.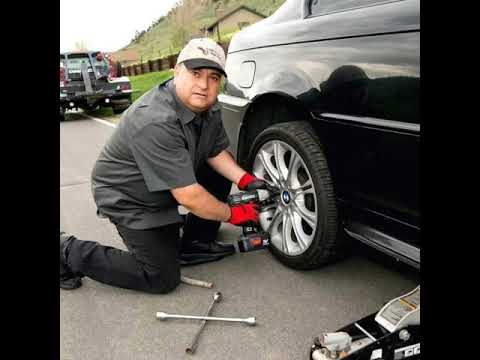
There’s never a good time for a flat. That’s why Bridgestone DriveGuard tires are masterfully engineered to keep you moving for up to 50 miles at speeds up to 50 MPH without disruption.
See Details Find Your Fit
You're driving down the road when you hear an ominous rumpa-rumpa sound coming from under the car. You feel a vibration through the steering wheel. Uh-oh, you've got a flat. Oh, great! You need to change it quickly and get going. Here's how to do it in five safe, easy steps, illustrated in the following video clips.
Step 1 Find a safe place to stop the car, as far away from traffic as possible. Shift into park (or reverse gear if your car has a manual transmission) and set the parking brake.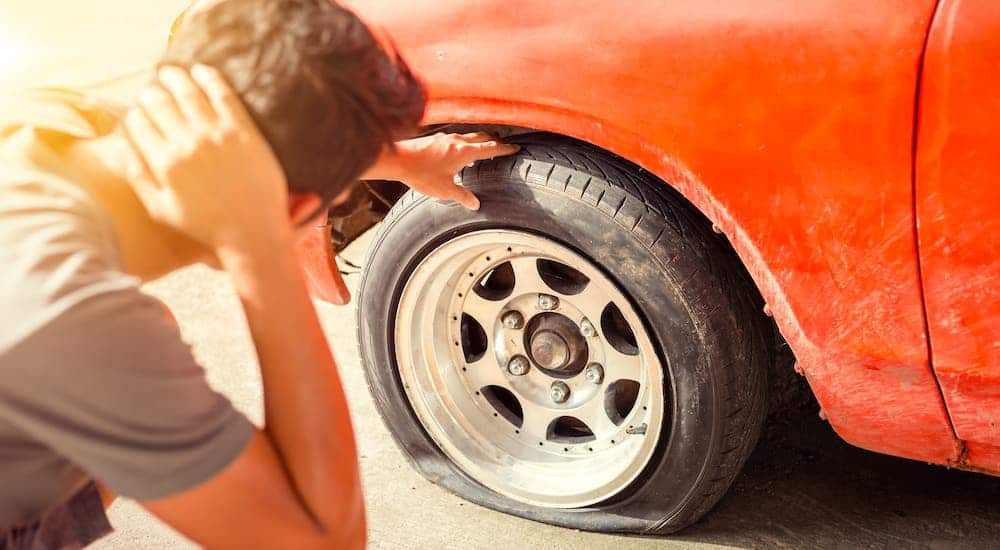 The car should be on level, solid ground. If the ground is soft, the jack will sink into the soft earth and not lift the car. If the car isn't sitting level, it could fall off the jack.
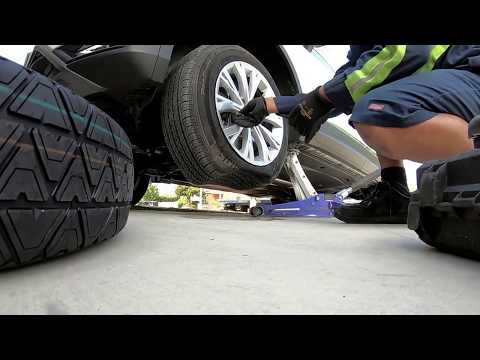
Step 2 Find the spare tire, jack, and lug wrench in the trunk (or cargo area of your SUV). Use the wrench to loosen the lug nuts that hold the wheel in place. Just loosen them slightly. Don't remove them yet! Next locate the reinforced jacking points. On most vehicles, the jacking points are located underneath the car, just behind the front wheels or ahead of the rear wheels. Check your owner's manual for their exact location.
Step 3 If possible, put something under the tires on the opposite side of the car from the flat tire—a block of wood or a brick will do—as insurance the car won't roll when you jack it up. It's not required that you do this, but is a good idea nonetheless. Place the jack in position beneath the jacking point closest to the flat, and lift the car until the tire clears.
Step 4 Remove the lug nuts and put them in a convenient place nearby (but far enough away that you won't step on them by accident and scatter them). Pull the flat off and slide the spare tire on to the threaded studs. Make sure the wheel's valve stem (where the air goes in) is facing outward, toward you. Screw the lug nuts back on and tighten them by hand. Then use the lug wrench to make them a little more snug, but not fully tight. Lower the jack until the tire just touches the ground and use the lug wrench to snug the bolts up—but you won't be tightening them all the way until you lower the car fully and remove the jack—which is the next and final step.
Step 5 Finish lowering the car, remove the jack, and give the lug nuts a final tightening. If there are five lug nuts on the wheel, tighten every other one until you've tightened them all. If there are four nuts, tighten them in opposing pairs. Lean into it, but don't use all your strength. If they feel tight they'll stay tight. Put the the jack, the wrench, and the flat tire back into the trunk and you're done!
For everything you need to know about buying and maintaining tires, click here.
Now 15% Off
$119 at Amazon
Now 15% Off
$29 at Amazon
$69 at Amazon
$70 at Amazon
This content is imported from OpenWeb. You may be able to find the same content in another format, or you may be able to find more information, at their web site.
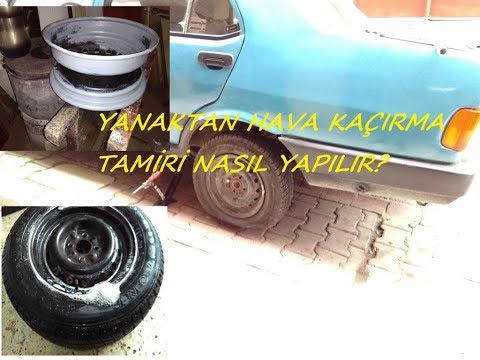
Nothing is more disheartening on the road than a sudden flat tire.
It would seem that if you have a spare wheel, this problem is much less, unlike, for example, running out of fuel in a gas tank, when the nearest gas station is quite far away.
And what is most unusual is that it is always raining, cold outside, or you are in a hurry, or you are eating for a holiday in elegant clothes.
Perhaps someone will say that it makes no sense to change a wheel on the road. It's easier to fill in the sealing fluid, pump it up and drive to the nearest tire service. Or call specialists who will come and for a certain amount (it depends on your distance from finding their workshop) will do all the “dirty” work for you.
Trust me, it's actually not that hard. Especially if you have at least watched someone else do it.
How else can you tell if a flat tire is flat? When the rear wheel is punctured, the car begins to pull to the side, the dynamics of acceleration worsens, you feel shaking and hear the tapping of the car from behind.
If the front wheel is in trouble, you have to take more effort on the steering wheel, the car pulls to the side, shaking and noise is felt in front. If any of these signs occur, it is worth stopping and inspecting the wheels.
If it was just your unfounded fears, drive on, but if you are unlucky, we will show you how to change the wheel on the car:
You cannot change a wheel with your bare hands. You will need: gloves, a jack, a wheelbrace, kickbacks and, of course, the spare tire itself. It does not hurt to have a board under the jack in the car.
Here we put the car in a stable position and begin the laborious process of changing the wheel:
 Their loss will bring great "inconvenience".
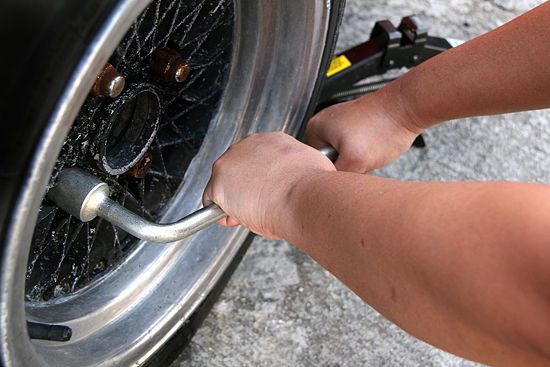
Changing a wheel is not that hard. But it is important to consider some rules:
Many car enthusiasts do not know how to change a damaged wheel and install a “spare tire” on their own. We are so accustomed to using the services of service stations and all kinds of car services that in the field we become literally helpless. If you have not previously had to deal with a situation where the wheel was flat on the way, and you can change it only relying on your own strength, this does not mean at all that this will never happen. And therefore, in order to be fully armed in such a situation, we suggest that you familiarize yourself with the guide on the topic “how to change a wheel on a car yourself”.
Contents of the article:
The detailed instructions below have 14 points, which describe in detail the simplest manipulations for changing wheels. We note right away that there is nothing complicated about this. It is enough to have the necessary tools, and make quite a bit of effort.
So, let's start a step-by-step and detailed description of changing wheels on a car.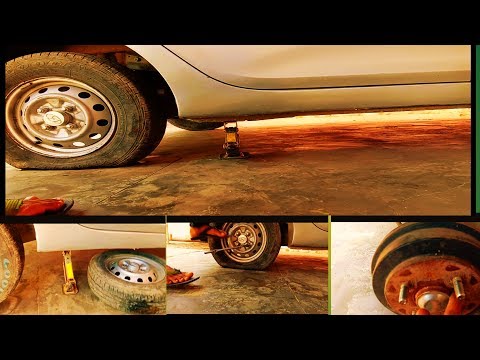
 To do this, chocks should be installed under the wheels, the role of which in the field can be taken on by heavy stones or timber. Stops are installed both under the front and under the rear wheel from the side opposite to the one being jacked up.
  We just recall that most modern vehicles are equipped with a special label that indicates the place where the jack should be located. These marks are located in front of the rear and behind the front wheel arch.
 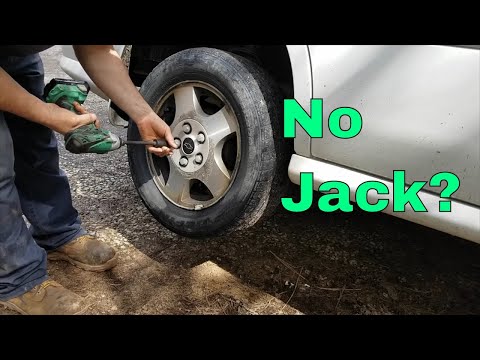 If the nuts have not been removed for a long period, then use a longer lever, and remember that the Phillips wrench will require more effort than the standard cylinder equivalent with a single handle.
 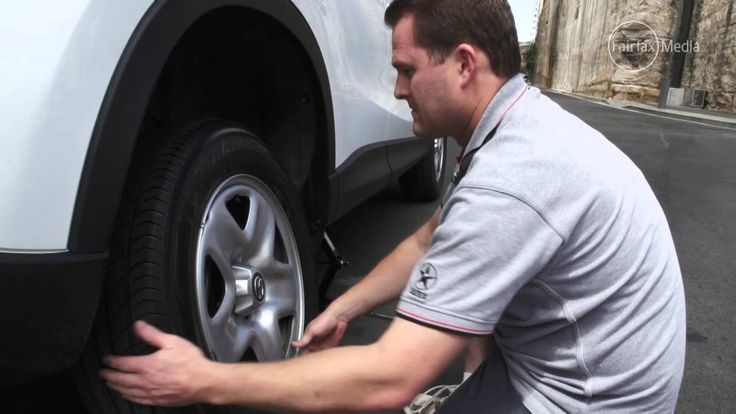 To dismantle such a wheel, it should be loosened and pushed from the inside.