01.05.2016
by Christoph Bayer
It sounds like the simplest task in the world and you’re probably scoffing over your porridge as you read this, but it’s time to talk tyres – well, more specifically, the basics of how to put one on. Yeah, yeah, sounds easy but just think of your ride last week: how many riders did you see breaking out into a clammy sweat, standing helplessly on the side of the trail with tire levers in hand, throwing pleading glances as you rode by? Exactly. Once you’ve nailed the technique you’ll realise it was never that difficult in the first place.
Putting a tire on is actually really easy but it still manages to catch some people out.easy
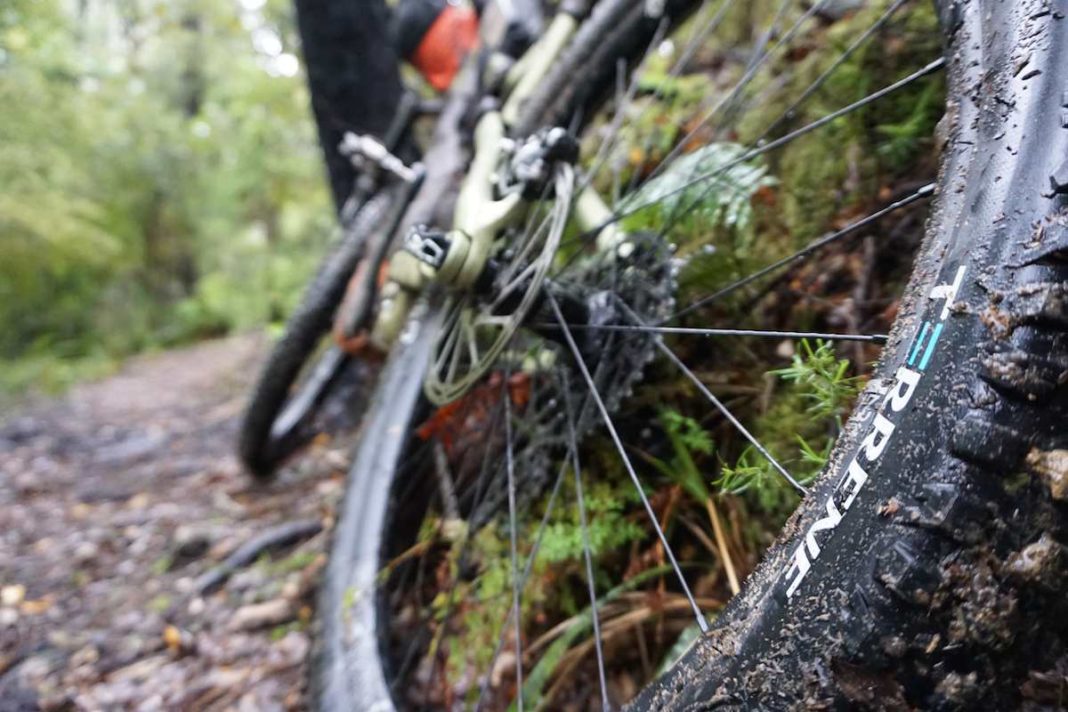
 If the tire’s on but the valve isn’t quite vertical then take a firm grip and slide the tire gently around until you get the right position.If the size of the valve hole and the valve are the same then we don’t recommend threading a knurled nut on; they tend to just keep the valve straight and can lead to the valve getting damaged.Instead, hold your thumb on the tire and push down firmly exactly above the valve to fix the pumphead onto the valve.Now pump up the tire. We’d recommend an air pressure of around 1.8 bar at the front and around 2.0 bar at the rear, and for plus-size go for 1.0/1.2 bar.Important: Every tire has an indication line that should be completely visible when the tire is seated properly.Done! The tire’s on!
Check out our ENDURO Workshop for many more exciting How To articles.
Words & Photos: Christoph Bayer
Did you enjoy this article? If so, we would be stoked if you decide to support us with a monthly contribution.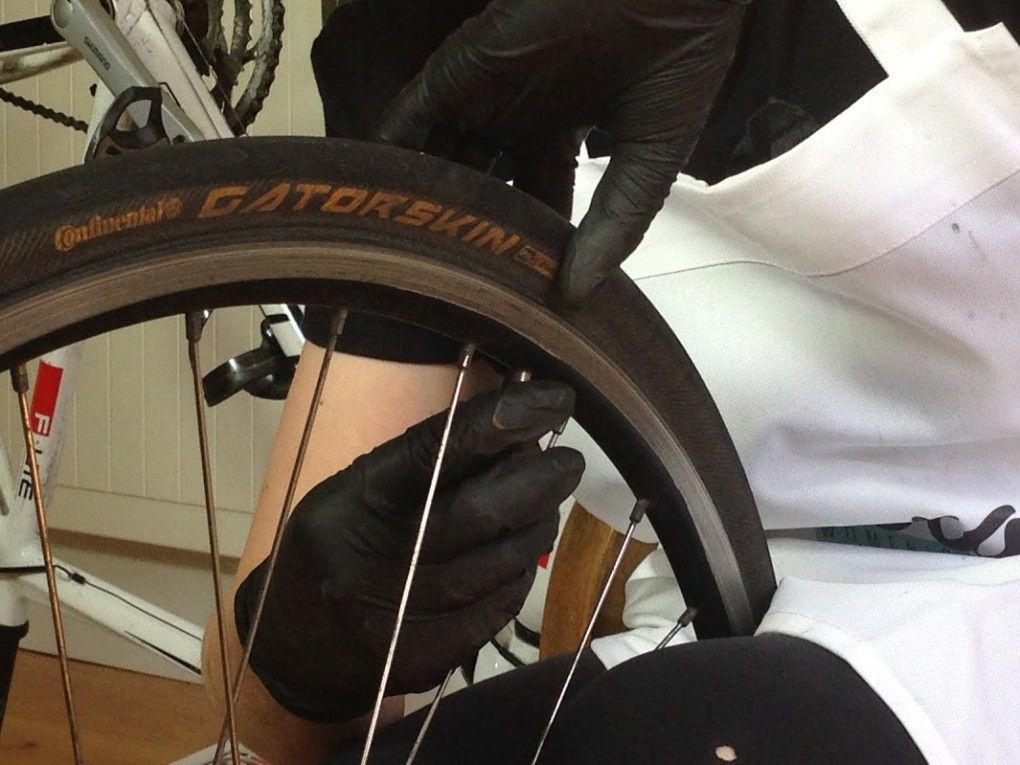 By becoming a supporter of ENDURO, you will help secure a sustainable future for high-quality mountain bike journalism. Click here to learn more.
Changing a bike tire might sound like the easiest task in the world, yet we’re all too familiar with that heartbreaking image of a helpless-looking rider standing on the edge of the road with a broken tire lever in hand. The right tools and a good technique will get you out of trouble in races, Gran Fondos and local club rides. We’ll guide you through the process of fitting a tire and inner tube properly.
 … but only pump it up until it unfolds.Putting in too much air is pointless and will make the whole procedure harder.… if your name is Greg Lemond or if your lungs are big enough you can unfold the inner tube with your mouth…Before you even attempt to fit the tire and tube onto the rim you have to work out which way the wheel rolls and align it with the rotation arrow printed on the sidewall.Now place the rim inside the tire……and pull just one side of the tire bead over the rim…Make sure you pull the entire first side of the tire over the rim. TIP: if you want to do it like the pros, align the tire logo with the rim decals and valve hole. You can still adjust the position once the first side of the tire sits in the rim.Push the valve stem through the hole. Do this on the side that’s not yet sitting in the rim.…and place the tube into the tire.Make sure the valve is straight.IMPORTANT! Fit the tire starting on the opposite side of the valve. This trick allows you to push the tire deeper into the rim and makes the whole installation process easier.
 Using both hands, press the rest of the tire into the rim. Place the wheel on the floor or lean it against your thighs – this makes it easier to press it into the rim.
TAKE NOTE: be careful not to pinch the tube between the rim and the tire.The closer you get to the valve the more difficult it will become to push the tire into the rim. That’s why it’s crucial that the tire always sits deep in the centre of the rim bed on the opposite side. Readjusting the tire from time to time might help too.Should the last few centimetres prove particularly hard you can use a tire lever to pull the tire bead over the lip of the rim – real pros can do this with their bare hands though! If you use a tire lever make sure that the tire doesn’t slip off the rim on the other side.If you managed to get the tire on but the valve moved in the process you can still adjust it using a firm grip (your fingers grip the inner tube inside the tire) and a bit of pressure in the appropriate direction.If the valve and valve-hole are the same size, we advise against using the valve nut.
Using both hands, press the rest of the tire into the rim. Place the wheel on the floor or lean it against your thighs – this makes it easier to press it into the rim.
TAKE NOTE: be careful not to pinch the tube between the rim and the tire.The closer you get to the valve the more difficult it will become to push the tire into the rim. That’s why it’s crucial that the tire always sits deep in the centre of the rim bed on the opposite side. Readjusting the tire from time to time might help too.Should the last few centimetres prove particularly hard you can use a tire lever to pull the tire bead over the lip of the rim – real pros can do this with their bare hands though! If you use a tire lever make sure that the tire doesn’t slip off the rim on the other side.If you managed to get the tire on but the valve moved in the process you can still adjust it using a firm grip (your fingers grip the inner tube inside the tire) and a bit of pressure in the appropriate direction.If the valve and valve-hole are the same size, we advise against using the valve nut. This is mostly used to keep the actual valve straight and can cause the valve stem to snap.Instead of using the valve-nut hold your thumb on the tire and push down firmly right above the valve to fix the pump head onto the valve.
Now it’s time to pump up the tire. We recommend an air pressure of around 6-7 bar in the front tire and 7 bar in the rear – the wider your tires, the lower pressure you can run without risking punctures, with the added benefit of a massive gain in comfort.
Important: Every tire has a bead seat line. If the tire is sitting properly the line should be running evenly along the rim and be completely visible.
If that’s not the case, try to add more air until the tire pops into the rim properly. Once the tire is properly fitted you can decrease the pressure to your needs.
Did you enjoy this article? If so, we would be stoked if you decide to support us with a monthly contribution. By becoming a supporter of GRAN FONDO, you will help secure a sustainable future for high-quality cycling journalism.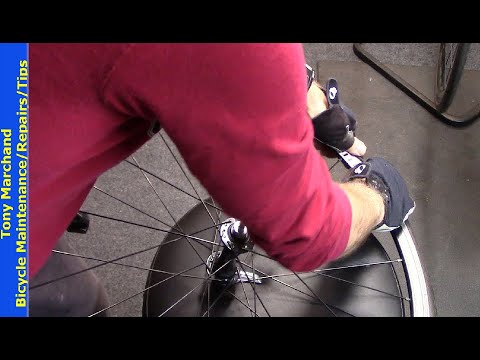 Click here to learn more.
Words: Christoph Bayer, Manuel Buck Photos: Valentin Rühl
A wheel puncture on a bicycle is a fairly common occurrence, especially when riding on rough terrain or using substandard or worn tires. Such an unpleasant incident happens to a cyclist at least once a season, and some are "lucky" to change the camera two or three times in a short trip.
And if it takes five minutes for an experienced cyclist to change the tube on a bicycle, then for some reason beginners are very afraid to remove the tire on their own and most often drag their bike to a service or to friends. It's actually very easy to change the inner tube:

In order to pull the tire out of the rim, you need to pick up its edge with the first "wire" and pull it out of the rim. At the same time, the mount must be held so that the tire does not end up inside the rim again, and the mount itself does not fly into your forehead.
After that, with the second mount, similarly pull out the edge of the tire next to the first mount. Don't forget to hold the first montage while doing this!
If the tire tension is still high after using two mounts, the third mount should be used in the same way.
You should end up with one end of the tire completely out of the rim.
Done. Now you can start sealing the damaged camera or just install a new one.
I hope this article will help you learn how to change the camera yourself. Happy rides!
| Recommended reading: | GPS navigator for bike | How to choose a bike | What to do if the chain slips |
Published: 06/09/2010
201040 views
Tired of riding around your city? Our bike tours are much more interesting!
Need a bike? A great way out is to buy a bike in our bike shop!
Bicycle broken? It's not a problem - we have bike repairs in our shop.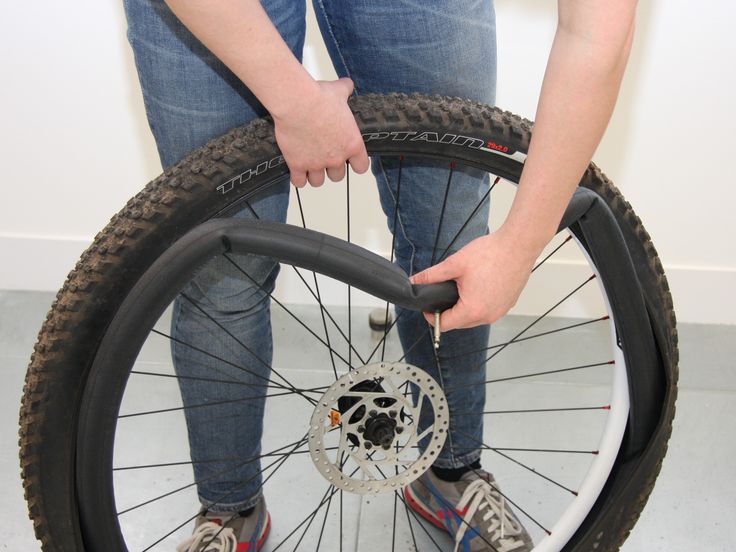
To be fit in winter? buy a simulator.
03/05/2013
Probably the most common failure for a cyclist is a tire puncture, especially if he rides in an aggressive style. Either he hit the glass, then a nail, and sometimes he just ran into the curb at speed. Experienced cyclists can change the camera in the bike with his eyes closed, but what about a beginner who can't even take off the wheel, let alone change the camera. The main thing is not to despair! If you are traveling a long distance (and always better), take a pump with you, a spare tube, or, in extreme cases, a "bike first aid kit" for the wheel. Someday she will save you from the fate of pulling the bike "on yourself".
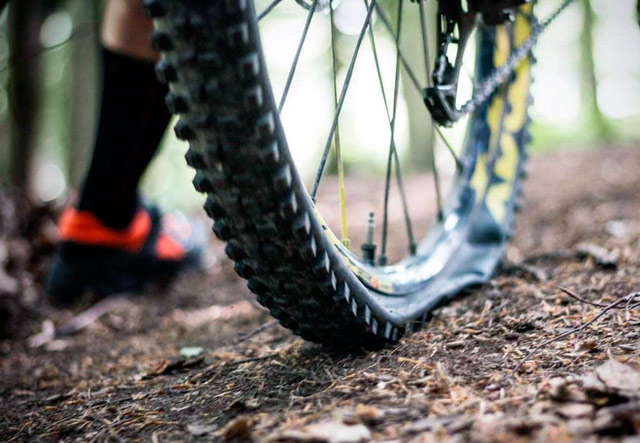
So, if you punctured the wheel , first you need to get off the bike, in no case continue to move on a flat tire .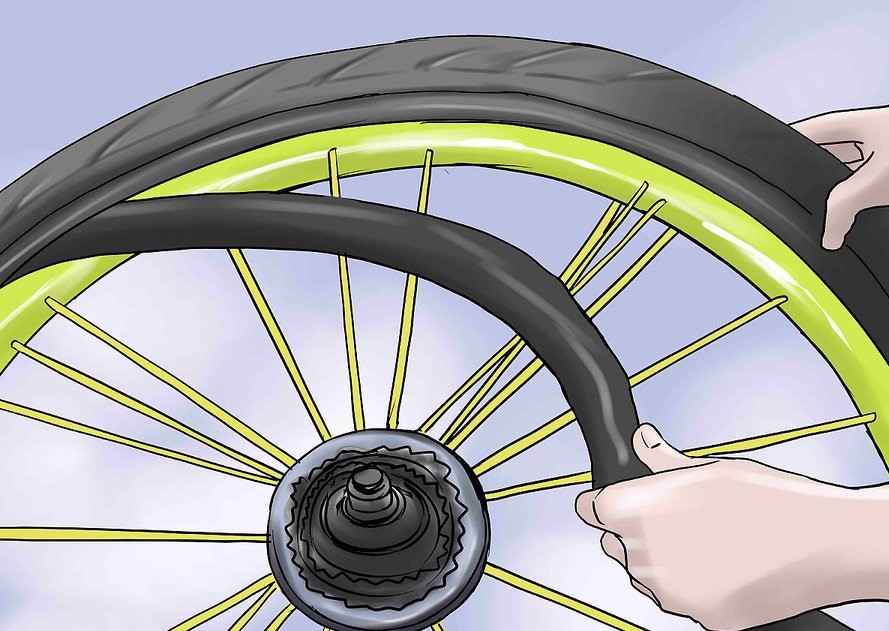 Firstly, you will tear the tube even more, and secondly, you can ruin the tire, and in the worst case, the rim.
How to change the tube on a bicycle
1) If the wheel has not completely deflated, deflate it to the end, to do this, unscrew the nipple (spool) cap. If you have a nipple (spool) the same as in the car, press something sharp on the small button in the middle and hold until the tire is flat. If you have a cap with a key for the spool, then just unscrew it. If you have a nipple (spool) like in old bicycles, unscrew the lamb and take it out.
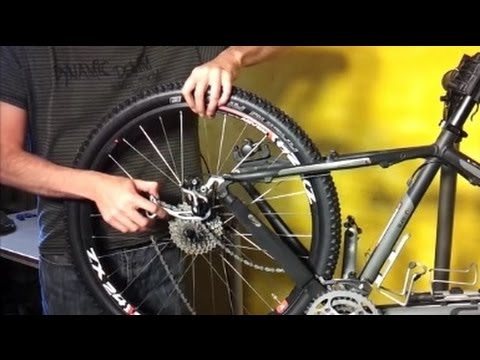
2) Remove the wheel. If the wheel is on an eccentric, removal will not cause difficulties, if not, then keys will be needed (depending on the bike and wheel - 13-17).
3) If you have "pliers", use them to remove the rim from the wheel, if there are no pliers, you can use an improvised tool (wrenches, etc.), but it is advisable not to use objects with a sharp edge - this can lead to damage to the tube or rim. Tear the tire with your tool and, resting it against the rim, press down until the edge of the tire comes out of the rim, then take the second key or mount and do this action again, while NOT removing the first key. When you feel that the keys do not lean back when you release them - just try to move the second key in a circle away from the first key.
4) Remove the camera by simply grasping it with your fingers. Grasp the opposite side of the nipple (spool).
5) In principle, you can insert a new tube, but I recommend removing the tire completely (this can be done by hand or with pliers (wrenches)).
Check the condition of the rim: there are no metal burrs inside, check the condition of the rim tape, look inside the tire. This should be done if you change cameras frequently and don't know where you might have blown a tire.
How to install the tube in a bicycle wheel
.d.)
2) Lightly inflate it, if you removed the tire completely, put it on one rib (if the rubber is directional - make sure you install it correctly (you can peek at the rear wheel if the treads are the same)).