The CV joint, the half-axle, the half-shaft, the axle, or even the drive shaft are some of the many names of this mechanical part. It is a very important part in a motor vehicle, but it is also, in fact, a very simple mechanism. Let’s demystify this mechanical assembly.
First thing first, let’s agree on a name. In reality, we are talking about a half-wheel axle. A few joint variants are used in the assembly of a half-axle. Two mechanical principles are the most often used: the universal joints and the constant velocity joints.
The universal joint (U-joint)
The universal joint is extremely simple and is an excellent economical choice. The Italian inventor M. Cardano perfected this technique to couple two rotating shafts that are not aligned or when the angular positions relative to each other vary. In the ATV industry, it is mainly used on drive shafts and more rarely on half-axles.
Composed of a cross-section and yokes that are very economical to replace, this mechanism also has a downside. Its operation results from a non-linearity of rotation. To counter this phenomenon, a second U-joint must be installed on the same shaft, at the same angle, and synchronized by a quarter turn. Another dark facet is its vulnerability to water which will disintegrate it.
Example of non-linearity of the universal joint
The constant velocity joint (CV joint)
The constant velocity joint is a much more advanced mechanism. Its linearity is almost perfect, which results in smoother operation. As it is more complex, it is also much more expensive. Its design requires grease to lubricate it as well as to dissipate heat. A simple intrusion of water or sand into the assembly will contaminate the grease and inflict fatal punishment on the joint. As it is protected by a flexible bellow or boot, you can easily guess the importance of it being kept in good condition.
Periodic check of your half-axle boots
A simple visual inspection of the CV joint boots can tell you if you need to take action. The presence of grease outside the boot indicates that immediate repair is needed. Traces of wear or cracks on the bellows are signs of repair intervention in a near future.
Choice of replacement boots
There are four choices of replacement CV boots on the market. That of the manufacturer of your ATV (OEM), the replacement “jobber” boot (aftermarket), the universal boot, and the replacement kit sold in two parts to be bonded together.
The latter is a real joke and I don’t recommend it. This replacement boot is split into two parts which must be assembled around the constant velocity joint and then bonded with glue. Cleanliness and very good dexterity are a must in this case. Repairing a CV boot with this kit is, indeed, really not as easy as it seems.
The third solution, the universal boot, can be interesting. This bellow does not require disassembly of the constant velocity joints. You have to stretch the boot and pass it over the joint. The boot composition is usually very flexible, but is also more fragile to the impact of branches and other objects encountered on the trails
The OEM and aftermarket replacement boots are, in my opinion, the best choices.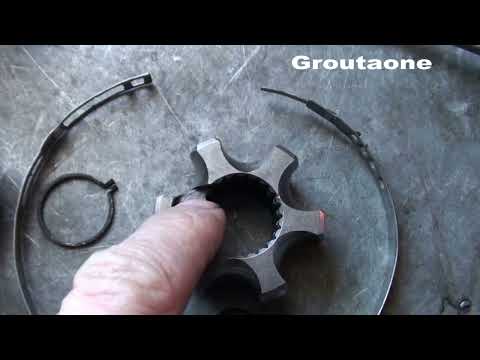 Those are the ones I recommend.
Replacement boot assembly
Replacing a half-axle boot
ATV used: CFMoto CForce 1000
Required tools
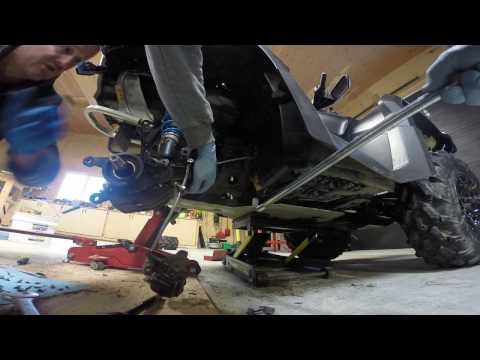
Removal of the wheel and disassembly of the brake caliper will be necessary. Unscrew the nut from the end of the half axle. Remove the retaining bolts from the ball joint suspension links on the steering knuckle. Release the assembly and set aside the knuckle.
Remove the half axle from the differential by pulling it firmly. It may be necessary to use a lever between the differential and the half-axle. Take care not to damage the differential seal.
Remove the clamps from the boot to be replaced using sharp wire cutters. Cut the old boot and set it aside. Inspect the grease in the CV joint. If the grease is not contaminated with water, sand, or dust, that is good news: the CV joint may still be in good condition.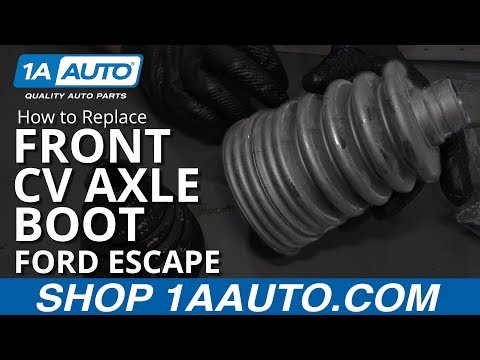 If, on the other hand, the grease is discolored or contaminated, the joint is likely damaged. In other words, even if the boot is replaced, a premature CV joint failure is to be expected.
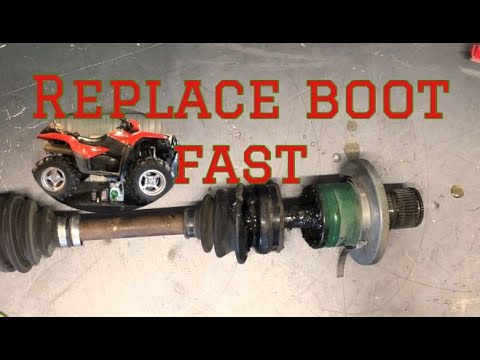
To separate the CV joint from the half-axle, it will be necessary to use a hammer to hit it with a few light strokes. Use a brass punch and strike only in the central part near the half-axle. Note its installation position, it should not be reversed. Once the parts are separated, remove as much of the old grease as possible. Inspect the condition of the CV joint. If there are scratches or traces of abrasion, unfortunately, the joint will have to be replaced.
Damaged CV joint
Reassembly of the CV joint
First, put the small clamp on the half-axle. Then slip the CV boot. Pour some of the grease supplied with the replacement boot onto the constant velocity joint. Now reinstall the joint on the half axle. Make sure that it is properly locked in place.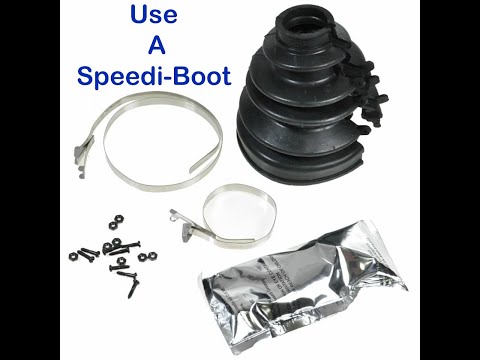 Pour the rest of the grease into the boot and put it in place over the CV joint. Install both clamps and tighten them using the boot clamp pliers.
CV Boot clamp pliers
Now you just have to reinstall the half-axle by reversing the procedure. Position the C-lock in the center of the half-axle, this will facilitate its insertion into the differential. If some oil has leaked out of the differential during repair, simply fill up the oil level. Make sure to respect the tightening torque of the wheel bearing nut.
In conclusion, a CV boot repair is a relatively simple operation. If there is any doubt as to the condition of your CV joint, it is possible to get a replacement unit without replacing the whole half-axle. However, in most cases, the cost of both parts (boot and CV joint), will exceed that of a full replacement half-axle assembly. Check the two options.
CV axles are used to drive every model UTV and independently suspended ATV on the market. Whether replacing a torn CV boot, a broken axle, or even upgrading to stronger or longer axles for an aftermarket suspension, as an ATV enthusiast, you are bound to be tearing into one at one time or another. While it looks a bit scary, there really is little mystery to axle repair, and the same basic process can be used on almost any model CV axle.
We will show you how to rebuild a broken RZR XP axle with OEM Polaris parts, but you can use these same steps for CV boot replacement with a boot kit from Moose Racing or All Balls. MTA also has a new, reasonably priced line of Slasher CV axles and boots.
Tools needed:
• Bench vise
• Dead blow or brass hammer
• Needle-nose pliers
• Side dikes
• Small flat screwdriver
• Band clamp tension tool
• Moly CV-joint grease
 STEP TWO
 Be sure
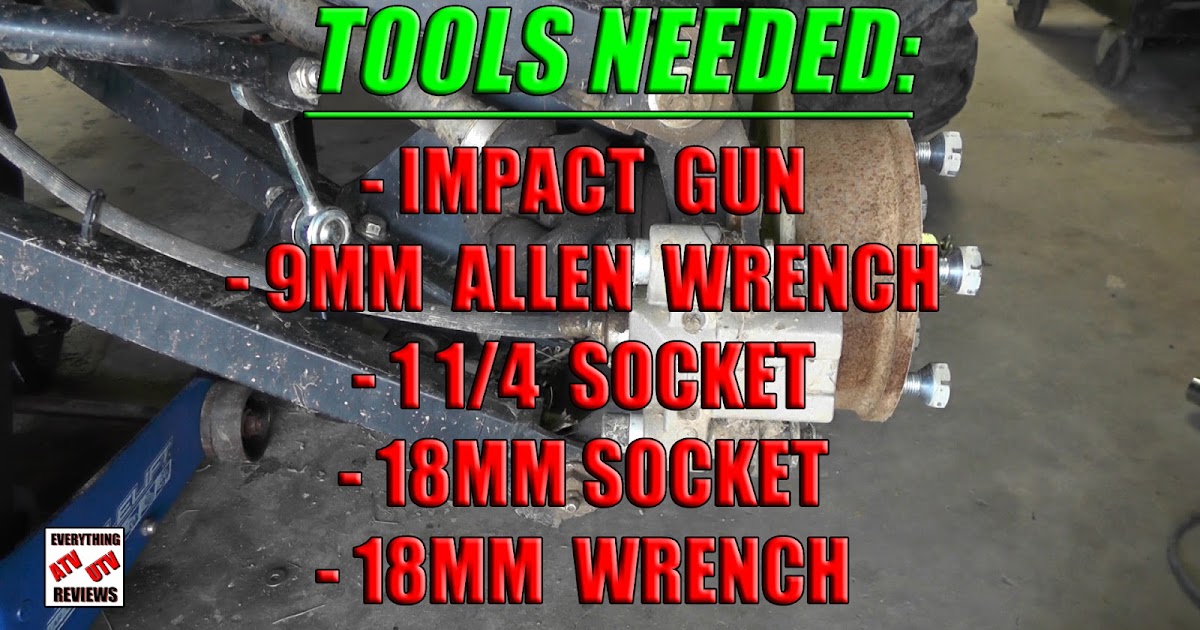 Be
BeContinue Reading
AxlesCV Joints
Prev Post
Polaris RZR Factory Racer Ryan Piplic Takes SxS Pro at WORCS Round 6
Next Post
2017 POLARIS RZR XP TURBO TEST
In this article, we'll cover the maintenance features of 125cc 4-stroke gasoline engine ATVs for kids and teens. see the MOTAX family, using the MOTAX T-REX SUPER LUX ATV as an example.
To change the engine oil you will need:
1. A container for draining used oil (can be made from an old plastic canister by cutting off the side).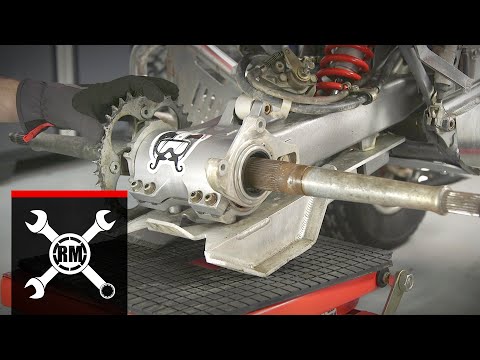
2. Four-stroke ATV engine oil (we recommend using oil of the MOTUL line).
Please note that it is not permissible to use oil intended for automobile engines, since the gearshift mechanism and clutch are in the same oil bath with the engine and for their proper operation a certain set of additives is required, which are not found in automobile oil.
3. 17mm socket wrench or wrench.
The 125cc MOTAX T-REX SUPER LUX power pack has a 0.7L oil fill tank.
The ATV engine must be warmed up to operating temperature before changing the oil. Since the oil sump of the gearbox and engine is combined, it is recommended to ride the ATV forward and in reverse gear. This must be done so that the oil becomes more liquid and fluid, and the wear products that may have been deposited on the inner walls of the crankcase and the mechanism become suspended and mixed with the oil.
Don't be alarmed if the oil you drained from the ATV's power unit is dark in color.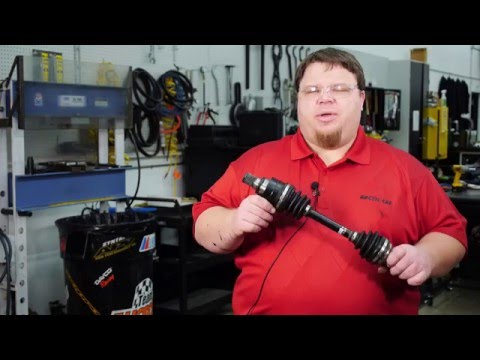 During operation, the oil darkens, which indicates that it works and protects the engine from wear.
In order to drain the oil, it is necessary to unscrew the drain plug located at the very bottom of the engine crankcase. Do not confuse this plug with the chain tensioner bolt, which is installed next to it, in the left side cover of the motor.
It must not be unscrewed during this operation.
Unscrew the drain plug (in our case, the drain plug is green, see the photo above), having previously moved a container under the ATV to drain the used oil. Let the oil drain completely.
While the oil is draining, unscrew the oil dipstick, which simultaneously functions as an oil filler plug and leave it in place without removing it
below
In this case, the used oil will drain off without residue.
After the old oil is completely drained, screw back the oil drain plug
Be careful not to use too much force when tightening the plug, as this could damage the threads in the aluminum crankcase of the ATV engine.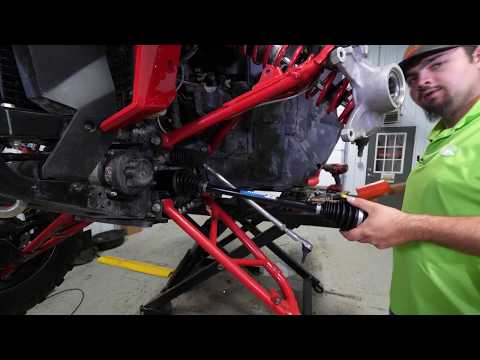
New oil can now be added. The ATV's engine is equipped with both a dipstick and a viewing window on the bottom of the engine.
It is better to focus on the viewing window. The oil level should be approximately at the top of the oil.
The engine is splash lubricated, too much oil is better than too little. The ATV engine is equipped with a breather at the top, the excess will come out through it without damaging the gaskets and seals. Of course, you should not get involved in overflowing oil into the engine either. Oil should be poured through the hole in which the oil dipstick is installed
After the oil has been filled, screw the dipstick back into place. Start the engine and let it idle for about 30 seconds. Stop the engine, let the ATV stand still on level ground for about 30 seconds. If the oil level has dropped, the oil must be topped up.
If the level is correct, you can proceed to the next stage of maintenance work.
Almost all 2017-2019 ATVs a serviceable foam rubber filter is installed for cleaning the air entering the carburetor.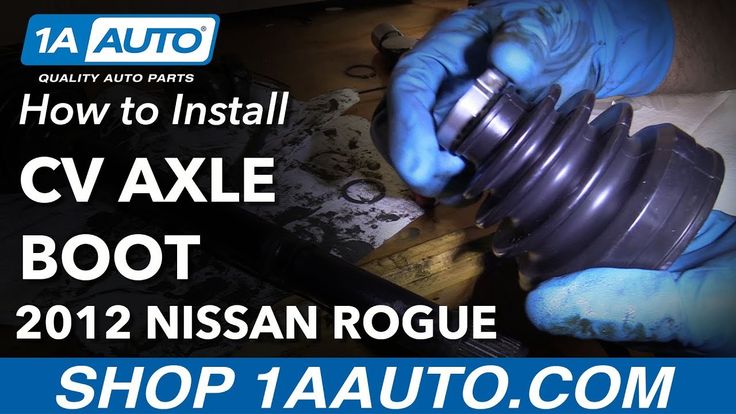 If the filter element is intact, not torn, then it is allowed to simply rinse it without changing it to a new one.
The first thing to do is disconnect the filter from the ATV carburetor.
Filter, worm-drive clamp, Phillips screwdriver required for removal
Loosen the clamp and tighten the air filter
The MOTAX uses two types of filters. Foam rubber, as in the photo above and a filter with a metal mesh. The principle of their maintenance is similar, the used ATV filter must be washed and then impregnated with a special oil, such as MOTUL.
To wash the filter element, you can use both special liquids (for cleaning carburetors) and ordinary liquids - gasoline, kerosene, diesel fuel, water from Fairy for washing dishes.
The filter must be washed carefully to avoid damaging the filter element.
After the filter has been washed, it must be dried and soaked in oil. Oil penetrates through the pores of the filter element, lingering in them, thereby helping to trap the smallest particles of dust and dirt. It is necessary to impregnate the filter evenly, without gaps. Any, even the smallest gap, is a weak point through which dirt and dust will surely get into the engine, subjecting it to premature wear
After oil is applied to the filter, you need to take a regular plastic bag, put it on the filter and rub the applied oil on the surface of the filter element.
The oil is now evenly distributed over the surface of the filter element. No gaps or voids.
Reinstall the filter, leaving the filter bag in place for now to avoid getting your hands dirty. Before installation, it is recommended to lubricate the rubber seat with engine oil
Tighten the clamp with a screwdriver
Remove the bag from the filter. Done - the air filter has been serviced, you can proceed to the next stage of the ATV maintenance work.
NGK C7HSA Spark Plug
Requires 16 Spark Plug to ignite mixture on MOTAX ATVs with 125cc engine
MOTAX T - REX SUPER LUX0003 Remove the spark plug cap from the spark plug, put the cap on the spark plug and turn it counterclockwise. Install the new spark plug in reverse order. We tighten the candle with sufficient force, but at the same time carefully so as not to break the threads in the head of the engine block. The applied force on the key should be smooth and moderate. After the spark plug has been replaced, it's time to service the ATV's suspension. The MOTAX ATV's suspension joints are equipped with grease fittings that are designed to force grease into the ball joint using a special grease gun. The same grease fittings are provided to lubricate the steering shaft and rear swingarm ATV's suspension requires a special grease gun and grease for the pivot joints. Any type of grease gun can be used, but we find the most convenient gun with a flexible nose, designed to work with hard-to-reach suspension grease points MOTUL Tech Grease 300 is an excellent lubricant.0003 Once the syringe is ready for use, put its head on the grease fitting of the suspension assembly to be lubricated injected with a syringe can damage them. Wipe off excess grease with a rag or rag and put a protective cap on the grease fitting All suspension units equipped with grease fittings are sprayed in this way. To lubricate the steering shaft, put the syringe head on the grease fitting it is equipped with. passed through the entire node and is no longer required. To service the ATV's drive chain, jack up the rear axle of the ATV so that the wheels turn freely in the air, but the ATV maintains a stable position. mud. For this work, you can use the special tool MOTUL or regular gasoline and a brush. It is better to install a pan under the ATV so that the remnants of the old grease and cleaning agent flow into it. The chain should be thoroughly rinsed from the inside and the outside by turning the ATV wheel and thereby shifting it Apply new lubricant only on a dry, clean surface, so after washing the chain should be wiped with a rag or rag Please note that the ATV during the performance of these works, for safety reasons, it must be de-energized. Be careful not to get your hands between the drive chain and the star. ATV chain can be lubricated with any lubricant specifically designed for this purpose. Chain lubricant is sold in aerosol cans. We recommend using MOTUL C3 off Road Lubrication should be applied on the inside and outside of the chain, on both rows of links. A chain tensioner is installed on MOTAX ATVs. This assembly is flushed and lubricated during maintenance along with the chain Pull the roller down and loosen the chain with one hand, check for slack with the other by pressing the chain from the bottom up If the chain slack is more than 1. To adjust the tension of the chain, loosen the rear bottom bracket at the top and bottom using the 17 and 14 wrenches. Next, tighten the chain with tensioners. Chain tensioners are installed on both sides of the carriage and it is necessary to adjust the chain tension both simultaneously and evenly. Otherwise, the axle of the ATV will be skewed That is, if the nut was tightened three turns on one tensioner, then the same must be done on the second tensioner. Retract the roller and check the chain tension. After the chain tension is adjusted, tighten the nuts securing the rear carriage of the ATV. Pay special attention to the position of the speed sensor, which is mounted on one of the bottom bracket bolts. Please note that the sensor must be installed flush with the holes in the driven star into which the magnets are inserted. These magnets during movement transmit signals to the sensor, which converts them and transmits them to the dashboard of the ATV from three hours on a turnkey basis in Moscow and the Moscow region Tow truck for 1000 rubles. 2000 Tow truck for 1500 rubles. 2500 rub. Schedule an ATV diagnostic or repair for Your name: Your telephone *: Identification of "diseases" of your motorcycle at an early stage will allow you to avoid later expensive repairs we don’t change all components and parts in a row, “inflating” the order/order invoice Official diagnostic card of technical inspection in 30 minutes, accredited maintenance operator-mechanic 10 qualified mechanics with real experience in repairing motor vehicles from 3 years will ensure the minimum terms Adly ATV Repair Aeon Maintenance Aie Motorcycle Maintenance ARCTIC-Cat Armada repair of motor vehicles BaltMotors Technical ATV BASHAN BRP CCTEK maintenance CFMOTO CUTO. Repair of Hisun ATVs Service of Honda equipment Maintenance of Irbis motorcycles Maintenance of Kawasaki ATVs Repair of Kazuma Motics Service KIMCO Technical Conduct of ATVs Lifan Lokker Repair Nexus Supply of ATVs 22 Polar-fox Maintenance of Polaris equipment Maintenance of motor vehicles Russkaya-mehanika Maintenance of Sagitta ATVs Repair of the STELS equipment Service STORMBRINGER Technical Condition Suzuki SYM Repair Motics TGB Services of ATMP 
 In order to control the supply of oil to the lubricated unit, we recommend that you keep your fingers free from the syringe on the rubber boot. Thus, it will be possible to feel when the lubricant passes through the swivel and its excess begins to come out. At this point, the injection of lubricant into the joint must be stopped
 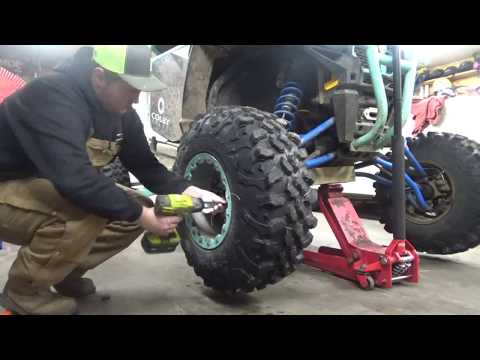 To do this, you can use the same canister that was used to drain the used oil from the engine.
 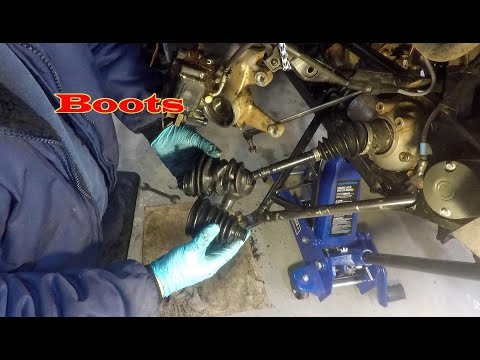 5 cm, the chain tension must be adjusted.
 Repair and maintenance of ATVs inexpensively
Repair and maintenance of ATVs inexpensively
ATVs
in Moscow 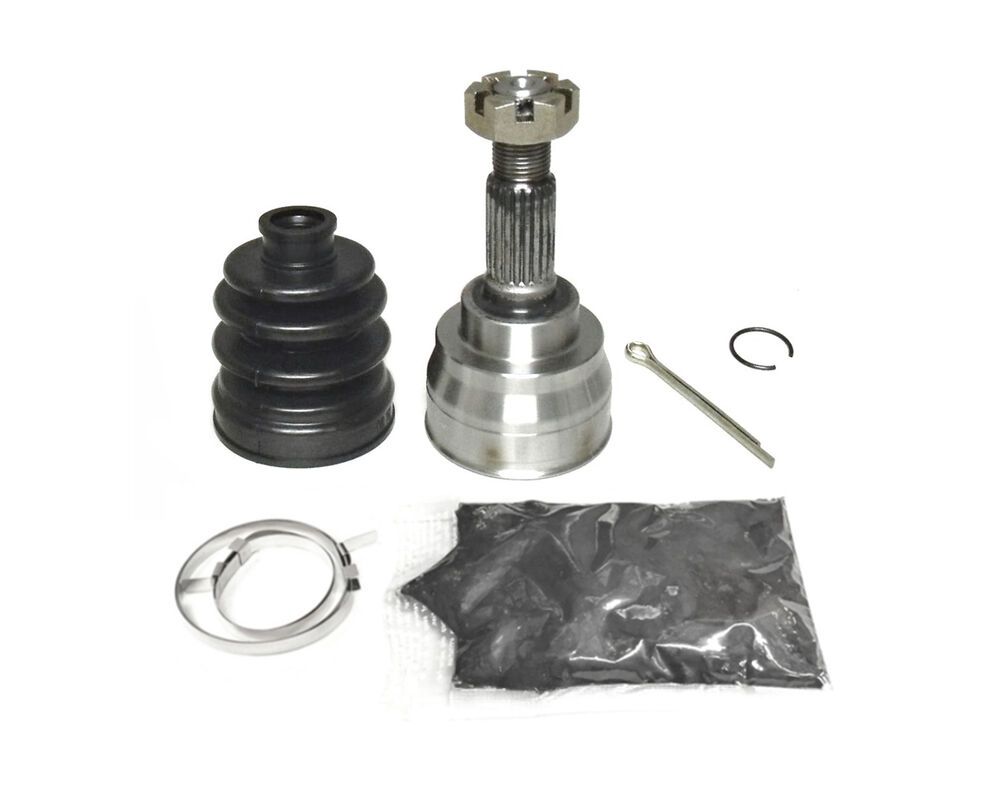
ATV
in the Moscow region
now! Our technical center
5 reasons to sign up for diagnostics right now
ATV tow truck call!
ATV broke down far from home?
Book a tow truck! Call a tow truck? What equipment do we repair, service and tune?
 Godzilla motorcycles
Our addresses:
Our service center offers high-quality repair of ATVs of any configuration, model and equipment. Our specialists have extensive experience in servicing motorcycles, so we guarantee high quality repairs, reliability and stability of work after the intervention.
Years of accumulated experience allows us to repair and maintain ATVs of any complexity, even if the malfunction was identified by other craftsmen and, according to them, is impossible to fix.
Our experts can quickly and efficiently fix any defect, no matter how complex. At the same time, the cost of repairing ATVs with us is much lower than in any other company. We offer a full and high-quality service for the effective removal of any breakdowns, even if they require disassembly of all equipment to the ground.
Low cost instead of high-quality repair of ATVs
Our specialists regularly undergo advanced training, developing their practical skills, so they quickly eliminate many problems. At the same time, even difficulties in new models of motor vehicles can be effectively solved.
The cost of repairing ATVs at our service center is much lower than anywhere else.