Delivery options and delivery speeds may vary for different locations
Sign In
or enter a zip code
Email * Password *
REPAIR & HOW TO
MAINTENANCE
TROUBLESHOOTING
GUIDES
TIPS & TRICKS
ALL ARTICLES WATCH VIDEOS ABOUT US SHOP PARTS CONTACT US
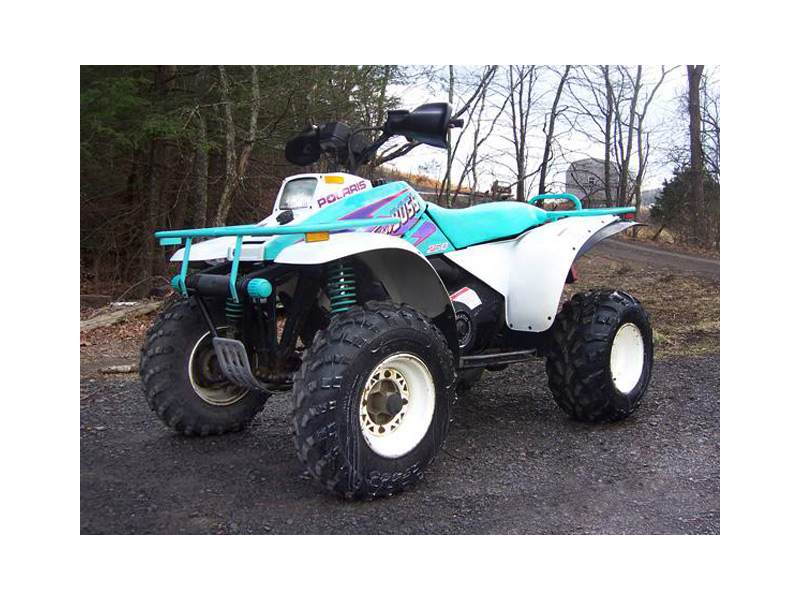
Grabbing the hand brake on an ATV and finding too much movement or none at all from the brake lever is never a good sign. The same goes for the foot brake.
The brake cables on a Honda TRX350 can stretch or become clogged with dirt and debris over time. Unless you periodically replace the cables, there will come a time when your brakes will stop working properly, and that's when accidents happen. Watch the video above and follow the steps below to replace the rear hand and foot brake cables on a Honda Rancher 350.
Step 1. Remove the right rear wheel.
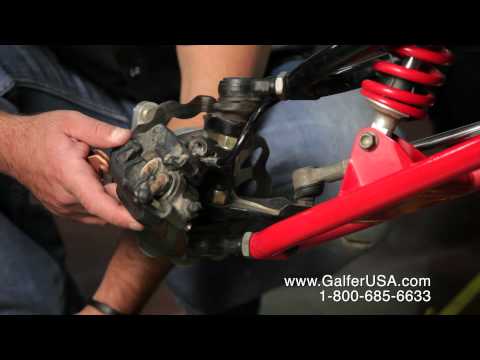
Step 2. Remove both the hand brake cable and foot brake adjustment screws. The lower cable is the foot brake cable and the upper cable is the hand brake cable.
Step 3. Remove the tensioning spring from both cables, and pull the cables out through the retaining bracket.
Step 4. Push the rubber boot at the front end of the foot brake cable to expose the cable itself, and then pull the cable out through the slot in the side of the guide bracket.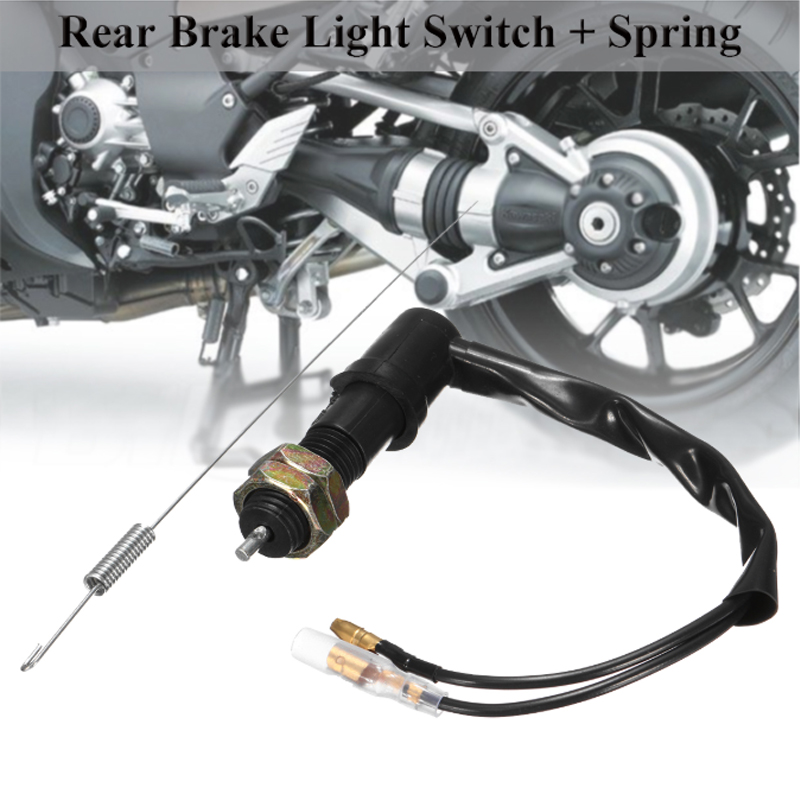
Step 5. Rotate the cable clockwise until you can remove the head of the cable through the notch in the brake pedal's inner cable housing.
Step 6. Install a new Honda TRX350 foot brake cable, working backwards from Step 5 through Step 2 to install the new cable by reversing what you did to remove the old one.
Step 7. Tighten the cable adjustment screw until you have the correct amount of tension in the foot brake cable. Typically, this is about a quarter to half an inch of play in the foot brake pedal.
PRO TIP: Having adjusted the foot brake cable, make sure the arms of the adjustment screw are horizontal. This is because the screw has a curved face that helps lock it in place when it is positioned horizontally.
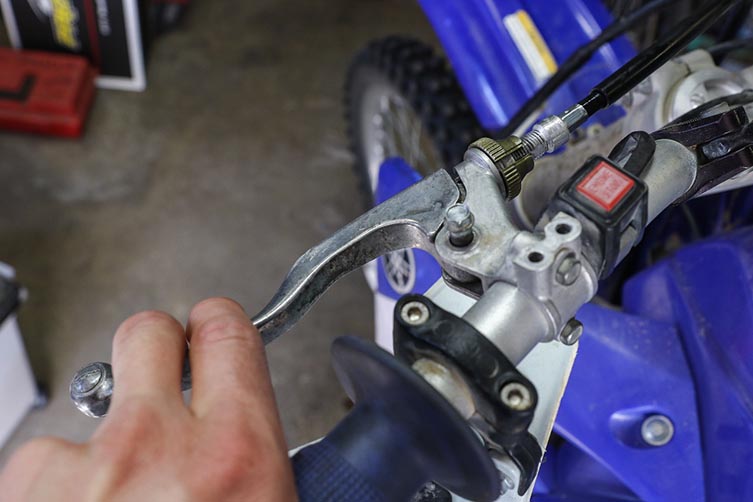
Honda TRX 350 Rear Hand Brake Cable ReplacementStep 8. Push the rubber boot away from the hand brake lever, and rotate the hand brake cable until you can remove it through the slot in the bottom of the lever.
Step 9. Pull the hand brake cable out from the brake lever's rubber boot, and pull the cable free from the retaining hook under the central handlebar cover.
Step 10. Securely tape the rear end of the new Honda TRX350 hand brake cable to the front end of the old hand brake cable with electrical tape. Unclip and remove the plastic side panel, and release the brake cable from the retaining hook located on the frame just in front of the rear fender.
Step 11. Carefully pull the old brake cable out from the bottom end while feeding the new cable in from the front end. The new brake cable should slide right into place by using this method.
Step 12. Connect the new rear hand brake cable in the reverse order you disconnected the old one (Step 5 through Step 2).
PRO TIP:
Before connecting the brake cable to the hand brake lever, it's a good idea to remove the brake lever pivot bolt and grease it.
Step 13. Tighten the cable adjustment screw until you have the correct amount of tension in the hand brake cable.
PRO TIP: Remember, the arms of the adjustment screw should be horizontal once the adjustment is finished so that the curved face of the adjustment screw keeps it locked in place.
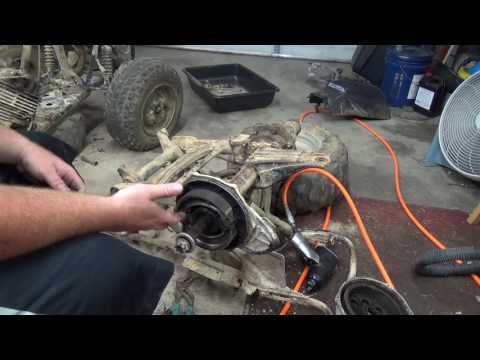
Now that you know how to replace the rear brake cables on your Honda Rancher TRX 350, why not learn how to replace the rear brakes on your ATV too? Watch the video below and we'll show you how to get it done.
body
Our Price: $24.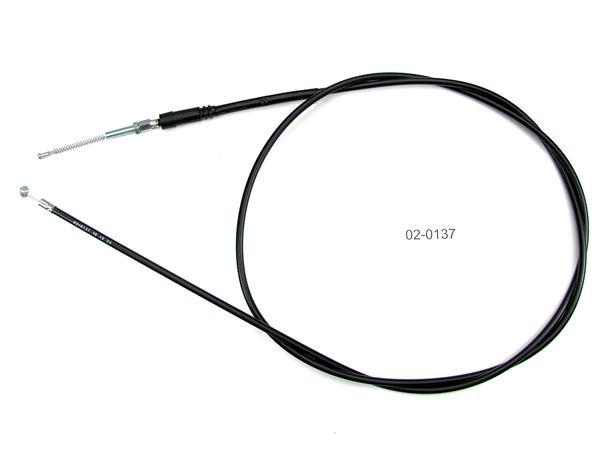 80
80
Our Price: $17.95
Our Price: $17.06
Our Price: $13.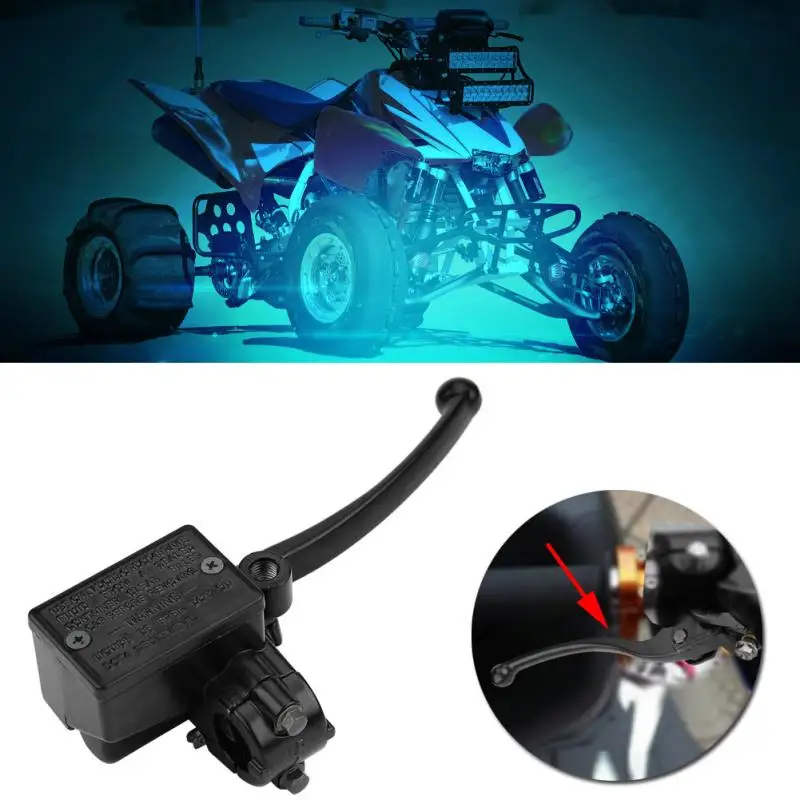 46
46
Our Price: $19.08
Our Price: $24.70
Our Price: $15. 26
26
Our Price: $22.45
Our Price: $13.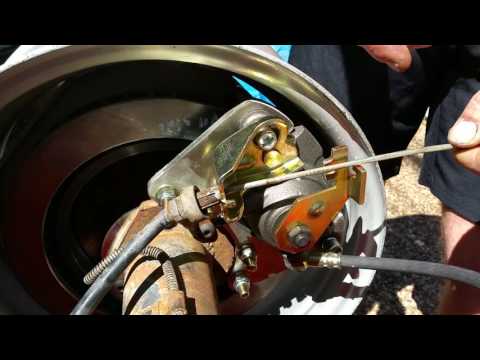 46
46
Our Price: $8.96
Our Price: $14. 86
86
Our Price: $17.95
Our Price: $20.20
Our Price: $24. 70
70
Find Parts For Your ATV:
Find Parts For Your ATV:
Categories
Search
Home → Brake system - diagram and repair → Parking brake cable - malfunctions and do-it-yourself replacement
Any modern passenger car is equipped with two brake systems - working and parking (manual).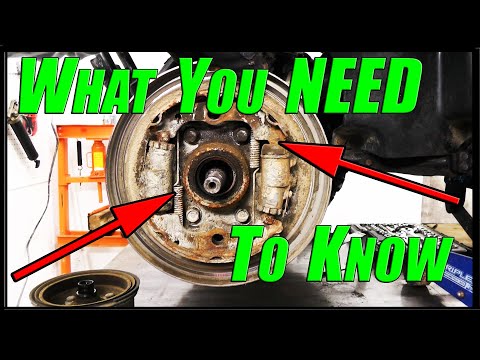 Unlike the hydraulic service brake system, which the driver uses during movement and maneuvering, the hand brake is used to permanently fix the rear wheels of the car. This made it possible to simplify the design of the parking brake system compared to the working one. After reading the article, you will learn how the parking brake system works, what role the cable plays in it, when it needs to be serviced or changed, and how to do it.
Vehicles with a mechanical parking brake use the following combination:
Of all the devices that make up the parking brake system, only the cables are regularly replaced. All other elements in most cases work properly for the entire life of the car.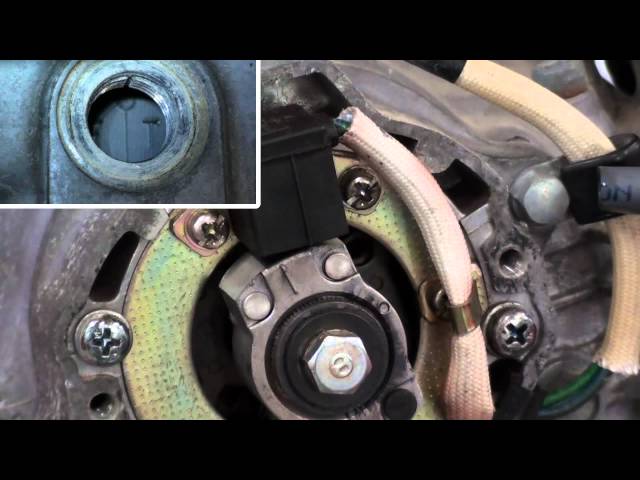
The parking brake cable is a twisted, rubber-topped sheath in which a braided steel cable runs. On some cars, a cable without a braid is used. All cable failures are related to its design. The most frequent of them:
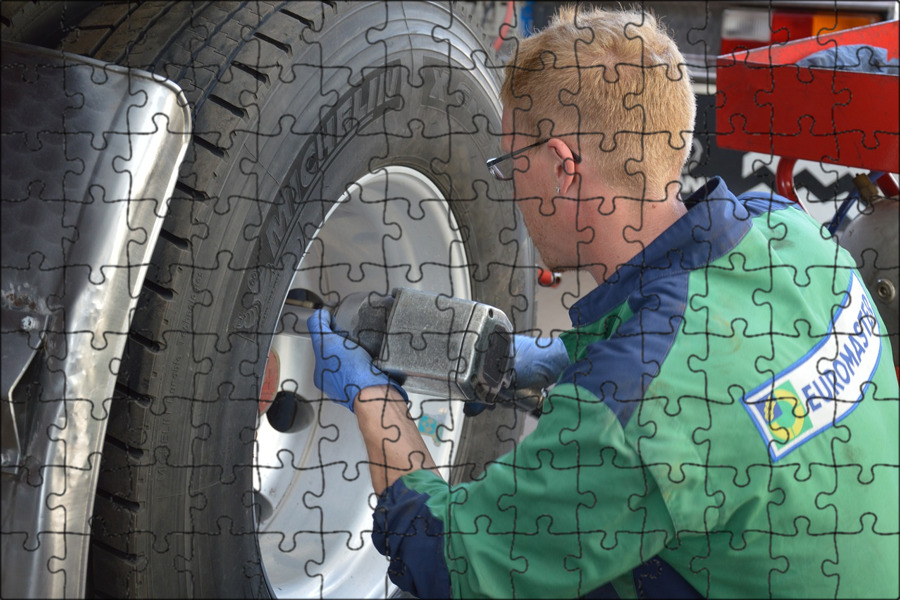
To determine the condition of the cable, you must put the car on a lift. If you do not have a lift, then you can get by with a viewing hole, two support stands and one or two jacks. Before proceeding with the installation of the car on a pit or a lift, carefully read the article on safety when repairing and maintaining a car, this will help you avoid mistakes and injuries.
Checking the condition of the cable must be carried out by two people, one observes the cable from below, and the second, at the command of the first, turns off and off the parking brake lever.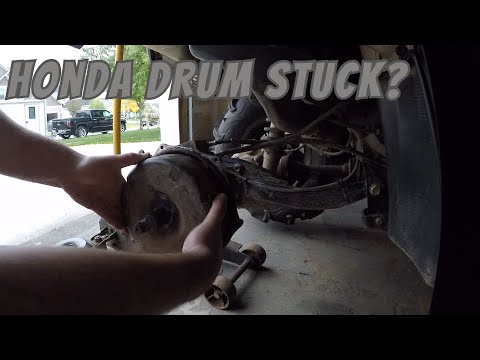 With the parking brake turned off (on rear-wheel drive vehicles, you must put the manual or automatic transmission lever in the neutral gear position), turn the rear wheels by hand. They should spin without much effort. Inspect the entire parking brake mechanism, paying particular attention to damage and rust. Ask an assistant to raise the parking brake lever two clicks, then try to spin the wheels. They should either not rotate at all or rotate only after applying a very serious effort. Have an assistant raise the lever two more clicks. The wheels must be stationary, regardless of the effort applied to turn them. After that, ask the assistant to completely turn off the parking brake. The wheels should then spin freely. If the wheels are difficult to turn, the handbrake cables must be replaced because dirt has accumulated inside the sheath or in the adapter through which the cable is connected to the brake caliper, or several strands of the cable have broken and are clinging to the casing or adapter.
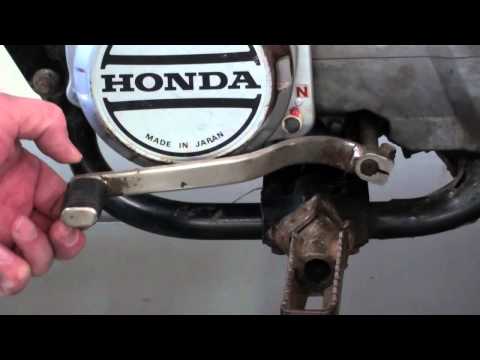 If the cables on your car do not have a sheath, then carefully inspect it for breaks in the steel strands. If at least one break is found, both cables must be replaced.
The general procedure for changing the cables is the same on all vehicles. Below is a step-by-step instruction with which you can independently replace the parking brake cable on any car. All operations are performed with the parking brake lever off.
Similar materials
Pneumatic brakes
brake system,...
Master cylinder repair kit
Features of the vehicle brake system Brake fluid, due to its composition, ...
The brake pedal fails
What could be worse than a vehicle with a faulty brake system?
How to check the vacuum brake booster
Bleeding the brakes with ABS
A rare motorist has not found himself in a situation where any of his actions to stop or
Scooter repair
Adjustment of the scooter drum brake is necessary in the following cases:
Let's consider all the points in more detail:
During the operation of the scooter, the brake pads wear out. The wear of the pads requires a greater stroke of the brake lever, up to its complete punching. The problem is solved by tightening the adjusting nut located at the wheel. In the case when the nut is tightened to the stop, but there is no desired effect, you can rearrange the lever itself, which is located on the cam axis, by 1-2 splines. In this case, you will need to remove the rear wheel.
If the scooter brakes by itself, the first thing to check is the brakes. The adjusting nut may be over tightened and should be loosened. Usually at this stage the problem is solved.
possible pollution. The fact is that oil from the same gearbox oil seal could get between the brake drum and the brake linings. Naturally, there is no need to talk about any efficiency after that. In addition, cheap low-quality pads a priori do not want to perform the task assigned to them, they constantly creak and wear out very quickly. Therefore, it is very important not to save money when buying pads and give preference to eminent brands such as Ferodo and Brembo.
If the brake lever does not want to actively return to its original position, but does it very sluggishly and reluctantly, Check the return springs of the brake mechanism, lubricate the cam that pushes the pads apart. Sometimes a banal cable jam can also lead to similar consequences.
Scooter drum brake squeaking is common and ubiquitous. As a rule, inexpensive Chinese pads creak and there is no cure for this. Temporarily helps cleaning them with gasoline, followed by sanding the brake drum with sandpaper. If the creaking annoys you, and you doubt the quality of these parts, again pay attention to high-quality brake pads.
Do not forget that periodic maintenance of this unit, for example, at the same time as replacing a scooter tire or any other operation associated with removing a wheel, must be carried out. It is much easier to check the elements of the drum brake, lubricate the cam and clean the drum and pads from dirt in combination with other mandatory procedures than then specifically remove the muffler, unscrew the wheel, etc. for this purpose. However, there is nothing complicated in the latter, the whole process can be easily done in 15 minutes.