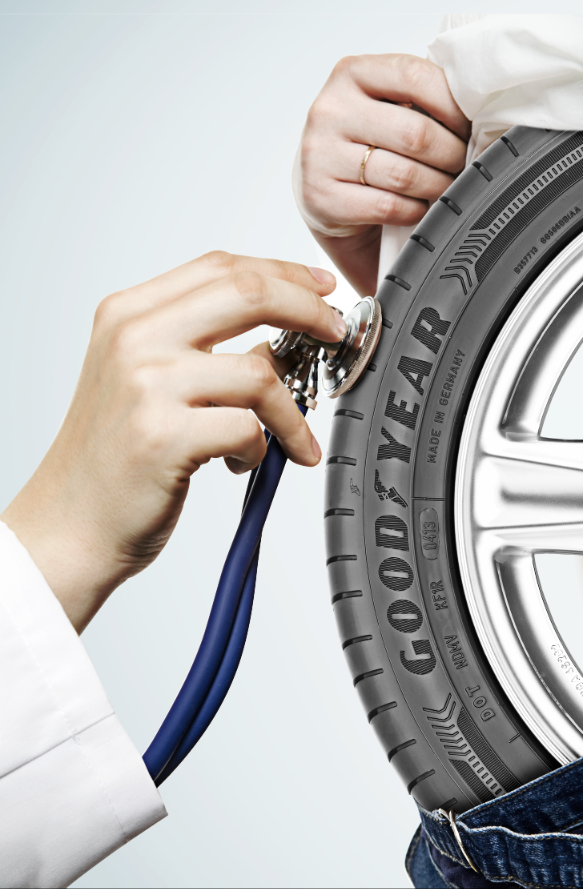
Tire changes are covered under most roadside assistance plans, but it’s still a good idea to know to change a tire yourself. Maybe you’ll be driving through an area without cell reception, or maybe you won’t want to wait the extra 30 minutes for AAA to arrive. Additionally, the feeling of self-sufficiency may partially offset the annoyance of making a trip to the mechanic. Changing a tire is a simple process, but it’s important to follow these instructions carefully to avoid injury or improper installment of your spare.
Most vehicles come equipped with a lug wrench, jack, and spare tire, but be sure to check your vehicle for these items before setting out on a drive of any length. We also recommend purchasing wheel wedges, a tire gauge, and a tire pump to keep in your vehicle.
1. Find a safe and level location. If you are on a busy road, move the vehicle as far from traffic as conditions allow. Park on a flat, hard surface and activate the hazard lights.
2. Place the vehicle in “Park” and apply the parking brake. If the vehicle has a manual transmission, place it in first gear.
3. Apply wheel wedges, if available. Wheel wedges help prevent the vehicle from rolling during a tire change. If the flat tire is at the rear, place wheel wedges in front of the vehicle’s front tires. If you’re changing a front tire, place the wedges behind the rear tires. You can use rocks or other heavy objects in their place.
4. Remove the hubcap or wheel cover, if one is present. Place these items in a safe location away from the road.
5. Partially loosen the lug nuts. Using the lug wrench, turn the lug nuts counterclockwise until you break the resistance. Do not loosen them further at this step. Brace yourself against the tire or vehicle if needed; heavy force may be required.
6. Place the jack under the vehicle. Position the jack directly beneath an area of exposed metal—usually the vehicle’s frame—directly adjacent to the flat tire.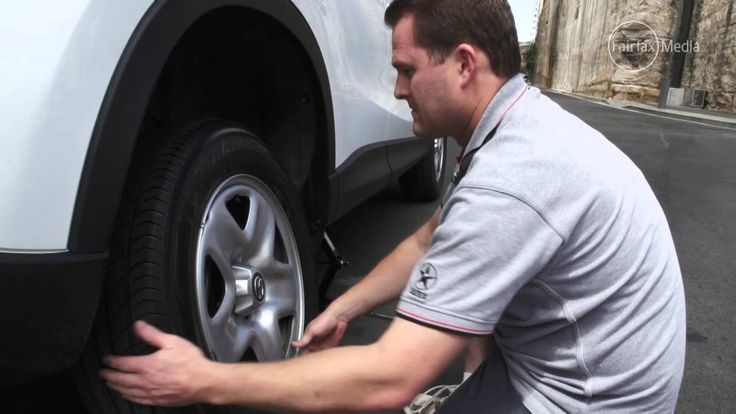 Do not place the jack under any plastic components, as raising the vehicle may break the plastic. Consult the vehicle’s owner’s manual for proper placement if it is not immediately apparent.
7. Crank the jack to raise the vehicle. If the vehicle appears to rise at an angle, or if the jack moves at all during this process, lower the vehicle and reposition the jack. Continue cranking until there are several inches of clearance under the flat tire.
8. Unscrew the lug nuts. Using the lug wrench, turn the lug nuts counterclockwise until you can remove them from the lug bolts. Set them aside in a safe location away from the road.
9. Remove the flat tire. Pull the tire directly away from the vehicle and set it aside. You may need to strike the tire with a rubber mallet or other blunt object to loosen rust on the lug bolts. Be careful not to apply too much force and push the vehicle off the jack.
10. Mount the spare tire. Line the holes in the spare tire’s rim up with the lug bolts and mount the spare onto the hub.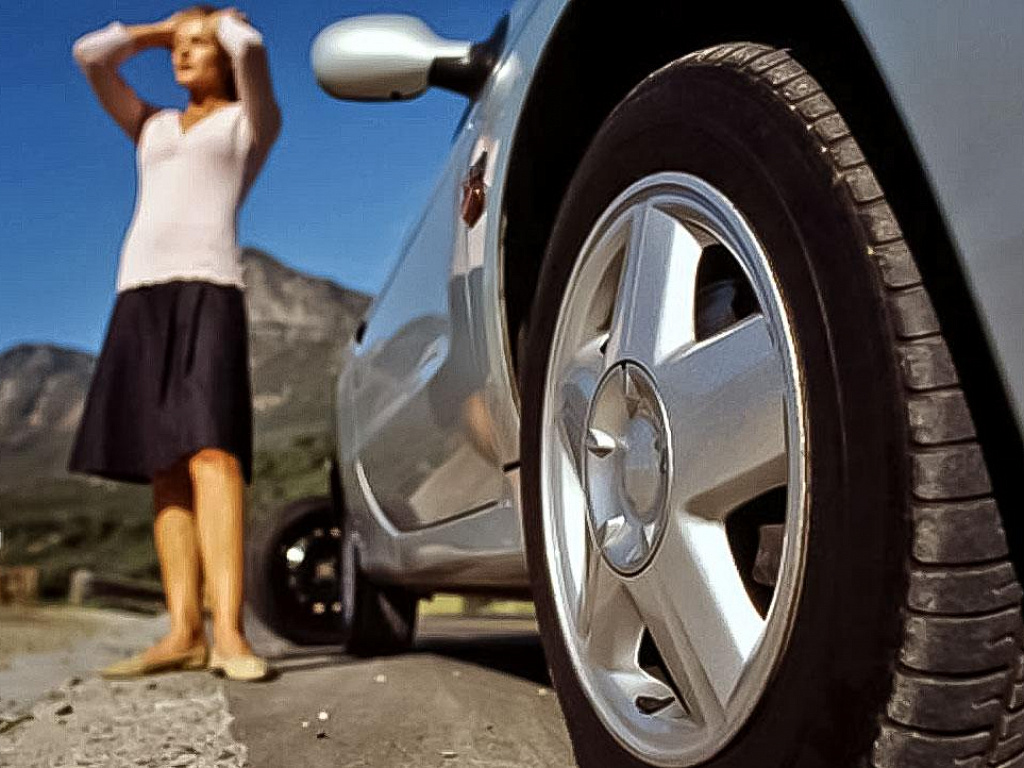 Instructions
11. Replace and tighten the lug nuts by hand. Turn the lug nuts clockwise until you feel resistance. Do not use the lug wrench at this step.
12. Partially lower the vehicle. Release the jack until the spare tire is resting on the ground but the vehicle’s weight is not fully resting on the tire.
13. Finish tightening the lug nuts. Use the lug wrench to turn the lug nuts clockwise as far as you can. Follow a star pattern, alternatively tightening nuts across from each other to ensure equal tightness.
14. Finish lowering the vehicle. Fully release the jack and return it to its place inside the vehicle.
15. Replace the hubcap or wheel cover, if present.
16. Check the pressure of the spare tire with a tire gauge, if available. A standard spare tire should be inflated to 60 pounds per square inch (PSI). Consult the vehicle’s owner’s manual to verify the correct pressure. If needed, inflate the tire using a tire pump.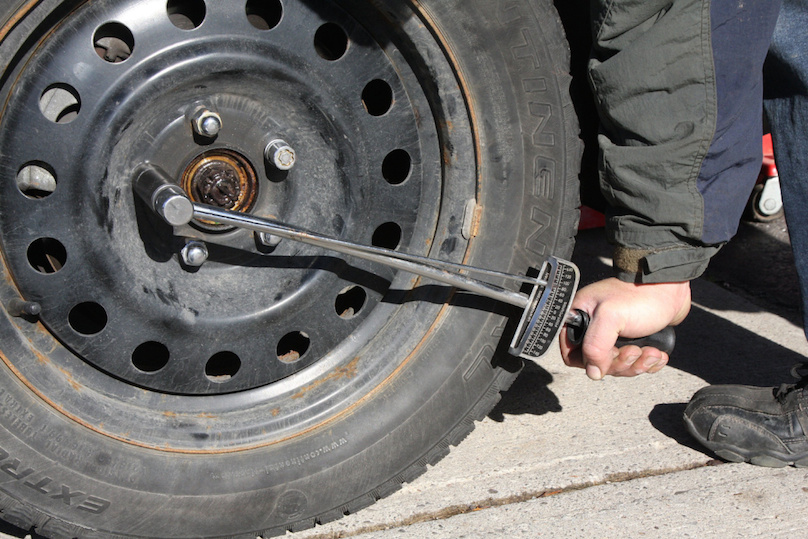
17. Drive to a tire shop or mechanic. Most spare tires are not meant for long-distance driving. Find the nearest technician and repair or replace the damaged tire.
Posted in Service | No Comments »
Home > Maintenance > How to change a tire on Mercedes-Benz
Mercedes-Benz offers a Roadside Assistance program that gives customers the opportunity to have a Mercedes-Benz representative travel to your location and help you with whatever roadside needs you may require. If you do not have the Mercedes-Benz Roadside Assistance program, however, it is beneficial to know how to change a flat tire on your own. Changing a flat on a Mercedes-Benz is easy and straightforward and following these instructions will make sure you and your car on back on the road in no time.
 Make sure your car is parked on the shoulder of the road in a safe and isolated spot to avoid oncoming traffic as much as possible.
If the tire is not coming off, there are some quick fixes to remedy the situation.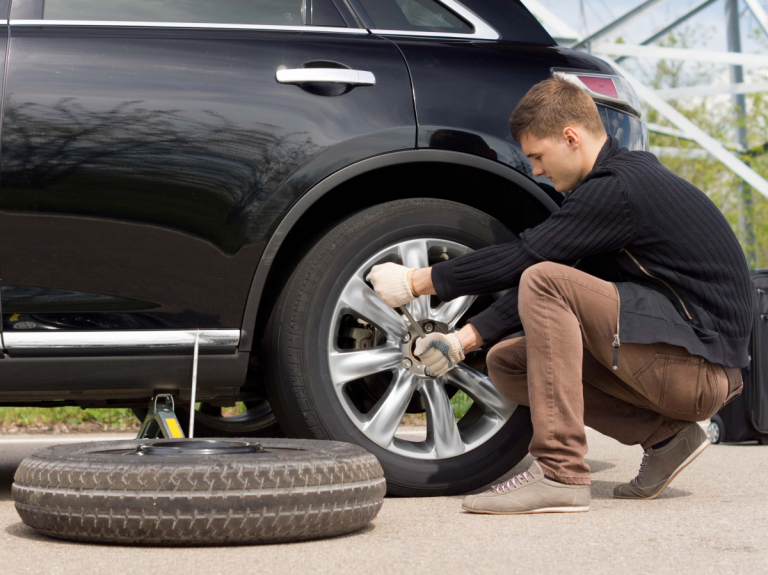
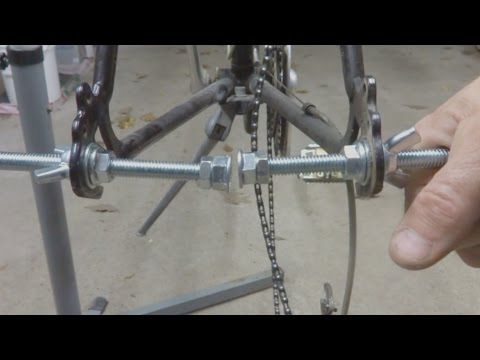
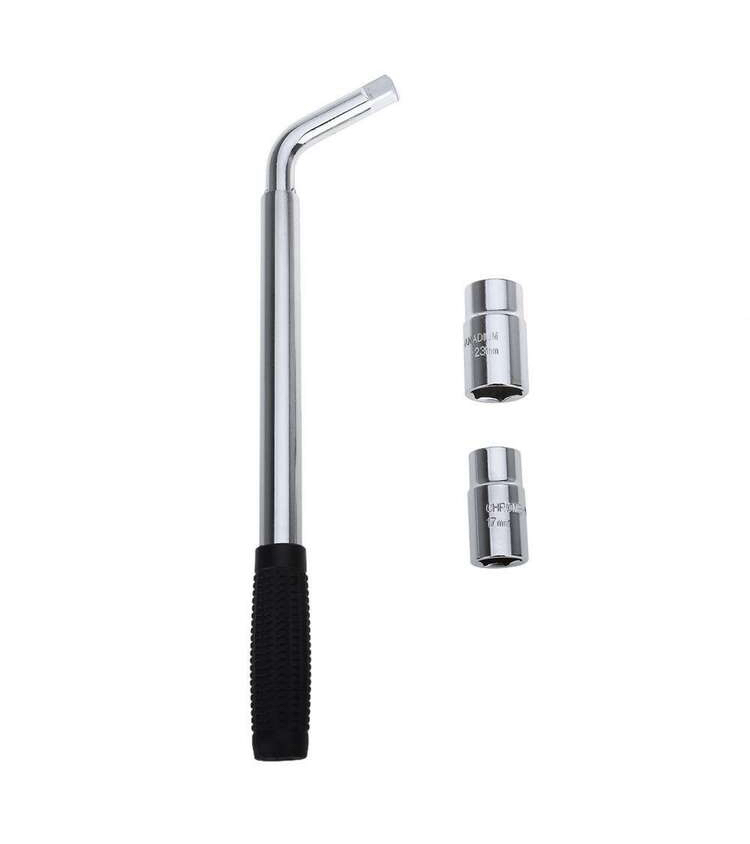
One problem Mercedes-Benz owners may face is that they can’t get the lug nuts loose. Over time the lug nuts may corrode or simply refuse to come off. The lug nut wrench that Mercedes installs on these cars is inadequate to loosen these lug nuts and in can bend easily. Here is a lug nut wrench that got bent when we were trying to change a Mercedes-Benz tire.
To avoid this problem, consider using an aftermarket lug nut wrench that will not break and is extendable. For example, any Telescoping Lug Nut Wrench would be an excellent choice. It has four different socket sizes that you can use on any car. Most importantly can be extended which makes getting Mercedes lug nuts loose a breeze.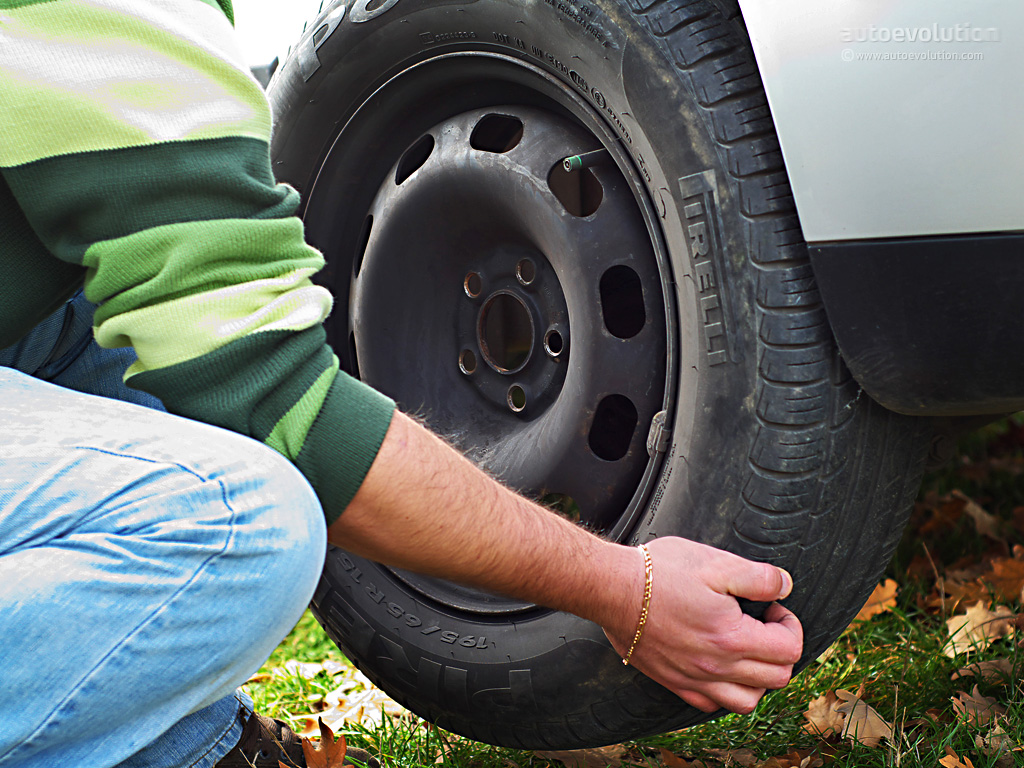
Previous Mercedes and Android Auto
Next Mercedes Apple CarPlay
This operation requires a car jack. It is important to remember that it can only be used for short-term vehicle lifting. For a solid installation of a car jack, it is necessary to create a solid and even support platform. If the soil is loose in the conditions where the car is located, you need to take care of an additional hard and stable lining for it. If work will be carried out under the car, dummy goats should be used.
| We loosen the mounting bolts |
1. The vehicle must be on a level, firm surface. Next, you need to depress the parking brake pedal as much as possible and do not release it during the entire time that the car is in the raised state. 2. The selector lever is moved to the "P" position. In order to avoid spontaneous rolling of the machine, wheel chocks or something similar to them are used.
| Remove the cover of the jacking hole |
3. If the car is on a level surface, the wheels are moved to a diagonal position, and the stops are placed under the wheels at the rear and front.
4. In situations where the car is on slopes or uphills, the stops are placed under both wheels of the free axle in the direction of the descent.5. The on-board tool kit contains a split wrench for mounting the wheels, it consists of two parts. The key must be collected.
| Place the jack in the jack hole |
6. Using a wrench, loosen the fixing bolts on the wheels, but do not completely remove them yet.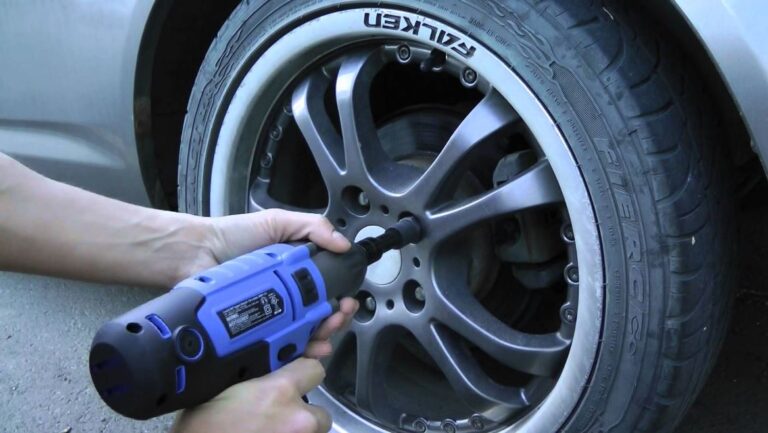 7. Then you need to remove the cover on the installation hole of the car jack. These holes are located just behind the front wheel arches, and in front of the rear wheel arches.
8. The jack support pin is then fully inserted into the jacking holes. It is important to remember that the car jack, both on a flat surface and on slopes or slopes, must be located strictly vertically.
| Jacking up the car |
9. The vehicle is now raised with the jack some distance from the ground. To prevent the car from slipping accidentally and unforeseen, the jack support pin must be inserted into the hole of the car as far as it will go. 10. The upper mounting bolt is turned out, a centering pin is inserted instead. It is found in every onboard tool kit and is used to support the wheel. All other wheel bolts are removed and temporarily placed in a clean area.
11. Now you are ready to change the wheel.
| Centering pin |
1. If any bolts are damaged or corroded, they should be replaced. Never lubricate bolts with grease or oil.
Important! If damage is found in the wheel hub, driving becomes dangerous. In this case, you must definitely contact the service center.
2. Before mounting the wheel, inspect and clean the contact area between the wheel and the hub. If possible, use Mercedes branded bolts, which are marked with the brand name of the company.
| Change wheel |
3. Now fit the wheel and press firmly. Insert the fastening bolts, screw in and tighten slightly.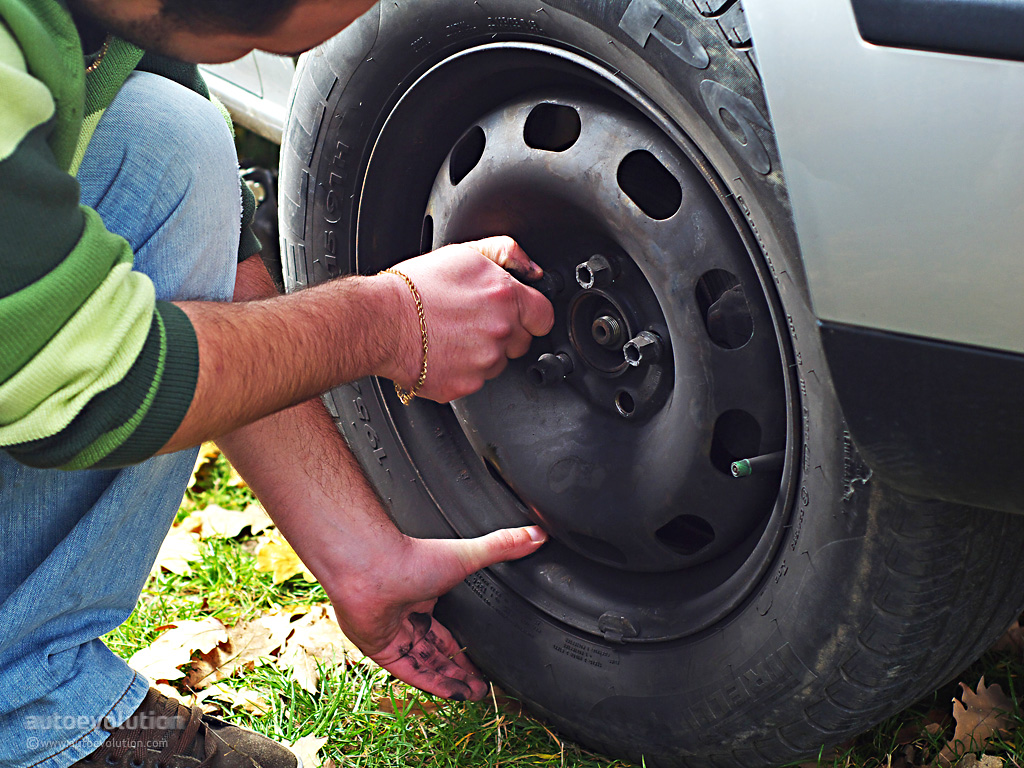 4. Then you need to remove the auxiliary centering pin and tighten the remaining wheel mounting bolt.5. The car must be carefully lowered down, the car jack released, and the jack hole closed with a cover.
| Mounting bolts |
6. Retighten all existing wheel bolts evenly. If the bolts have not been tightened after the wheel has been installed at the correct torque, they may come loose. Therefore, it is imperative to check the degree of tightening immediately after installing the wheel.
A stowage compartment is located under the bottom of the boot to store the car jack, and a split wheel wrench is stored disassembled in the on-board tool kit. After changing a wheel, the air pressure in the tires should also be checked and corrected if necessary.
Service and operation
Manuals
 This disc is held in place by a latch that must be turn left 1/8 turn.
 | The spare wheel is attached with a long bolt. |
| The jack is attached to the rear wall. |
Combi vehicles
| Spare wheel and jack located in the back trunk in two compartments, closed with lids held by latches, to unlock them, turn them 1/4 turn. |
The jack is located under the floor covering in a niche on the right side.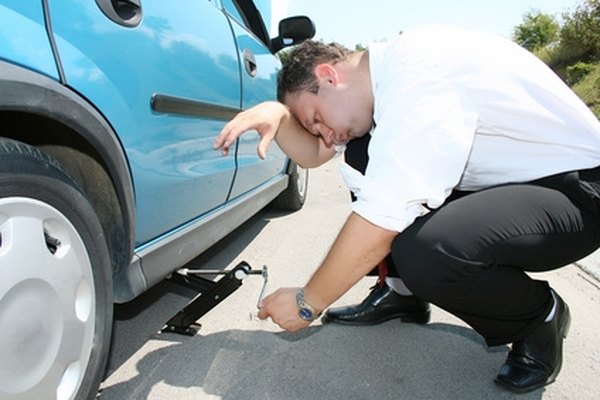 |
Replacement
| PROCEDURE | ||||||||||||||||||||||||
| ||||||||||||||||||||||||