Delivery options and delivery speeds may vary for different locations
Sign In
or enter a zip code
Email * Password *
REPAIR & HOW TO
MAINTENANCE
TROUBLESHOOTING
GUIDES
TIPS & TRICKS
ALL ARTICLES WATCH VIDEOS ABOUT US SHOP PARTS CONTACT US
An oil change on a TRX 420 Honda ATV is standard maintenance, and an important way to keep your ATV's engine healthy. Honda recommends every 12 months, 100 hours, or 600 miles: whichever comes first.
Watch the video above and follow the steps below to learn how to do an oil change on a Honda TRX 420.
Step 1. Run the engine for a couple of minutes to circulate the oil.
PRO TIP: You don't need to bring the engine all the way up to temperature, but circulating the oil a little will make it easier to drain.
Step 2. Remove the plastic panels on both sides of the unit. You can pull them out by hand without any tools.
PRO TIP: Removing the right side panel allows you to access the oil filter, and on the left hand side you'll find the oil fill cap.
Step 3. Find the drain bolt underneath the unit to remove the used oil, and get a drain pan to catch the oil. See #7 in the Rancher crankcase diagram to find the bolt's location. Access the drain bolt through the hole in the skid plate, and use your 17mm socket to remove it.
NOTE: Be careful not to lose the crush washer on the bolt. If you need to replace it, Honda has a drain bolt crush washer available for purchase.
Step 4. Remove the old oil filter while the used oil drains. The filter is found on the right side of the engine and can be seen as #4 in our Rancher front crankcase cover diagram. Some oil will leak out, so get a rag underneath it to avoid a mess. Take off the three 8mm bolts to remove the cover and expose the filter, then pull the filter out.
NOTE: There's a spring behind the filter that should remain in place.
Step 5. Replace the oil filter. One side of the filter will have "Outside" stamped in the metal. It's crucial that this side faces out toward you when you install the filter. Make sure the spring is behind the filter and then slide it in place.
Step 6.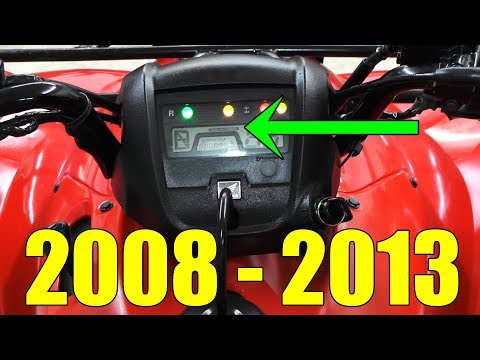 Inspect the O-rings on the oil filter cover and around one of the bolt holes for the cover. Make sure they are not cut or damaged. Then, replace the filter cover and the three 8mm bolts without over-tightening them.
Step 7. Replace the right-hand side plastic. There's a tab at the bottom of the plastic piece. Hook it into place first, then push the rest of the plastic into place and snap it.
Step 8. Replace the drain plug. Hand-tighten it first to get it threaded, then use a torque wrench to tighten it to 18 foot-pounds.
Step 9. Refill the engine with oil.
PRO TIP: Honda says the oil capacity of the Rancher 420 is 3 quarts, but we found that can be a little too much. Pour in 2.5 quarts, replace the fill cap, run the engine for a couple of minutes, and then check the level. To check the oil level on the engine, don't screw in the fill cap. Just plunge it in and remove it, then top the engine off with oil to set the level.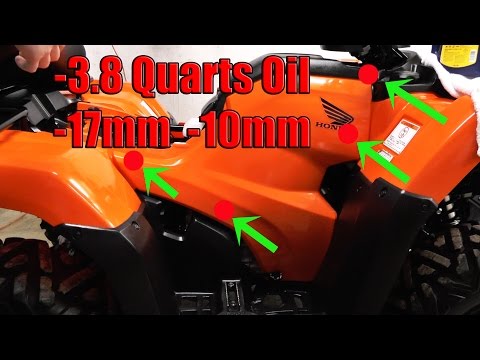
Step 10. Replace the fill cap.
Step 11. Replace the plastic cover and you're done.
Now that you've got the engine oil change done on your Honda TRX 420, why not go ahead and change rear differential oil while you're at it? Watch the video below to see how to change the drive shaft oil on a Honda Rancher 420.
Watch our full Honda Rancher TRX420 repair videos playlist below.
body
 com Your JavaScript is disabled. This site requires JavaScript.
Delivery options and delivery speeds may vary for different locations
Sign In
or enter a zip code
Email * Password *
REPAIR & HOW TO
MAINTENANCE
TROUBLESHOOTING
GUIDES
TIPS & TRICKS
ALL ARTICLES WATCH VIDEOS ABOUT US SHOP PARTS CONTACT US
An oil change is a simple maintenance job that’s essential to the health of the engine in your Honda ATV. Performing regular oil changes will keep your machine running great for years to come.
Watch the video above and follow the steps below to do an oil change on a Honda TRX350.
Tools and Supplies – Honda Rancher TRX 350 Oil ChangeHonda Rancher 350 Oil ChangeStep 1.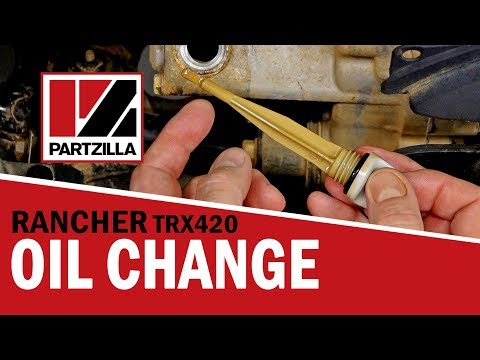 Run the engine for a few minutes to heat up the oil, which makes it drain out faster.
Step 2. Loosen up the dipstick so that air can get into the engine, which also helps the oil drain out easier.
Step 3. Get a drain pan under your machine, then find the 17mm drain bolt on the centerline of the engine, toward the gearshift. Remove the bolt, and drain the oil into the pan.
Step 4. Inspect the crush washer on the drain bolt while the oil drains. Replace the crush washer if it’s worn or damaged.
Step 5. Replace the drain bolt once the engine oil has drained completely.
NOTE: Don’t overtighten the drain bolt, just get it snug. Overtightening it will make it very hard to remove next time.
Step 6. Remove the three 8mm bolts holding the oil filter cover in place, followed by the oil filter cover itself. The oil filter cover is next to the dipstick.
PRO TIP: Get a drain pan underneath before you open the oil filter cover, since you’ll probably get some oil leaking out as you loosen the bolts.
Step 7. Remove the old oil filter, then install the new oil filter.
NOTE: Make sure the spring behind the filter stays in place in the filter cover and doesn’t pop out with the old filter. Honda labels which side of the oil filter faces out, so you’ll know which way to install the new filter.
Step 8. Replace the oil filter cover, then hand-tighten the 8mm bolts before using your socket and ratchet to tighten each bolt evenly across to avoid leaks.
NOTE: Because of the spring behind the oil filter, you may need to apply some pressure to the cover to thread the 8mm bolts.
Step 9. Fill up the engine with Honda 10W-30 motor oil through the fill opening on the left side of the engine, opposite the dipstick opening on the right.
NOTE: The Honda Rancher 350 takes a little over 2 quarts of oil, so start off by pouring in just 2 quarts.
Step 10. Run the engine for a few minutes, then check the dipstick to see exactly where the oil level is. Top off the oil if necessary to get the oil level correct.
Step 11. Close the filler opening, tighten the dipstick and you’re done.
body
If you decide to buy an ATV, then know that for the stable and proper operation of all its mechanisms, it is necessary to change the oil regularly. This applies not only to budget Chinese motorbikes, but also to expensive models from Japanese and European manufacturers. ATV parts will last much longer if you use quality lubricants.
Oil is poured into the following elements of the motorbike:

Lubricants are strongly discouraged because they not only reduce friction between vehicle parts, but also serve to remove heat, which helps prevent overheating.
Refer to the manufacturer's documentation for the best oil for your ATV model. Each bike has its own requirements for lubricants, and therefore it is recommended to study them carefully. nine0003
Let's take a look at the three main types of ATV oils:

Each rider has the right to choose which oil is better to fill in ATVs 200 cubic meters and their other analogues. But still, it is not recommended to save on the composition, since the premature replacement of the vehicle engine will cost much more.
Motor oils for ATVs for 110, 125 cubic meters Castrol have proven themselves well among both ordinary motorists and professional riders. This lubricant is designed specifically for modern 4-stroke motorbike engines. The presence of special additives in the composition of the oil reliably protects the engine from wear even under the most extreme operating conditions. nine0003
It is recommended to use only high temperature oils with increased density in the ATV CVT. Such a lubricant should leave a dense oil film on the surface and in no case be splashed. It is worth pouring gear oil with a viscosity of 75W90 into the gearbox and gearbox of the ATV. This type of lubricant is suitable for most motorbike models, and therefore many manufacturers recommend it. For more information, please refer to the official vehicle owner's manual. nine0003
Please note that if your ATV model is equipped with a manual transmission, then engine oil should be poured into it. Gear oil, in turn, is suitable for automatic and semi-automatic boxes.
Changing the oil in a 110cc or 125cc Kid's ATV is a very simple task that you can do yourself if you wish. This procedure is performed as follows:
The ATV oil change interval depends on the ATV model and is indicated in the owner's manual. Usually, this procedure is recommended to be performed at least every 1000 km. If you purchased used motorcycles, then it is better to replace the lubricant immediately.
Occasionally the ATV may need an unscheduled oil change, such as after being immersed in water. If such a nuisance happened to your motorbike, then you need to disassemble it as soon as possible, drain the oil from all nodes and thoroughly dry every detail. Then, fresh lubricant should be poured into the gearbox, engine and variator. It is recommended to choose an oil according to the characteristics of your ATV, as well as to give preference to products of popular brands. Thus, you will significantly extend the service life of all functional components of the motorbike. nine0003
05/29/2021 6243
All ATVs have their own "term" of life.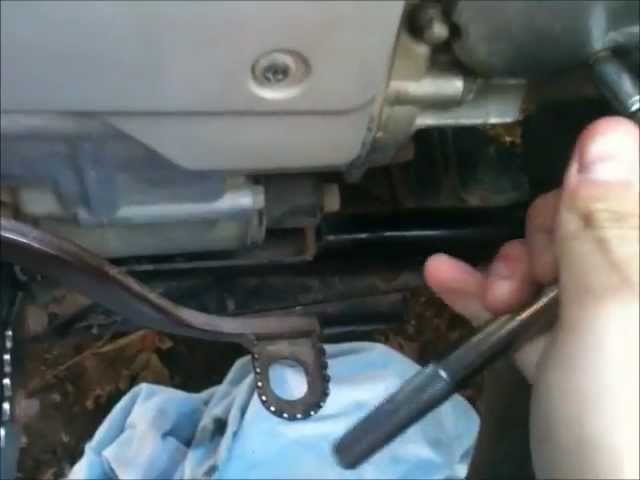 This applies even to expensive branded devices that cost tens of thousands of dollars. There is nothing to be done about the fact that key components of equipment gradually wear out and fail. But you can increase the life of the components by using quality oil. Even if you decide to buy an inexpensive ATV, you need to find the right lubricants for it. Therefore, let's figure out which oil is better to choose for an ATV. nine0003
It should be noted right away that a special oil is used for each of the units of the apparatus. The lubricant composition is poured into:
It is not recommended to save on oil, as it not only reduces friction, but also removes excess heat. Due to this, the mechanisms work correctly, do not overheat and “live” an order of magnitude longer. nine0003
Refer to your ATV documentation for information on lubricant formulations. Each device has its own requirements, so be sure to study them.
Although it is worth following the manufacturer's recommendations, this does not mean that you need to buy the first suitable composition. All oils consist of a base and special additives. And it is on the basis that their operational features depend. There are 3 types of oil:
 nine0008
 It is up to the rider to decide which oil to put in the ATV. However, experienced motorists are advised not to save on lubricants, since repairing an engine or gearbox will cost many times more.
There are several oil characteristics that a rider should pay attention to. The first step is to determine the viscosity of the liquid. To do this, look at the label. If it has the letter W (winter), then the liquid is designed for low temperatures. The following numbers show what weather conditions the composition is intended for (0 - mild winter, 25 - severe frost). nine0003
The situation is similar with summer liquids. There are 5 classes of compositions (by viscosity) from 20 to 60. There are also universal oils that are used both in winter and in summer.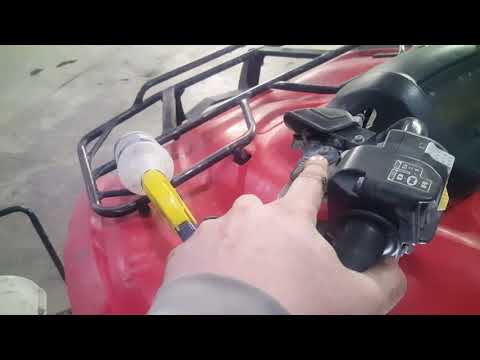 You can recognize them by special markings, for example: "20W40"
You also need to pay attention to:
The API system is used to classify oil by quality. The marking looks like this: S (common name) + A, B, C, D, etc. The lowest quality is marked with the letters "SA", and the highest quality is marked with "SL".
When deciding which oil to fill in an ATV engine, you need to take into account the characteristics of the vehicle itself. Because the ATV is subjected to considerable stress, the engine becomes very hot. This means that the oil must be resistant to high temperatures and conduct heat well. nine0003
Plays the role and basis of the composition.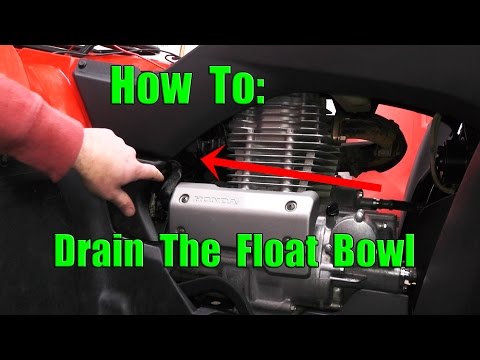 Ideally, you should use only synthetic or semi-synthetic fluid. You need to pay attention to the labeling: the country of origin, season, quality standard.
Important: For gearboxes and gearboxes, you need to use special compounds that differ from engine oil in a set of additives.
The first thing a rider needs to figure out is how often to change the oil in an ATV. Each manufacturer has its own recommendations, but experienced motorists advise filling in new fluid every 160 hours. In this case, the first replacement is performed during the break-in, after the device has worked for 20 hours. nine0003
To change the oil you need: