Owning a golf cart comes with a lot of fun – and some responsibility. Once in a while, your golf cart wheels will have to be replaced. While you can take your little cart to a professional for the tire replacement, you can do it on your own on a Saturday afternoon. You’ll be relieved to know that changing golf cart tires is not that complicated. In fact, it’s quite similar to changing tires on a regular vehicle!
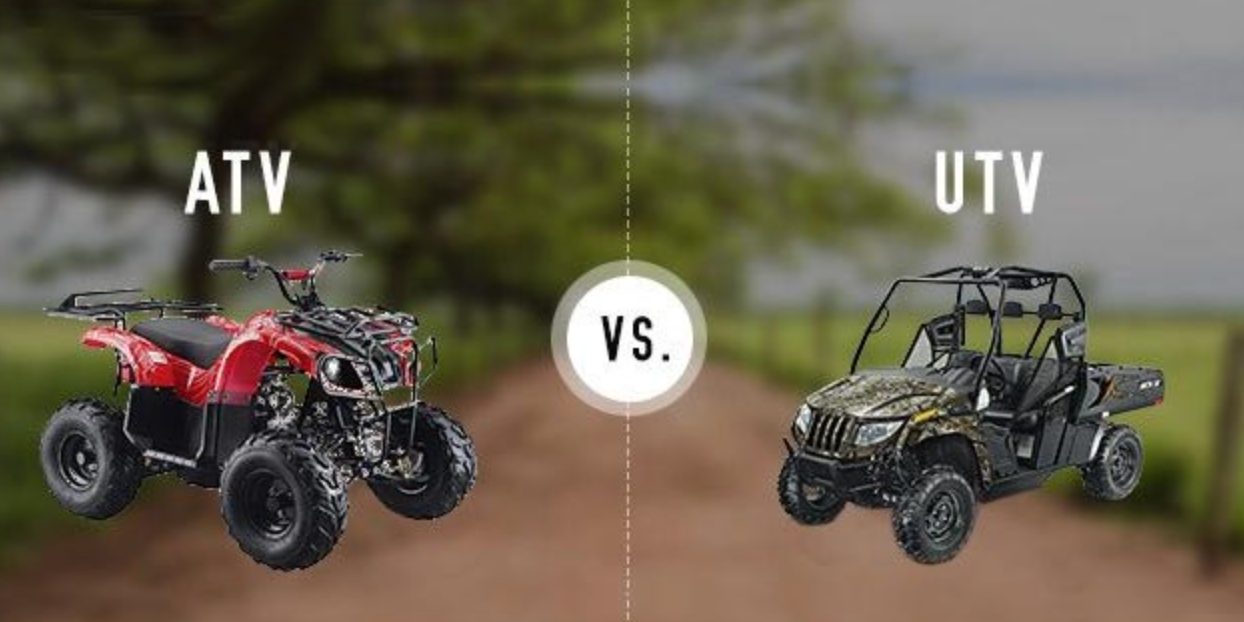
A golf cart is a vehicle – electric or gas-powered – which transport golfers and their gear around the golf course. Created to meet the golfer’s needs, the carts come with several comfort and safety features. For instance, golf carts are designed low to the ground, which makes for a low center of gravity. That way, users won’t spill their drinks as they drive to the next hole on uneven terrain.
But what about the golf cart tires and wheels? They’re rather confusing if you’re trying to find the perfect replacement. There are many variations and styles to choose from, so you might need some guidelines to help you figure out which is right for you. With a little background info on the terminology of golf cart tires, replacing them will be an easy task.
The golf cart wheels usually come in 8″, 10″, 12″, or 14″ diameters. These measurements represent the distance between the outer outline of the wheel rim and the direct opposite edge of the outer outline. Keep in mind the wheel sizes do not influence the tire’s performance. Larger wheels are for aesthetic purposes only.
Meanwhile, an offset wheel means the hub mounting surface is not in the center. On lifted golf carts and those designed for off-roading, the wheels will always feature negative offsets. A negative offset means the wheel and tire assemblies are located further away from the center. This layout not only broadens the golf cart’s base for more stability, but it also allows larger, fancier tires and wheels to accommodate lift kits.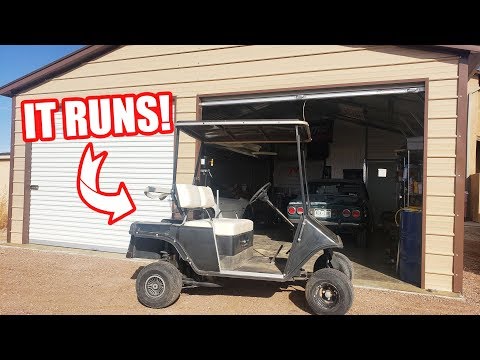
Fortunately, you already have most of the necessary tools laying around the house.
Credits
The biggest difference between changing golf cart tires and regular vehicle tires is the type of jack you will need. Normal-sized jacks will not work because a golf cart is too low to the ground. And since a golf cart is so much lighter than a regular vehicle, a smaller floor jack will be able to bear the weight.
 Put the parking brake on for additional stability.
Note: If you do not plan to replace the tire right away, make sure you lower the golf cart using the floor jack. Keep the golf cart leveled until you return and finish the replacement.

Make sure your legs, arms, or other body parts do not get underneath the golf cart – not even when the vehicle is raised with the floor jack. The golf cart should be empty of passengers while you change the tire, so don’t let kids stay seated. Also, children should not play around the golf cart as you replace the tire.
Was this guide useful to you? Did it help you change your golf cart wheels successfully? Please let us know in the comments below if you have any other questions. Also, we would love to hear your feedback!
Header Image: YouTube
Have you checked your club car tyres lately? Tyre neglect is one of the top 8 mistakes owners make with their cart. With the global golf cart market expected to reach $2,591.69 Million by 2023, that’s a lot of tyre neglect. Don’t let yourself fall into this trap.
Keep reading to know how to change out your EZ go golf cart wheels and tyres.
The first tool you need to change a tyre is a floor jack. Make sure that the jack can fit under the cart.
Sometimes your club car will have come with a jack. If not, you can buy one from a repair shop or hardware store.
You need chocks to prevent the vehicle from rolling. Wheel chocks are vital for your safety.
To remove the lugs, you will need a socket wrench, racket, or tyre tool. Finally, you need a new tyre to replace the tire you are taking off.
Park the golf cart on level ground. Once parked, turn the engine off and engage the parking brake.
Have the bottom of the jack flat and stable on the ground. Slide it under a sturdy part of the frame.
Many carts have a specific point as recommended by the manufacturer. Check your owner’s manual if you are unsure of where to place the jack.
As you raise the jack, make sure the top is secure on the frame and when the cart comes off the ground, place bricks, wood, or chocks behind the wheels.
Doing this prevents the cart from rolling and falling off the jack. If the cart comes down off the jack, it can be a dangerous situation.
You only need to jack the cart up enough for the tire to be right above the ground. The more you jack it up, the more unstable and off balance it becomes.
Remove the lug nuts that are holding the current tire on. Once you remove the nuts, slide the tyre off the lug studs.
If you are not replacing the tyre immediately, lower the jack. The cart frame should sit level until you are ready to mount the new tyre, reducing the amount of stress placed on the frame.
Today, golf cart tyres come in two versions.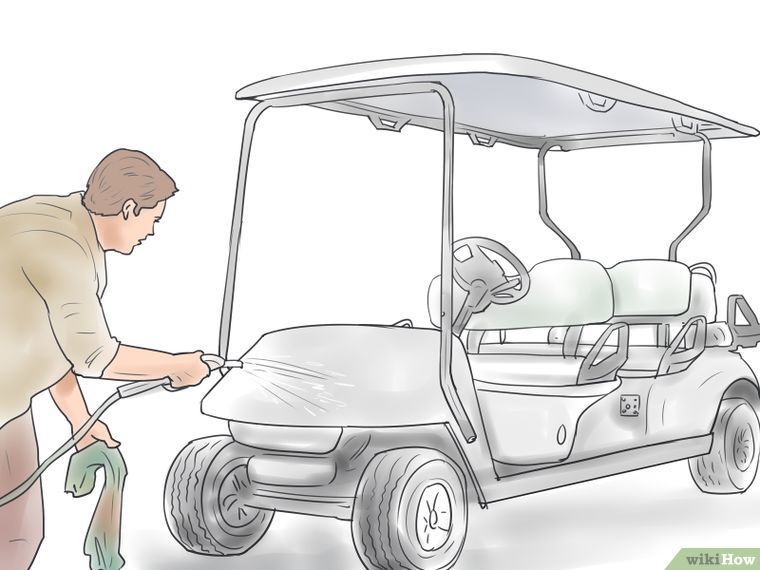 You will find some tyres already mounted on the wheel.
If this is the kind of replacement tire you have, you can skip to the next step! Scroll down to mounting the new tyre.
If this isn’t the type of tire you have, you’ll need to remove the old tyre from the rim. This task requires two tyre irons.
Begin by releasing the air from the tyre with a valve tool. You are going to remove the valve from the casing.
You need to break the bead. The bead refers to the edge of the tyre. When the tyre has the right amount of air pressure, the bead stays in the groove of the rim.
Place one iron on the lip of the wheel. Place the other iron on the lip of the tyre.
The two irons should be a couple of inches away from each other. Pull the tyre away from the rim, so the tyre edge goes over the rim.
Work your way around the tyre lifting the tire’s lip over the edge of the rim. Repeat the process on the other side.
Your first step is to wash the rim with soapy water. You want to remove any dirt and grease that is on the rim. Leave the rim wet and spray the tyre with some soapy water.
Having both the rim and tyre wet with soapy water will make placing the new tyre easier. The soapy water acts as a lubricant between the rubber and metal. Start by placing the rim in the tyre.
Tuck the tyre lip under the edge of the rim. Use the tire iron during this process if needed.
Inflate your new tyre according to the manufacturer. Check the psi with a gauge and not with the pump. Often the pump’s gauge is off.
Most club car wheels need to inflate to 20 psi. The amount of pressure required depends on the brand and type of tyre.
Slide your new wheel onto the lug studs. Make sure the treads are facing the right direction. Manufacturers design the tread to work in a specific direction. Replace the nuts and tighten them with your hands.
Lower the cart back onto the ground. Then use your wrench to tighten the lug nuts the rest of the way. Putting the wheel on the ground prevents it from spinning while tightening.
Do not try to over tighten the wheel nuts. If you tighten them past firm, you risk stripping the lug nuts.
Do not put any part of your body under the golf cart while you have the cart jacked up. If the cart were to come down, you could be seriously injured.
Do not let children or adults sit or play in the cart while you change the tyre. The extra weight and movement can cause the cart to become off-balanced.
When replacing your club car tyres, start by having your cart on a flat and level surface. Turn off the engine and engage the parking brake.
Jack up the tire that needs changing while following safety rules. Remove the nuts and take off the old tyre.
If you have a tyre and wheel replacement, put it on and retighten the nuts. If not, change out the tyre and then remount it.
Once the new tyre is on, lower the jack and finish tightening the nuts. Remember not to over-tighten as that will strip the nuts.
Don’t just replace your tyres, upgrade your club car wheels today.
Replacing a damaged wheel is not difficult - everyone can do it!
On the road, many can boast of their driving skills, but when fate puts us in front of the next difficulties in the form of a broken wheel, not everyone will be able to cope with such a problem on their own, including women. But the most important thing is not to give up and to come out of this difficult situation as a winner with dignity. And how - we will tell you now. nine0005
It is quite easy to determine whether a wheel is punctured in motion. If you accidentally notice that the car began to behave strangely, it began to tilt in different directions, it began to bounce a little, make noises of unknown origin, and indeed all the comfort of a calm movement disappeared, then be sure that what you were so afraid of happened - the wheel was pierced .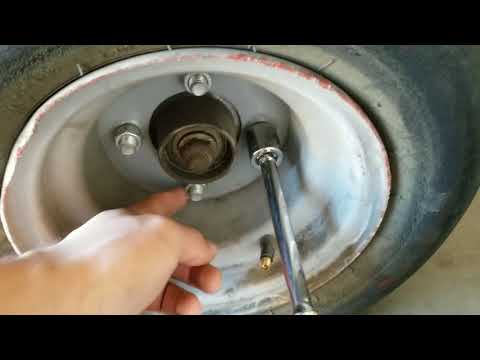
What we need to replace:
Tip: if the wheel nuts are difficult to unscrew, then they can be lubricated with a special tool - WD-40 oil spray or other numerous analogues.
What to do at the very beginning
First you need to turn on the alarm, turn off the engine and set the warning triangle at a safe distance (15 meters from the vehicle within the city and 30 meters outside it). By doing this, you will warn other drivers that something is wrong with your car and it is better to go around you. nine0005
Next, you need to install stops on the wheel located diagonally with the damaged wheel - in front of and behind it.
And of course, prepare all the necessary tools and, in fact, a spare wheel.
On this we can consider the preparations completed.
Changing the wheel
1. Before installing the jack, you need to unscrew the bolts and nuts of the wheel to be replaced with a wheelbrace half a turn; nine0005
2. Next, you need to raise the car with a jack so that the wheel to be replaced rotates freely, and you can install a spare in its place.
3. Then you need to unscrew the nuts holding the wheel on the hub and put them in one place so as not to lose them.
4. Remove the damaged wheel and carefully install the spare.
5. Next, you should carefully and slowly tighten the nuts in this order: first we tighten the top nut, and then all the others crosswise. It is important to spin them in this order so as not to disturb the alignment of the wheel, which can later be very dangerous on the road, as it is likely to lead to emergency situations. nine0005
6. After what has been done, you should lower the car to the ground, tighten all the wheel bolts to the maximum.
7. Next, you should measure the pressure in the replaced wheel, for this we use a pressure gauge. The usual indicator is 2 kgf, if less, pump up the wheel.
8. Now you need to twist the nipple and carry out a leak test - to do this, moisten its tip, if there are no bubbles, then everything is fine.
nine. Do not forget to remove the wheel supports, the warning triangle and the damaged wheel in the trunk.
With a similar set of tools from the ARCEHAL brand, changing a wheel is easier than ever!
Using the tool of the trademark "ARSENAL"
"That's all?" - you ask. Yes - everything is extremely simple! But, despite the elementality of the whole event, many experience difficulties when faced with it in practice, and in order to avoid them, it is important to clearly follow the instructions, as well as have a good working tool that can help out in difficult times.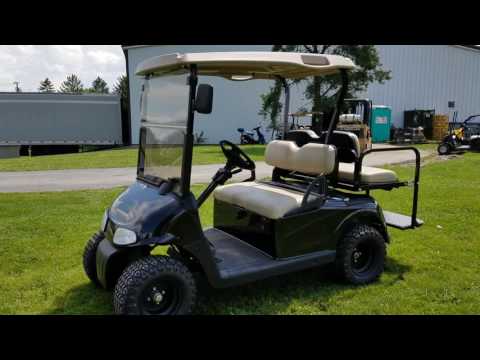 These include products of the domestic trademark "ARSENAL". The company's hand tools are made of heavy-duty Taiwanese steel, cast at the China Steel plant, which has practically no analogues in the world. nine0005
Related materials
Tire inflation with nitrogen and 7 more wirings at the tire fitting
The tire manufacturer's instructions say to change shoes when the temperature drops below +7°C. In my opinion, it's too early. There are still a lot of cars with summer tires on the roads around. And at this temperature, the braking distance on studded tires may be even longer.
I advise you to change the wheels to winter ones when the temperature drops below zero at night. That's when it really is time, because in the morning an icy area may come across on the roads. At the same time, out of habit, it will seem very slippery. nine0005
Precisely in order to do it at the most correct and convenient time. The vagaries of the weather are unpredictable. Residents of the Rostov region, for example, say that sometimes during the winter period they rearrange the wheels from winter to summer and back several times.
Dismantling wheels (that is, dismantling a tire from a rim) at home is a difficult task that requires appropriate skills and knowledge. We will describe a simpler job that, in theory, any average motorist who does not have special tools and experience in tire fitting should be able to handle. And therefore we mean that you have a complete set of serviceable winter tires mounted on disks. You remember that in the spring they did not lose pressure, there are no cuts on them, and a couple of self-tapping screws do not stick out of the tread in addition to the spikes. And, most importantly, the tread height is more than 4 mm. These are the modern requirements for winter tires. If at least one of the conditions is violated, then it is better to solve the problem before the onset of the hot tire season. nine0005
Related materials
If I change wheels, do I need to balance them every season?
There are car owners who meticulously balance tires before each season. In my opinion, this is not justified by anything. I recommend installing the wheels on the car, then drive at different speeds, but not higher than your usual ones. If the imbalance (it is manifested by vibrations on the steering wheel or seat) is not felt, then balancing can be postponed until future seasons. In principle, winter tires can be balanced before being stored for storage: after all, the spring period for changing wheels in tire shops is more extended in time compared to autumn, and therefore the queues are noticeably shorter. nine0005
So, we take the wheels out of storage. For one, this is the corner of the garage, for the other, a balcony, for the third, the warehouse of the nearest car service that provides a wheel storage service. Depending on storage conditions, tires may have different temperatures. Wheels removed from a warm room, having cooled down by 20 ° C, will lose about 0.2 bar of pressure, and gradually, as they cool down. Well, the cold ones have nothing to lose! Therefore, cold ones can be immediately pumped up to the nominal pressure, well, maybe 0.1–0.2 bar more, given that it will only get colder further. And warm tires must either be inflated with a large margin immediately, or set the pressure at the end of all work, when the air in them cools down. nine0005
If you use a standard jack, it is better to place a special stand under the car for insurance. Well, or at least place the spare wheel so that when it falls, the threshold lies on the rim, and not on the tire. Please note that this will most likely damage the disc. Therefore, it is better to use an old unnecessary wheel.
If you use a regular jack, it is better to place a special stand under the car for insurance.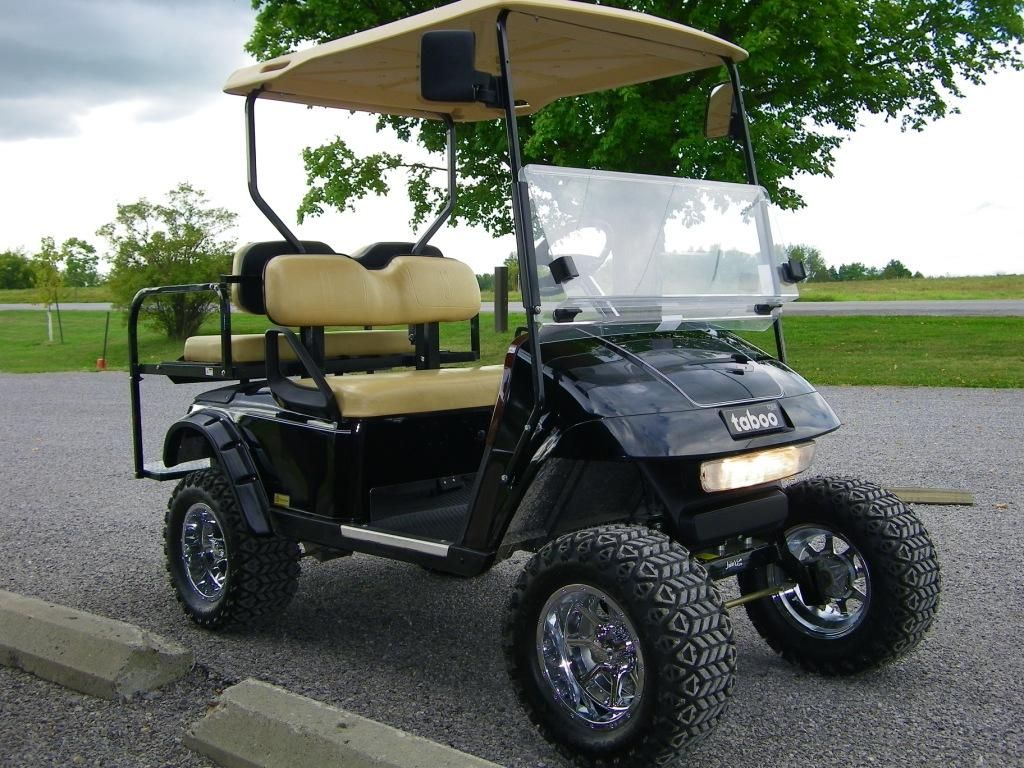 Well, or at least place the spare wheel so that when it falls, the threshold rests on the rim, and not on the tire. Please note that this will most likely damage the disc. Therefore, it is better to use an old unnecessary wheel. nine0005
Related materials
Which jack is better? — expert examination of the ZR
We find a flat area with a hard surface. If you change wheels yourself twice a year, then I strongly advise you to get a convenient jack. At least small and inexpensive, but rolling. It is noticeably more reliable and durable than the regular one that was equipped with your car. It is advisable to use a balloon wrench with a cruciform or with an extended handle - it is more convenient than the standard one attached to the car. nine0005
Prepare a wheel stop - yes, at least half a brick. Inspect the secret key for damaged code elements and clean the secret nuts/bolts on all wheels.
If the winter set of wheels has different disc characteristics, remember if spacers are needed between the disc and the hub lug - they should be prepared in advance.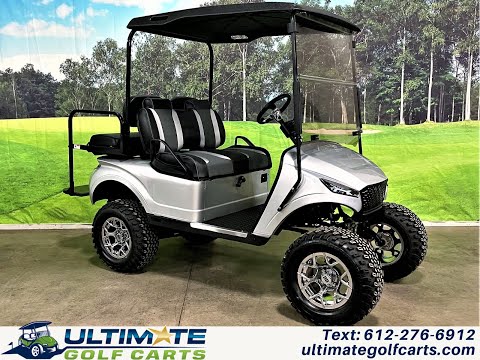
The wheel jack is based on a hydraulic cylinder. Raises quickly, and lowers even faster.
The wheel jack is based on a hydraulic cylinder. Raises quickly, and lowers even faster. nine0005
 We slightly raise the car with a jack, but not until the wheel comes off. We unscrew the completely secret nut / bolt. We loosen the rest of the fasteners by half a turn.