It's been nearly a decade since I wrote my first charger related blog post, which is titled, 'Battery Tender for a Lithium Battery'. In that post, I explained some very basic concepts about the difference between lithium and lead acid batteries, and explained why the chargers for these need to be different.
In the decade since, we have seen every conceivable piece of misinformation about the proper charging of lithium batteries.
I have to say- people have found and repeated some very...interesting information over the years, and this is a good time to update that post and hopefully clear up some of the bad information that is out there.
Technology and materials have improved since 2012, while the cost of batteries has come way down. Properly charging your lithium battery is easier than ever.
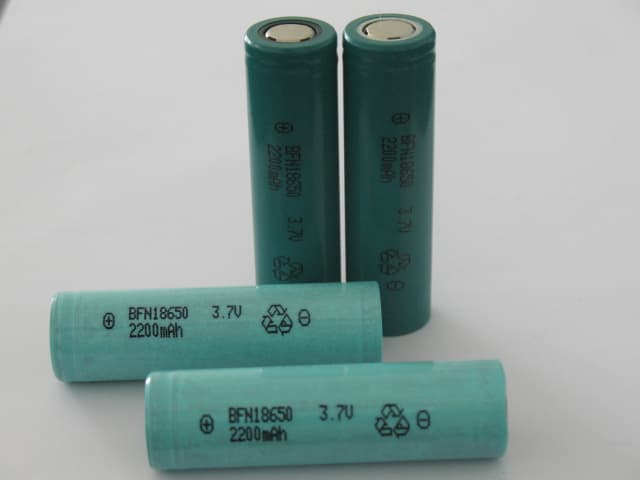
Let's start with this premise: any and all lithium batteries used in the powersports and motorsports markets use 'Lithium Iron Phosphate' cells- also called 'LFP'. These are 3.2v per cell, and are used in these applications because they are safe, powerful, and readily available.
There are no 'LiPo' or 'Lithium Polymer' based batteries used in these markets, because these cells are much more 'volatile' (dangerous). These 'LiPo' cells are 3.7v per cell. This is important to understand, because we often see these terms interchanged as though they are similar. While they are both 'lithium cells' that is where the similarities end. Please- stop calling them 'LiPo'.
With that in mind, let's dispel the first piece of bad information about charging:
Hobby and RC Chargers:
1. You should not use a charger for your RC car on our batteries. RC hobby chargers are 'balance chargers'- meaning that they use a special plug to connect directly to a cell pack, in order to 'balance' the charge between cells.
1a. Our batteries have a circuit board inside that handles the balance function, so a balance charger is not needed, required, or wanted.
1b. Our batteries do not have a balance port that would allow you to connect an RC hobby charger.
Occasionally we are asked if our batteries are '4S' or '5S'. We offer both, since we have 13.2v and 16.4v batteries, but again, the only reason why that would matter is if you are trying to use a balance charger on our batteries. Since there is no way to do that, it doesnt really matter. Years ago, I wrote a post called, 'Balance Charger or BMS for Lightweight Lithium Battery' which explains this in more detail.
Powersports 'Lithium Compatible' Chargers:
2. You should always use a charger specifically designed to safely charge 'LFP' batteries. We sell Optimate chargers exclusively, because we have found that they do a better job of safely and quickly charging our batteries than any other charger on the market.
2a. Just because a charger says, 'Lithium Compatible' on the sticker does not mean it does a good job of charging. In our testing, we have basically found that only the Optimate and CTEK did a good job of charging 'LFP' batteries.
2b. In case that last point isnt clear, I would strongly suggest that you *NOT* use chargers from other companies. Even if you dont buy your charger from us- this is still true.
Hi Amp or 'Rapid Chargers':
3. A high amp charger is not always better. In fact, it is often worse to use a high amp charger on a lithium battery. We see this a lot with car chargers that are '25a' or similar. Here is the reason-
Generally, you use a charger when you have drained the battery. Often, the charger gets used in a 'oh shit' moment, when you hear the call over the PA system to get to the lanes, and you realize you didnt charge the battery.
So, you naturally think that 'more is better', so you blast the drained battery with 20-25 amps.
The problem with this is the voltage- these '25a' chargers are dummy chargers that are going to supply 25 amps at the max charge voltage.
That is really bad.
That will kill a battery very quickly.
Bad things will happen to your battery if you do this.
Really. I promise.
A good charger- like the Optimate- will measure the voltage and 'state of charge', and will feed the battery the appropriate current and voltage to safely and quickly bring the battery back. In our testing, the 9.5 amp Optimate will charge a battery faster than a 25 amp dummy charger, because Optimate created a solid charge profile.
If you avoid this advice you will damage your new expensive battery, and it will not be fixed or replaced under warranty.
Here is what I hope you all take from this post: it is crucially important to use a quality charger on your lithium battery. We have spent years studying and testing every possible charger we could find, and we have come to the data driven conclusion that the Optimate chargers that we recommend simply work better than anything else available.
If you have an old charger from your RC days, or purchased another brand of charger from your dealer- understand that your charger is simply inferior to these. As you can tell from reading my blog posts over the last decade, technology has improved, and this is now the best available.
Choose wisely.
Best 18650 Lithium Battery Pack
Cylindrical Lithium Ion Battery
Best Lithium Ion Battery Guide
Best LiPo Battery Guide
Best Lifepo4 Battery Guide
12V Lithium Battery Guide
48V Lithium Ion Battery
Connecting Lithium Batteries In Parallel And Series
The Best 26650 Lithium Ion Battery
Oct 29, 2020 Pageview:10103
Can you charge a lithium motorcycle battery with a regular charger?
Unfortunately, you cannot charge a lithium motorcycle using a regular charger because lithium batteries aren’t similar to other battery technologies like lead-acid. Also, the batteries come in different shapes and sizes depending on the manufacturer.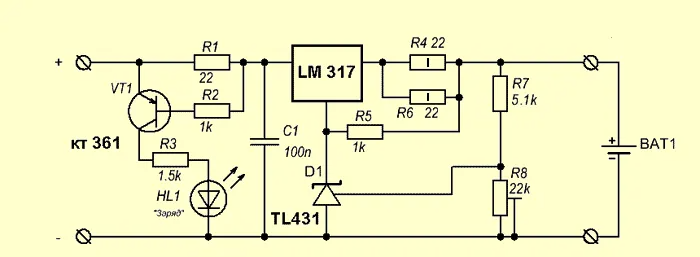 It is therefore advisable to get yourself a specialized lithium battery charger for such a process.
How do you charge a lithium motorcycle battery?
At some point in their journeys, every motorcycle owner would run into a common problem of facing a dead or low battery that lacks enough voltage to start the vehicle. Such situations can highly inconvenience motorcycle riders because starting a motorcycle that has a dead battery tends to be a harder task as compared to a car. However, there are a few ways in which you can charge your lithium motorcycle battery to temporarily give you that boost you need to get to the repair shop or replacement store.
Step 1: Using a battery charger
1.Figure out the kind of battery you own
The first thing to d would be finding out your battery type and keep in mind that motorcycle batteries come in a variety f different shapes and sizes. If you happen to be unsure of the battery type, you can always look it up in the manual or inspect the side of the battery to find the information printed on its sticker.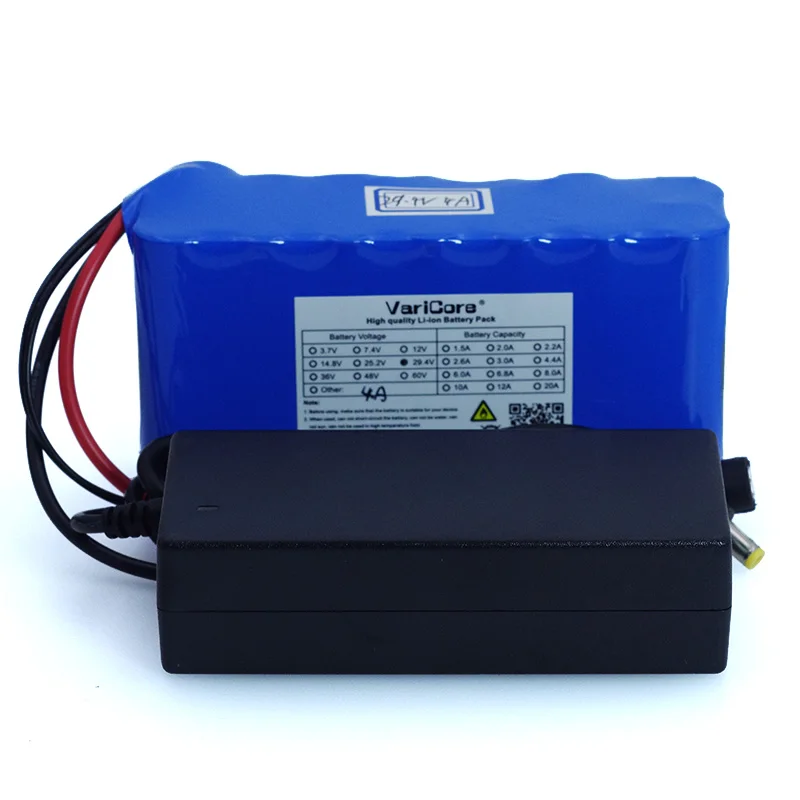
3.2V 20A Low Temp LiFePO4 Battery Cell-40℃ 3C discharge capacity≥70% Charging temperature:-20~45℃ Discharging temperature: -40~+55℃ pass acupuncture test -40℃ maximum discharge rate:3C
READ MORE
2.Get a specialized lithium battery charger
Many a time, there would be options of using either trickle, float, or smart chargers for most battery types. These types of chargers tend to work best on lead-acid, Absorbed Glass Mat (AGM), or Gel batteries. They are, however, not suitable for use on any lithium batteries, and thus, you should buy a specialized lithium battery charger.
The various lithium battery versions such as lithium-ion, lithium phosphate, and lithium-iron need special chargers depending on their manufacturer. For more information, you can always check the manual to know which charger you might need for a lithium motorcycle battery.
3.Take out the battery from the motorcycle
Be sure to switch off the bike before extracting the battery and also, never try using this method of charging while the battery is still inside the vehicle. This is because if you charge it while it’s still installed into the bike, you might damage other components of the cell or vehicle at large.
It would be best if you were careful when removing the battery and should, therefore, start by disconnecting the cables from the terminals one at a time. Thereafter, you should loosen any screws holding the battery in place and gently take it out of the bike. As simple as it might sound, this process is a tricky one, and reading the manual for the right way to do it tends to be the best way to go. Not all motorcycles are similar, and depending on the manufacturer, the manual will help you safely extract the cells.
4.Connect the battery charger to the cell
Connect the lithium charger to the terminals of the battery while making sure that they are accurately and firmly connected. Once you’ve confirmed that, you can plug in the charger for it to begin the charging process.
Low Temperature High Energy DensityRugged Laptop Polymer Battery Battery specification: 11. 1V 7800mAh -40℃ 0.2C discharge capacity ≥80% Dustproof, resistance to dropping, anti - corrosion, anti - electromagnetic interference
READ MORE
Please note that you will need to closely monitor the charging process to make sure that the chargers don’t overheat and cause any severe damage. Also, it would be wise to carry out the procedure in a well-ventilated place.
5.Check to see if it has charged
Because you’re not using a smart charger for this procedure, you cannot expect the charger to give you the voltage reading automatically. You will, therefore, have to perform a voltage test manually. Disconnect the charger from the terminals of the batteries and plug in the leads into a multimeter and take the reading.
For a lithium motorcycle battery, you will need to turn the multimeter setting to the 20V DC on its scale and take the reading. If the voltage read is around 12.73V or more, then the is fully charged and ready to go. If the reading is between 12.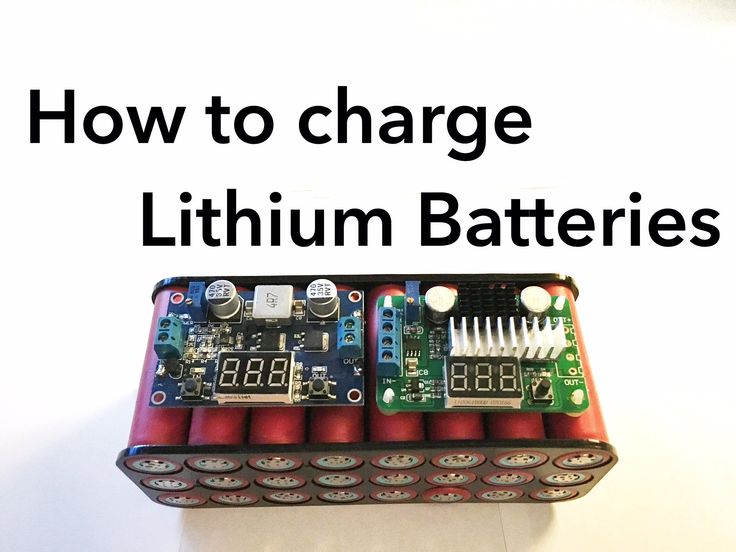 06V and 12.63V, it means that your battery needs to be charged longer. If the reading is anything less than 12.06V, then it might be damaged, or you can try charging it a little longer.
6.Return the battery to the bike
Once you’re done with the charging process, you should unplug the charger and install the battery back into the motorcycle and reattach all the required cables. It would now be safe to turn on the bike and ride.
Step 2: Jump-starting the motorcycle battery
Just like a car, you can also jump-start a lithium motorcycle battery.
1.Find a pair of jumper cables
You can get jumper cables from car drivers as most of them carry a pair of these cables in their trunks. If luck isn’t by your side and you cannot find any, you can always buy a pair at a local hardware store near you.
2.If jump-starting using a car, turn it off
Car batteries have a much larger capacity as compared to motorcycles, and the bikes don’t require all this energy. As such, when you’re jump-starting your bike using a car, it is recommended that you leave the car off.
3.If jump-starting using another motorcycle, turn it on
Be sure to start the healthy bike first, followed by the dead one when jump-starting using another bike.
4.Connect the batteries using the cables
Accurately link the terminals of the cells using the jumper cable while making sure that the clamps don’t come into contact.
5.Turn on the motorcycle
Start the motorcycle and leave it on for a few minutes for the engine to warm up.
6.Disconnect the cables
Disconnect the cables safely without bringing the clamps into contact and leave the bike running until you can take it to the repair workshop.
Can you charge your lithium motorcycle battery overnight?
Absolutely not. When charging your motorcycle, you need to be present to monitor the process which also, shouldn’t take too long. If you were to leave the battery charging overnight, it might overcharge and, in the process, overheat thus, paving the way to a series of hazardous events such as thermal runaways, fires, and even explosions.
Never leave your battery charging overnight!
Conclusion
When you notice that your lithium motorcycle charger starts requiring charging or jump-starting due to regular failure, then it is advisable to take your bike to the mechanic. The battery could be damaged or due for replacement. Either way, you should never ignore a failing battery because it could be dangerous to ride along with the flow.
11.1V 6600mAh Battery Design Scheme of Portable B Supersonic Diagnostic Set
7.4V 10Ah Backup Power Design Scheme of Medical Infusion Pump
25. 6V 38.4Ah AGV Lithium Ion Battery Solutions
Buying a children's ATV or its adult counterpart is not just about being a rider. This technique requires special attention. As a rule, the owners of this motorcycle often do not pay enough attention to charging the battery, which can cause it to fail almost every season. Remember, if you charge your ATV battery correctly, it will last you many times longer.
To avoid premature battery failure and reduced capacity, follow these guidelines:
Always follow the connection diagram when installing the battery in the ATV. You need to start by connecting the positive terminal. Be careful not to reverse the polarity as this can cause both the fuse to blow and the battery to explode.
If the vehicle battery suddenly stops charging, there may be several reasons for this:
The first signs of regulator relay failure are when the ATV battery starts to drain too quickly. Diagnosis of such a breakdown is carried out by measuring the resistance with a voltmeter at the battery terminals. Repairing any electrical equipment of an ATV is a rather complicated process that a true professional should perform.
Often the best solution when a battery or regulator fails is to replace it with a new one. It is much easier to prevent this kind of breakdown than to fix it later.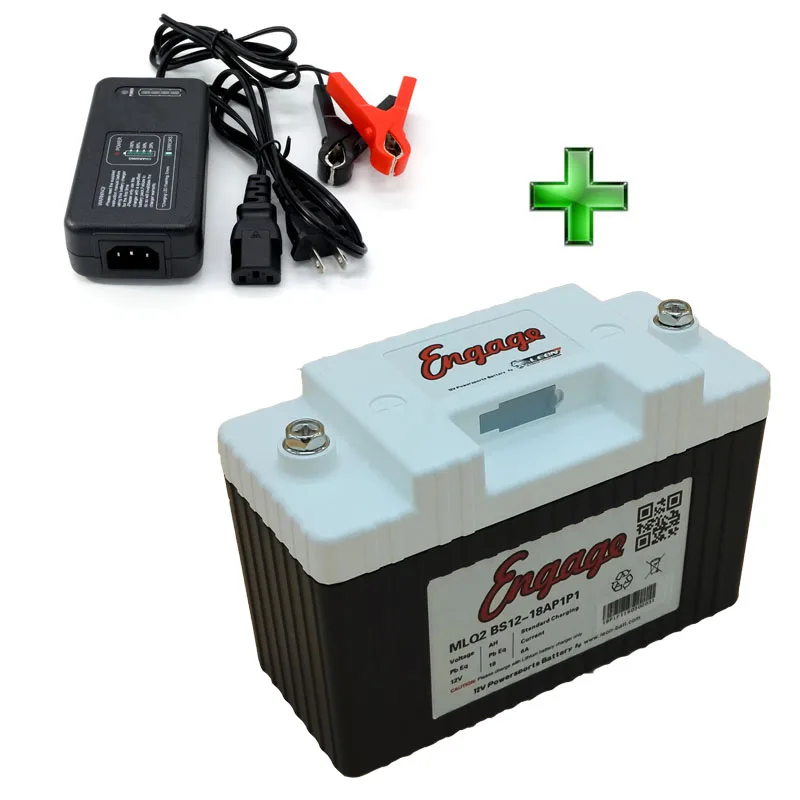 That is why it is necessary to charge the battery of motor vehicles in strict accordance with the requirements of the manufacturer.
There are two ways to charge the child's ATV battery with the charger. The easiest of them is to connect the charger to the appropriate connector on the motorcycle. True, such a nest is not available on all models of ATVs. If there is no such connector, then the battery should be connected directly to the charger. The battery is charged as follows:
Lithium ATV batteries usually have a board that monitors the battery level. But even in this case, it is strongly not recommended to charge the device longer than necessary.
Each ATV gel battery manufacturer provides detailed charging instructions. It is very important to choose the right charger with the ability to adjust the amperage in order to avoid overcharging the battery. On sale you can find specialized chargers for ATV gel batteries.
It is necessary to charge such a battery as follows:

Other types of chargers usually work until the user turns them off. In the case of gel batteries, this is especially dangerous because the gel starts to melt.
Proper and timely charging of the ATV battery is the key to its long and stable service life. Following the recommendations from this material, you will be able to save a lot on buying a new battery for your motorcycle.
05/29/2021 3109
Electric ATVs are rapidly gaining popularity due to their economy and environmental friendliness. But many riders still do not know how to charge an ATV on a battery. Improper charging reduces the battery life or the battery loses its capacity quickly. Therefore, let's figure out how to charge a children's ATV and consider the key recommendations of experts.
There are two ways to recharge the ATV battery. The first and easiest is to connect the charger to the appropriate connector. All electric cars and scooters are charged in a similar way, although not all quadrics have a similar socket.
If the ATV does not have a charging port, the rider will have to connect the battery directly to the charging station. To do this, you need:
It is important to note that lithium batteries have a charge level control board. This means that after a full charge, the process stops. Although overcharging the battery is still not recommended.
Another important question many riders are wondering is how to charge an ATV battery with an in-car charger. Yes, such a procedure is possible, but you need to properly configure the charger. For recharging, you can only use devices with adjustable charging current and the ability to set its minimum level (0.5-0.7 A).
Important : The optimal current for battery charging is 1/10 of the battery capacity (in Amps).
Each ATV manual lists the optimum battery charging time. On average, this figure is 6-12 hours. The charging time depends on the generation of the battery, its capacity and the characteristics of the charger. Don't forget to charge the battery, though. If the battery has 30-40% capacity left, the recharging time should be reduced.
But what if you don't know how long to charge your ATV battery? In this case, you need to almost completely discharge the battery and charge it for 8 hours. After that, the battery should be installed on the quadric, and the charge level should be assessed. If the indicator shows 100%, next time you need to charge the battery for 6-7 hours. In this way, you can determine the optimal recharging time.
Also remember that overcharging is the main enemy of batteries. It is strongly not recommended to leave the battery connected to the network for 15-20 hours. This leads to a decrease in battery capacity and, accordingly, a decrease in the operating time of the quadric.
Knowing how long it takes to charge an ATV, you can make a schedule for recharging it. For example, the battery can be connected to the network in the evening or after each trip. You can also purchase a replacement battery, thereby increasing the riding time on the ATV.
The battery of any electrical equipment must be properly maintained. Violation of the recommendations may lead to a decrease in battery capacity or damage to it. To avoid such problems, it is recommended:

Separately, it is worth mentioning the "buildup" of the battery. Immediately after purchasing the equipment, you will need to fully charge and charge the ATV several times (2-3 times).
Most riders store their bikes before winter. And in order for the device to be ready for operation in the spring, it must be properly preserved. Preparing an electric quad bike for wintering is quite simple, you just need to find a warm and dry place to store the quad.
Another important conservation point is battery preparation. Before wintering you need:
