The following guidelines are for maintaining tubeless road tires – more complete explanations are below.
1. Inflation pressure on a tubeless road system is often between 10 and 15 pounds less than a conventional clincher tire.
2. Check tire pressure before each ride and check the snugness of the valve core periodically.
3. Keep tires inflated, preventing them from going flat during long-term storage. Spin the tires periodically during long-term storage.
4. If you use a plastic tire lever with a tubeless tire, use caution not to damage the carbon tire bead.
5. If the tire will not hold air, remove tire, clean the wheel rim and tire bead, and reinstall the tire with new sealant. Keeping a small amount of tire sealant on hand for this situation is recommended.
6. Carry a spare tube, plastic tire levers, and quick-fill style CO² inflator, to repair any flat tire you may have while riding. Remove the valve stem, install a tube, and reinstall the tire as you normally would with a standard clincher tire.
_____________________________________________________________
1. Tubeless clincher tires do not require as high a level of inflation pressure as conventional clincher tires. With a conventional clincher, high inflation pressure, often as high as 120 psi, is necessary to guard against “pinch” or “snakebite” flats. High inflation pressure results in a harsher ride as the tire is firmer and thus cannot absorb road shock as well. Since a tubeless tire has no tube, there is no risk of a pinch flat and lower tire pressure, resulting in an improvement in ride quality, is thus possible. Generally, the appropriate pressure in a tubeless road tire will be 10-15 pounds less than a conventional clincher. If in doubt, follow the recommendations of the manufacturer. If you want to experiment with how low you can go, lower your tire pressure in 5 psi increments until the tire loses its seal and “burps” air out the side during riding.
2. Air leaks out of any tire, whether a tube is used or not. While some tubeless clincher tire/rim combinations actually hold air better than a standard tube, many lose air pressure faster than a conventional tube tire. You should check your tire pressure before each ride regardless of whether you run tubes or tubeless. The internal valve cores on some tubeless valve stems are prone to loosening. Using a core remover (or a small adjustable wrench), check the tightness of the valve core periodically in the valve stem. Chronically loosening valve cores can be removed, the threads wrapped in Teflon tape, and then reinstalled to lock in place.
3. If the bicycle is stored for an extended period, check the tire pressure every few weeks and inflate the tire to your usual riding tire pressure as needed. This will help keep the seal intact between the carbon tire bead and the rim. Also, it is a good idea to spin the wheel periodically so as to keep the sealant distributed evenly around the tire. If the tire deflates, the seal between the tire bead and rim can be lost. If this happens, you may be able to simply reinflate the tire, resealing the bead to the rim simultaneously. However, if the seal has been lost, the tire will not inflate until the seal is reestablished. Simply adding more sealant may solve this problem, if not, the tire will need to be removed from the rim, the sealant along the tire bead and rim cleaned off, and the tire remounted. Inflating the tire from zero pressure is sometimes possible by pumping a floor pump very rapidly until the seal engages, but is easier and more reliable with a quicker high pressure inflator such as an air compressor or a CO² inflator. The simple rule is that you can avoid losing the seal by keeping the air pressure above 40 psi in your tubeless tires all the time.
4. Tubeless tires use a unique triangular shaped carbon bead that seals the tire against the rim. When removing or installing, it is important to use care with tire levers as damage to the bead can prevent it from sealing correctly against the rim. If possible, install tubeless tires by hand and, if a lever is needed, use only plastic tire levers.
5. Eventually, the sealant in the tire will dry out, the seal with the rim will be compromised, and the tire will no longer hold air. There is no definite time interval for this, but you can expect this to happen every 1 to 2 years. If this happens (assuming the tire is not worn out yet), you will need to remove the tire and valve stem, clean off the sealant from the stem and tire bead, and then remount with fresh sealant, usually about 1 oz is adequate in a 700×23 road tire. It is advisable to keep a bottle of Stan’s Tire Sealant (or other brand) on hand, to refresh your sealant if it is ever needed.
6. You can get a puncture or cut in the tire that is too large for the tire sealant to seal. Therefore, you should carry a spare tube, plastic tire irons, and an inflator on every ride. If you get a flat that will not seal, simply remove the valve stem and install your spare tube in the tire, just like a standard clincher repair. The tubeless clincher tire can be ridden with a tube without any difficulty, but you will lose the ride quality benefits of this tire and add some weight. If you do use a tube in the tire, be sure to inflate the tire to a higher pressure than you may use without the tube in order to avoid pinch flats. Keep the tubeless valve stem as it can be reused.
From first time riders to Olympians, Ian has helped thousands of athletes achieve their cycling and triathlon goals. Ian develops much of the Fit Werx fitting and analysis protocols and is responsible for technology training and development. He is regarded as one of the industry leaders in bicycle fitting, cycling biomechanics and bicycle geometry and design. He is dedicated to making sure the Fit Werx differences are delivered daily and provides Fit Werx with corporate direction and is responsible for uniting our staff and initiatives.
Find out more about Ian Here
We’ve covered how to choose your tyre pressure elsewhere but in this article we’re looking specifically at tubeless tyre pressures.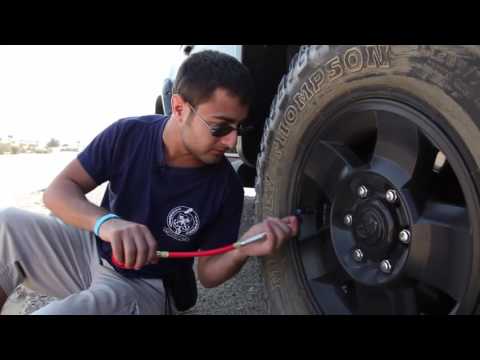 One of the benefits you often read about with tubeless tyres is the ability to run a lower pressure for more comfort. But how low can you go and what’s the right pressure for your setup?
- Tubeless tyres: With more choices than ever and Conti and Michelin entering the field is it time to switch to tubeless?
Along with reduced punctures, one of the benefits of removing the inner tubes and replacing with liquid sealant is the lower pressures that can be used without negatively impacting performance.
“Tubeless tyres can be used with lower inflation pressure without compromising performance. That brings clear advantages in comfort as well as more control in critical situations and poor road/trail conditions,” explains Schwalbe.
Hunt concurs with this recommendation and as well as reduced punctures, more comfort, and also points to reduced rolling resistance being another benefit.
“Alongside the ability to seal punctures, it’s the biggest reason to consider giving tubeless a go.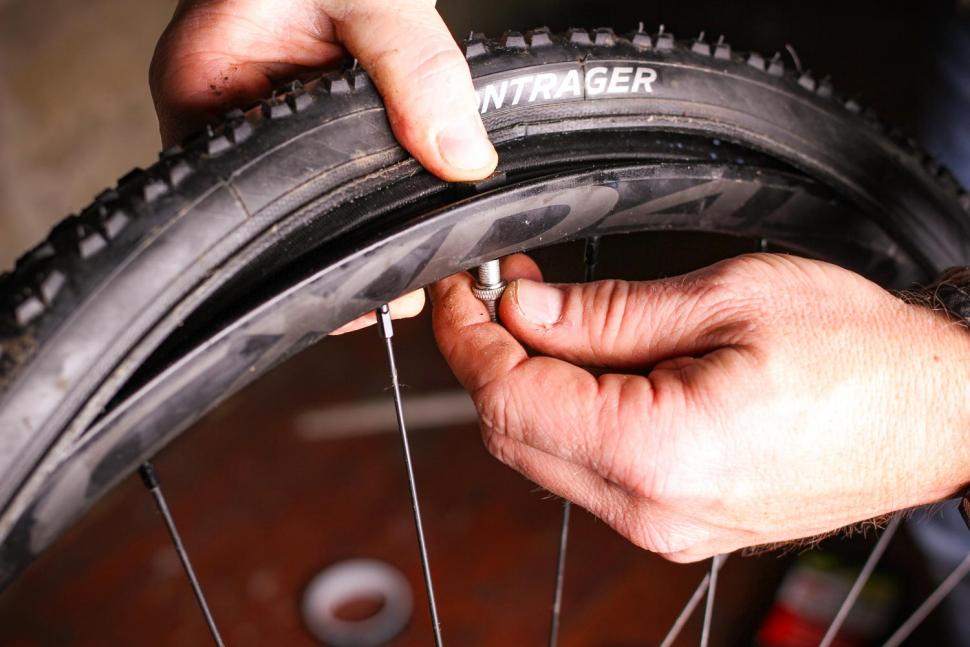 Without a soft inner tube, the chance of pinch flats/‘snakebite’ punctures is much lower. When an object like a rock or pothole completely flattens the tyre against the rim, a reinforced tubeless tyre sidewall is much less likely to be damaged than a butyl inner tube, explains Brand Manager Ollie Gray.
“Once you can run lower pressures without an increased risk of punctures, then you can get all the benefits that come with that: the obvious ones being increased comfort, better grip from a larger contact patch, but also reduced rolling resistance. The rolling resistance reduction is interesting, and a little counterintuitive; with a higher pressure the tyre can’t deform as much over small bumps in the road and the wheel, bike and rider are all bounced up over the object. You don’t get that energy back when you come down the other side, instead as the rider you are working to absorb that vibration.”
There are lots of variables you also need to consider. You need to take into account the rider weight, the bike weight, the quality of the roads and whether they’re rough or smooth, weather conditions also play a part as well and generally wet roads demand lower pressures. Even different tyres and their construction can make a difference, some tyres are soft and supple, others have very stiff sidewalls, and these changes can affect the ideal tyre pressure.
You can’t go too low of course, because the tubeless tyre needs a certain amount of air to keep it mounted onto the rim. Too low could be asking for trouble. Equally, go too high could also be inviting trouble as the tyre could blow off the rim. There’s a sweet spot between the two extremes which you want to aim for. Hunt advises against going above 100 psi with 25-28mm tyres, 70 psi for a 30mm tyre, and 35 psi for over 46mm wide tyres.
You don’t want to go too low either because the tyre could collapse under load in corners and squirm horribly. It also increases the risk of slamming the rim into the ground and damaging the tyre.
- How to fit a tubeless tyre
US tyre brand Compass points out that an excessively flexing tyre can damage the casing: “You also don’t want to run too low a pressure with tubeless tyres.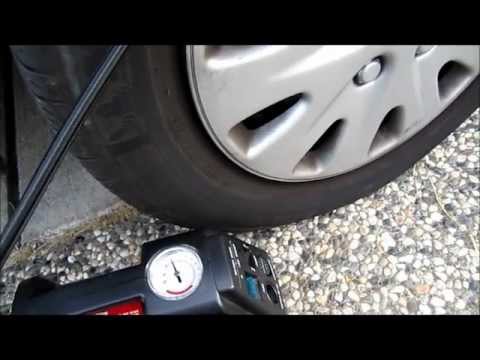 If the tyre flexes excessively, this will break down the casing until it starts to leak. With a narrow tyre, you have a narrow window between “too high” and “too low” pressures,” says the company.
We’ve established there are benefits to lower pressures as one of the reasons to adopt tubeless, but as with regular tyre pressure, it can seem a bit of a dark art to know what is the optimum pressure for your setup. As ever, there are many variables that dictate the ideal pressure, from rider and bike weight, road surface conditions, rim width and more.
“Width and rider weight are key factors along with the road surface and riding style. The rougher the riding surface, the bigger the benefits of using lower pressures (and also wider tyres). If a surface is wet or loose then the extra grip from a lower pressure is a big benefit too. In all honesty, there are a lot of variables,” suggests Hunt’s Ollie Gray.
Rim width and tyre width is an important relationship in the equation too. “When considering pressure riders will need to think of the wheel and tyre as a system opposed to individual parts. A wider rim will help support a tyre better, so can allow lower pressures than the same tyre on a narrower rim. As the tyre gets wider, the pressure should also decrease accordingly,” adds Hunt.
Experimenting with tyre pressures is often a good tactic. Invest in a good pressure gauge and pump and don’t be afraid to try different pressures. Make notes of the pressures as you try them and record your findings on how the bike feels on your local roads. Does it feel smooth, rough, slow, fast, squirmy, bouncy?
“As a good way to test what works for you, start off checking the recommended pressure ratings on your tyre and start somewhere in the middle. The signs that the pressure is too low are ‘bottoming out’ the tyre or getting excessive lateral movement from the tyre in cornering – so reduce your pressure until you start to get bottom outs or tyre squirm, then increase it by a little until it feels good again.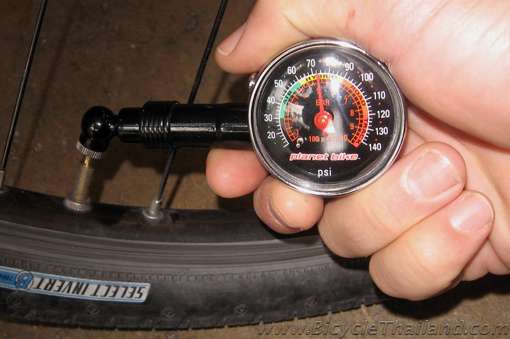 By then you probably have the best balance of comfort, speed and grip,” suggests Hunt’s Ollie Gray.
An obvious starting place is the tyre pressure stamped on the sidewall of the tyre. Thankfully, long gone are the days when people used to just use the max tyre pressure as the go-to pressure for riding. Many tyres now have a range of real-world pressures that offer a much better starting place to experiment from.
Continental has developed its first road tubeless tyre this year, the GP5000 TL, so we asked them what they recommend for tyre pressures.
“The first indicator is always the tyre’s individual pressure range, depending on the respective constructions. In fact we even do test the tyres with the double amount of pressure before they are finally released,” explains Continental’s head of marketing Sarah Hohmann-Spohr.
“Depending on the system weight (rider, bike) and underground/conditions the riders can opt between the min/max range.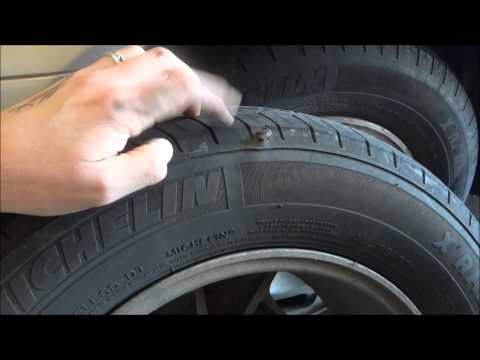 This range we communicate on the tyre’s sidewall, in our current programme/catalogue/website etc.”
For its new tubeless tyres, Continental recommends, for a 25m width tyre, between 80-109psi, compared to 95-123psi for the tubed clincher tyre. So you can see the tyre pressure is much lower than with an inner tube but it offers a 29psi range to allow for the aforementioned variables like rider/bike weight, riding style and road conditions.
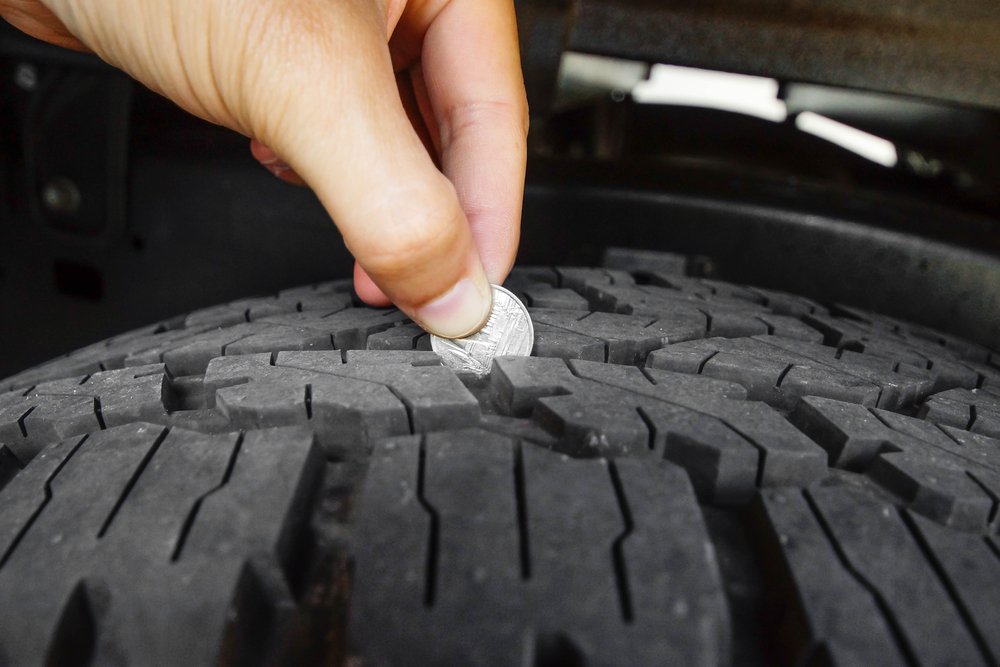
Another good starting place is Frank Berto’s recommendation to choose a tyre pressure that involves a tyre being compressed 15% of its height under the rider’s weight. Heres a handy chart to make it a little easier:
What this chart doesn’t take into account is tubeless. “Generally on the road, we’d recommend 8-10psi difference compared to current pressures as a starting point,” recommends Hunt, so you can take 10psi off the recommended pressure on Berto’s chart above.
Hunt offers a list of recommended pressures on its website for both clincher and tubeless tyres, based on 60, 70 80 and 90kg rider weights and 23, 25 and 28mm widths.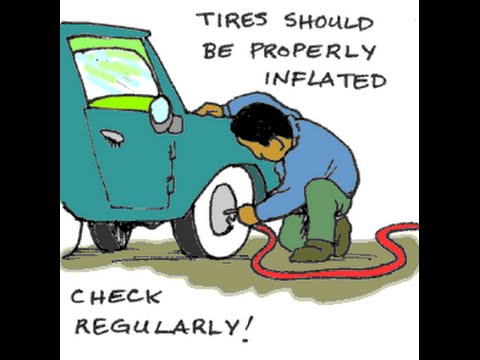 Taking a 70kg rider on 28mm tyres, it recommends 86 psi front and 91 psi rear.
Yes, there are now several smartphone apps that take the guesswork out of determining your ideal tyre pressure. I’ve been trying out two from TyreWiz and Michelin.
TyreWiz is a clever tyre pressure sensor developed by Quarq (part of SRAM) that attaches to the valve and monitors the pressure inside the tyre, sending this information to the app.
However, the app also lets you use it without the expensive sensor. You can input all your key data - rider weight, bike weight, wheel and tyre size - and it recommends front and rear pressures. I’ve been using it for a little while now and the numbers it recommends are pretty good, close to what I would normally use based on lots of tyre testing and experimenting.
Mavic also produces a tyre pressure app called MyMavic. In it you can input your vital data, even choosing rim width as that’s an important consideration in the relationship between tyre and wheel, and it produces a good set of numbers that I have not hesitated to use on my bike.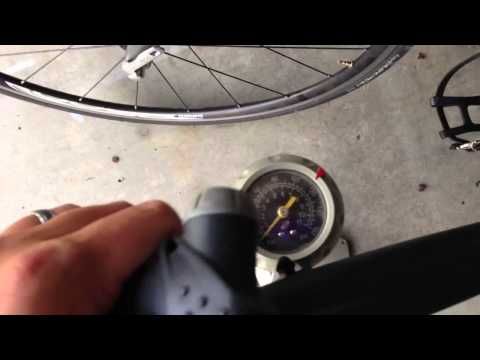
Here are screenshots from both apps, using the same set of numbers. The results are extremely close.
In conclusion, there is no real secret answer to what the best tubeless tyre pressure is, but it’s clear from speaking to industry experts that it’s lower than a regular clincher setup with inner tubes.
Don’t be afraid to experiment, tyre pressure makes a big difference to how the bike rides and feels on the road, so it’s worth making some changes and noting down the differences. Invest in a good pressure gauge or track pump and see what pressure works for your setup and riding requirements. It’s worth the effort.
Remember that tyre pressure isn’t a set and forget a thing, especially with tubeless which can be more prone to leaking air over time, so you want to regularly check the pressure and adjust it to suit different conditions. Don’t just assume they’ll be okay.
Over to you now, how do you choose the tyre pressures and what pressures are you running in your tyres?
What should be the pressure in the tires of the car? Does it need to be adjusted and what will happen if the pressure is changed in one direction or another?
Two friends conversation:
- hello lowered the wheel!
— Absolutely?
- No, only from below . ..
..
Humor from the Web
Let's start with platitudes. The pressure must be as specified by the vehicle manufacturer. And since the average modern driver usually does not have such information, especially for him, a "cheat sheet" with the necessary numbers is hung on the middle pillar on the driver's side or on the gas tank hatch cover.
A relatively rare solution: the "reminder" is located on the gas tank cap.
A relatively rare solution: the "reminder" is located on the gas tank cap.
An important point: pressure should be measured only on cold tires. By the way, especially for pedants: cold tires are those on which the car has been without movement for at least 5 hours.
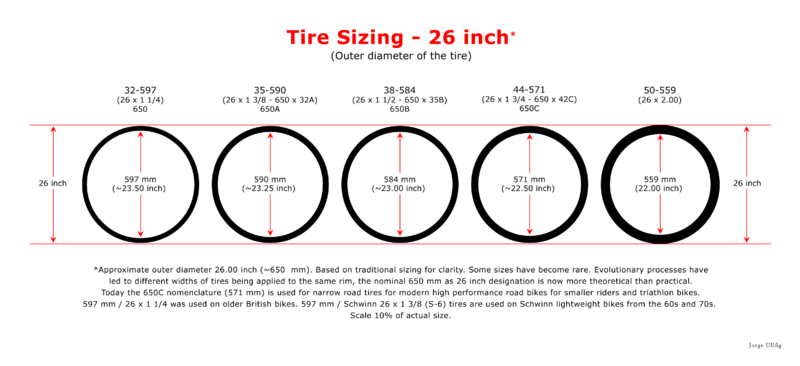
This "cheat sheet" nestled on the driver's door. An example of how tire pressure recommendations change depending on tire size.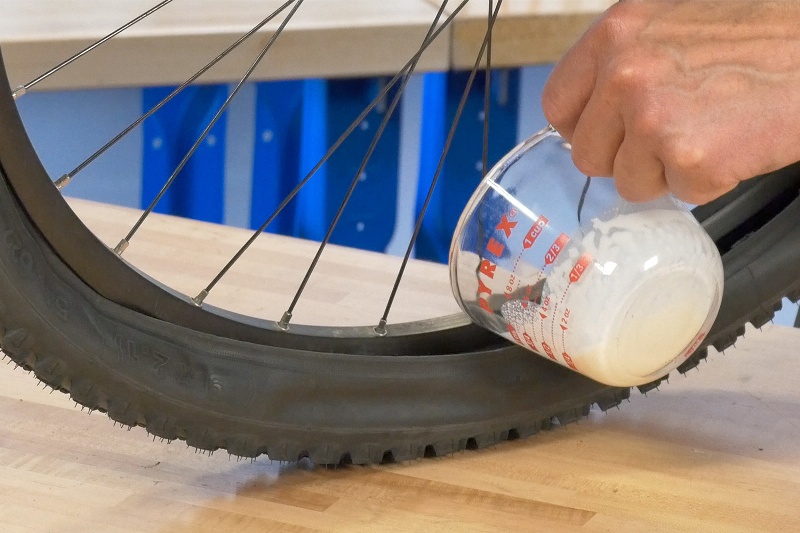
This "cheat sheet" nestled on the driver's door. An example of how tire pressure recommendations change depending on tire size.
Since car manufacturers allow the use of tires of different sizes, the pressure may also be different. In addition, the pressure in the front and rear tires has the right to both differ and be the same.
And here there is no difference in recommendations: what is in front, what is behind is the same.
And here there is no difference in recommendations: what is in front, what is behind is the same.
Related materials
Seasonal tire change: everything car owners need to know
Reduced pressure leads to an increase in tire deformation, more heating during wheel rolling, accelerated wear of the outer tread tracks. Perhaps even a violation of the integrity of the frame. As a result, fuel consumption increases. If you hit a hole in the road, the likelihood of damage to both the disk and the tire is higher.
Increased pressure is an overstrain of the cords, increased wear of the middle part of the tread. In addition, when driving on a bad road, the shocks that are transmitted to the suspension and body will become more noticeable for riders. When hit in a pit, the likelihood of a tire burst increases.
Uneven pressure on all four wheels is the worst thing! At the same time, the car, while driving, inevitably leads the wheels with lower pressure to the side - in fact, sideways movement begins.
Tube tires of the past required a weekly check, especially before the advent of butyl tubes. Then the pressure began to be checked less often, and nowadays, as a rule, they are limited to visual inspection.
Tube tires of the past required a weekly inspection, especially before the advent of butyl rubber tubes.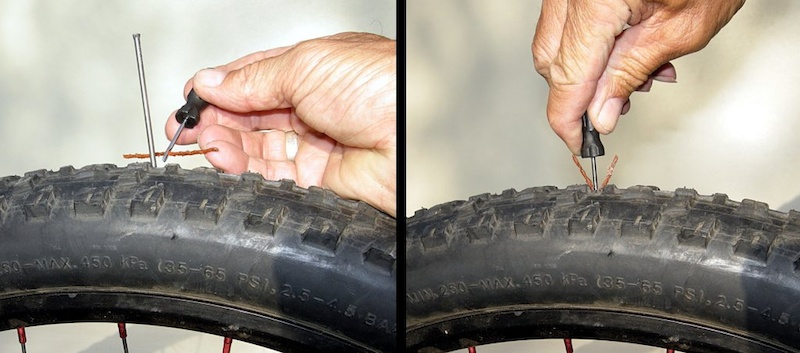 Then the pressure began to be checked less often, and nowadays, as a rule, they are limited to visual inspection.
In a good way, you need to check the tire pressure at least once a month. And before a long journey - just a must.
Related materials
Budget Tire Compressor Test: Wrong Bees
The air pressure in an enclosed space changes by approximately 0.1 bar for every 10 degrees of temperature change. This allows, having installed summer wheels in April, not to worry about the pressure in them until the end of August, when the air temperature begins to drop. Having pumped up the wheels at the end of summer, you can already reach the seasonal shift. But having installed winter tires in October, with the first frosts, you should check the pressure a couple more times: when the temperature drops to minus ten, fifteen, and when it goes over minus twenty. But from the middle of winter until the moment of changing the wheels to summer ones, there is again a period of relaxation.
Electronics are increasingly thinking for us. Now, a tire pressure monitoring system is being installed on parts of production cars. Moreover, some simply read the wheel speeds through the ABS sensors: after all, a flat tire rotates faster, since its radius is smaller than that of inflated wheels. There are also sensors that evaluate the amount of air pressure and send information via radio to the "brains" of the car. Such devices can also be purchased separately: sensors - in the wheels, and the receiver - in the car.
By the way, a lot depends on the road you are going to take.
The operating instructions supplied with the vehicles indicate that it is recommended to increase the pressure by 0.2-0.3 bar before driving for a long time on expressways. We advise you to follow these recommendations on all cars: it will not get worse.
The operating instructions supplied with the vehicles state that it is recommended to increase the pressure by 0. 2-0.3 bar before driving for a long time on highways. We advise you to follow these recommendations on all cars: it will not get worse.
I don’t want to discuss overload: this, you see, is not the case. But, unfortunately, many deliberately overload the car several times a year, not only stuffing the interior and trunk to the eyeballs, but also attaching a trailer, which additionally loads the rear wheels of the tractor. In such cases, we advise you to increase the pressure in the rear tires by at least 0.2–0.3 bar. Tires will only thank you.
If you doubt the accuracy of your pressure gauge, then we advise you to check it immediately after leaving the tire shop, where you were set the obviously necessary pressure, to measure it with your own measuring device (separate or as part of the compressor). So you determine whether your pressure gauge is "lying" a lot. For the future, right on the dial, you can put a mark of the correct value.
Of course, it is better to have your own, known to be correct pressure gauge, but such a toy is not cheap.
Of course, it is better to have your own, known to be correct pressure gauge, but such a toy is not cheap.
If terrible ice caught you on summer tires, say, in the country, and you need to drive some distance along an absolutely icy road by any means, then you should reduce the tire pressure to approximately 1.6 bar. Is it bad for tires? Yes. But an accident will cost more. In addition, in such a situation, one does not have to wait for high speed, and overheating of tires at near-zero temperatures most likely will not happen.
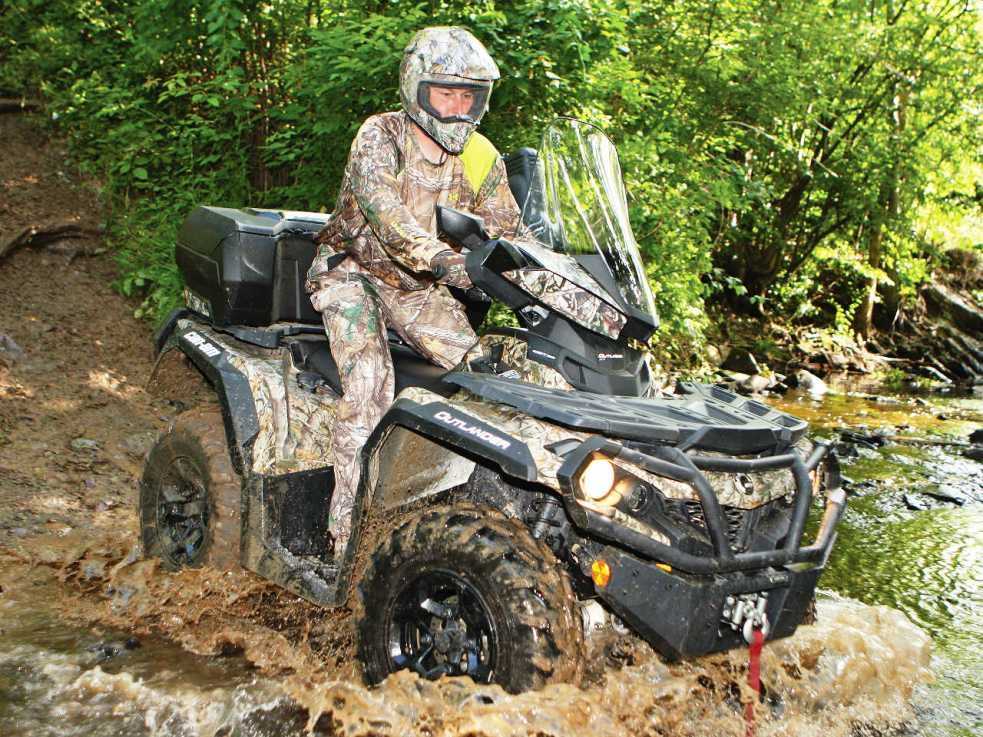
Everyone knows what caused the excellent maneuverability of Soviet tanks? That's right: wide tracks, that is, low pressure on the ground. We, having an ordinary, non-all-wheel drive car, are also able to provide it with a similar cross-country ability. If the wheels of the car sink into sand, snow or sticky mud, then it makes sense to lower the tire pressure. And not only driving, but also driven wheels.
We know from experience that you can often get out of the "black spot" by reducing the pressure to 1.2 bar.
We know from experience that it is often possible to get out of the "black hole" by reducing the pressure to 1.2 bar.
In a very critical situation, if you know that you have a fairly narrow disc and a relatively wide tire (such a wheel has a lower chance of self-disassembly), you can reduce the pressure to 1.0 bar.
Stalled on wet grass? Try to relieve pressure.
Stalled on wet grass? Try to relieve pressure.
Pressure reduction is also useful in other cases - for example, to overcome diagonal hanging. If you reduce the pressure in the wheels on which the car rests, their height will decrease and there will be a chance to “hook” on the suspended wheels. Of course, if the car has already laid down on the bottom, then it is too late to reduce the pressure - this will only interfere.
A concrete example of the effect of pressure on flotation. In this case, the pressure is very low, and the contact patch of the wheel with the coating is much larger than that of a conventional car.
A concrete example of the effect of pressure on patency. In this case, the pressure is very low, and the contact patch of the wheel with the coating is much larger than that of a conventional car.
In general, the pressure in tires, as well as in vessels, is better to keep normal. Any deviation has its negative consequences. Tell us, have you ever had to adjust tire pressure to improve flotation?
Tire pressure: your norm
Tire pressure: your norm
Inconsistency with the prescribed tire pressure leads to a hefty hole in the family budget. Let's figure out how to keep tires in good condition, and what dangers warn the driver.
Every year cars require less care from the owner. In the past, before each trip, the driver checked the oil and coolant levels in the engine, thoughtfully kicked the wheels. Those times are gone. Now the car owner calls in for maintenance in a timely manner, and fills in the washer fluid - if the vehicle does not present surprises, then the service ends there. They pay attention to the wheels only during the seasonal change or damage, forgetting that a mismatch in tire pressure can cause increased wear and even an accident!
The manufacturer always indicates the optimal pressure in the tires of passenger cars in the service book. This information is duplicated most often on the door pillar, for some models - on the inside of the gas tank cap or glove box. The numbers are clear and understandable. Pressure parameters are indicated corresponding to the allowable tire size at a certain load. Loading is shown by the number of passengers, so even the blonde from the joke can determine the correct value. However, few people follow the wheels. It seems to be not blown away, we will assume that everything is fine!
If the tire is overinflated, its bearing surface becomes convex and there is increased wear in the center of the tire. Friction is slightly reduced and with it fuel consumption when driving on a flat road. But the savings are not justified, because in addition to damage to the tires, handling suffers. When driving at high speed, heating occurs, which is fraught with trouble, up to the explosion of the wheel.
The reverse situation is that there is not enough pressure. The sidewall of the wheel is excessively deformed, the rubber becomes unusable. There were cases when, when hitting an obstacle, the disk was deformed. There is an old "jeeper" trick: when driving off-road, the pressure is released to about 1 atmosphere. In the mud, the wheels begin to work more efficiently. But the pressure will be insufficient, then the rubber breaks off the rim, and fixing tubeless tires in the field is not so easy. When leaving on a good road surface, you need to return the pressure to normal, which requires powerful compressors, the budget ones will push for 20 minutes and overheat.
Riding on under-inflated tires is dangerous: both handling and braking dynamics are reduced.
The conclusion is clear - car tire pressure control is needed every two weeks. Mandatory before a long run. Do not forget about the spare wheel, check its condition once a season.
Rule of thumb: pressure is checked on cold tires. When moving, the air heats up, and the pressure increases by 0.2-0.3 bar. If one side of the machine is in the shade and the other is in the sun, uneven heating occurs. It is not so easy to determine the correct adjustments, so in this case it is better to refrain from checking.
The outside temperature is also important. Tires inflated in the summer heat will show insufficient pressure in the fall. In winter, the pressure difference in the wheels of a car standing in a heated garage and on the street reaches 0.1-0.2 bar. It is clear that the check is carried out where the car drives - directly on the street.
We habitually measure pressure in atmospheres, although bars appear on most pressure gauges produced abroad. Both bars and atmospheres have a dual meaning: physical and meteorological. Today we are interested in the physical.
1 bar = 1 dyne/cm 2 . Ding - a unit of force
In the system of units of the MKGSS, the technical or, as it is also called, the metric atmosphere appears. It is defined as the pressure produced by a force of 1 kgf per square centimeter. 1 atm = 1 kgf/cm 2 .
The difference between bar and technical atmosphere is small: 1 bar = 1.0197 kgf/cm 2 . Such differences do not go beyond the error of a household pressure gauge, so you don’t have to rack your brains on how to measure pressure - in atmospheres or in bars.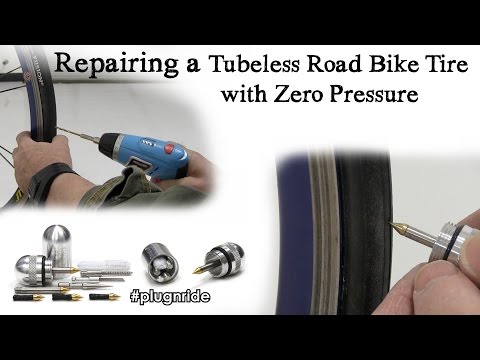
In the instructions of some machines may appear psi - pounds per square inch. 1 atm = 14.2 psi. Translating numbers is troublesome, so it's easier to get a pressure gauge with the right measurement scale.
It is impossible to determine the pressure in all the wheels of the car by eye. A slight difference from the prescribed one is practically invisible, modern tires hold pressure, even if they catch a nail. It is clear that this pressure is not normal. For example, in a wheel with several nails, 1 atm is stored, which only an experienced driver will feel. So you can't do without a manometer.
Inexpensive compressors are equipped with primitive pressure gauges, on the scale of which it is difficult to see tenths. Therefore, a manual pressure gauge is useful on the farm: it shows the data more accurately and it is easier for them to check the pressure.
Mechanical (pointer) pressure gauges are inexpensive and functional.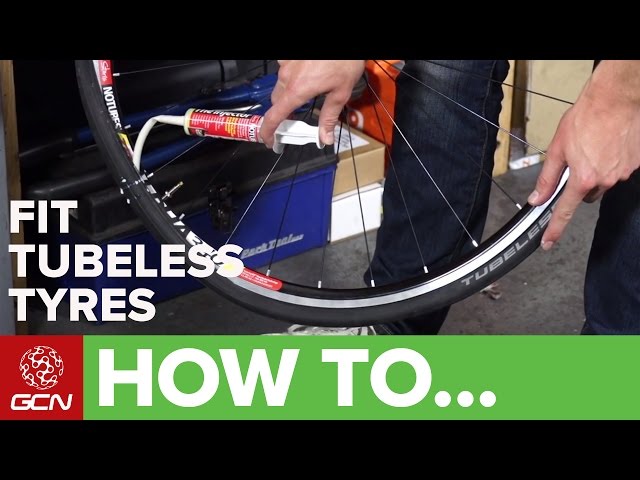 There are additional buttons for resetting indicators and bleeding air. Usually, 2-3 measurements are made with such equipment, since it is not possible to immediately press the pressure gauge against the tire nipple accurately. Mechanical equipment begins to show incorrect data when moisture enters. Mechanics are less precise than electronics. There is a subspecies of mechanical pressure gauges - rack and pinion. They look like a ballpoint pen, the readings are changed by a cylindrical spring. The thing is fragile, it is not in special demand, and therefore it is little represented in stores.
Electronic pressure gauges rule the roost. They are comfortable, there is a backlight, to switch the measurement scale, just press the button. It would seem - live and rejoice. But such pressure gauges also have disadvantages: they are more expensive than mechanical ones, they fail at low temperatures or refuse to work at all, they suddenly discharge, and they show a significant error when the battery is low.