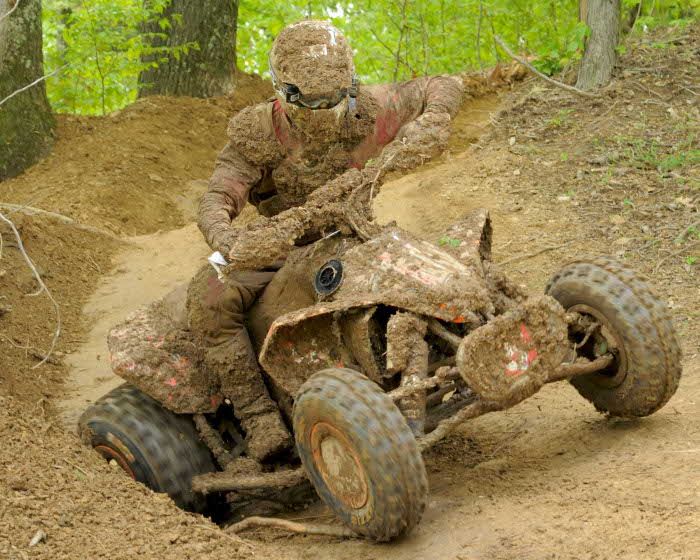
All Terrain Vehicles (ATVs) are designed to be ridden in the wettest, muddiest, and dustiest conditions, and most ATV owners have no difficulty getting their quad bikes dirty. But after the fun ends is when the hard part of owning an ATV starts — cleaning your quad and getting it back to its former shiny glory.
If you want to keep your ATV’s plastic parts looking like new, you need to adopt a cleaning and protection routine from day one. By following these few simple steps, the tedious job of cleaning your quad will be a lot easier. If your ATV is white, some additional steps may be needed to keep its original color and shine.
If your ATV is covered in caked-on mud and dirt, an important first cleaning step is to presoak it. This simply involves using a hose to spray your quad with an intense spray of water and leaving it to soak. Try to get the spray into all the smallest recesses. Use your hands to get rid of any big chunks of stuck-on grass and mud.
The next step is to blast off all the loosened dirt. Using a pressure washer is the simplest and most thorough way to do this. If you don’t have access to a pressure washer, you can use a hose with a nozzle turned to its most powerful setting. Clean off as much dirt and grime as you can, to make the rest of the cleaning easier for yourself.
Use a good automotive cleaner and a sponge to scrub all of your quad’s surfaces, paying particular attention to the plastic parts and the seat. For any rough or difficult-to-clean parts of your ATV, use a stiff brush to remove tough dirt. The detergent will help to get rid of any oily stains.
There are different ways to dry your quad, depending on what you have to hand. If the plastic is still wet, the heat of the sun and a lint-free cloth work really well. If you have access to an air compressor, it not only dries your ATV’s plastic surfaces but can also get into all the nooks and crannies that you can’t reach with a cloth. This helps to prevent rust spots developing in hard-to-reach areas where water can sit in pools.
Many ATV owners think polishing the plastic is a step too far for a vehicle that’s going to get covered in mud next time out. But if you want to keep your quad looking great, or at least try to reduce the faded and scuffed-up appearance of plastic surfaces, you shouldn’t skip polishing.
Once your ATV is dry and free from water spots, use a specially designed plastic polish on all the plastic areas. You simply spray it on and buff it until the surfaces shine. However, don’t use the polish on your seat, as you might find yourself sliding off the slippery surface on your next ride.
If your ATV is white, it might need some extra cleaning because even the smallest bit of dirt will stand out on white plastic surfaces, causing the white to become discolored. Take these additional steps to restore your quad to bright white.
Fill a large bucket or bowl with one part water and one part bleach. Remove small white plastic parts from your quad and soak them in the bleach-water mix. For the larger parts, soak paper towels in the bleach solution and cover the discolored plastic with them. Be sure to wear gloves when using bleach.
Alternatively, you can buy automotive spray-on bleach products. Either way, leave the solution on the plastic for a while. Wipe the surfaces with a soft cloth, then spray them with a pressure washer or hose and nozzle. Afterward, dry the parts and admire your shiny white ATV.
To make your ATV’s plastics easier to clean, you could treat them with a good-quality plastic sealant spray before you go riding in the mud. The protective coating helps to repel water and mud. Instead of sticking to the plastic, muddy water will sit in beads on the surface. Your quad will still get dirty when you hit the muddy trails, but it makes it much lighter work of the cleaning afterward.
Before you use the sealant, your ATV must be thoroughly cleaned and dried to ensure the sealer will stick properly to the surfaces. Also, make sure you read and carefully follow the product’s instructions for use so that you get the lasting finish you want.
After that, it’s a simple job to apply the sealer to all plastic parts components you want to protect. Leave the sealer to sit for a couple of minutes, then buff the treated areas with a dry rag or a micro cloth to remove excess spray and bring your quad’s plastic surfaces to a shine.
The sealant is safe to use on all body surfaces, but you should avoid spraying the product on the engine or electrics. Also, you need to consider that some sealants, especially if they’re silicone-based, can make your handlebar grips and seat slippery, so it’s advisable not to coat those parts with the product.
As we mentioned above, you shouldn’t use polish or sealant on your ATV’s seat. Although these products will make your seat shiny, clean, and protected, they will also leave it slippery, making your next riding adventure potentially dangerous.
For cleaning and protecting your seat, the best product to use is a degreaser. It will remove the mud and water stains to leave it looking like it just left the showroom. Most degreasing products will do the job. You just need to ensure it’s compatible with vinyl and won’t damage the seat.
Following these easy steps will help keep your ATV looking its best. If you have any other tips for cleaning and protecting your quad, please let the team at Rydell Auto Group know, and we’ll pass them on.
Tags: ATV Detailing, Washing ATV
Posted in
Grand Forks Car Wash, Grand Forks Detail Center |
Comments Off on How Do You Get Mud Out of ATV Plastic?
Posted by Nicole Wakelin Know How
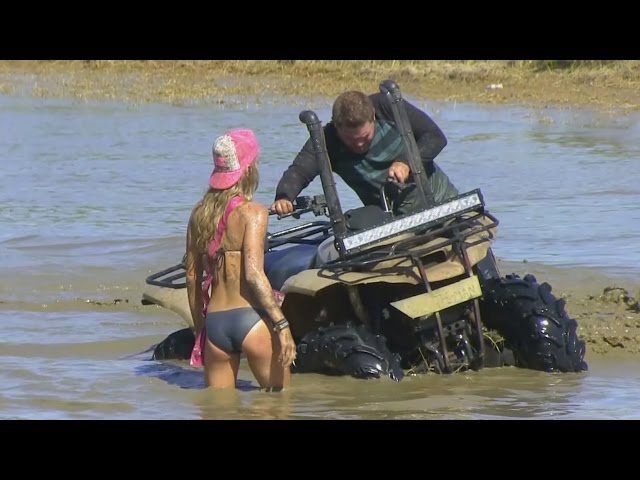
Any rider will tell you, nothing says fun quite like a dirty ATV. Hitting the trail for some ATV mudding is what it’s all about. But when you get home, you’ll need to put some effort in and get your ATV clean. Keeping your ATV clean helps ensure it is safe and properly functioning. So what really goes into getting it clean? Here are some tips to make your cleanup after ATV mudding a little easier.
You’re ATV is good and muddy; you’ve just pulled it off the trailer and it’s pretty caked up. Before you go for the hose, go around and tap the big chunks off with light taps from a rubber mallet. Once you’ve done that, use a large, broad spray of water and let it soak into the mud. You’re not trying to blast if off right now; your goal is to just loosen things up. Repeat this step a couple of times as the water soaks in, because sometimes heavy mud will need a little extra water to break down.
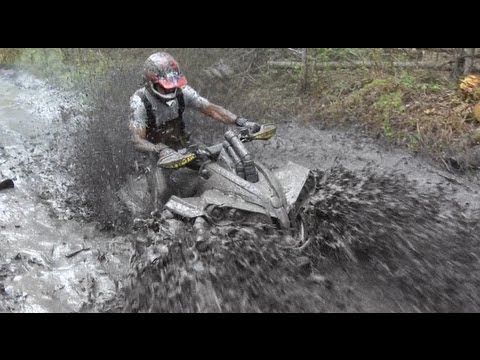
Blast OffNow that you have the mud softened up, it’s time to get to work. While you can do this step with the pressure spray nozzle on your garden hose, a pressure washer will do the most thorough job here.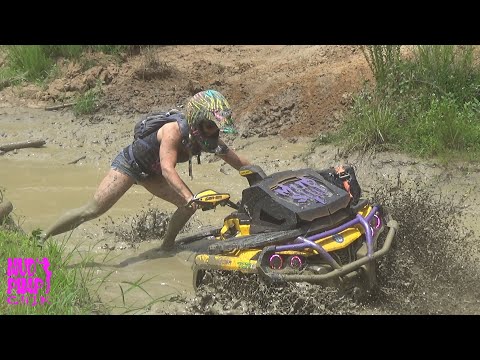 Keep in mind that with a pressure washer you need to dial the pressure back, use a broad tip and keep away from sensitive areas (air box, CV boots, fuse box, radiator, gas tank, stickers, etc). You want to avoid driving water into places that may cause damage. Also some ATVs state in the owner’s manual to never use a pressure washer, so check if your rig’s manual just in case. Either way, the object here is power! Get in there and blast that softened mud off. While you’ll find that you can get most of it out with this step, don’t get too hung up on it; you just want to get the real problem areas started.
The spray wash should’ve removed the majority of the mud, but if you find that there’s a little left in tight spots, now is a good time to take some extra measures. Fill a bucket with soap, specific to car washing, and scrub your ATV down with a sponge, and a bristled brush for tighter areas. Places that see a lot of oily residue, like chain guards and the swing arm, could even use a bit of de-greaser to get things good and clean.
Depending who you ask, you might end up with 100 different answers on the best way to dry your ATV off after a good washing. You can always just let it sit in the sun and air dry, but if you want to save time and make sure you get it good and dry, try using your leaf blower. On top of getting all the water off and drying things up quickly, using your leaf blower will also help blow out any dirt remaining in cracks and crevices that managed to escape your washing. It also helps to avoid rust and corrosion and saves on having to wash towels afterward. Spray down moving parts and large metal surfaces with a quality rust inhibitor to protect your ATV, and even make it easier to clean next time. Finally, if your rig has a chain now is the time to re-lube it.
What was once an ATV completely covered in mud is now showroom shiny and ready to get back out there again.
Check out all the motorcycle and powersport parts 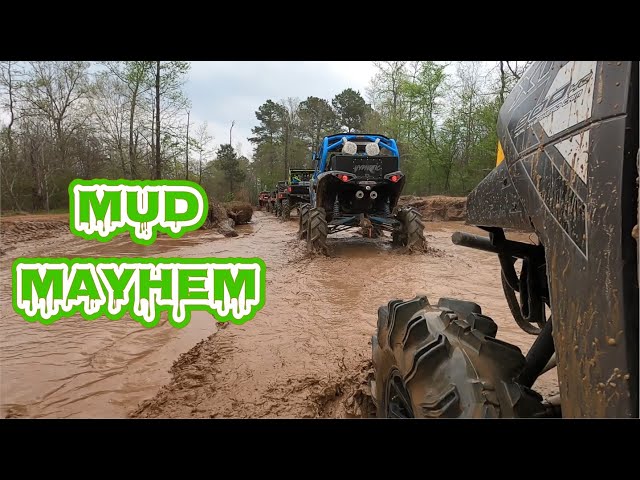 For more information on the best way to clean up after ATV mudding, chat with a knowledgeable expert at your local NAPA AUTO PARTS store.
Image courtesy of Flickr
Categories
Know How
Tags
anti-corrosion, ATV, cleaning, cleaning your quad, mud removal, mudding, rust inhibitor, UTV, wash
Nicole Wakelin covers the automotive industry as a freelance journalist for a variety of outlets. Her work includes news pieces, podcasts, radio, written reviews, and video reviews. She can be found in The Boston Globe, CarGurus, BestRide, US News and World Report, and AAA along with lifestyle blogs like Be Car Chic, The Other PTA, and She Buys Cars. She is active on social media with a large following on both Twitter and Instagram and currently serves as Vice President of the New England Motor Press Association.
Article reading time: 3 minutes
Save to bookmarks
The right technology and the right detergents can help get rid of brake dust and gravel stuck in the tread, improving the safety of the car, driver and passengers.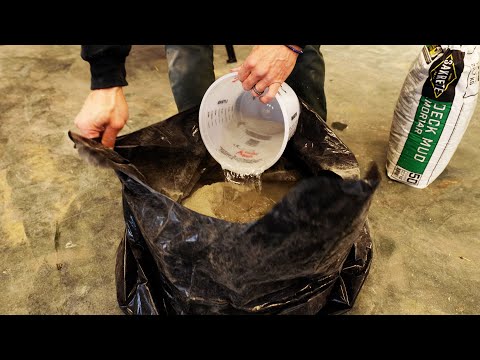
How to wash tires we will tell in this article.
To clean the wheels from dirt, dust and oil residues, you will have to act according to the following plan:
 The wheel should not be treated with the same napkin as the car body. Traces of solvent or oil will stain the cleaned rubber.
 In the final, the wheel is applied with a protector that protects the tires from the harmful effects of ultraviolet radiation.
To clean dried-on dirt from rims and wheels, you will need a machine that generates high-pressure water. Such installations are produced by American and European companies, so they are quite expensive, but they can be replaced with an ordinary hose and a special nozzle that accelerates the water jet to a pressure sufficient to clean the car.
To remove residual dirt, you will need a medium-hard bristle brush and a cleaning solution that is used to treat wheels and rims. This solution can be prepared from household chemicals found in the kitchen or bathroom, or bought at an automotive store. Moreover, store products are divided into universal foam cleaners and solutions based on weak acids, which can only process car rims. By the way, if you don’t know how to wipe rubber off a car, try this solution.
To wash the wheels of cleaning products, you need the same high-pressure apparatus or a hose with a nozzle. But as a napkin that will wipe off the remaining water, you need to use only clean microfiber from the package.
Winter Drive protection
Tires Goodyear UltraGrip Arctic 2 SUV
Winter Drive Protection Sound Comfort
Rating:
4.5
Tires Goodyear UltraGrip Ice 2
Winter Drive protection
Tires Goodyear UltraGrip Performance+ SUV
Winter Drive protection
Tires Goodyear UltraGrip Arctic 2
Winter Drive Protection Run On Flat Sound Comfort
Tires Goodyear UltraGrip Performance+
To prepare a solution that can clean dirt from tires, dilute in a small amount of water to half a standard bottle of dishwashing detergent. Pour the resulting concentrate into a container into which it is convenient to dip a car brush. Thanks to the abundance of surfactants found in dish detergent, a homemade solution will clean tires as well as a factory cleaner.
Rules for the use of home remedies that can clean wheels are similar to the recommendations of manufacturers of commercial drugs. Before treating tires and rims with home remedies, make sure you wash the tires. Otherwise, brake dust and gravel residues will turn into abrasive particles that can scratch the tread when you scrub it off dirt with a brush or sponge. Do not try to clean the wheel with an old cloth that has been used to clean the engine compartment or bodywork - it will stain the wheel with oil or gasoline.
Article author: The Goodyear team
Popular related articles
Tire regrooving
(
Updated:
27/07/2020
)
Which tires are better: narrow or wide?
(
Updated:
27/07/2020
)
How are tires tested?
(
Updated:
27/07/2020
)
How and why to blacken rubber?
(
Updated:
27/07/2020
)
Does the braking distance depend on the tires?
(
Updated:
27/07/2020
)
Proper break-in of studded tires
(
Updated:
24/01/2022
)
Almost everyone faces dirt stains.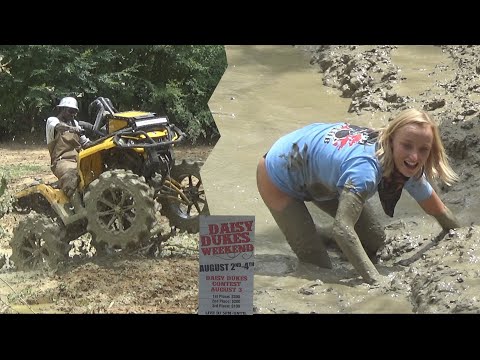 They are dangerous because they quickly penetrate into the structure of the fabric and leave ugly stains and marks on it that even the most expensive stain remover cannot cope with. Therefore, the main solution to help remove dirt stains will be a timely response to their appearance.
To remove traces and stains from dirt, you need to follow the general rules:
 If the soap dissolves quickly and the water does not become cloudy, then the liquid is clean and soft. If the soap chips dissolve for a long time, and a light coating appears on the surface, this indicates the hardness of running water. You can clean it with baking soda, for this, it is enough to add 2-3 tablespoons of the product to a basin of water, then mix everything.
 Hang items to dry in a well-ventilated area.
Today, there are many ways to help remove dirt that has appeared.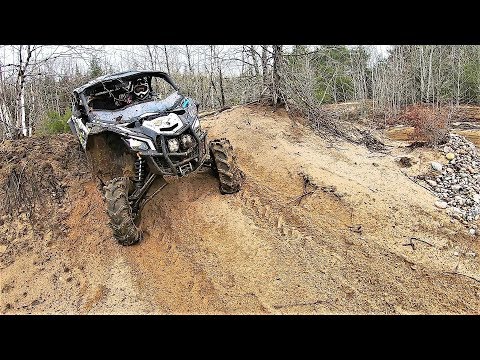 The most popular of them are presented below:

Baking soda can be used to remove fresh stains. Add 2-3 tablespoons of the product to the washing drum along with the usual amount of powder, then activate the "delicate wash" mode.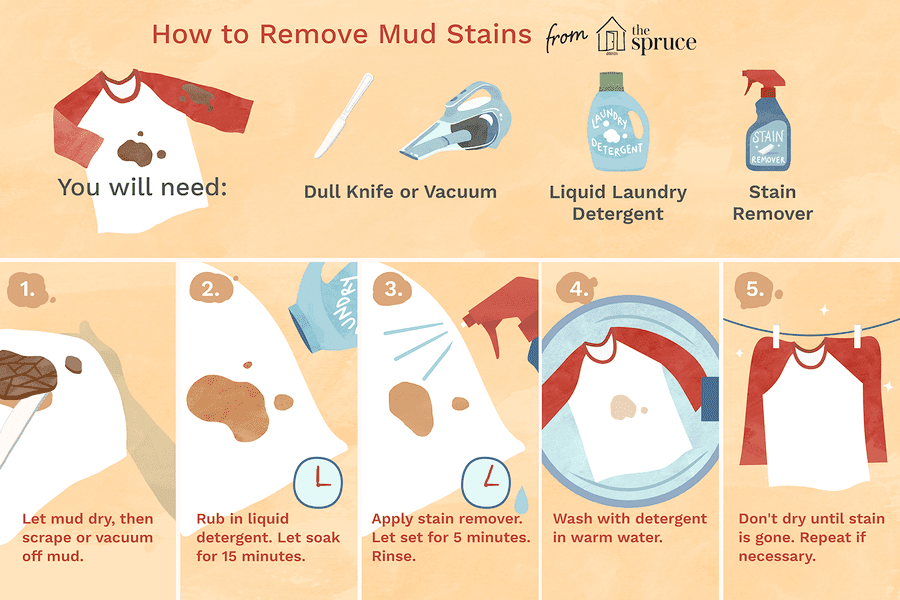
Denim has the ability to absorb any dirt, so if you ignore the problem, you may encounter damage to your favorite things. When washing jeans, remember the following rules:
Some denim items are considered fragile and should not be washed with harsh chemicals. Many housewives use home methods for removing stains:
 After that, it is rinsed in cool water and sent to the washing machine.
 If home remedies fail to remove stains, use chemical cleaners or take the garment to the dry cleaners.
Stubborn stains are much more difficult to remove. Today, the following methods are popular in the fight against pollution:
 If necessary, you can use the machine wash.
 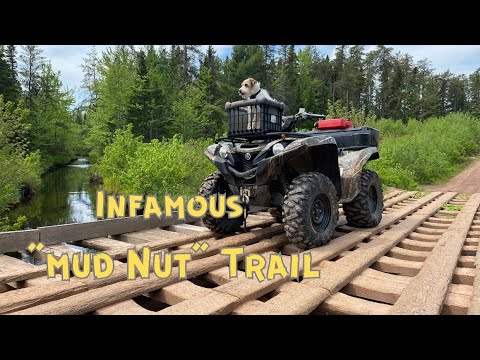 For cleansing, take a glass of boiled warm water and 2 tablespoons of edible salt. The components are mixed, the resulting solution is applied to the problem area, left for 30 minutes, after which the clothes are washed under water and, if necessary, washing powder is used.
 If the first attempt does not remove the traces of dirt, the procedure can be repeated. But no more than 4-5 times, otherwise you can damage the structure of the fabric. In such cases, it is recommended to seek professional help.
Home methods can be used to clean furniture: