Posted by Matthew C. Keegan Know How
Continually losing air in the same tire is a certain sign that a leak is present. If you find a hole, then it’s a simple matter of plugging it, adding air and going on your way. Unfortunately, not every tire leak is easily found, making it all the more difficult to resolve a persistent problem. Here are some steps you can take to identify and fix a leak.
1. Add Air to the Affected TirePut sufficient air in your tire according to the pounds-per-square-inch (PSI) recommendation listed in the owner’s manual, on the placard found on the driver’s door jamb or on the inside of the glove box. The tire should be cold when inflating to ensure an accurate reading. Inflate each tire on your car and the spare accordingly.
2. Observe CarefullyIf the affected tire continues to lose air faster than the other tires, then you have a leak. You’ll find most leaks by visual inspection — a protruding nail, a hole or a cut are obvious signs — and by listening to or feeling around the tire for air release. Remove nails and fill holes, but any puncture in the tire shoulder or sidewall areas means you’ll have to replace the tire.
Some leaks are imperceptible under normal observation, but there are two ways to find a leak. First, cover the affected tire with a solution of soap and water. If a leak is present, the impacted area will bubble up, revealing the leak. Second, you can always remove the tire from the car, then submerge it in water. Bubbles will soon form, making it easy for you to identify the source of the leak.
5. Identify the Affected ComponentNot all leaks can be directly attributed to the tire. The tire itself may be in top condition, but there are two other ways a tire may leak.
First, a bad valve stem can cause a tire to lose air through the valve base or body.
Second, the wheel-mounting surface may be defective. It can be damaged by hitting a pothole or through corrosion.
These two hidden problems become visible through the soap-and-water test or by submerging the tire.
6. Replace or SealYou can resolve a tire leak in two ways.
First, if the leak is due to the tire itself, then a tube sealant kit can handle most small leaks.
Second, for leaks not involving the tire directly, replacing a worn valve stem or a damaged wheel should provide a comprehensive fix.
Check out all the driveline & wheel parts
Photo courtesy of Flickr.
Categories
Know How
Tags
car care, flat tire, flat tire causes, tire care, tires, wheels
Matt Keegan has maintained his love for cars ever since his father taught him kicking tires can be one way to uncover a problem with a vehicle’s suspension system.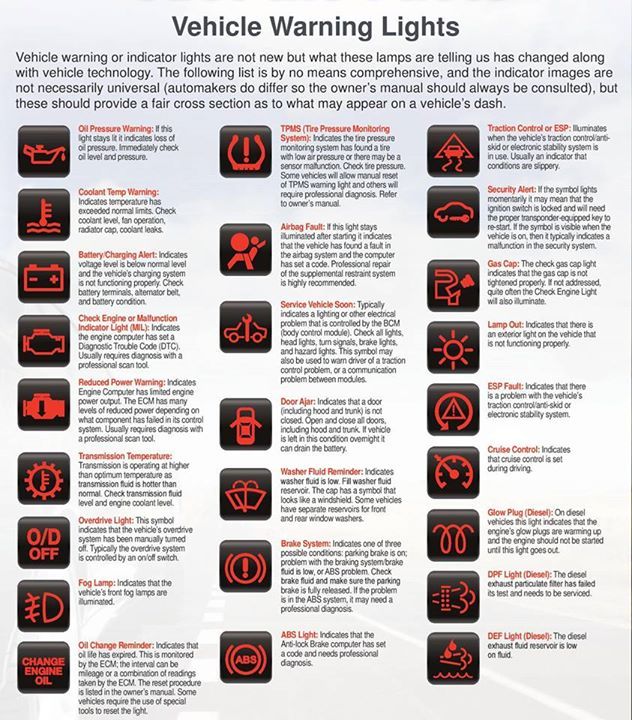 He since moved on to learn a few things about coefficient of drag, G-forces, toe-heel shifting, and how to work the crazy infotainment system in some random weekly driver. Matt is a member of the Washington Automotive Press Association and is a contributor to various print and online media sources.
Checking and adjusting your tire pressure is key to proper vehicle maintenance. If your tire pressure is dropping between your tire pressure checks, you have a slow tire leak. A puncture in a tire’s rubber can cause a slow leak. Faulty valve stems also cause slow tire leaks. Finally, a tire that is not sealing against the rim properly will leak. Lucky for you, you can easily diagnose your slow tire leak at home.
Jack up your vehicle, being careful to support it safely on jack stands as well as your jack. Then remove your tire.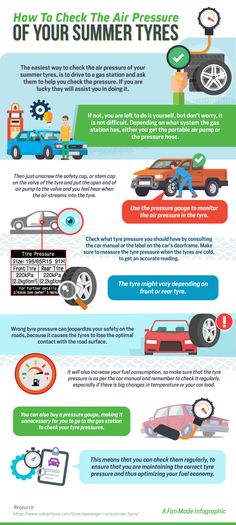
Next, mix a little dish sope in water. If you have an empty spray bottle, pour your mixture into the spray bottle. Then simple spray the mixture on your leaking tire. If you don’t have a spray bottle, you can pour a thin layer of the solution over your tire.
Don’t miss the edge of your tire, where it seals against the rim. You will need to slowly roll your tire to pour water over its entire surface. As you do this, look for rapidly forming bubbles that indicate escaping air.
Finally, pour a little of the solution over the valve stem. The valve stem is where you fill the tire and check your tire pressure. Make certain to pour the soapy water over the seam where the stem enters the metal rim’s metal. Read more on finding a tire leak.
If you find air escaping between the tire and the rim, you know the tire is not sealing. This may be because the edge of the tire is damaged. A dirty or rusty rim sealing surface can also cause a slow leak. Finally, if tire was improperly mounted it will leak.
The “bead,” or sealing surface of the tire, should pressed against the rim by the air pressure in the tire. To set the bead, a mechanic stretches the tire onto the rim, then inflates it to maximum PSI. Finally, the technician strikes the tire tread or bounces the tire on the ground like a basketball. This impact seals the rubber against the metal.
If air is escaping through the tire rubber, it has a puncture or tear. If the air is escaping through the sidewall, the tire is unsafe for highway use. Driving and cornering places more strain on the tire’s sidewall than a patch can support. If you try to patch the sidewall, you risk a dangerous blowout.
If air is escaping through the tread of the tire (the part of the tire that contacts the road), it might be repairable. Most tire shops or auto repair shops will be able to patch a tire with a tread puncture cheaply. Many tire technicians prefer removing a punctured tire from the rim and patching it from the inside, instead of plugging it.
If you would like to fix the tire yourself, you only need a tire repair kit. A basic kit with plugs will set you back $15-$25. First deflate the leaking tire completely. Then remove any debris still inside the puncture. Next, use a round file to turn the puncture into a larger, uniform hole. Finally, press a sticky rubber plug through the hole, and cut off the end of the plug. It is a simple process you can complete in an hour if you are a dedicated DIYer. Learn more about plugging a leaking tire.
Related
If you find air escaping from the cap on the valve stem, then your valve mechanism is damaged. Many tire repair kits include replacement valves. With a new valve, you will be able to replace your malfunctioning valve in minutes.
To replace your valve, you first deflate your tire. Then, use your kit’s valve tool to screw out the old valve and screw in a new one. Finally, reinflate your tire and make certain it holds air. Learn more about valve stems with a tire pressure monitoring system attached.
If air is escaping between the valve stem and rim, your tire must be removed before the valve stem can be replaced. The good news is that the professionals at an auto shop can replace your valve stem quickly and cheaply.
Articles October 17, 2016
Many car enthusiasts have encountered a situation where a relatively new and serviceable battery is constantly discharged after parking for several days. And even after replacing the battery, the problem is not eliminated.
This means that a current leakage occurs in the car's electrical circuit, that is, in one or several sections at once, non-productive consumption of electricity occurs due to improper operation.
In this article you can find answers to the questions: What are the most common causes of current leakage? How to measure leakage current volumes? How to determine the source of current leakage? And many more .
Before you begin to find and eliminate the source of the current leakage, you must make sure that the battery is in good condition. To do this, you need to check the voltage that the battery supplies to the car's electrical network.
Check with a simple voltmeter or multimeter. It is necessary to disconnect the terminals from the battery and let it stand for about 2-3 hours so that all the chemical processes that generate electricity stop. After that, it is enough to firmly lean the contacts of the measuring device to the battery terminals.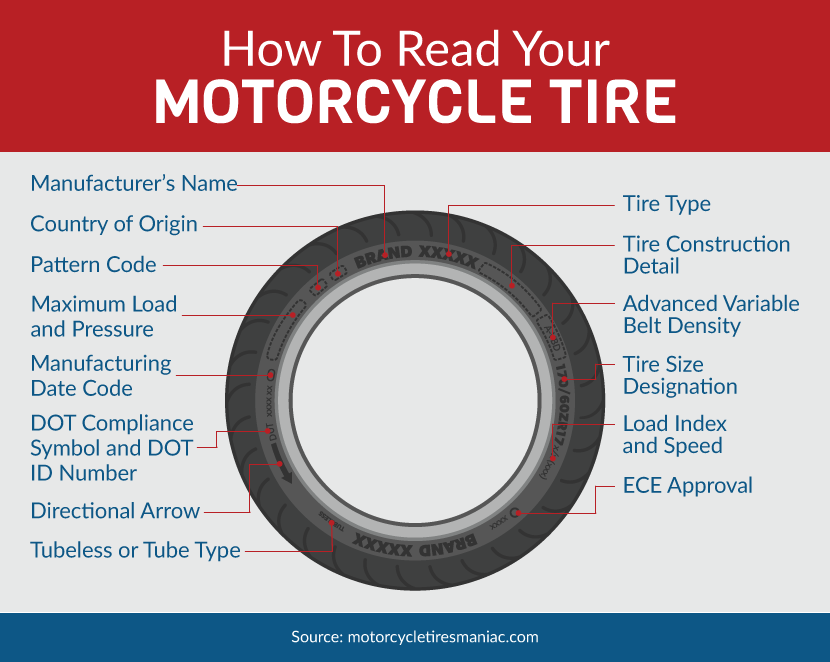
Important! The optimum voltage is considered to be 12.65 volts (+/- 0.05) - this is the value of the maximum charged battery. The minimum allowable for the normal operation of the car is 11.9 V .
If you do not have a voltmeter or multimeter, you can use a standard battery charger. As a rule, these devices are equipped with a built-in voltmeter, albeit less accurate.
If the battery check shows that the device is OK and the rapid discharge situation persists, then the cause is a leakage current. The most common causes of this malfunction are:
Measuring leakage current also requires an accessible meter and some battery manipulation. This diagnostic process consists of the following steps:
1. Turn off all electrical devices of the car
To do this, turn off any lights (external and internal), radio and any other electrical appliances. You also need to remove the key from the ignition.
2. Open the hood and close the doors
3. Connect the ammeter
On the measuring device, the knob must be set to 10A. The connection is made in the gap to the mass, that is, it is necessary to disconnect the "negative" wire from the battery, and press one contact of the device to the released terminal, and the other to the removed wire.
Start measurement after about a minute. This is due to the operation of the alarm system: the system needs to go into standby mode. Some car alarms go on after 6-7 seconds, others remain active for about 40 seconds.
Important! Almost every modern car consumes electricity while parked. It is the excessive consumption of electricity in the non-operating state that has a negative effect.
0.15 to 0.5 amps is considered normal leakage current. Experts consider a leak of 0.7A to be the maximum allowable for normal battery operation. If the measurements showed a higher value, then the reason for the rapid discharge of the battery is precisely the excess current leakage.
There are several ways to determine the areas of the vehicle's electrical circuit where current leakage occurs. We will talk about one of the most convenient, but no less effective.
To perform this diagnostic, you will need to do everything that is necessary to determine the level of current leakage. After that, without turning off the ammeter, you need to get into the fuse box. Then you need to pull out the first fuse and monitor the readings of the device, if the leakage level persists, then the problem is not in this section of the circuit. Thus, it is necessary to continue to alternately turn off and return the fuses until a problematic section of the electrical network is found.
If the fuse panel is inside the passenger compartment, and it is not possible to fix the contacts of the measuring device, then you can simply take measurements after disconnecting each section of the circuit.
Determining the leakage current does not require any special skills or knowledge. However, it is better to entrust the elimination of current leakage to professionals, even if you were able to independently determine the problem area of \u200b\u200bthe electrical circuit. Repairing a car's electrical wiring is a rather complicated process and unprofessional work can lead to even greater negative consequences. 9
© 2007-2023.
The CarsWeek online publication was registered with the Federal Service for Supervision of Communications, Information Technology and Mass Media (Roskomnadzor) on April 25, 2017.
Registration certificate EL No. FS77-69477. Founder: Sergey Grigoryevich Bogachkov. Chief editor: S.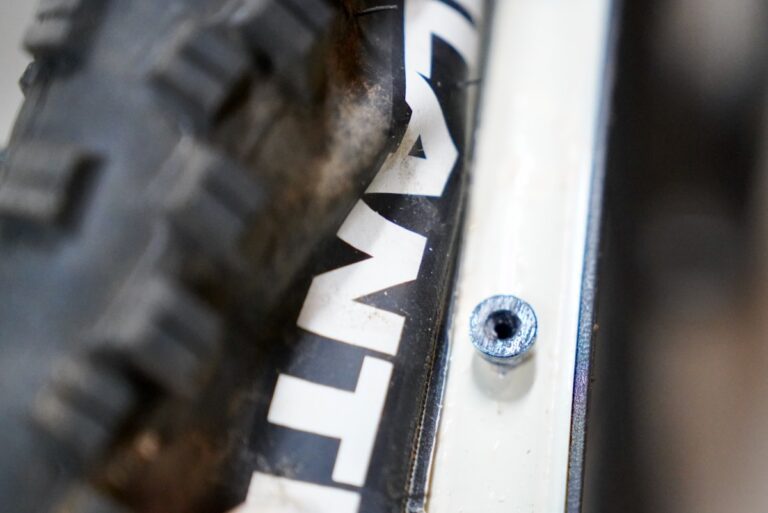 G. Bogachkov.
Editorial e-mail: [email protected]. Editorial phone: +7-915-979-14-25.
The use of site materials is allowed only with the installation of an active hyperlink to CarsWeek.ru. 16+
Tire tread wear is one of the most important vehicle performance indicators. Regular checks of all four tires help diagnose potential problems that may require professional attention. Inspect tires at least once a month and before and after long trips.
Signs to look out for. Tread Wear Bars: These hard rubber bars show up as the tire tread wears. If they are visible, it means it's time to buy a new set of tires. If you do not know how to find them, pay attention to the special designation on the sidewall.
Tire depth gauge indicates worn tread. According to European legislation, the tread depth around the entire tire circumference must be at least 1.6 mm. For winter tires, Goodyear recommends a minimum tread depth of 4mm. We recommend purchasing an inexpensive tread depth gauge that will allow you to check if your tires meet the minimum requirements.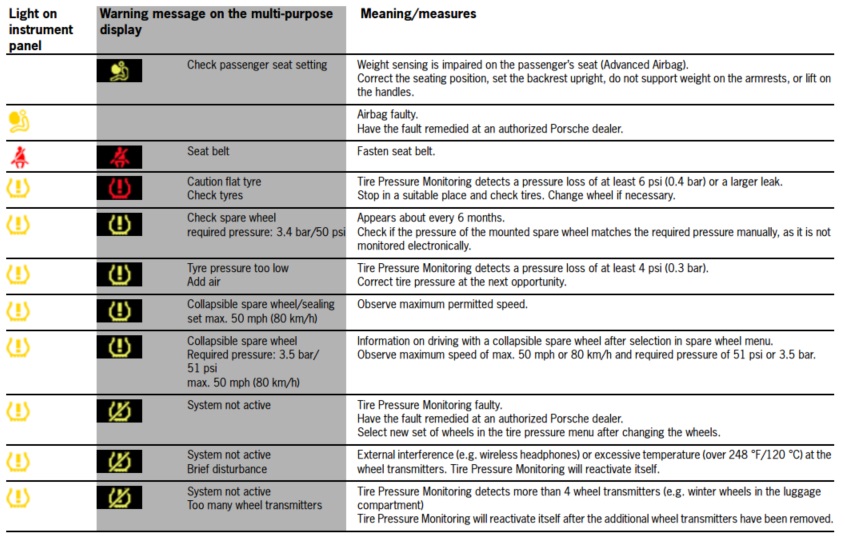 Be sure to measure both the inside and outside of the tread.
Small objects get stuck in the tread: Small objects often get stuck in the tread of tires. If such an object is stuck in the groove, carefully remove it so as not to damage the tire. If you find that some object (for example, a nail) is stuck directly in the rubber, leave it there until you reach the car service. Otherwise, your tire is likely to be flat.
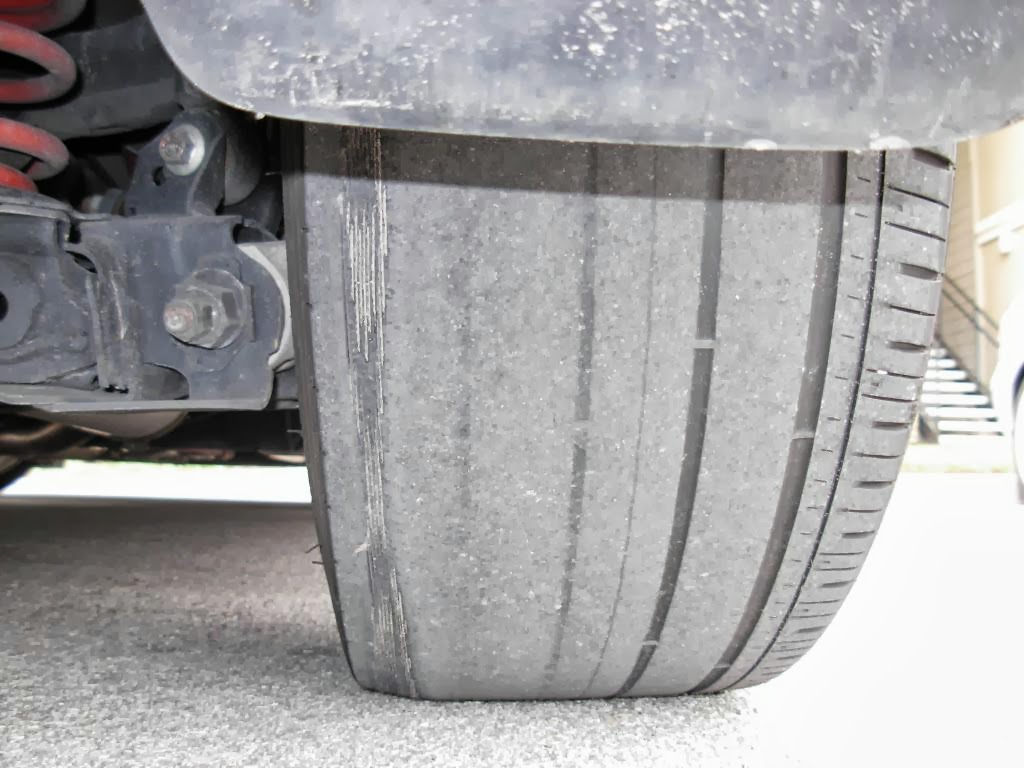
Tire outer surface wear: If you find that the tires are worn on both edges, they may need to be inflated or checked for leaks. Tires deflate naturally, but under-inflated tires increase fuel consumption and increase the risk of an accident. Check the pressure regularly. If you only find worn edges on the front tires, you may be entering corners and curves too quickly.
Excessive wear in the center of the tread: If the center of the tread is worn more than the outer edges, the tire pressure may be too high. This increases the risk of a tire burst. Check the manufacturer's specifications, purchase a pressure gauge, and lower the pressure to the recommended level.