Using the quick and easy principles in this article, we can help you learn how to store your bike tires for the season.
Most of us don’t live in an area where we can cycle all year round. Inevitably, this means there comes a time when our bikes are forced to retire for a season or two.
This typically involves tossing them in a garage, basement, or attic, not to be thought of again until the days grow sunnier, warmer, and longer.
But, did you know that improperly storing your bike can damage its expensive tires? The good news is that with the help of professionals, we’ve made it super easy to ensure you’re ready to roll when the time comes.
Let’s start with an obvious question:
Modern bike tires are made from a combination of ingredients like natural and synthetic rubbers, fillers like carbon black, and softeners such as silica and waxes.
Related: A Step-by-Step Exploration of the Bike Tire Manufacturing Process
As its rubber flexes and compresses during regular use, these waxes and other beneficial ingredients are distributed evenly, also making their way to the surface. This helps keep the tire pliable and ride-worthy.
However, when a bike tire sits idle and these ingredients aren’t distributed, the rubber slowly oxidizes and begins breaking down at the molecular level. As a result, it becomes stiff, brittle, and cracked—a condition known as ‘dry rot.’
But, disuse isn’t the only gremlin that can eat away at your bike tire investment. Other factors that can cause rubber to prematurely break down include:

The solution to avoiding damage from all of these sources? Proper storage.
And according to David Albertson, owner of Nice Bike in Denver, Colorado, there’s really not much you can do to screw it up—as long as you follow a few basic tenets. Let’s take a look at them one by one.
Does your bike tire storage setup look something like this? Our quick and easy tips can help change the situation.#1: How to Prepare Bike Tires for StorageStart by cleaning your tires of any dirt, grime, or gravel that’s stuck in the tread. Some manufacturers like Continental recommend using a combination of water, soap, and a tire brush to accomplish this. Others, such as Michelin, indicate that water alone is adequate.
Either way, carefully inspect them for excess wear, cracking, or other signs of damage while cleaning. Then, make sure your tires are completely dry.
Note: A popular method used to store car tires is to wrap each one in an airtight plastic bag, such as a lawn or leaf bag, and then close it tightly with tape. Not only does this block UV penetration, but it also helps reduce the evaporation of beneficial waxes and oils.
However, Brett (no last name provided) from Campus Cycles, another popular bike shop in Denver, emphasized that the rubber compounds used in modern bike tires break down very slowly, so this approach might be overkill.
As an example of this, he explained that it’s not uncommon for new tires to remain on shelves for three to four months before being sold, without causing any damage whatsoever.
Most professionals like David and Brett, as well as bike tire manufacturers themselves, recommend the same generally ideal storage conditions: No light, low humidity, and in a place that’s not susceptible to extreme heat or cold.
In other words, if you have the available space, suggestions include in an indoor closet, cabinet, or drawer, or even under a bed. Garages and attics are always options, of course, but depending on the climate in which you live, these locations could subject your tires to potentially problematic temperatures.
Also, if there are any windows or vents in these areas, you could unwittingly expose them to UV rays as well.
Another popular option (again, depending on where you live) is storing tires in a basement, which can solve the temperature fluctuation issue. In this scenario, make sure you keep them away from ozone-emitting devices like electric motors and generators, furnaces, switches, sump pumps, and even hot pipes.
Pro tip: If you have no choice but to store your tires outside, Michelin recommends only doing so for a short time, raising them off the ground, and using a “waterproof covering with holes to prevent moisture build-up.”
#3: The Best Methods For Storing Your Bike TiresTo reiterate, both David and Brett emphasize that rubber compounds used in modern bike tires are extraordinarily durable and resistant to breakdown.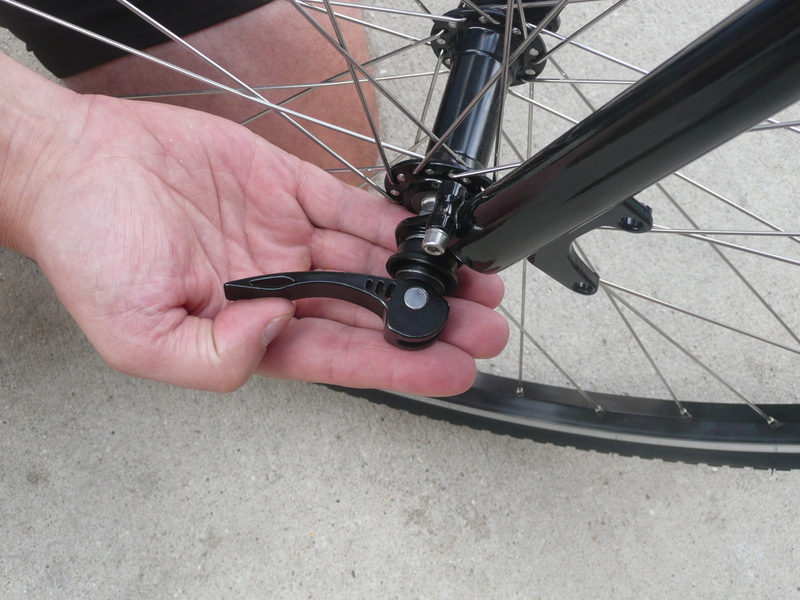
This means, outside of leaving them in the elements, or sitting in oil, grease, gasoline, solvents, oils, or grimy deposits in your garage or basement, there’s not a whole you can do to cause meaningful damage.
Still, even among professionals, there are different schools of thought about precisely the best way to go about storing them for a season (or longer).
For example, Brett points out that laying bike tires flat on their side and separating them with pieces of cardboard is acceptable. However, it’s not necessarily the first choice, since this can increase stress and cause distortion if left in the same position for months.
David adds that this method can also take up a lot of space.
Instead, both Brett and David recommend hanging all of your bike tires on the rim and slightly inflated (a couple of bars of pressure is fine), both of which will help eliminate stress and maintain their shape.
Related: How to Buy a Bike Pump That Meets Your Needs
To accomplish this, anything can work: a garden hose hanger, ladder or lumber hook, j-hook, a 2 x 4 screwed to a stud, or even an oversized nail, screw, or stretched-out bungee cord.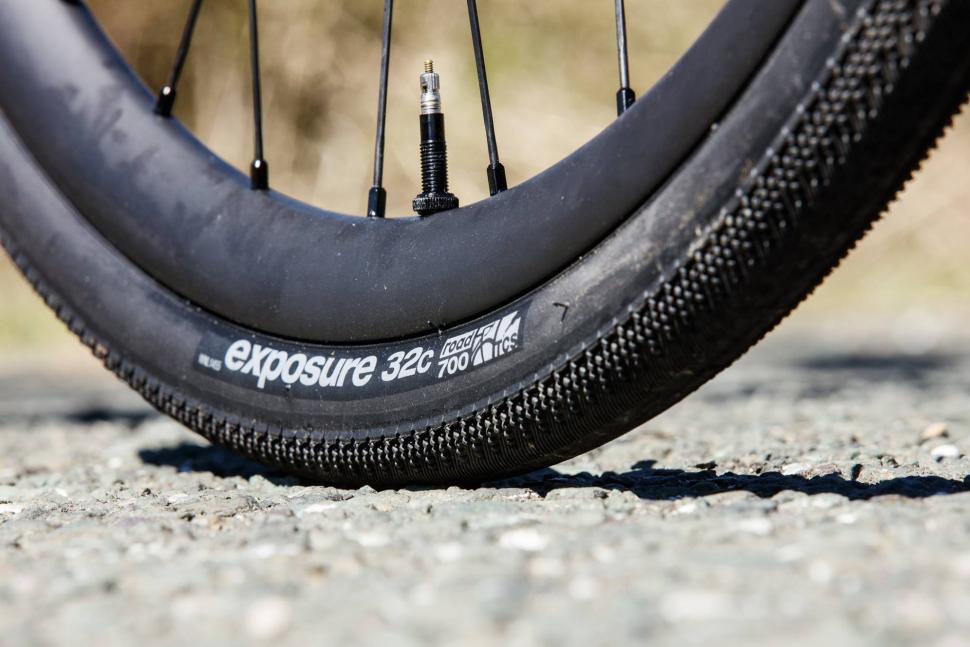
What about if your tires are unmounted? Whether wire or fiber bead, Brett tells us it’s OK to hang your tires by themselves for a season.
On the other hand, David emphasizes that storing folding tires on a hook will tend to droop, distort, and crease it. As a result, he recommends re-folding.
If you own a tire with a fiber bead, you almost certainly had to unfold it before mounting it to a rim.
As a result, most professionals indicate that re-folding your tires at the end of a season is perfectly acceptable. Simply wrap a rubber band or zip tie around them afterward, and then toss them in a drawer, cabinet, closet, or even in a Rubbermaid container under your bed.
However, Brett points out that like a piece of paper, folding a tire leads to added structural breakdown at the fold, which will cause the rubber to weaken over time. As such, this might not be ideal if you’re planning to store your tires for a lengthy period.
Writing for VeloNews, Lennard Zinn, legendary author of Zinn and the Art of Bike Maintenance, explains that he applies 303 Protectant before hanging his bike tires on rims, or stacking them flat and unmounted.
However, manufacturers like Michelin specifically indicate that customers shouldn’t use any chemicals when cleaning or storing their tires.
David and Brett told us they’ve never used a similar product, although—again—they didn’t think it would deliver a whole lot of value if you’re only storing your tires for a few months since modern rubber compounds are so durable.
While they’re in storage, Continental recommends briefly rolling your tires once per week, if you have space and availability. This can help distribute the waxes, oils, and other beneficial substances mentioned above.
Outside of this, David tells us that when you’re ready to roll again, it’s super simple. Just check your tires for cracking or bulging, and make sure that they still spin straight on the rim after airing them up.
How long your bike tires will last in storage depends on a variety of variables, include their age, how many miles you’ve put on them, their specific rubber compound, the location where they’re kept, and how closely you follow the recommendations above.
But, as long as you keep them in a dark, dry place with a reasonably constant temperature, Wolf Vormwalde, Tire Product Manager at Specialized Bicycle, who was interviewed for the VeloNews article cited earlier, points out their models are “safe to use for up to six years after manufacturing.”
Keep rolling: How Bike Tires Work: Your Quick-Reference Visual Guide
Like Loading...
fallreferencestoragetire guidestireswinter
Asked
Modified 12 years, 4 months ago
Viewed 4k times
I have several extra tires, two on a spare wheelset, and others in a bundle. I am not riding as much as I was a year ago, so I will not be wearing out tires as fast as I was.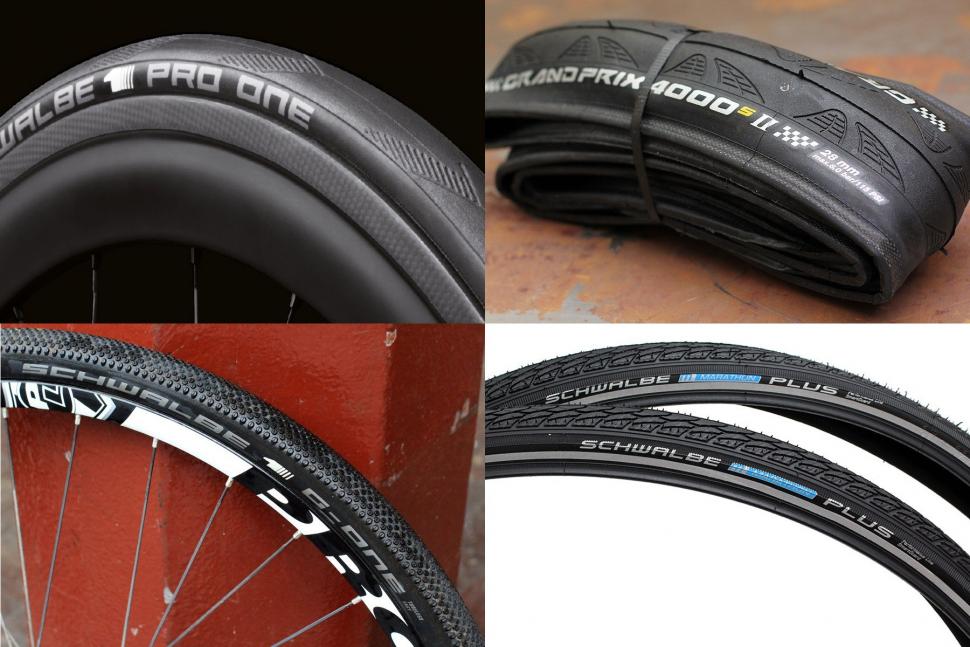
What is the best way and conditions to store these tires so that the rubber doesn't just crack and split when I put them on wheels and pump them up?
Note: I don't know if it makes a difference, but I live at about 5000' of elevation in a very dry climate; forced air heating is used in my apartment about 6 months a year.
More info as an example: I had tires mounted on wheels, deflated, hanging from ceiling hooks. I don't know how long it was that I hadn't used them but it was probably 12+ months. When I inflated them a week ago to the recommended pressure the sidewalls showed cracking parallel to the rim on the whole, or nearly the whole circumference of the tire.
1
A lot of this is guesswork on my part.
Entire bike: I would deflate the tires, keep them on rims if possible, and hang the bike up. Putting weight on the tires when they're deflated is probably bad for the tires -- and for the rims.
Rims with tires: I would follow zigdon's answer and hang up the rims and deflated tires.
Bare tires without rims: I'd store the tires on their sides, not stacked too high. Perhaps putting them in something like a pizza box, or between pieces of cardboard, would help avoid the tires crushing each other.
In general: I would also flex the tires every so often, to stop them from getting brittle. Also, ozone is bad for tires, so I'd not store them near anything that generates ozone (furnaces or electric motors), and I'd store the tires away from extreme heat or cold.
1
You could always unfurl them, and hang them all off a hook. That way the weight is all on the hardened parts that connect to the rim, and not on the softer, road-facing, portions.
Sign up using Google
Sign up using Facebook
Sign up using Email and Password
Required, but never shown
Required, but never shown
By clicking “Post Your Answer”, you agree to our terms of service, privacy policy and cookie policy
For those who do not have a garage or storage room, storing tires on the balcony is the only way to protect them from damage. If the process is organized correctly, then the rubber can lie there for a very long time. Manufacturers stipulate in advance some of the nuances that relate to the order of placement of tires. There are special storage devices, additional accessories. A special approach requires storing a bicycle on a balcony. 9Ol000 issued a separate guide for this. Violation of paragraphs of article 6 of GOST R 54266-2010 threatens with the appearance of cracks in rubber, loss of shape, and distortion of tires.
Article “Pneumatic tires. Packing, transportation and storage” contains the following points regarding the storage of wheels, applicable to balcony conditions:
 The balcony must be airtight, without moisture, glazed.
The glazed balcony with tinting without heating is best suited for these conditions. Storage of wheels on an open balcony is allowed no longer than 1 month.
The most important factors to pay attention to in order to keep the rubber intact:
The last item includes sun rays, hazardous substances, gas and the like. An open balcony should not be taken into account, due to the inappropriate storage on the street.
In addition to the maximum possible indicators stipulated by GOST, there are standard conditions, they usually include tires on the balcony. The optimum air temperature in the room ranges from -20 to +10.
In order to comply with this mode and prevent the reduction to the minimum or maximum allowable heating, additional preparation of the balcony is required:

If the temperature on the balcony for a long time (just a few days in summer) keeps the balcony warm to the maximum, the rubber will deform. It becomes softer, loses its shape, becomes dangerous to humans, as it releases harmful vapors.
Going below 0, tire density changes. It becomes rigid and, being in this state for a long time, loses its wear resistance and is subject to mechanical damage.
It would seem that tires are not in the driest environment on the roads all year round, the weather and roads in Russia are far from ideal. But they must be stored in a dry place. Not only should there be no water on the shelves, walls and floor, but the air should also be dry. It is recommended to maintain indicators from 50 to 80%. High-quality ventilation contributes to maintaining optimal air humidity.
Before sending the wheels for conservation, they must be washed. After drying thoroughly, they are put away for storage.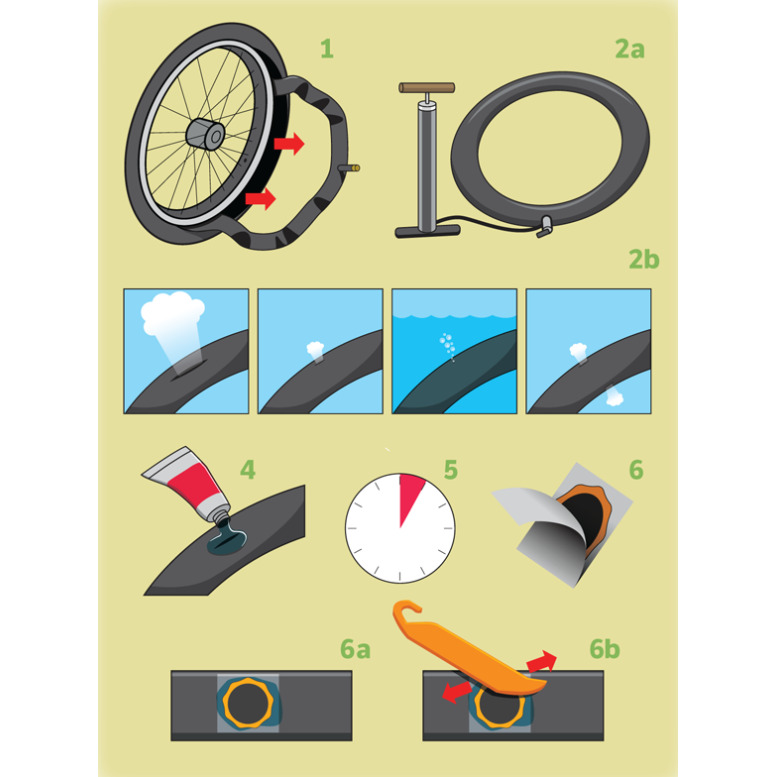 Responsible owners treat the rubber with a moisture-repellent spray.
Water affects the condition of tires in the following way: it gets on the surface and, under the influence of temperature, spoils the material underneath. Tires deteriorate, lose their performance properties.
You can't just throw a bunch of wheels on the balcony, they can change shape and become a useless piece of rubber. Experts recommend in any case to store the tires in an upright position.
Do not hang tires on the hook. They weigh enough to stretch under their own pressure. Stretching will become noticeable within a few weeks after placement.
After changing tires from summer to winter and leaving for conservation, the wheels on the balcony must be moved periodically. Once every 1.5-2 months is enough for them to change the center of support, and the form remains working. It is extremely dangerous to stack the wheels in a slide, one on top of the other.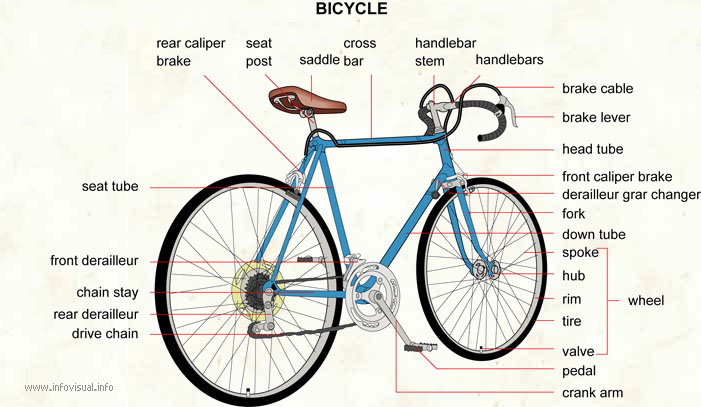
The lower one under pressure will change shape, like the one above it. There is only one salvation, if this is the only way to place them in the existing conditions - to periodically change their places. But this is risky, you need to change it often, many people forget to do it.
Do not put anything on top of the tires, especially heavy objects. Rubber tends to deform even from small loads. During operation, this will bring a lot of problems: contact with the road will be broken, the adhesion area is reduced. Rubber wears out faster.
When it becomes necessary to change tires, be sure to check it for defects. If there is a suspicion of a violation of the integrity of the layer or deformation, you need to contact a specialist. Perhaps the tires have deteriorated and can no longer be used.
Storage of wheels with rims on the balcony has some peculiarities. Since the pressure is distributed differently here, it is forbidden to place them vertically.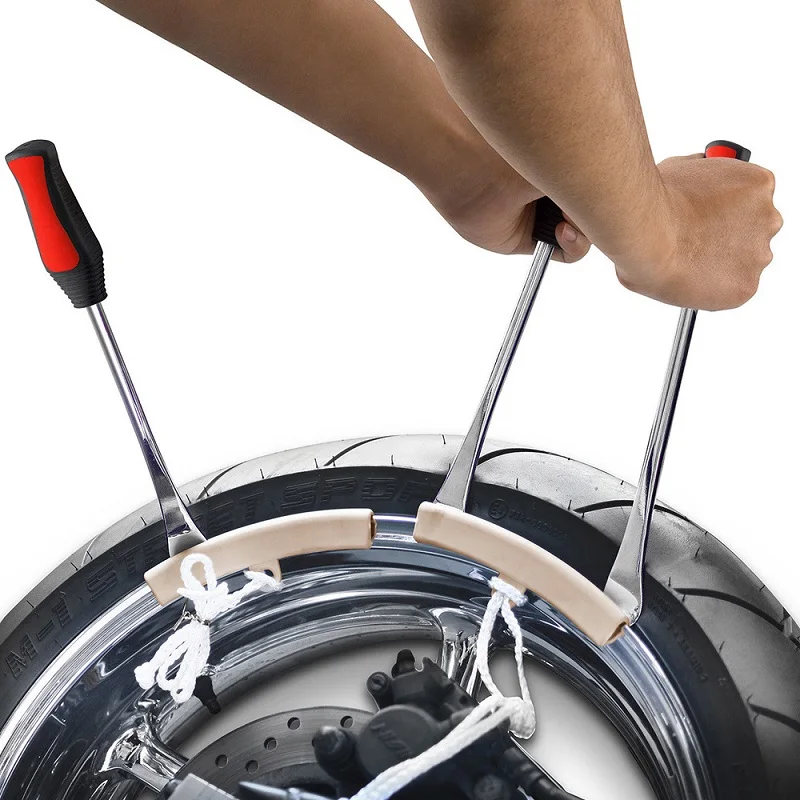 The disks will put pressure on the tires and they will change their characteristics. This is the only option when it is appropriate to stack the wheels. Damage that may result from improper storage will be minimized.
Another option is to hang them by the disc. This position will completely protect the rubber, the main thing is to make sure that the disks do not touch.
Most car enthusiasts agree that it is inconvenient to store wheels on the balcony, because you need to constantly monitor them (turn over, observe temperature, humidity).
In addition to humidity and temperature, there are several other factors that affect the condition of rubber:
 Rubber and chemicals should be kept at a distance from each other.
 Rubber properties deteriorate due to these indicators, it is better to protect yourself from troubles in advance.
IMPORTANT: before placing the wheels on the balcony, calculate their approximate weight. Small balconies are external extensions to the wall, initially they can withstand about 600 kg. If you subtract from this the glazed trim, furniture, floors and everything that is already stored on it, there is not much left. It is not worth reloading the balcony slab, it may not withstand (see also the article “load on the balcony slab in a panel house“).
If you want to use a set of winter or summer tires for the next season, you must first prepare them for preservation.
And then constantly monitor the condition:
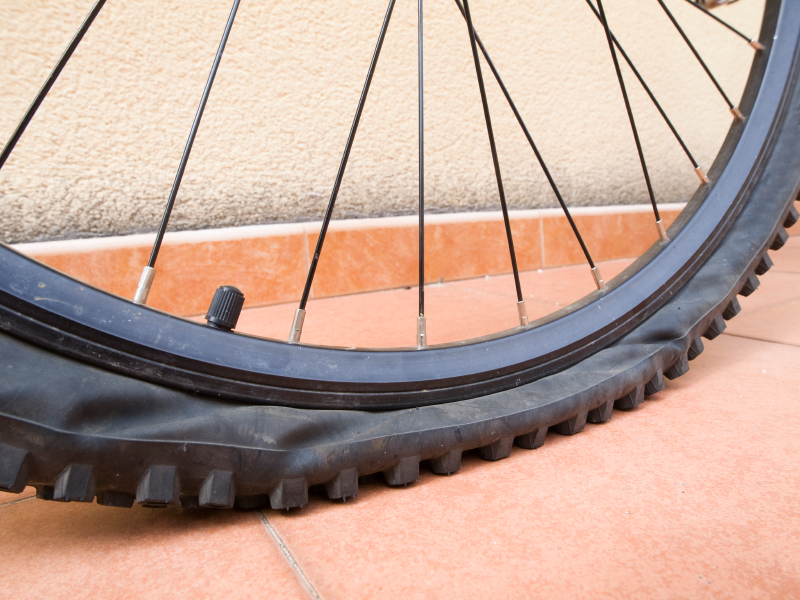 After winter reagents, treat with a special chemical composition, rinse thoroughly and dry.
 In order for them to be conveniently placed on the balcony, we came up with several interior items and accessories to complement them.
The purpose of these furnishings is to make tire storage as compact and convenient as possible, even in the smallest space. In addition, they have a protective function.
How to choose the best option for your home:
 Specify how much one wheel weighs from your car model, multiply by the amount that is planned to be placed.
 First of all, you need to take into account the free space on the balcony, the place where the structure will be installed. Keep in mind that the wheels will not just lie there as a dead weight, but access will be needed to move them, mark them, and process them. Therefore, there should be a small space between the wall and the tire storage item on the balcony.
Used for vertical placement. The simple structure consists of two L-shaped sides and parallel retaining beams. Additional elements are connected along the edges of the G. It is not adjustable and is designed for specific tire sizes.
A more complex option involves the ability to change the shelf capacity.
For this:
These shelves can carry more than 4 wheels.
There are open (shelving) and closed options. If there are several cars in the family, the rack will be a great helper for placement. Most often they are made of steel, the beams are made with perforation. This makes it possible to move the shelves to the required height, if necessary.
Advantages of balcony shelving:

Cabinets are made of metal and have holes for brackets. They can be hung. Inside, the cabinet is divided by shelves on which it is allowed to store tools and other items that are safe for tires. They are closed with familiar doors, protected from the sun and other external threats.
Read also the article "How to make a shelving on the balcony with your own hands cheaply and beautifully".
This is a pipe that is attached to the wall with a support. Their second name is suspensions. Such interior items significantly free up space on small balconies. Tires are placed on the wall, under the ceiling and do not interfere at all.
To prevent the wheels from slipping, the brackets are angled. The average weight that it is able to hold is 60 kg (2 medium wheels). When installing, there must be enough space between the brackets to allow free space for the busbars.
Some varieties can be moved, others are fixed in place. The wheels on them are stacked. Between the pairs there is a regulating piece that prevents the tires from touching. The device eliminates the pressure that is generated by this method of storage, while saving a lot of space on small balconies.
There is another type of construction with two parallel hooks on which the wheels are hung on the sides of the rack.
Special protective covers are used to protect against moisture, damage and other hazards. Fabrics that are used for sewing from heat and moisture resistant material. Their size is regulated by Velcro, there are unique conveniences in use:
It is recommended to treat the wheels with a dirt-repellent spray before storing them. Its additional function is moisture protection. At the heart of the most popular products, the active ingredient is silicone.
If there is nowhere and you don't want to do this process, it is better to use a special service provided by car dealerships and car services - to store tires in their special boxes.
Bicycle storage on the balcony requires a special approach. There are nuances here that must be taken into account.
Preparing the bike for storage on the balcony takes place in several stages:
 A special device is used to clean the chain. If it can be removed, this will significantly speed up the process of preparing the bike for conservation.
  5 atmospheres.
 Bicycles can be placed on the balcony in the same way as tires.
It is unacceptable to store a bicycle on an open balcony, it is equivalent to leaving it outside. Do not place under the sun and near heaters. Humidity and temperature meet the standards for storing wheels.
How to properly store your bike on the balcony:
 It is installed on the floor, can move if required.
For safety there are special covers, capes. They are sold on Chinese websites or specialized bike shops. They are made from waterproof fabric and may have carrying handles. If it is not possible to purchase a cover, it is allowed to wrap the bicycle with a film or cloth.
If space allows on the loggia, they will equip a special cabinet for storing an iron friend. There he reliably hides from atmospheric phenomena and is not subject to damage. Bicycles are often stored in such a cabinet during operation, so the inner panels of the cabinet are made of materials that are easy to clean (plastic, metal).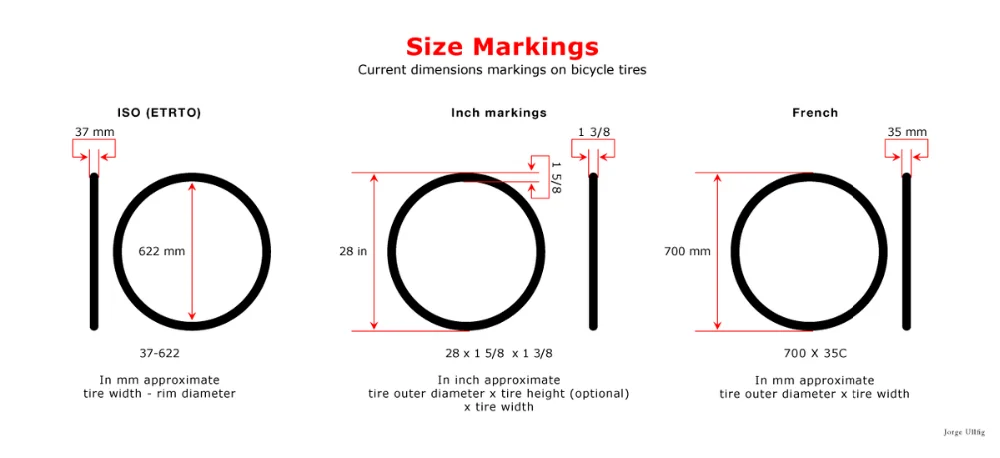
Read also the article "How to make a wardrobe on the balcony with your own hands cheaply and beautifully".
If the balcony is poorly heated or not heated at all, it is recommended to bring the tires and bicycle into the house during severe frosts. Otherwise, they can deteriorate, rubber crack, and metal corrode. It will become impossible to operate these things during the season. Pre-preparation for canning. Tires and a bicycle are placed as conveniently as possible, away from places of constant visit on the balcony.
Like the article? Tell your friends:
Both the owner of a road bike and a simple cyclist who bought an inexpensive model for rare trips think about how to store a bicycle in winter. The problem of storing two-wheeled vehicles worries everyone who has a bicycle. Even having a warm garage, the perfect place to ride out the winter, forces the owner to deal with some issues.
Technique requires care and attention, and this fully applies to cycling. Stretched cables stretch, rubber bands and seals dry out and crack. Rust causes many problems, which reduces the performance of unprotected places. Fans of carbon frames have to contend with temperature changes that lead to the formation of microcracks.
I immediately want to answer “no” to the question of whether it is possible to store a bicycle on a balcony in winter, but everything is not so simple. With proper preparation, even a balcony will become a good storage place, because low temperatures themselves do not harm equipment. Cars drive normally all year round, and they use inferior materials. In addition, a running engine creates a significant temperature difference and high humidity. However, cars drive for several decades thanks to the preparation for the cold season. And the cyclist should think about how to maintain the health of his iron horse.
Almost every part of a bicycle can be prepared for a long winter. To do this, it is necessary to relieve the load on the tightening parts and elements, lubricate the rubber and metal surfaces.
Ideally, the chain should be removed, cleaned of dirt and placed in a kerosene or oil bath. It is not easy to dismantle the sprockets, so they are simply washed with warm water, after which they are lubricated.
The metal parts are cleaned of dirt and dust, and then generously lubricated with a water repellent. To reduce cable stretch, the derailleur positions are moved to the smallest chainrings front and rear.
They do not require special training, but you should take care of how to properly store the bike in winter with wheels not removed. Because with a long stop, the nipple will slowly let air through. The tubes will deflate and a bump will be imprinted on the tire of a stationary bike.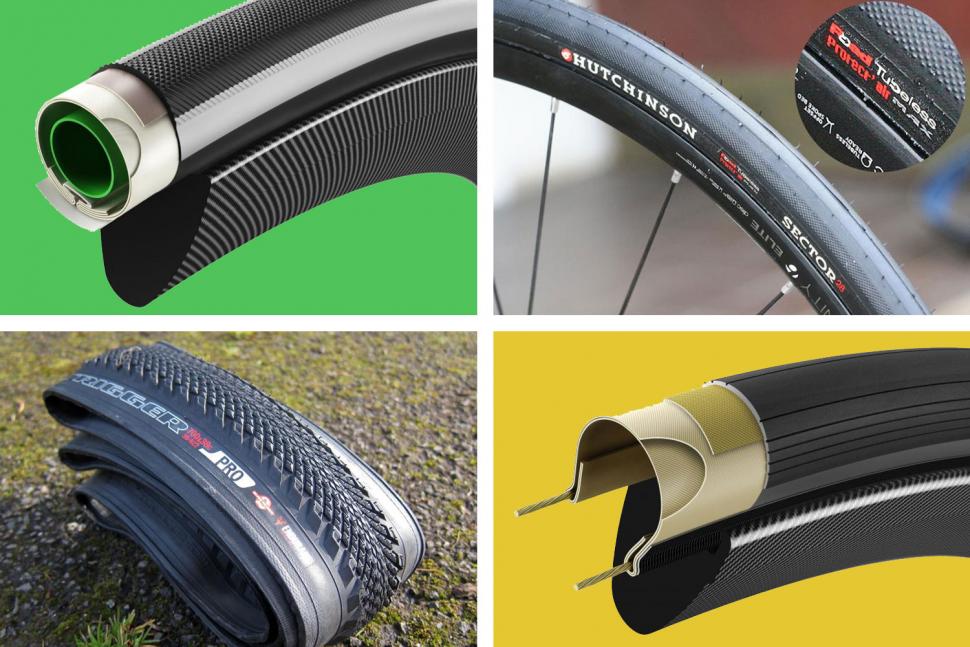 It is advisable to bring the pressure to normal for this model before conservation. Some recommendations advise to bring the pressure to half and periodically pump up. However, practice shows that everyday worries will distract from winter care. It also makes no sense to disassemble the wheels, winter will not harm aluminum rims.
Hydraulic brakes resist the cold. They are filled with non-freezing liquid, which is not afraid of low temperatures. You should not worry about the condition of the brake discs either, especially in no case should you apply lubricant to them.
V-Brakes are ready for winter in seconds - you just need to unfasten the fastening above the wheel to loosen the cables.
Those who continue to ride in the cold season know the effect of reducing the effectiveness of shock absorption. Oil and grease thicken, the shock absorber becomes stiff. But otherwise, the condition of the fork does not cause concern, from the inside it is covered with a reliable oil layer.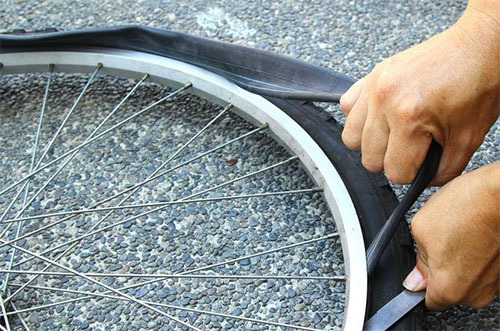
Leather saddles are lubricated with a small amount of oil or a special compound based on beeswax before preservation. Moreover, lubrication must be carried out both from the outside and from the inside. But leatherette and plastic care does not require.
Don't heed the advice to "lightly smear the entire surface of the frame with an oil rag". For carbon, this recommendation is meaningless, iron is preserved under the paintwork. If we take aluminum structures, then everything is even simpler. For example, the Titan Bike is made from 6061 aluminum, which is used in the aircraft industry. Has anyone seen a painted plane? When exposed to air, aluminum creates a thin oxide film that prevents oxidation.
Fans who think about how storing a bike in winter will affect its technical condition in the new season often just oil the chain and send it to the balcony. It is not recommended to do this, as the lubricant will “cement” the dirt, which will cause a lot of trouble during operation.
The first step is to thoroughly wash your bike. But at the same time, it is not recommended to go to a car wash, as water under high pressure penetrates into the bushings and carriage, literally pushing grains of sand there. Although the thick factory grease of these units will protect against rust, each grain of sand will serve as an abrasive. Therefore, it is best to wash the bike by hand, in the bathroom or near the house.
Use a normal kitchen cleaner to remove old grease. The washing sequence is as follows:
When washing, it is necessary to periodically rinse the sponge so that the sand does not scratch the paintwork. Do not apply lubricant immediately after washing, the bike should dry for a couple of hours. This rule does not apply in the summer, since during operation the moisture will be forced out.
After washing, it's time to take care of the technical condition. If there was no place in the apartment where to store the bike in winter, then it makes no sense to disassemble it. It can go to the balcony or garage in the assembled state, and the less often the bolts are twisted and untwisted, the better. The procedure for preparation without disassembly is as follows:
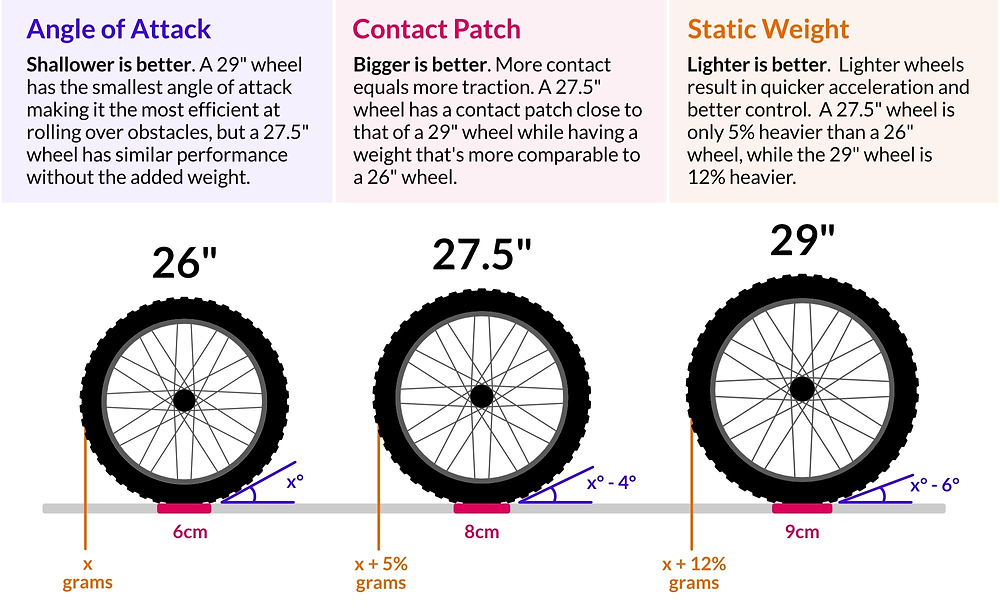
The cables must be lubricated to prevent rust and make them easier to slide. But the oil should get under the "shirt", for this they use an ordinary medical syringe with a needle. After application, it is necessary to shift gears several times, apply the brakes.
A clean bicycle chain can be placed in a 0.5 liter plastic bottle instead of in a bag, add a little oil and shake a couple of times, then leave it there until the start of the season. When the time comes, the oil is poured, the bottle is cut with a knife.
Preparing a bike is a great opportunity to check its technical condition. On clean parts, cracks, dents, frame chips are clearly visible. You should pay attention to the tires, look for side cuts and hernias, assess the condition of the tread.
The ideal place to store all the details is a room with minimal humidity. In this case, the temperature does not play a critical role, if there are no sharp changes in it.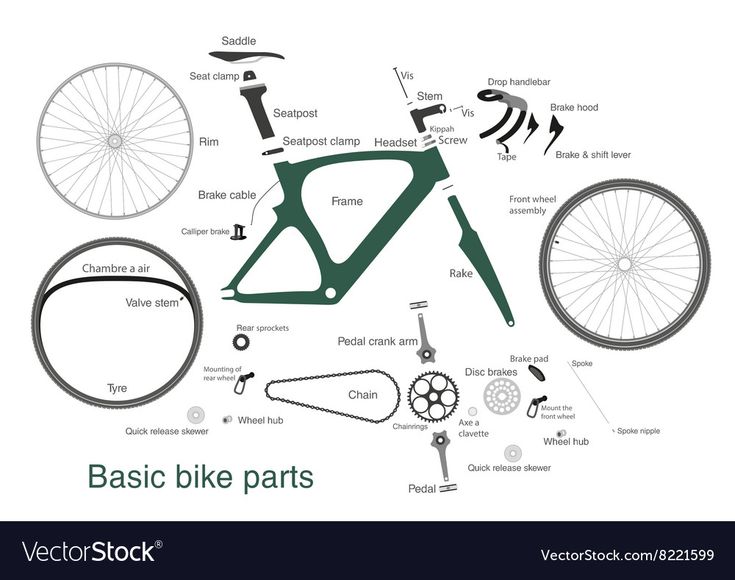 There is a lot of controversy about whether it is possible to store a bicycle in the winter on the balcony.
Proponents of balcony content argue that "it's iron and nothing will happen to it." Opponents say that it is impossible to protect him from adverse weather conditions here. And they are right, but it’s not always possible to allocate a separate room to a two-wheeled friend, you have to adapt to the existing conditions.
If the bicycle is stored in a closed, even cool, loggia, it will need to be protected from the ultraviolet rays of the sun. To do this, the bike is covered with a cloth or oilcloth. If the balcony is in the open air, then you will have to get a waterproof cover.
Before you store your bike in the garage in winter, you need to find out its temperature conditions. In the ideal version of a dry, warm garage, it will be enough to put it in a corner and that's it. You do not need to remove the chain, although loosening the cables and adjusting the tire pressure does not hurt. It is better to refuse a damp garage, the frost of a closed balcony will cause much less harm than dampness.
So, if the question is, where is the best place to store a bike, and there are several answers, then the choice should go in the following sequence:
Bicycle shops now offer winter storage services, which is also a good option. There, not only optimal conditions are provided, here the masters will prepare the bike for the new season.
The place where you should never leave your vehicle is an entrance or a stairwell. Even the chain that seems to be the most reliable will not survive the attack of intruders. A bicycle lock bites in a few seconds, and a seemingly reliable lock will not last more than a minute.
If the area of \u200b\u200bthe room allows, hanging the bike is ideal. In this case, you do not have to worry about tire pressure, and it will take up little space. Hanging options include vertical and horizontal storage. In this case, it is not necessary to dismantle individual elements to remove the wheels.
The simplest fastening can be used not only in winter, but also in summer. It is a hook under the frame, located at the level of the belt. Allows you to stably position the vehicle at a low height. The pluses include the ease with which it can be obtained. The downside is the need for a lot of space.
In stores, you can find another device for wall mounting - a hook for the front wheel. It is nailed at a height of 160-180 cm and allows you to hang the bike almost under the ceiling. So it takes up much less space, but it is more difficult to remove it.
Recently, a rope suspension system has appeared. The handlebar and saddle cling to the hooks, after which the bike is pulled up to the ceiling.
Self-made extreme people have come up with a more compact way of suspension, in which the bike literally "lies" on the ceiling, without occupying the usable area of the room and without interfering with movement.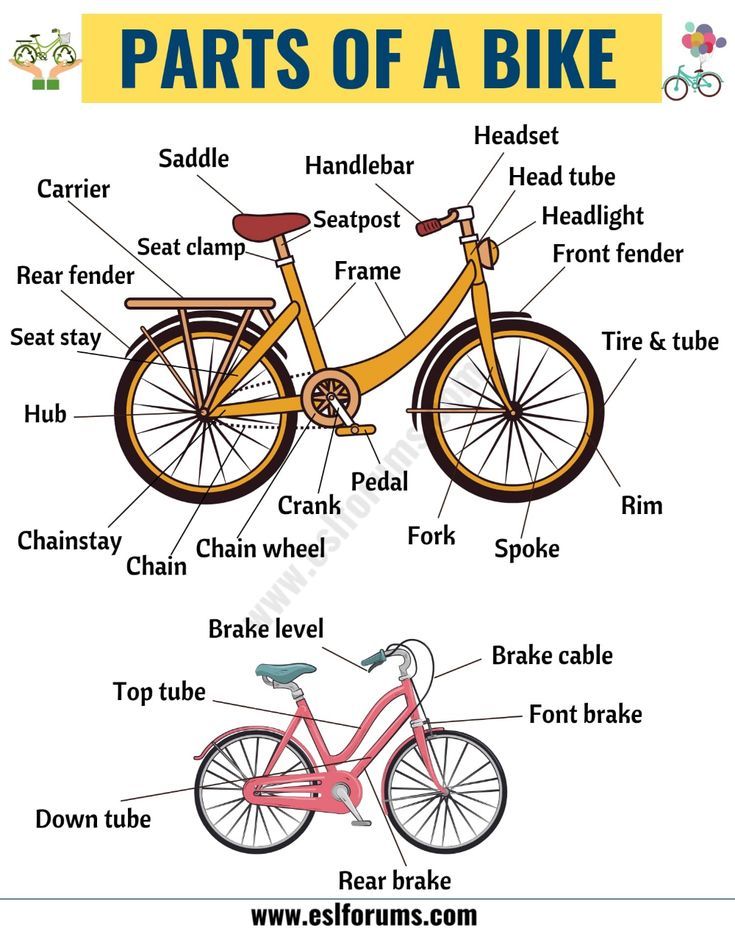
If space in your apartment or garage is tight, you can turn your bike into a set of easy-to-assemble parts in ten minutes. To do this, you need:
Pedals are recommended to be screwed in from the back, so they won't get lost. However, before that, it is advisable to wrap them with rags and tape so as not to scratch the frame. When reassembling, pay attention to which way the front wheel rotates. For disc brakes, this recommendation is irrelevant.
To completely remove the steering wheel, you will need to unscrew the 4 mounting bolts. It is not worth removing the handles of switches and brakes from the steering wheel, it is much easier to pull the steering wheel with clamps to the frame.