Delivery options and delivery speeds may vary for different locations
Sign In
or enter a zip code
Email * Password *
REPAIR & HOW TO
MAINTENANCE
TROUBLESHOOTING
GUIDES
TIPS & TRICKS
ALL ARTICLES WATCH VIDEOS ABOUT US SHOP PARTS CONTACT US
Alongside checking tire pressures and changing oil, cleaning the drive chain is at the top of a motorcycle and ATV’s most important maintenance jobs list.
Regularly cleaning your powersports vehicle’s chain is essential to your machine’s performance. A clean chain provides a far smoother transfer of power from your motorcycle or ATV’s engine to its rear wheel. With less frictional resistance caused by built-up dirt and congealed grease, the clean chain gives more predictable power delivery and a slight increase in performance, plus a smoother ride.
Regularly cleaning the drive chain also removes abrasives such as sand and grit. If left on the chain, these particles quickly wear out both the chain and sprockets. Cleaning your motorcycle’s chain and sprockets ensures they perform better and last longer.
How Often You Should Clean the ChainThe frequency your bike’s chain needs cleaning depends on what type of bike it is and what conditions it normally runs in.
Your motorcycle or ATV’s owner’s manual provides the manufacturer’s recommendations for cleaning the chain, but as a general rule:

Before buying a chain cleaner, determine whether your chain is an O-ring chain (sealed chain) or a standard chain (no-ring chain).
NOTE: X-ring chains and Z-ring chains are considered O-ring chains.
O-ring ChainsO-ring chains should only be cleaned with designated chain cleaner. Never use petroleum-based cleaners or harsh chemical cleaners, as they’ll damage the synthetic O-rings. Also, never use pressure washers, as the force of the water jet can easily penetrate the seals made by the O-rings, making them useless. Use only nylon brushes, since wire brushes damage the synthetic O-rings.
Standard chains can be cleaned with harsher chemicals and petroleum-based cleaners because there are no synthetic parts to damage. They can also be cleaned with a soft wire brush for the same reason. However, a wire brush can still scar the chains pins and lead to quicker wear, so it isn’t recommended, Use a nylon motorcycle chain brush instead. Pressure washers can be used too, but with the chain removed from the motorcycle to prevent the water jet from accidentally damaging other parts.
Solvent-based cleaner
How to Use It: Spray the chain with cleaner, then scrub it with a nylon brush if necessary and continue spraying it with cleaner until it’s clean.
Water-based cleaner
How to Use It: Spray the chain with cleaner, then rotate the chain to make sure it’s completely covered. Let the cleaner sit and penetrate the dirt for a few minutes, then scrub the chain with a nylon brush before rinsing it with water.
After cleaning the chain, it’s very important to lube it. This provides protection against water and dirt, and gives the chain and sprockets the vital lubrication they require.
body
Along with changing your motorcycle oil, learning how to clean and lube a motorcycle chain is one of the first forays into proper motorcycle maintenance for a lot of new riders. In all, it’s a pretty simple process that should only take about 15 minutes or so, but will go a long way in extending the life and performance of both your motorcycle chain and sprockets.
This article will provide a quick step-by-step guide for the best way to clean and lube a motorcycle chain. If you are looking for more detail, be sure to check out our How to Clean and Lube Your Motorcycle Chain video. where Lemmy goes a little more in-depth on some of the nuances of motorcycle chain maintenance.
How To Clean & Lube Your Motorcycle Chain
First things first, let's get started with how to clean a motorcycle chain. If you're just looking for how to lube your motorcycle chain, you can jump down to step eight.
The type of motorcycle chain you are using will affect the way you go about getting the grime off.
You can tell the difference between a plain and a sealed motorcycle chain based on the space (or lack thereof) between the metal links. RevZilla photo.
A plain motorcycle chain consists of metal-on-metal links with no seal in between. As such, plain chains can be cleaned more aggressively than sealed motorcycle chains. Sealed motorcycle chains (aka: O-ring, X-ring, or Z-ring chains) use a rubber seal between the inner link and outer links to keep grease inside the pin and bushing cavity (and to keep road grime out). This design helps extend the longevity of the chain and also necessitates a more gentle approach to cleaning.
Plain motorcycle chains consist of metal-on-metal links, while sealed motorcycle chains use rubber seals to better keep grease in, and road dirt out. RevZilla photo.
Cleaning and lubing a motorcycle chain is a relatively easy process. It is a lot easier if your bike has a center stand or if you have a paddock stand. Either option allows the rear wheel (and your motorcycle chain) to spin freely, thus allowing for more efficient application of your chain cleaner and chain lube.
If you have neither of the above stands, don’t worry. You can use your kickstand and a bit of maneuvering around the driveway. Clean one section and then move the motorcycle to get access to the next section. Another alternative is to remove the chain entirely and work on it that way.
Getting up close and personal with your chain while cleaning it provides a great opportunity to check the current state of its overall well-being.
A sprocket in good condition will have a flat top and will be evenly worn on both the leading and trailing edges of each tooth. RevZilla photo.
While you're down there, check for chain wear. How much side-to-side “wiggle room” does your chain allow? How much do the links slide back and forth under compression and tension? A motorcycle chain in good working order should allow for minimal variances in each.
Then there's the by-the-book way to determine if your chain is due for replacement. Your shop manual will give you a certain maximum length of a given number of links of your chain. If that number of links is longer than that, it's too worn. Here's another quick way to do an unofficial check. Tug on a link of the chain at the rearmost portion of the sprocket on the rear wheel. If the chain is very worn, it will pull away from the sprocket instead of hugging it like it should.
How much side-to-side play does your chain have? How much do the links slide back-and-forth under compression / tension? RevZilla photo.
Check the master link. The master link on a motorcycle chain is the link that has been used to join the two ends together and will look slightly different than the surrounding links. Whether the master link is fastened via a clip or rivets that have been peened over, this is a great opportunity to check to make sure the master link is secure.
Held together with a clip or peened rivets, the Master Link is the link that joins the two ends of a motorcycle chain.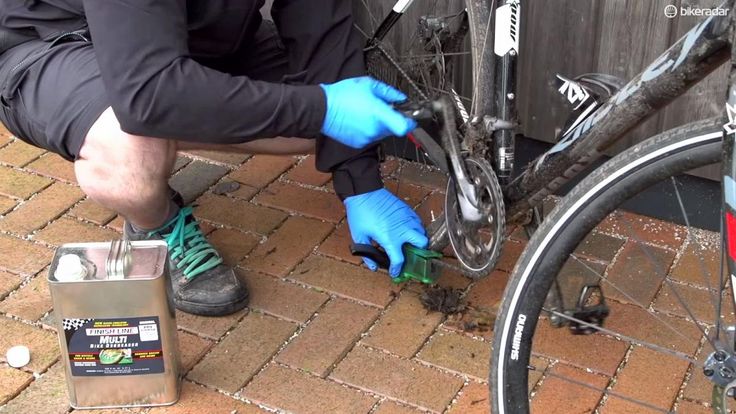 RevZilla photo.
You should also examine your sprockets. Based on the condition of your chain and the style of your riding, your sprockets will tend to show wear in a couple ways. When checking for worn sprockets, keep an eye out for "shark fins" and sharp teeth. "Shark fins" occur when the leading edge of the sprocket tooth wears more heavily than the back side. This happens on bikes that tend to be accelerated hard, and decelerated more gently (or on bikes with very old chains).
"Shark fins" happen when the leading edge of a sprocket wears faster than the trailing edge. RevZilla photo.
Generally speaking, the tips of your motorcycle sprocket's teeth should be flat. When they become sharp, it is due to both shark fins coupled with an abundance of hard braking and downshifting that wear away at the trailing edge of the sprocket tooth, as well.
Sharp sprocket teeth occur when both leading and trailing edges have been heavily worn down. RevZilla photo.
It does little good to put a new chain on a worn sprocket, so as a general rule of thumb, chains and sprockets should be replaced simultaneously.
At this point, it’s time to start knockin’ the grime off. While you can opt for something like Maxima Clean Up Chain Cleaner, kerosene will also work equally as well to dissolve the existing lubricant and dirt particles on the chain. As you work your way around the chain, don’t be shy about really soaking things down. Kerosene is cheap, new motorcycle chains are not. So be liberal in your application.
When spraying your chain with cleaner, don't be shy about it. Kerosene is a heck of a lot cheaper than a new chain. RevZilla photo.
With the chain soaked, use a motorcycle chain brush to really get at the caked-on gunk. Something like The Grunge Brush has been a time-tested and proven favorite for years, and for good reason, as it allows you to clean three of the four sides of your motorcycle chain at once.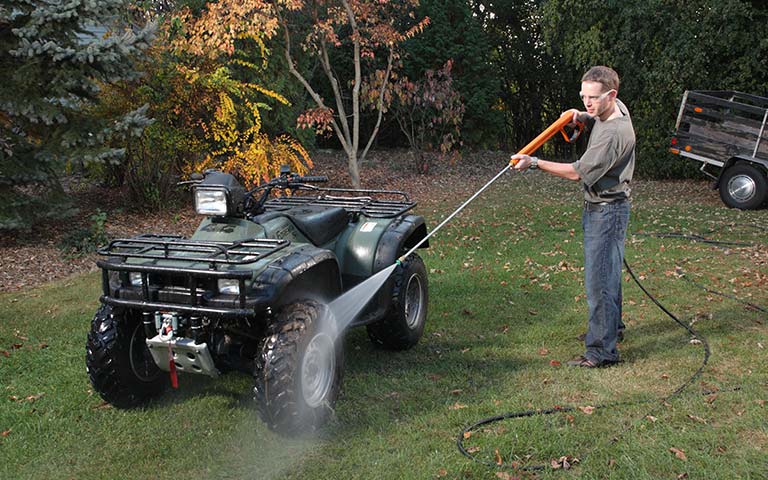 Be thorough. It will pay off later. A clean surface allows for better adhesion of the motorcycle chain lube.
After you have soaked your chain, a quality scrubber such as The Grunge Brush allows you to knock off any additional grime. RevZilla photo.
To finish off the cleaning portion of the process, re-soak the motorcycle chain with your cleaning agent of choice. Ensure that the last remnants of chain grime have been blasted into oblivion. Gunk kills motorcycle chains. Get rid of as much of it as possible.
With the chain clean, it never hurts to give it one last good spray with the chain cleaner. RevZilla photo.
For the motorcycle chain lube to adhere to the chain, it needs to be applied to a dry surface. Take your time to fully dry the chain and remove all of the chain cleaner prior to lubricating. You can also use this as an opportunity to clean up your workstation, as by this point things are probably a bit gross.
Use a dry cloth to wipe away the excess chain cleaner. A dry surface is needed for the lubricant to do its job. RevZilla photo.
With the chain clean and dry, apply the lubricant evenly to all sides. Preferences for the best type of chain lube are vast and include everything from specialty items such as Maxima Chain Wax to regular ol’ chainsaw bar oil. The advantage of something like the Maxima wax is that it is much less likely to fling off of the motorcycle chain and make a mess on other parts of the bike.
Apply the chain lube to all sides of the chain and sprocket. RevZilla photo.
When it comes to the best way to lube a motorcycle chain, there are a few differences between plain and sealed chains that you want to keep in mind. With plain chains, slather on the lube and wipe off the excess. Keeping a plain chain continually coated in clean lubricant is the best way to ensure that it continues to function properly for many miles to come.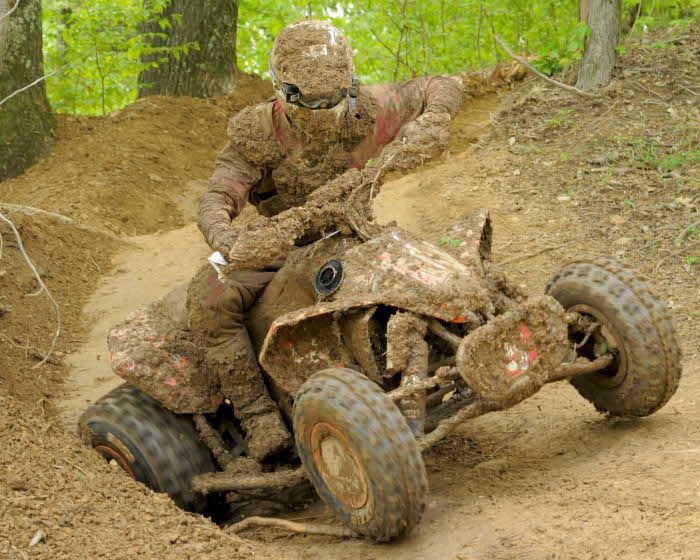 With sealed chains, on the other hand, the grease inside the O-rings does the job of lubricating and the chain lubricant you apply is just for protecting the outside of the chain from rust, so you can use it more sparingly.
So that’s it. Like we said, motorcycle chain maintenance is pretty simple. Check your manual to see how often you should clean and lubricate the chain on your motorcycle. Of course, it's not a bad idea to do it more often if you're riding in wet or dirty conditions. Some riders will make sure to clean the chain right after a ride in the rain, to get moisture off before rust can start forming.
If you have any additional questions or are looking for some feedback from one of our award-winning Gear Geeks, just give us a shout and we will be happy to help with this or any of your other motorcycle-related inquires.
Cleaning and maintaining your ATV chain is one of the most important aspects of ATV maintenance. Late maintenance of the chain, sooner or later, can lead to disastrous consequences, such as premature wear of the teeth of the stars, sticking of the chain rollers, uneven stretching, sagging of the chain.
In the context of this article, you may also be interested in making a do-it-yourself chain tensioner roller for an ATV.
Attention! Remember also that a chain that has not been looked after tends to break, this usually happens on the go.
Most chain breaks and premature wear are caused by misalignment of the drive and driven sprocket (see diagram).
Schematic provided by Zar999
A broken chain, at best, will leave you without a vehicle away from home, at worst, it will pierce the crankcase or jam the rear axle at full speed, I think it’s not worth talking about the consequences.
Here are a few things that you should not hesitate to replace the chain on your ATV:
Rusted connections, damaged or deformed rollers, inability to tension the chain to its normal condition. There is also a method for checking the chain, it is as follows: on the rear star we take the chain with two fingers for one link and pull it back (the shoulder of the chain should have sagging), if more than 3 links are pulled from the star, the chain must be replaced.
ATV chain lubrication and cleaning.
Thoroughly clean and lubricate the chain every 300-500 km. depending on driving style.
If encountering mud, sand and water is a common occurrence during your ATV rides, we recommend lubricating the chain before each ride.
There are a great variety of oils for chain care, and each of them has the right to exist, the purchase of one or another lubricant is limited only by your imagination and financial capabilities.
Of course, Off Road lubricants are ideal for ATVs, but again it all depends on the riding style.
If the chain is heavily soiled, it must be cleaned. To do this, the chain is removed and cleaned in kerosene, solvent or a special liquid. Also for the lazy there are machines for cleaning chains.
How to tension a chain on an ATV.
Before starting work, be sure to put the ATV in neutral and place the ATV on a relatively level surface.
There are two design options for the chain tensioner and, based on this, two tension options:
Option 1. Loosen the bolts under No. 1, tighten the chain with bolts No. 2 (keep an even number of turns), after tightening, tighten the bolts No. 1.
Option 2. You need to loosen the two bolts that, roughly speaking, compress the rear axle (marked with arrows in the picture below). Then you need to insert a stud or screwdriver into the hole on the driven star, align it with the hole on the tensioner (the disk with holes that is located behind the star) and push the stud further into this hole, thereby fixing both the star bracket and the tensioner. Now you need to roll the ATV forward or backward - the chain will stretch in one direction, and loosen in the other. When the chain is tensioned, remove the pin and tighten the bolts.
It is very important to make sure that the chain lock is installed correctly, the lock plate must be installed in one piece forward in the direction of the chain.
Pay attention to the chain size when replacing the chain. Installing chains that do not match the size specified by the factory for your ATV model will adversely affect the condition of the sprockets, drive shaft and the chain itself.
If the chain marking is not visible or readable for any reason, you should contact the manual, the supplier, or use the table below. Good luck on the road!
24.03.2019
Such procedures with the chain as its tensioning, cleaning, as well as its quality care are one of the most important aspects related to servicing ATVs, because untimely maintenance of the chain will eventually lead to the fact that they will start the teeth of the stars wear out, and this is already fraught with sticking of the rollers, stretching or sagging of the chain.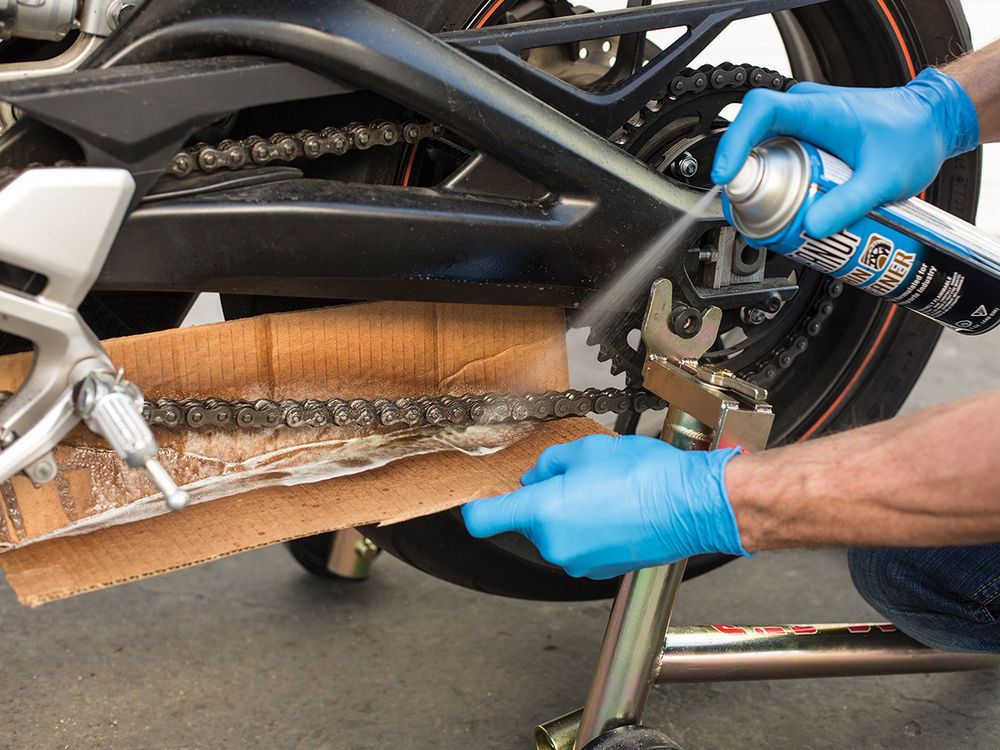 It is important to remember - a chain that has not been looked after for a long time can break very easily, and in the course of your ride.
A broken chain, at best, will leave you without a vehicle away from home, at worst, it will pierce the crankcase or jam the rear axle at full speed, I think it’s not worth talking about the consequences.
Here are a few things that you should not hesitate to replace your ATV chain with:
Most chain breaks and premature wear are caused by misalignment of the drive and driven sprocket (see illustration on the right).
There is also a method for checking the chain, it is as follows: on the rear star we take the chain with two fingers for one link and pull it back (the chain shoulder should have sagging), if more than 3 links are pulled from the star, the chain must be replaced.
ATV chain lubrication and cleaning.
The chain should be thoroughly cleaned and lubricated every 300-500 km, depending on the riding style.
If encountering mud, sand and water is a common occurrence during your ATV rides, we recommend lubricating the chain before each ride.
There are a lot of chain care oils, and all these oils have every right to exist, so the purchase of one or another lubricant is completely limited only by your imagination and financial capabilities. Of course, Off Road lubricants are ideal for ATVs, but again it all depends on the riding style.
If the chain is heavily soiled, it must be cleaned. To do this, the chain is removed and cleaned in kerosene, solvent or a special liquid. There are also chain cleaners that are suitable for those who are not satisfied with the first chain cleaning option.
How to tension a chain on an ATV.
Before starting work, remember to put the ATV in neutral and place the ATV on a relatively level surface.
In order to tighten the chain on the ATV, you need to loosen two bolts, which, roughly speaking, compress the rear axle.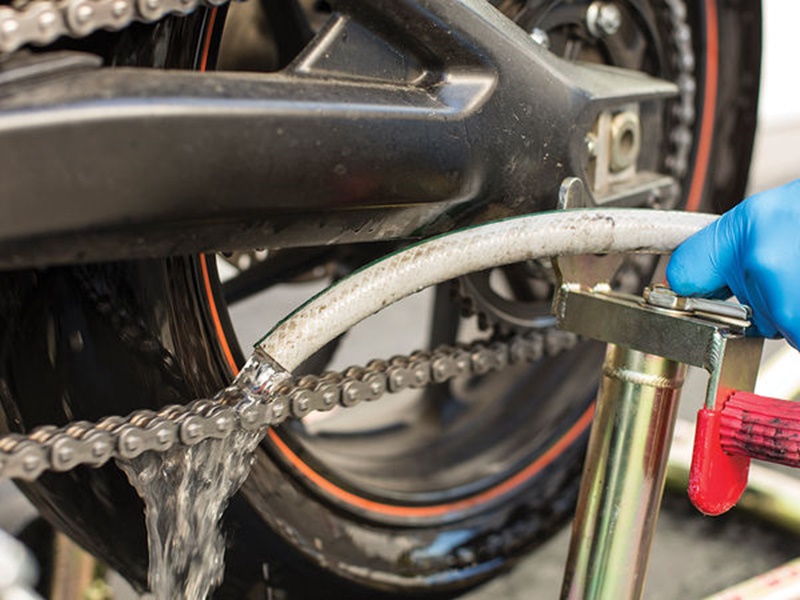 Then you need to insert a stud or screwdriver into the hole on the driven star, align it with the hole on the tensioner (the disk with holes that is located behind the star) and push the stud further into this hole, thereby fixing both the star bracket and the tensioner. Now you need to roll the ATV forward or backward - the chain will stretch in one direction, and loosen in the other. When the chain is tensioned, remove the pin and tighten the bolts.
It is very important to make sure that the chain lock is installed correctly, the lock plate must be installed in one piece forward in the direction of the chain.
Pay attention to the chain size when replacing the chain. Installing chains that do not match the size specified by the factory for your ATV model will adversely affect the condition of the sprockets, drive shaft and the chain itself. If the chain marking for one reason or another is not visible or not readable, you should contact the manual or supplier.