It happens all the time, water gets sucked into your engine or somehow makes its way into your gas tank. It makes sense with all the puddles, rivers, and streams you ride through out on the trail. Or maybe the gas tank was left open and it rained quite a bit.
However it happened, you need to remove the water from your fuel tank or engine before you try to start up the machine. It’s not a very hard process and if you follow the steps below, you will be able to start your engine without causing any damage.
They do make a Fuel System Water Remover found here on Amazon. But this is only really useful for small amounts of water and this will only remove water from your fuel system. To completely clean all water out of your machine, follow the steps below.
The most common results from running an ATV with water in the engine include, blown piston rings, blown valves, or a hole in the cylinder wall or head. You see the engine was made to compress an air/fuel mixture.
The air/fuel mixture will compress by the piston moving up, to the point where a spark will light it causing a small explosion which sends the piston back down. Water doesn’t compress. So if there is water in the combustion chamber when the piston is moving upwards trying to compress an air/fuel mixture. The pressure gets to be too much and the water will find its way out of the cylinder somehow.
Usually it will just blow a piston ring, but those aren’t fun to replace. In any matter, it’s best to remove the water from the engine and the fuel before trying to start the ATV. So lets get into the steps to do that.
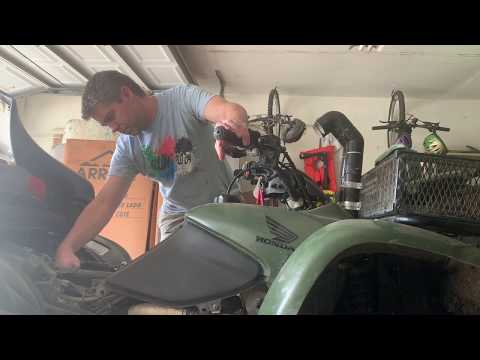
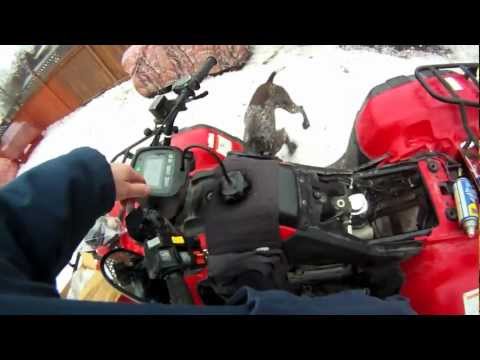
If ever think you’re getting water in your ATV engine, like if you’re in really deep water or something. It’s best to shut the engine off immediately. As you can see in my picture in the sidebar, I’ve done this before. Thankfully I shut the engine off as I started to feel the ATV bog down and prevented any real damage from happening.
Luckily you shut the engine off before any real damage was done too, right. If so, follow these steps before trying to start your ATV again.
Check the air filter first, none of the other steps will do you any good if your air filter is wet when you go to try starting the machine up again. If the air filter is wet, take it out of the air box.
Wipe the air box out with paper towels or rags and let dry completely. If you can get your air filter to dry out, you might be able to use it again. Just make extra sure it’s completely dry inside and out.
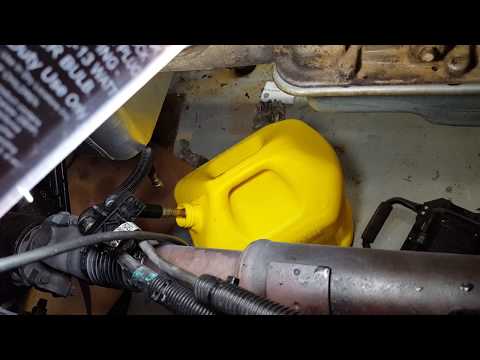
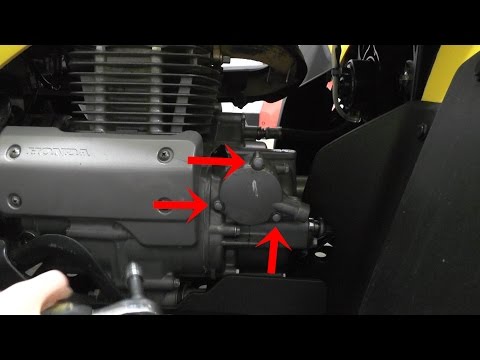
Drain the fuel tank, fuel lines, and clean the carburetor if your engine has one. While you’re at it, drain the oil and remove the oil filter too. If any water got in your oil, it could cause some major problems for you later on.
I like to spray some carb cleaner in all the ins and outs of the carburetor just to make sure any water in there gets removed. It’s a good idea to let your gas tank air dry after you drained it as well.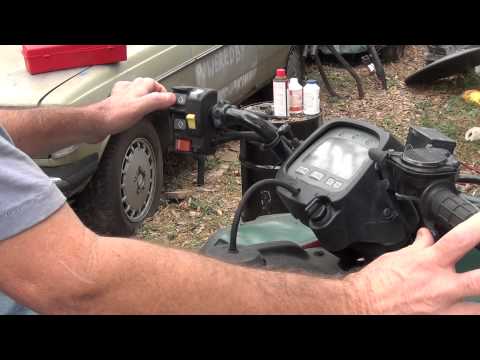
You’ve already drained the oil out of the engine and removed the oil filter, so now to force the water out of the cylinder, remove the spark plugs and turn the engine over a few times. Most of the water should have come out when you drained the oil, but this will help get any remaining water out.
Refill the engine with oil, put on a new oil filter, and turn the engine over again, with the spark plugs still taken out. You’re going to want to look at the oil after you’ve let it sit for a few minutes. You’re trying to see if there is any water mixed in with the new oil you just added. If there is water you will see white colored milky areas rising to the top of the oil.
If you see water in there still, drain the oil and do those steps again. You really want to make sure there is very little or no milky white stuff in the oil.
Put the spark plugs back in, put some fresh fuel in the tank, and see if it’ll start up.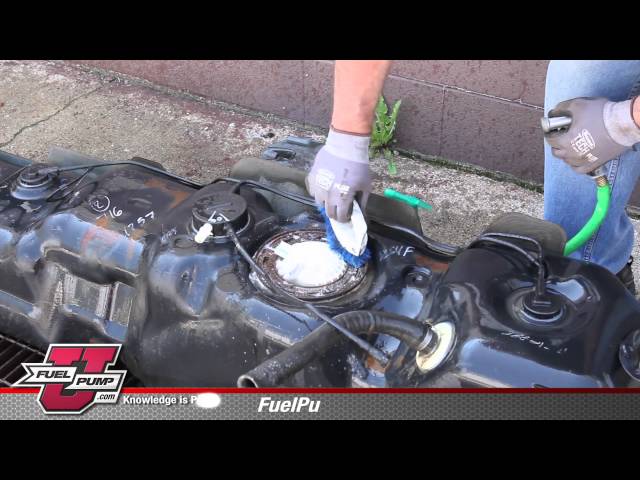 After you let it run for a few minutes, check the oil again for water. If you don’t see any milky white liquid in the oil, you should be good to go. If you do see some, change the oil and filter again until you don’t see any water in the oil.
If it does not start up, you may have done some damage. You will probably want to check the piston rings, piston, and cylinder for damage. I sank an old Polaris Scrambler when I was younger, and water got into the engine. The piston rings were shot and needed to be replaced.
If you want some tips on how to get an ATV to run again by doing a tune-up check out my, ATV Won’t Start: Common Problems And How To Fix article.
With some of the terrain you ride through, it may be impossible to avoid water. But do try to avoid going too deep. Try to keep your exhaust and air filter above water at all times. Your air filter may be in an air intake box, if so, keep that above water also.
You could also try adding a snorkel kit to your ATV. Snorkel kits allow you to go into deeper water with your ATV without the worry of doing damage to your engine. To learn more about snorkel kits and how to make one yourself, check out my How To Snorkel An ATV article.
Sharing is caring!
There are two main scenarios where people may suspect that the gas in their ATV is bad. One is when the bike suddenly begins displaying strange, performance-related issues where the engine won’t run properly. The other is when taking the ATV out from storage after a long and harsh winter season. The ATV may not start, or you just want to make sure the gas left in the bike is still good to use.
Sometimes you can tell whether the gas is good or bad from the ATV’s symptoms when running the bike. You can also use your senses to inspect the gas to see if it shows signs of staling.
When an ATV suddenly begins displaying symptoms like difficulty starting, rough idling, or sluggishness, it may have gotten bad gas into the tank. Gas that is bad from old age smells like turpentine and becomes darker than fresh gas.
Before we take a closer look at the signs and symptoms of bad gas, it’s good to know what we mean when talking about “bad” gas or gas going bad.
While modern gas may begin to break down after only a month or two, it is still considered “good” for a long time. The gas is not regarded as bad before it causes noticeable signs of reduced engine performance.
According to NACS – a leading global fuel trading association serving as a trusted advisor to over 1,500 retailers and 1,600 supplier members from more than 50 countries, the term “bad gas” applies to fuel that won’t properly combust.
Like any other gas-powered vehicle, an ATV gets its power from a complex combustion process that requires an electric spark, compressed air, and high-quality fuel vapors to take effect.
If the spark is weak, compression is bad, or the fuel vapors for some reason do not possess the required quality, the ignition process gets interrupted, leading to poor or suboptimal engine performance.
There are several ways gas can go bad in the sense where it won’t combust properly. In ATVs, the most common is when the gas goes bad from old age or gets contamination by a foreign substance.
Gas is considered fresh produce, which can go bad over time. It’s a highly refined product made with a complex mix of many different hydrocarbons such as butane, pentane, benzene, ethylbenzene, and more.
One crucial characteristic that gasoline possesses is high volatility, which indicates how easily the fuel vaporizes. As discussed above, the combustion process requires vaporized fuel for it to burn fuel efficiently.
Over time, the lighter hydrocarbons that aid in making the gasoline highly volatile tend to evaporate, causing an imbalance in the mixture.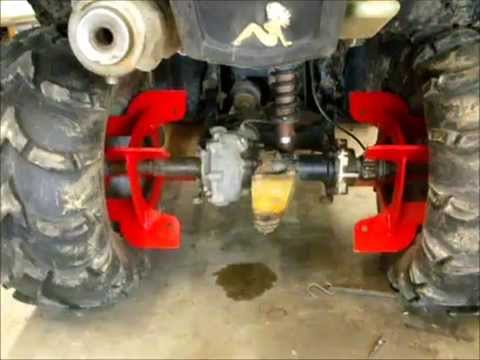 The fuel becomes less volatile, and its ability to combust degrades until it no longer will ignite and burn properly.
While you may be able to start and run your ATV on fuel with reduced volatility, it will likely not perform as well.
While some of the lighter hydrocarbons evaporate into the air, some of the heavier hydrocarbons react with oxygen, creating new components that lead to gum and varnish deposits in the fuel lines, filters, and carburetor.
This may lead to fuel delivery issues which come on top of the poor performance caused by reduced fuel volatility.
Most of the gas sold in the USA contains Ethanol which makes up anything from 10% (E10) up to as much as 85% (E85) of the blend.
Where hydrocarbons bond with oxygen molecules, Ethanol bonds with water vapor in the air, leaving the gas contaminated with water.
Not only does water disrupt the combustion process, but it may also cause internal corrosion inside metal fuel tanks or the engine.
It’s not only from fuel that contains Ethanol, where water can get into your gas tank and engine.
A leaky gas cap can allow water into the tank from heavy rain, washing with a pressure washer, or submerging the ATV in mud or water.
Condensation inside the fuel tank from rapid temperature swings is another potential cause of water contaminating the fuel.
There is also a slight chance that the fuel you get at the gas station already has some water due to delivery or storage issues.
As you can imagine, it doesn’t matter how water gets mixed with the fuel. When this happens, the fuel is considered compromised and needs to be replaced with fresh gas.
All ATVs need fuel with a specified octane level to run properly. There’s always a chance that the tank was filled with gas of a lower octane rating intentionally or accidentally.
One scam performed by some dishonest gasoline retailers is filling regular gas in the high octane underground tank. In some cases, the retailer was honest, but the distributor ripped them off by delivering lower octane fuel than specified.
Luckily, this is not considered standard practice. You are more likely to choose the wrong handle at the pump by accident.
The final of the most common ways gas in ATVs goes bad is when it gets contaminated with dirt or small sediments from various sources.
While screens and fuel filters capture the majority of larger particles, there is a risk that the smallest particles may get through and clog fuel injectors or carburetor jets over time.
Dirt or sediment contamination can occur anywhere from the refinery, delivery truck, gas station, a storage container, or leaky gas cap.
Often, you may begin to suspect bad fuel when noticing strange symptoms and behavior when starting or riding. Symptoms of bad gas in an ATV include:
 ATVs with electronic fuel injection (EFI) can sense when combustion is off and will alert you by illuminating the check-engine light.
The best way to test if gas has gone bad is by using your senses.
Siphon a small amount of the suspected fuel into a clean, see-through container to inspect it. Fill fresh gas into a separate container for comparison.
 With experience, you will be able to smell the difference without smelling fresh gas each time.
There is no definite rule for how long gas can be stored or left in the tank before it is no longer good.
Environmental factors such as humidity, temperature, and oxygen exposure all impact how long gas stays fresh and usable.
Also, there is no way of knowing how old the gas you bought at the pump is; it may be fresh or a month or two already.
As a rule of thumb, you’re likely better off not using gas that is older than one year.
However, gas stored in less ideal conditions can degrade quickly and may start showing signs of going bad after only a few months.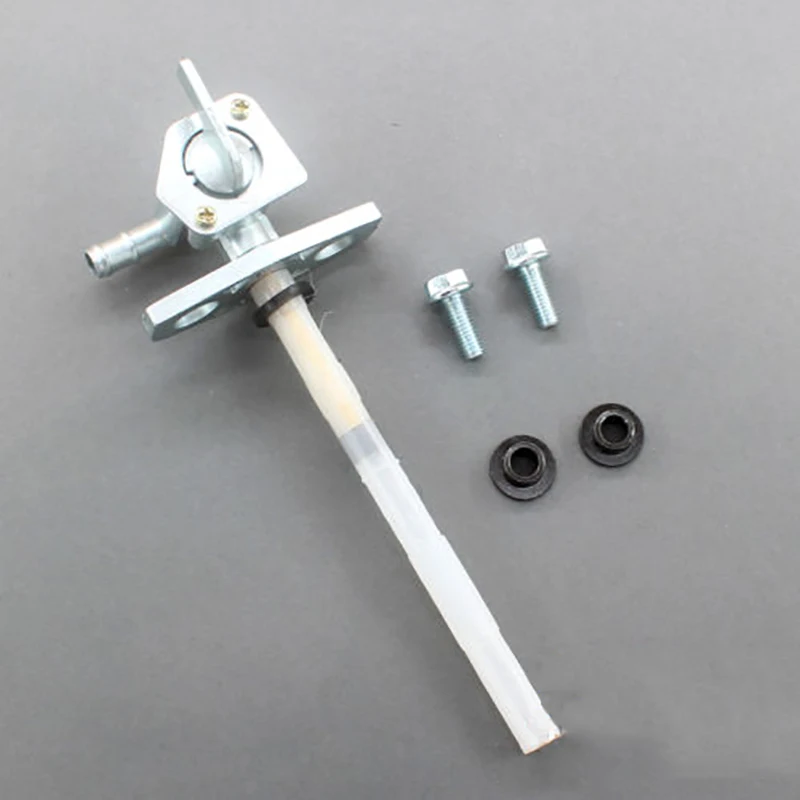
On the other hand, gas stored in the rights conditions may be good even after several years of storage.
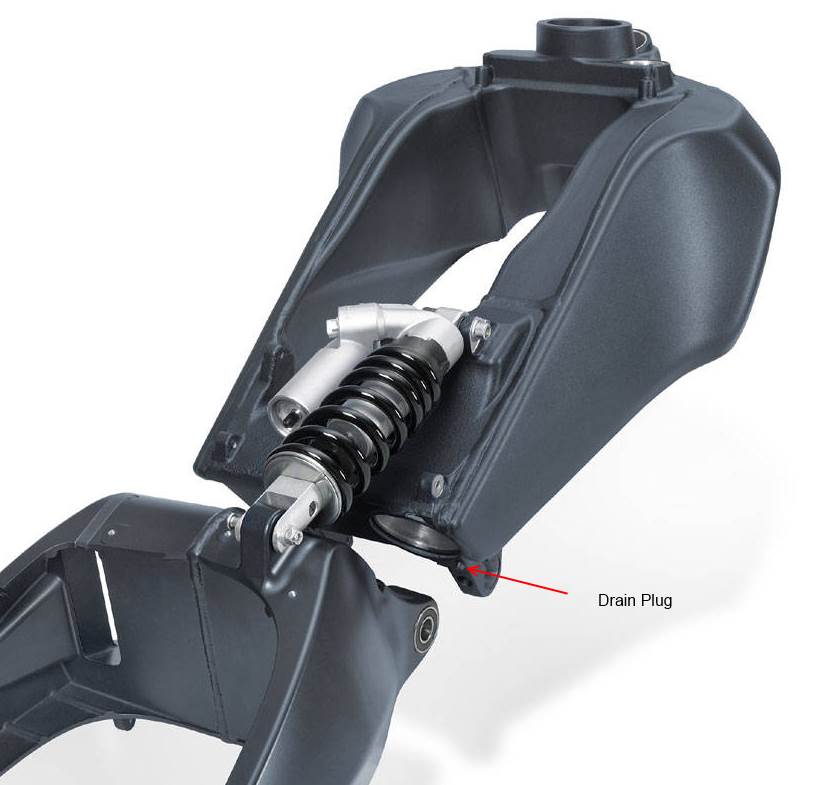
Old or bad gas needs to be removed from the tank and replaced with fresh fuel. If the tank on your ATV has a drain plug or accessible petcock valve, simply use that to drain the tank completely.
Most modern ATVs do not, however, have an easily accessible drain plug.
In that case, use this method:
Tip 1: On EFI bikes, you may need to run the fuel pump for a couple of seconds for the fuel to drain. Activate the pump by turning the ignition key until the pump starts, but do not turn the key all the way to “run”.
Tip 2: Another way of draining the tank is by sticking a drain hose and an air hose down into the tank to use compressed air to force the fuel out of the tank. Use rags to seal off the tank opening and gently apply air until fuel start draining out the hose and into a container. Then use a grab-it-tool and some shop rags to mop out the remaining fuel in the tank.
Tip 3: If there is only a tiny amount of bad gas in the tank, adding fresh gas and some Seafoam to clean the carb and fuel lines may be all that you need to do. In some severe cases, you may need to disassemble and clean the carb. Pay close attention to the needle seats and clean the pilot jets. You may need to replace the needles and jets.
Tip 4: The fuel in the carb typically goes bad before the gas in the tank. Use starting fluid to force the ATV to burn through the relatively small amount of bad fuel in the carb and allow fresh fuel to enter.
Before putting your ATV away for the winter, make sure to add a high-quality fuel stabilizer to the tank, such as Stabil or Startron.
Note that fuel stabilizers do not revitalize gas that has already gone bad. It will only aid in keeping good gas fresh longer by slowing down hydrocarbon evaporation.
After adding the stabilizer to the tank, go for a short ride to allow treated fuel to enter the carburetor.
As gasoline is highly volatile and thereby highly flammable, it is never a good idea to store large amounts of gasoline at home. Make sure to store any gas you keep at home in a cool, low-oxygen environment, such as an airtight container designed for fuel storage kept in a cool garage.
Whenever possible, use ethanol-free gas on any vehicle that regularly sits without being used, such as an ATV.
Alternatively, drain ethanol-based gas before storage, and use it in your car.
The gas sold in the summer is not the same as the one sold in winter. Summer gas contains heavier hydrocarbons to prevent premature evaporation, while winter gas contains lighter hydrocarbons to aid combustion through the cold winter months.
The lighter hydrocarbons in winter gas will evaporate quickly in the summer, causing the gas to go bad prematurely.
Every ATV owner sooner or later faces a breakdown. And it doesn’t matter if you decide to buy an inexpensive ATV or a branded device. Of course, this is an unpleasant situation, but most problems can be fixed by hand. So let's figure out what to do if the ATV does not start.
Constant driving to the limit and improper operation of the equipment often causes a number of breakdowns. Due to high loads, it can fail:

But most often, problems arise due to some trifle, such as low-quality gasoline, lack of oil or improper preservation of equipment.
The first thing a motorist needs to do if the ATV does not start or stalls is to check the gas tank. If the fuel is idle for a long time, it may evaporate, and if the tank is empty, gasoline should be added. But if there is fuel in it, it is advisable to drain it. Very often, low-quality fuel comes across, which after a while simply ceases to ignite.
Don't forget the oil. If a low-quality liquid was poured into the system, the device will lose dynamics and may even stall. This problem is especially relevant for four-stroke quads, since their power unit must literally “float” in oil.
Another reason why the ATV does not start is improper preservation of the equipment. Even if you leave the device for a day in the garage, it must be prepared for downtime, otherwise starting the engine will be a real test.
Preservation requires:
Many riders ignore this simple procedure, but it is the one that most often causes starting problems. For example, it is almost impossible to immediately start a “cold” engine. Therefore, the driver begins to methodically press the "start" button, and at this time the battery is discharged. After 10-15 attempts, the battery runs out, and it becomes unrealistic to start the equipment.
Important: In severe frost, it is imperative to carry out conservation of the ATV. If this is not done, condensation will collect at the bottom of the carburetor, and the quadric will have to “warm up” for several days.
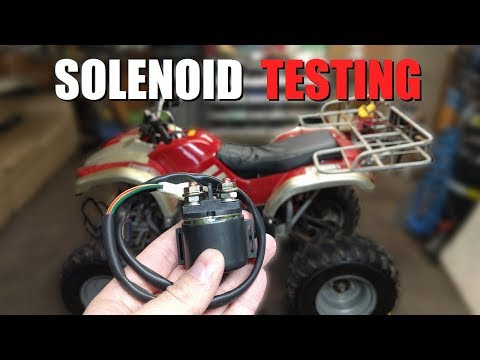
ATV won't start due to starter or bad contacts. In this case, follow:
But what if the Chinese ATV won't start due to problems with the starter in the field or away from home? In this case, the rider needs to close the relay contacts with a screwdriver. Thus, the rider will be able to start the device bypassing the faulty starter.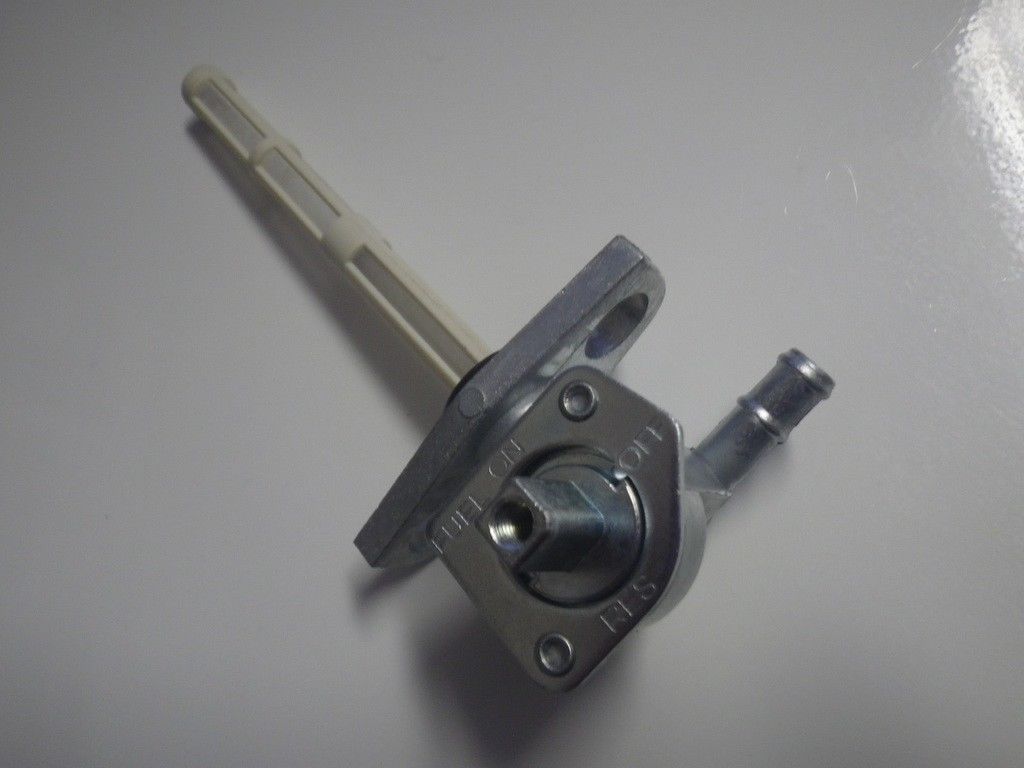
No spark is another simple but annoying failure. It usually occurs due to damage to the coil or a break in the wires that go to the candle. Solving the problem is easy. The rider just needs to unscrew the candle, insert it into the cap, attach it with a metal part to the motor and press "start".
Even minor downtime can prevent the ATV from starting, especially if it has been improperly preserved. And in order to “reanimate” the equipment after the winter, you should:
Note: In winter or during the cold season, the rider is advised to open the choke to enrich the fuel mixture. This makes it easier to start the engine in cold weather. After the device has started, the damper must be returned to its original position.
06/16/2020 12094
You left your ATV in the garage on a trip or out of town, and when you return a few weeks later, you can't start it anymore. Familiar situation? Even after adding a spark and fresh fuel, the engine only stops for two to three seconds. What could be the effect? After all, before the ATV, he had no problems: it was enough to pass a periodic thorough inspection.
Don't panic: in this case, you can say with almost 100% certainty that the problem is only in gasoline, and not in ATVs. Like any hydrocarbon gas, Gasoline mixture is volatile and should not be relied upon for long periods of time. Some of its fractions evaporate, and the remaining gasoline liquid loses its ability to ignite and is no longer a fuel mixture.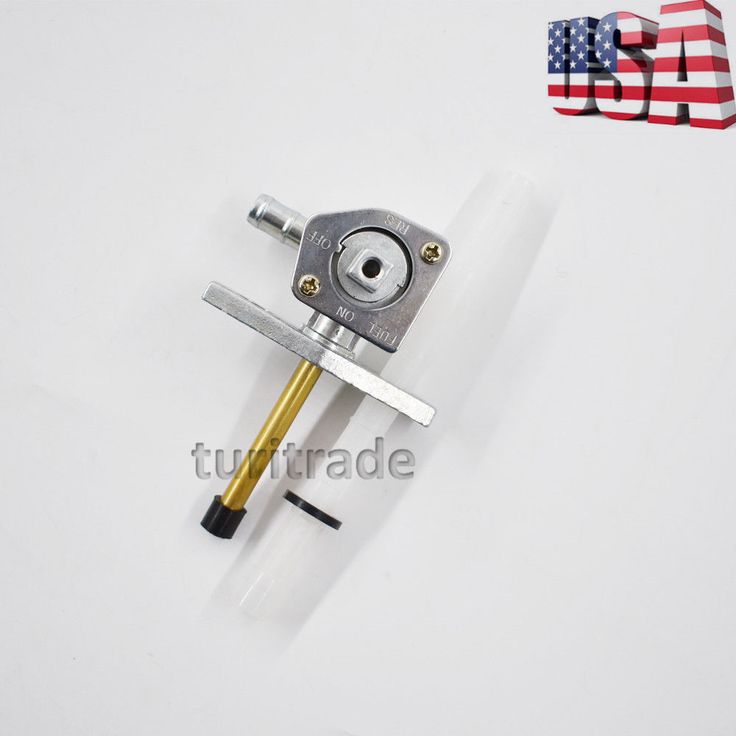 So your ATV didn't want to ride after a long break.
No response starter after turning the key
 Fully turn the throttle and engage the starter - the spark plugs should be on the wires and on the engine. Don't touch the candles. Put them on and start the engine.
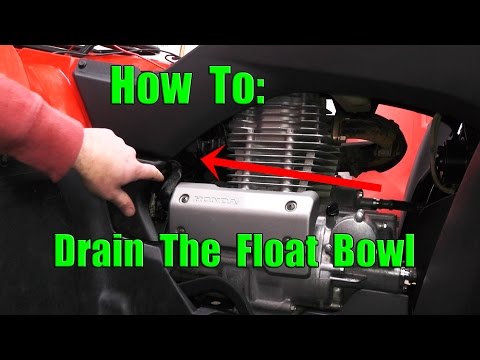
Bendix is broken or after inspection the starter rotates in the wrong direction in the wrong housing, the latches are connected upside down: have the mechanics check the starter (they will do this without removing it from the motorcycle).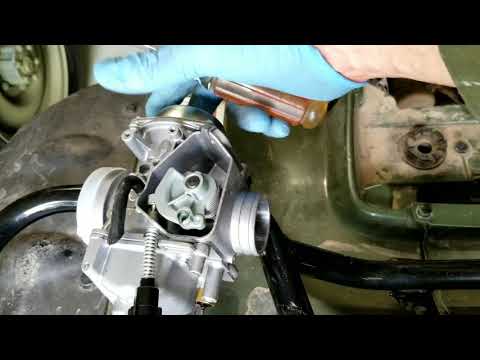
ATV stalls : Starter relay clicks but engine does not start
Loose starter cord or short circuit due to broken wire: check connection, remove rust, check current with multimeter.
 On a liquid-cooled engine, white indicates damage to the cylinder head gasket.