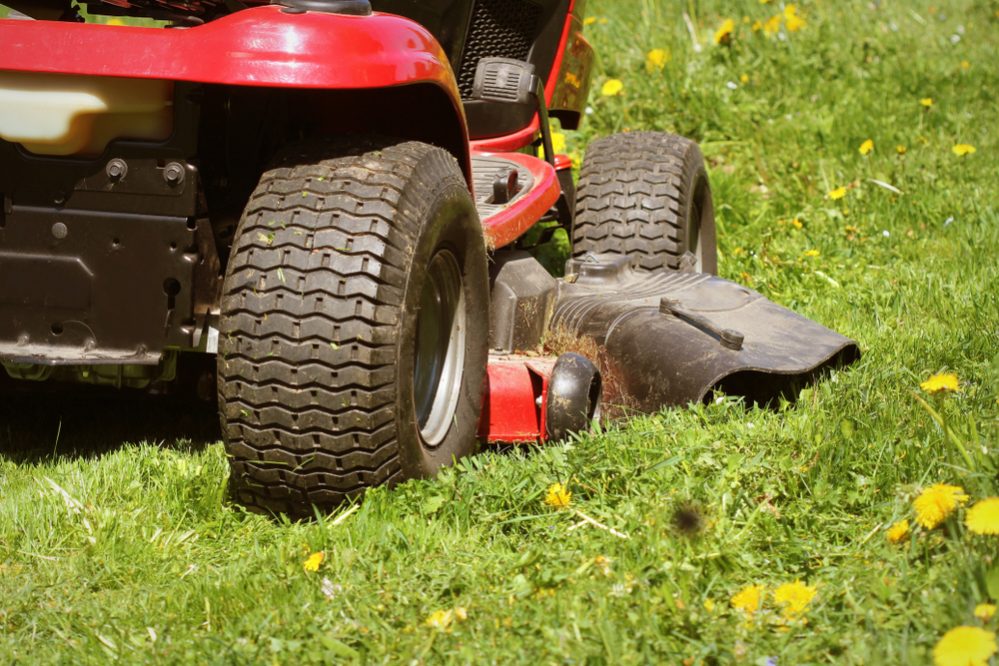
It can be very uncomfortable to have a flat tire on a riding mower. If it is partly deflated, It may affect the mower’s handling and cause it to slip on the surface, making your job more difficult. It also adds excessive load to the engine and can cause a higher fuel consumption. If the tire is completely flat, you can not use your mower until you fix it. A flat tire may be caused for several reasons. This blog post shall explore these reasons separately and explain how to fix a lawnmower’s flat tire.
How do I fix a flat tire on a riding lawnmower, step by step:
Tubeless tires do not have a separate rubber tube to carry the air inside them. Pressurized air is stored within the tire to withstand the lawnmower’s entire weight and the individual himself. The air pressure inside the tires can fall due to a variety of reasons. The tire can be punctured by a sharp object that allows the air to leak out. Generally, in winters, low temperatures enable the air to condense within the tires, resulting in a pressure drop. In all these situations, the tires should likely be filled with air.
To further elaborate on the steps listed in bold, we suggest going through the whole post.
Contents
 2.1 – Punctured tire with an inner tube:
We shall focus on the procedure for repairing a flat tire along with other issues that can occur with a lawnmower tire.
There may be two main ways to conduct a tire inspection. You should visually inspect the tire to see if any tire is flat and needs to be fixed. You can also measure the air pressure within each tire to see where more air needs to be pumped.
You can need a pressure gauge to calculate the value of the air pressure within each tire.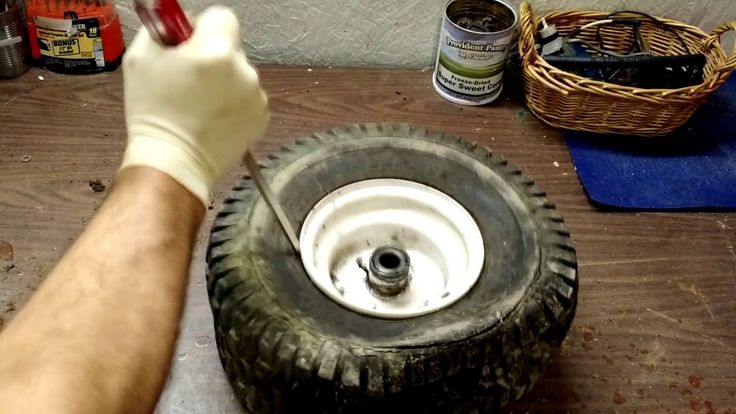 You may do this by connecting the pressure gauge to the stem of the valve.
If you have an air compressor at your side, it has a pressure gauge mounted, so there is no need to buy one separately. The prescribed pressure value is generally indicated on the side of each tire. If not given, you can check the manufacturer’s suggested value set out in the lawnmower manual.
Determine the air pressure inside all four of the tires. If the value falls by a large amount short of the recommended value, you may need to pump air inside it. We’re going to come to that step later.
Suppose any tire appears flatter than usual; attempt to bend over it and press it. If you can press it comfortably, you need to pump the air inside.
Some more expensive riding lawnmowers have a tire pressure monitor that will warn you when the tire pressure is lower than it should be. There are also aftermarket systems you can add to your machine.
Search for sharp objects such as iron nails, pins, glass splinters on each tire tread area.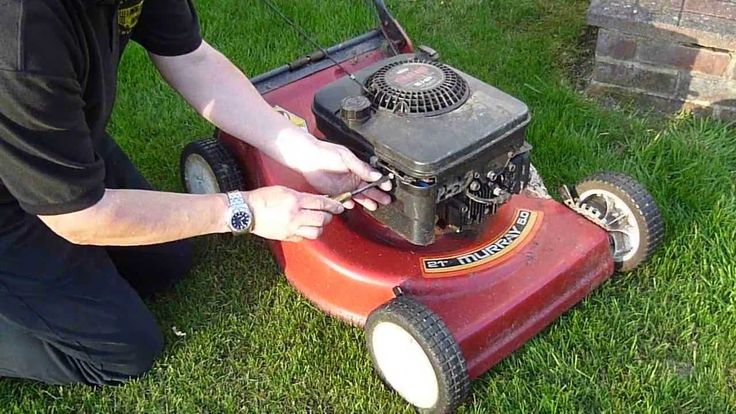 If this is the case, the tire is punctured and needs to be fixed before inflated with air.
You might come across a situation where the tire has fallen completely off the surface, and the air inside has leaked. In all these cases, it is important to repair the tire first before filling it with air.
Here, we’ll clarify how to patch tires that have either been punctured or lost contact with the rim. If your tire isn’t damaged, you can switch directly to step 3. Start with checking the type of tire you have. There are two main tire types: tubeless tires and tires with an inner tube.
If you use a tire with an innter tube, it makes the most sense to remove the inner tube and check it for leaks.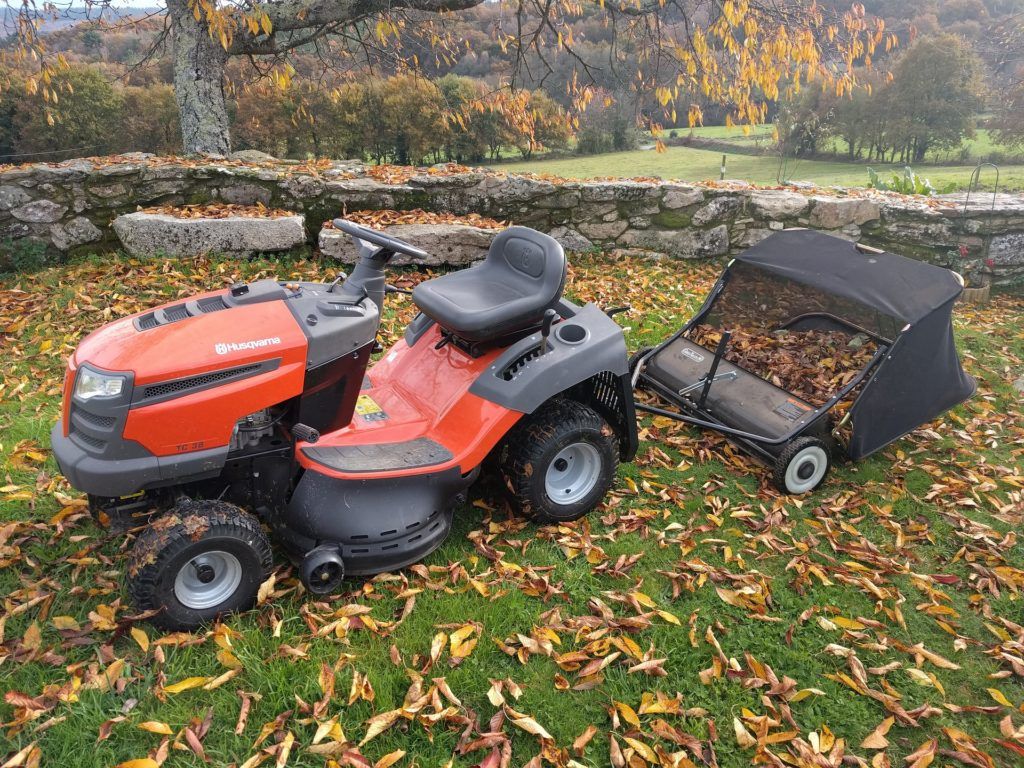 It is possible to use a sealant with an innertube, but it is not advised. If you have removed the inner tube, you can inflate it and use water or soap water to locate the leak. If the area is not too big, you can fix it easily with some glue and an inner tube patch. Do not forget to check the valve as well. If you have found the hole, it is easy to fix. Always check the tire itself for any sharp object. You know the location that you just patched, so it is easy to find the area on the tire itself as well. Check carefully on the inside of the tire with your hand and remove the culprit. If the area on the inner tube is considerable, it is better to replace the inner tube.
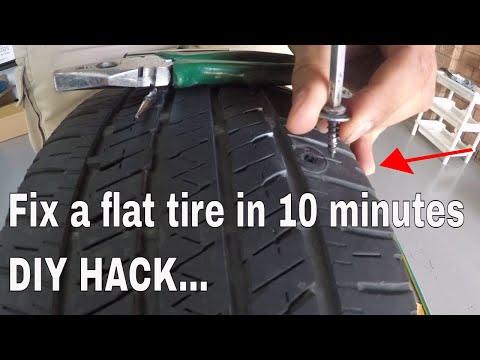
If a sharp object, such as an iron nail, is stuck inside a tire, it can cause air leakage. To check there is an air leak, you can pour soap water at the puncture site to see if any air bubbles are developed. Please be careful that you do not withdraw the punctured region’s sharp object until the opening has been repaired.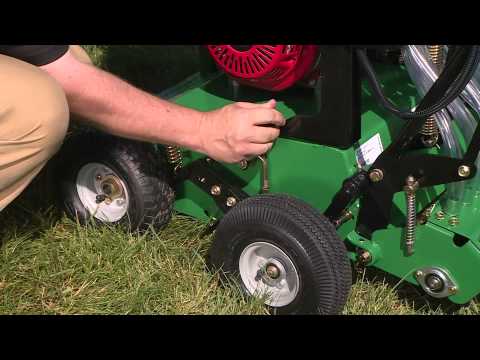 You should follow the steps below to patch the punctured tire:
 Now, tie the air compressor hose to the valve and inject some of the air into the tire. Pressurized air distributes the sealant to where the puncture has been created and allows the hole to close.
In the case of tubeless tires, it is possible that if your tire loses contact with the rim due to a strong cornering force, it loses all its air. It usually occurs when the tires are old and near the end of their service life. However, if you’re trying to repair this tire, you can follow the steps mentioned:
 Rotate the rod to twist the cord. The more you twist the rod, the tighter the rope gets, and the more you squeeze the tires’ treads. This force causes the rubber to press against the rim.
With the air filled within the tire, the rope can be withdrawn, and the tire is all ready to be used again.
After the tire has been repaired and checked for any damage, we can pump air inside the tire.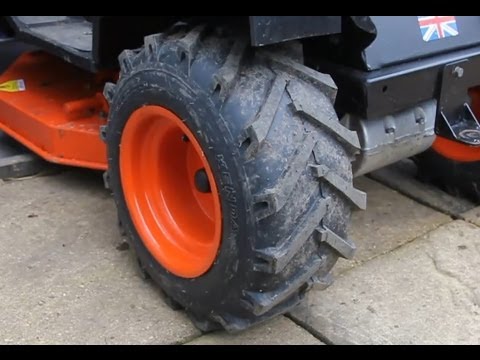 For this action, you should follow the following steps:
The rule of thumb is that the sealant should be replaced every six months. The sealant appears to dry out over time and may split if the tires are pushed to a bumpy surface.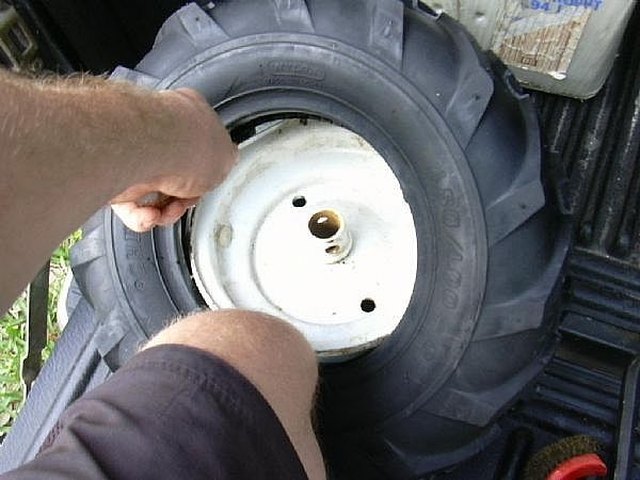 In these situations, you don’t need to extract the old sealant unless there are clumps that can be picked up by hand.
In most riding lawnmowers, tubeless tires are used. Such tires do not have an inner tube, and the rim locks the beads in place. There are the following pros and cons:
You can replace your tubeless tires when they are fully worn out and no longer provide enough traction. When the tire is either leaking air right after it has been filled or torn by a knife or a very sharp rock, it should be replaced.
You should regularly check the tire pressure of your lawnmower. The best would be at the beginning of each mowing season, but at least monthly. We always suggest that the tires be filled to the specified amount and not more than that, as they should cause the tires to burst. Refrain from driving the mower when the tire is flat as it is uncomfortable and overloads the engine. If you’ve ever ruptured your tires before, make sure to keep filling them with sealant every six months as the old sealant becomes ineffective after that.
We want to help you fix a flat tire on your lawn tractor.
If you do not feel that you understand these steps, or can perform them safely, consult your tractor dealer or local mechanic.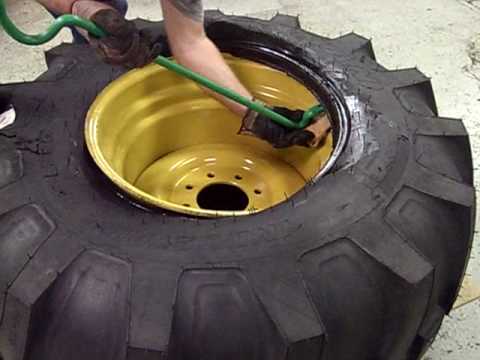 Also always consult your tractor owner’s manual for model-specific information.
Time to get started.
Lawn Inspection
First and foremost, take a walk around your lawn and do a quick inspection.
Look for hard or heavy objects that could propel themselves from the mower blades. Your blades run at speeds of up to 170 miles per hour. Those blades could propel an object fast enough to punch holes in your tires or cause other damage.
Tractor Inspection
Every so often, shut down your tractor and check the tires.
If you notice you have a leaking tire, it likely has a hole in it from a sharp object that was originally in the lawn.
You can perform minor tire repairs at home. (Note we said “minor.”) This would allow you to finish mowing your lawn.
Afterward --- make sure to take the leaking/flat tire to a repair shop and get a professional repair or replacement.
The best method to repair tire holes depends on the size and location of the hole.
Locating the Hole
Finding the hole can be very tricky. You may not be able to see it.
To find a small hole in your tractor's tire:
Now you have found the hole(s).
If not, you will need a tire professional to take over at this point.
Let’s assume you found the hole(s) and continue forward.
Tire Repair
First --- if you do not feel comfortable repairing the tire hole – do not. There are trained professionals that will take care of everything for you.
Small Hole
If a hole is less than 1/16th of an inch in diameter, you can likely repair the hole with a tire sealant.
Here is how:
If this does not work --- speak with a trained tractor tire professional
Larger Hole
If a hole is more than 1/16th of an inch in diameter, use a tire plug to repair it.
Here’s is how:
If this does not work --- speak with a trained tractor tire professional
Adding Air
To add air, you will need to purchase an air compressor and tire gauge.
Once you have an air compressor --- you can add air to the repaired tire.
First --- check for the pounds per square inch (PSI) rating. This tells you the maximum air to add to a tire. This rating is embedded on the tire's sidewall, near the rim.
Use a tire gauge to check the tire pressure through the valve stem.
Gradually add air to inflate the tire to the correct psi.
If you accidentally overfill the tire --- press your fingernail on the metal pin, in the center of the valve stem to release some air. Then use your tire gauge to check the PSI again.
After you reach the proper PSI, listen for any leaks.
If the tire is fixed, you can resume the tractor’s operation.
If this does not work --- speak with a trained tractor tire professional
Hopefully, this brief article has helped you understand how to repair a flat tire on your lawn tractor.
If you need any further help or have any questions about flat tires, tractors, implements, or anything else, please contact your dealer, local mechanic, or call us at 602-734-9944. Please ask about our current new and used tractor supply.
Team Tractor Ranch - #1 Tractor Dealer in Arizona. We sell and service most major brands of tractors including Yanmar, Kubota, John Deere, TYM, Mahindra, Kioti, Case, New Holland, Massey Ferguson, Ford, Deutz, Case IH, Farmall, International Harvester, Branson Tractors, LS, Shibura, Claas Tractor, McCormick Tractors, Valtra, Solis, YTO, Montana, and Nortrac.
There is no big trick to changing tires on Chevy cars, but because the cars are big and heavy, it takes some effort and some precautions. Unlike some manufacturers, the Transport company publishes free PDF files with instructions for owners on the Internet, so the information is always available. Chevy says vehicle emissions are rare, so you may experience slow leaks. Checking your air pressure regularly will keep slow leaks from sneaking up on you and give you time to get vehicles to the dealer before resorting to jacking.
Contents
Under the hood:
How to fix a flat tire on a dirt bike
Remove the axle bolt from the tire and remove the tire from the motorcycle. Lay it on a mat or towel on the ground, lower the sprocket.
Use a crowbar to pry the side of the tire off the rim. Be careful not to scratch or dent the rim.
Pull the old destroyed inner tube out of the tire. Discard it as it cannot be used again. Dirt bike pipes are quite thin and weak, and once they have a hole or crack, they cannot be effectively repaired.
Insert the new tube into the tire and rotate it until the valve stem lines up with the hole in the rim. Make sure the rim pad is still in place and in tact.
Use the crowbar again to push the side of the tire back onto the rim. Be very careful not to pinch the new tube.
Raise the tire and pour soapy water on both sides directly into the rim. This will allow the tire to pop onto the bead.
Inflate the tire to the desired hardness. Make sure the tire fits on the bead on both sides.
How to fix a flat tire in the suburbs
Get on level ground.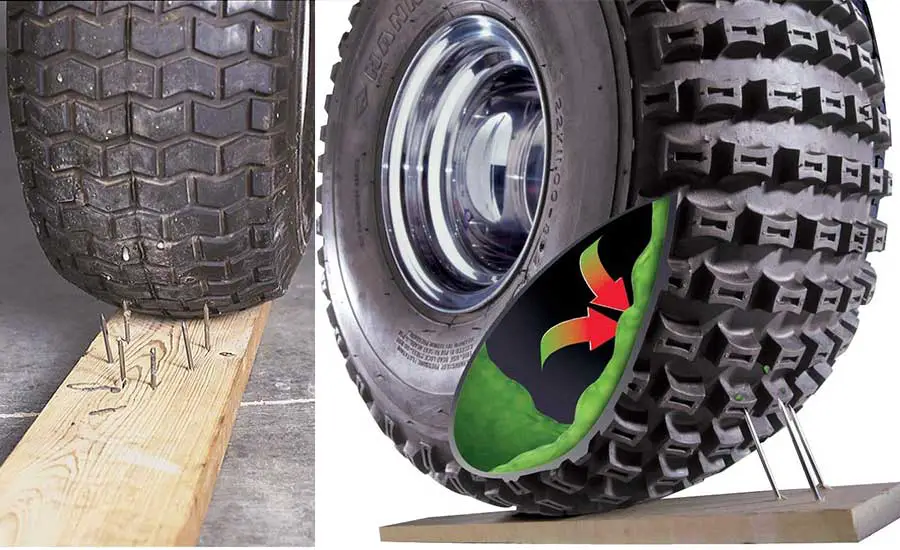 Never attempt to change a tire unless the Suburban is on level ground. If you are unable to drive a short distance to ground level, seek assistance. If the Suburban rolls off the jack while you are trying to change a tire, you could be seriously injured or killed.
Secure the car. Once you are on level ground, set the parking brake firmly and place the shift lever in the P (Park) position. If your Suburban has four wheel drive, make sure the transfer case is in drive gear and not in neutral. Turn off the engine and leave it off. Get the passengers out of the car. Position the wheel blocks in front and behind the tire opposite the tire to be replaced. For example, if you are changing the right rear tire, put blocks on both sides of the left front tire.
Get a set of tools from your storage. You will find storage under the storage tray that is inside the vehicle on the left rear wheelhouse. Raise the tray by pulling your finger down under the jack symbol. The jack, tool kit and wheel blocks are held in place by two nuts and one knob. Remove them to access the tools. If any of the tools are missing, get help.
Remove the spare wheel from the storage compartment. First, open the lift access cover, which is located on the rear bumper, to the right of the license plate. Inside the access hole, insert the ignition key into the spare wheel lock, turn it clockwise, then pull the lock straight out.
Next, connect the two jack handle extensions, then insert one into the matching hole in the wheel wrench handle, forming a T.
Then insert the open end of the extension into the lift access hole and secure it tightly to the lift shaft. Turn the wheel wrench counterclockwise to lower the spare wheel to the ground. Continue turning until there is slack in the winch rope.
Pull the spare wheel towards you, then tilt it towards the bumper so you can reach it.
At the end of the lifting cable there is a tire retainer and a guide pin.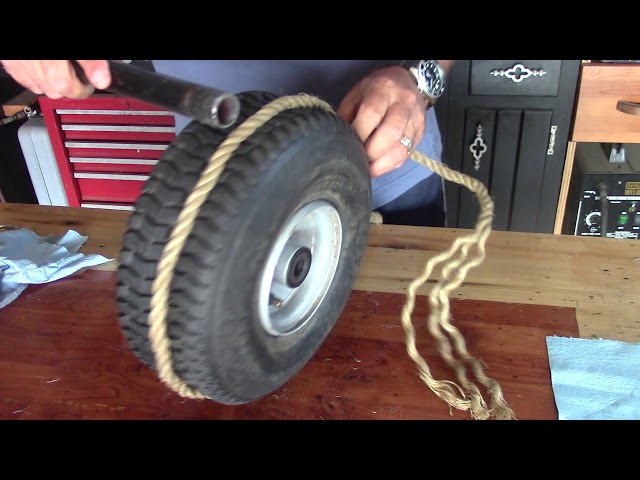 Pull down the guide pin, align the retainer with the cable, and thread the entire assembly through the center hole in the wheel. Position the spare wheel next to the tire to be replaced.
Loosen but do not remove wheel nuts on a flat tire wheel. If your vehicle has a cover that covers the lug nuts, carefully move the chisel of the wheel wrench back.
Position the jack on the frame behind the flat tire where the frame sections intersect. If the front wheel is flat, you will only need one of the jack handle extensions. If the rear wheel is flat, you will need two. Once the jack is in position, turn the wheel wrench clockwise, raising the vehicle high enough to remove the flat tire.
Remove the loose nuts and then the flat tire. Clean the bolts of debris and rust, then install the spare wheel on the hub. Tighten the lock nuts evenly by hand. Lightly tighten one lug nut and then loosen the one opposite it. Continue tightening the lug nuts in a criss-cross pattern until the wheel is snug against the hub. Tighten the nuts with the wheel wrench. When all mounting nuts are tight, turn the wheel wrench counterclockwise to lower the vehicle. With the spare wheel on the ground, finish tightening the lug nuts.
Gather your tools and flat tire and store them in the car. Do not drive a long distance on a flat tire and do not use four-wheel drive. Take the flat tire to your dealer or repair shop as soon as possible and have it repaired or replaced.
How to fix a flat tire with fire
Raise the tire off the ground using a vehicle jack. Follow the instructions for the type of socket you are using.
Spray the aerosol lubricant into the tire where it separates from the rim. Quickly turn the tire around a few times to spread the lubricant over the inside of the tire.
Use a lighter to gently ignite the lubricant spray by placing the flame near the tire bead. As a result of explosive ignition, it is necessary to quickly expand the tire and put the bead back on the wheel. When the hot gas in the tire cools down, the tire will start to deflate again, so quickly move on to the next step.
Inflate the tire with an air pump so that it stays properly on the wheel.
Other
Author stroika.ru.admin Reading 4 min Views 10 Published
If you use a lawn mower to cut your lawn on the turf for more than two years, chances are her tire is now flat. I have been using the lawn mower for five years now, so I have experience in troubleshooting all related problems
This is not hard to do because you can do it using simple tools and techniques. Usually a lawnmower tire works well, but when it gets too old or a nail is stuck in it, all the air comes out of the tire and it becomes flat.
In this article, I have detailed how to remove a flat tire from a lawnmower, how to install a new tube, and then how to install it back on the rim of the machine. You can also do this by easily following step by step and saving money.
Contents
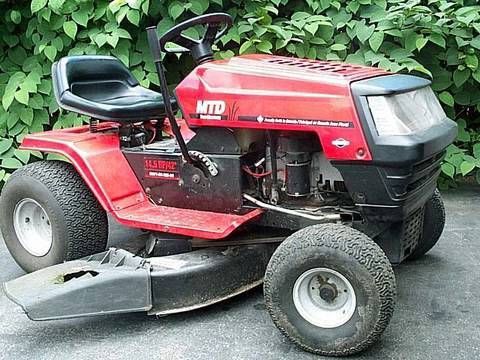
During the spring season, the lawn is a lot of hard work cutting grass with a lawn mower.
But if you notice that the machine is getting heavier and not running smoothly, but dragging on the grass, its tire is probably flat due to wear or maybe a pinched nail in its tube.
Turn off your engine first because you know you need to fix a new inner tube or maybe a new tire. Here is a step by step guide through this entire procedure.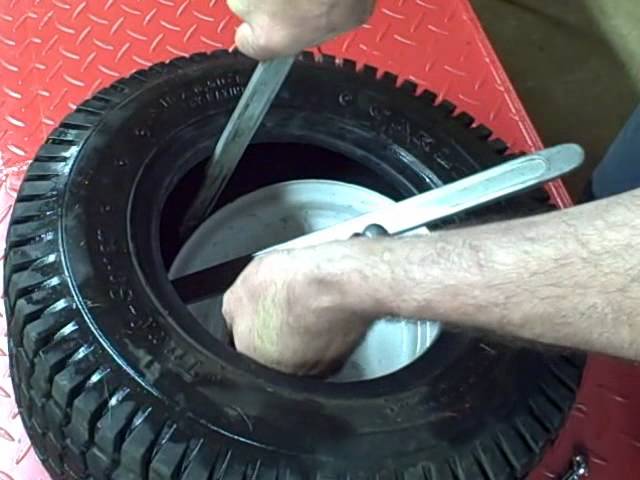
When you notice that the machine is dragging and moving unevenly, turn off the engine because it will take some time to inspect the mower.
And if you make sure that the tire is flat, you will probably need some time to repair or replace the tire. Therefore, it is better to turn off the engine to cool the car and also save fuel.
Obviously, you know that the first thing to do is to disconnect the damaged tire from the rim of the machine.
The next step is to separate the tire from the rim, you can do it easily this way.
With the tire completely out, carefully inspect it. If you find nails inside, remove them with pliers.
If you find that it has a lot of cracks and the tire is too old, replace it with a new tire.
Now finally the last step to put the tire back on the rim.