A flat wheelbarrow tire, or a tire with a slow leak can be frustrating. Rather than taking the time to assess the damage and root cause of the problem, we sometimes just opt for the costly solution of replacing the tire, replacing the entire tire and wheel assembly, or even tossing out the wheelbarrow. It is not uncommon to see discarded wheelbarrows at dumps and waste yards that could have been easily returned to service with a minor wheelbarrow tire repair or tube replacement. Flat wheelbarrow tire repair or buying and installing a new tire, is an easy, money saving DIY project that anyone can do at home.
All that is needed to remove and replace the tire from the wheel is a large flathead screw-driver and a hand tire pump. You will also need a wrench to remove the wheel and tire assemble from the wheelbarrow. This is easily done by loosening one or both of the brackets holding the axle to the wheel.
If you have a tubeless tire which a puncture in the tread area of the tire, you will need a plug repair tool instead of the flathead screwdriver.
1. Once the flat wheelbarrow tire is off the wheelbarrow, you can conduct a thorough visual inspection. First, inspect the wheel for damage and the tire for obvious sources of the leak. You also want to check the amount of wear on the tread rubber and the amount of cracks in the tire due to dry rot. If the tire is badly rotted with deep cracks in the side of the tire, or the tread is worn and not providing sufficient traction, you should consider buying a replacement tire. A wheelbarrow tire could cost between 15 and 40 dollars delivered right to your door, compared to the $150 or more for a new wheelbarrow. If the wheelbarrow itself is in good condition, a new tire can make it work like new.
2. If the source of the leak is not easily identifiable on a tubeless tire (like a hole or object stuck in the tread), you need to inflate the tire to find the source of the leak. If the tire is entirely flat and won’t easily seat against the wheel flange, you can tighten a rope around the outside of the tire to push the tubeless tire against the wheel and get a good seal. If the wheel itself is severely bent, then you may need a new wheel, however small dents in the wheel flange usually don’t cause any problem, particularly for tube type tires. Adding
a tube to a tubeless tire and wheel assemble is a cheaper alternative to buying a new wheel even if it is damaged and leaking air between the wheel and tire itself.
3. For a tube type tire, the tire must be removed from the rim. Use the flathead screwdriver to pry the tire off the rim as shown in this video. Once one part of the tire is over the wheel frange, one side of the tire will easily twist off the wheel. Turn the wheel over, and repeat for the other side of the tire. Be careful not to pinch the tube between the screwdriver and the wheel flange. A tubeless tire can often be repaired by leaving the tire on the wheel and using a plug. It is much easier to repair a hole in a tubeless tire but it does take some specialized equipment. Here is a video on how to plug a tubeless tire. Once the tire is plugged and the plug is trimmed, the tire and wheel is ready to be installed back onto the wheelbarrow.
4. Once the tube is removed, it can be inflated and submerged in a bucket of water to find the source of the leak. The bubbles will identify even pin pricks from thorns or otherwise hard to see damage. The area around the hole should be roughened up using fine grit sandpaper or a wood file. Coat the area to be repaired with rubber cement and apply the patch. If the tube cannot be repaired, and the tire is still in good condition, consider buying a replacement tube. A wheelbarrow tube will cost under $10, so a fraction of the cost of a new wheelbarrow or even a new tire and wheel.
5. Once the tube repair has fully cured, it is time to install the tire and tube back on the wheel. First, insert the deflated tube in the tire, and reposition one side of the tire back in the wheel.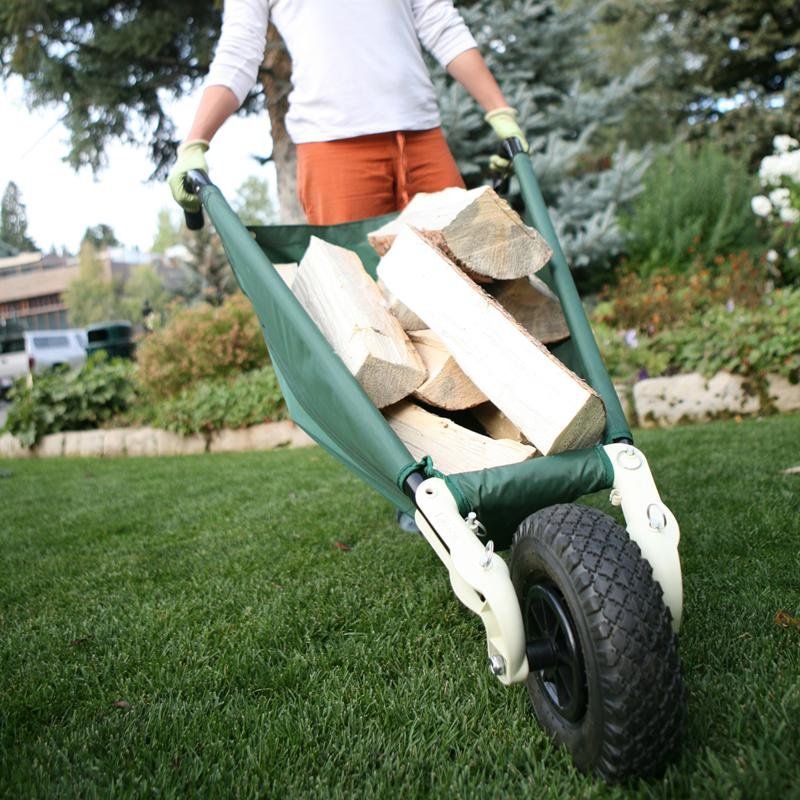 At this point, for a tube type tire, you will need to position the tube valve in the wheel hole. Once aligned, the other half of the tire can be pried on to the tire.
6. The tire or tube is now ready to be inflated to the psi suggested on the side of the tire. Replace the axle and fasten the entire wheel and tire assemble to the wheelbarrow.
If your flat wheelbarrow tire or tube is too damaged or worn to be repaired, then tires-easy.com is your best option for inexpensive wheelbarrow tires. They have a large variety of wheelbarrow tires at low prices. Armed with the tire size you need, you can easily find your replacement tire, with fast and convenient ordering and shipping direct to your home.
`;
Home
Fact Checked
Christina EdwardsFixing a flat wheelbarrow tire, as opposed to buying a new one, is something that many do-it-yourselfers can accomplish in just a short amount of time. Not only does this often save money, it will reduce the impact on the environment. There are a few methods for fixing a flat wheelbarrow tire, depending on the reason it's flat. If your tubeless wheelbarrow tire has been punctured, using a tire repair kit, which can be found at most automotive or DIY stores, could be the answer. If the tire is leaking from the area where it sits on the rim, the tire probably just needs to be reset, which can be accomplished using ordinary dish soap or a ratchet strap.
Puncture holes in tubeless wheelbarrow tires are not uncommon, because of the strain put on these garden supplies.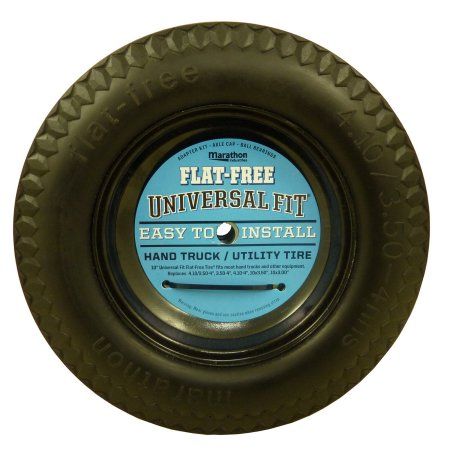 The first step to repairing them is to find out exactly where the tire has been punctured. Sometimes a nail or screw can be seen sticking out of the tire, but other times, the hole may be a little harder to find.
To pin down a puncture hole in a flat wheelbarrow tire, a solution of soapy water can be used, mixing the soap and water at a one to one ratio. Next, apply this mixture to the tire and add air with an air compressor. The location of a puncture can be found wherever the soap mixture starts to bubble, and it should be marked using chalk or a small strip of tape.
Most tubeless tire repair kits come with one or more plugs and two tools to aid you with the repair. The long, circular file with a handle, referred to as a tire reaming tool, is the first one that should be used. Push this into the hole in the tire and twist it in and out a few times to roughen the edges of the hole. This will mar the edges of the hole, which will help the plug stay in place.
After the hole in the flat wheelbarrow tire has been reamed, the next step is to add the plug. The other tool that come in these kits often resembles a larger version of the eye of a needle attached to a handle on the other end. The plug should be put through this needle, and half of it should be hanging out on either side.![]() Push this through the hole until there is roughly 0.25 to 0.5 inch (0.6 to 1.3 cm) of the plug sticking out of the outside of the tire. Yank the tool out of the tire, leaving the plug inside, trim off any excess plug, and re-inflate the tire.
Push this through the hole until there is roughly 0.25 to 0.5 inch (0.6 to 1.3 cm) of the plug sticking out of the outside of the tire. Yank the tool out of the tire, leaving the plug inside, trim off any excess plug, and re-inflate the tire.
If there is a leak around the tire where it sits on the rim, called the bead, the flat wheelbarrow tire most likely needs to be reset. Before attempting this, first clean the bead and rim thoroughly. After it has been cleaned, coat the rim with a generous amount of soap, preferably dish soap. Inflate the tire using a compressor until the tire bead sets on the rim, which can usually be heard as a sharp popping noise.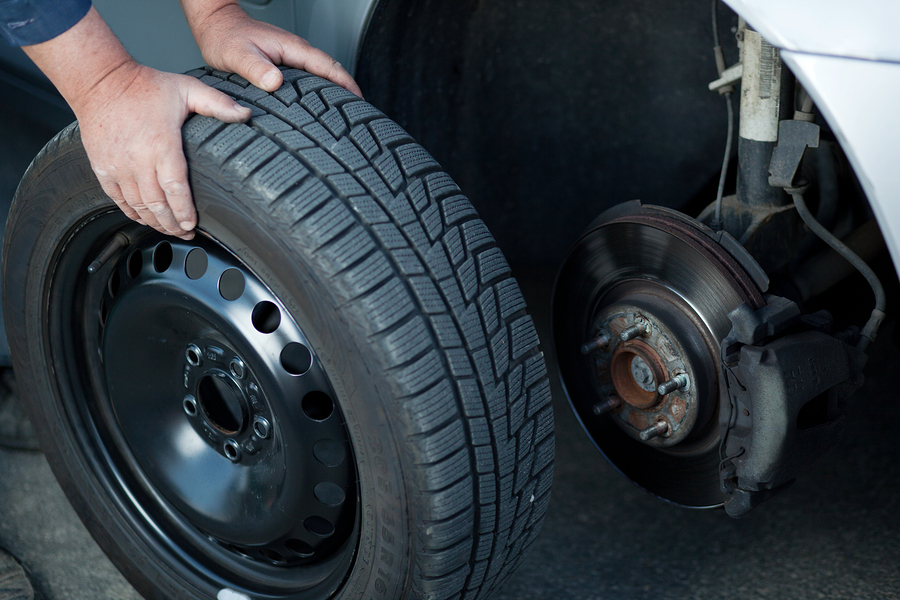
If the tire bead fails to set on the rim using the soap method, a ratchet strap or heavy rope may be used. To do this, wrap the strap around the tread of the tire and tighten it. Add air until the bead sets on the rim. Remove the strap, and continue to add air until the tire is fully inflated.
Some companies have begun manufacturing wheelbarrow tires that never go flat. These are typically made from polyurethane foam with tiny air pockets throughout, and they are sold with or without the rim. A flat-free wheelbarrow tire is designed to let you go about your yard work without the risk of putting damaging holes in the tire.
Author: Aleksey Kokorin
Experienced drivers are not surprised by such a trifle as a puncture, but for the first time beginners usually get confused in the sequence of actions, forget about important details and do not know what to do with a punctured wheel even in a tire shop - especially if they start offering choose from several options or intimidate with expensive repairs. Let's set up an operation algorithm when a flat tire is detected and figure out what to do right away and what to choose later.
What to do when you find a puncture
Having found a flat tire, first of all you need to stop in a safe place, turn on the emergency alarm, assess visibility and, if necessary, set an emergency stop sign: according to traffic rules, it is installed at least 15 meters from the car in built-up area and at least 30 meters outside the built-up area.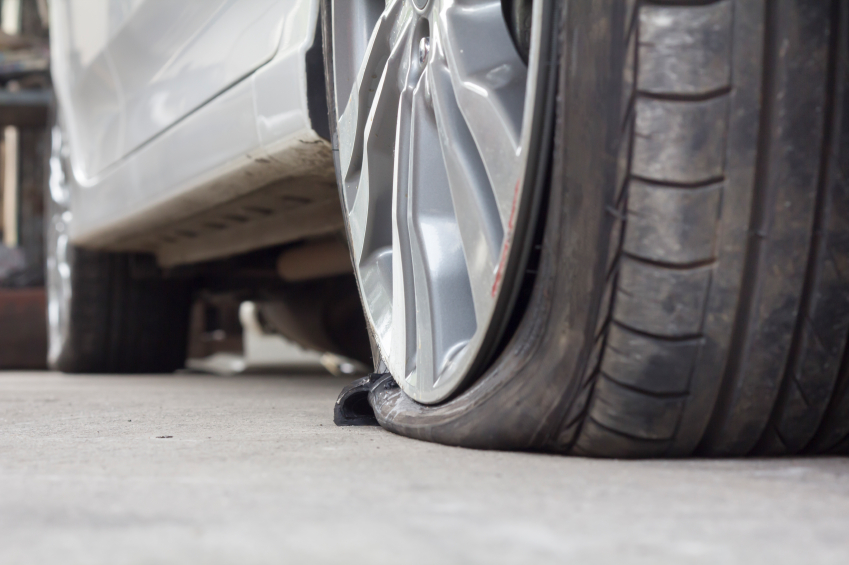 When choosing where to stop, consider the space to the side of the vehicle to handle a flat tire. You should not stop right on the road and in places where stopping and parking are prohibited: even if a punctured wheel belongs to the conditions of a forced stop, it is quite possible to drive several tens of meters on it to choose a safe and convenient parking place. At night or in conditions of limited visibility (for example, in fog or rain), it is imperative to wear a vest with retroreflective elements - this is required by clause 2.3.4 of the SDA and common sense.
Now you can start working on the wheel. We will sequentially consider several options for action, and then move on to ways to repair a damaged tire.
The most obvious solution to a flat tire is to replace it. If you have a spare tire that you are sure is in good condition, the best option would be to install it and visit a tire shop to repair a punctured tire - such repairs will be more reliable and of high quality than doing it yourself.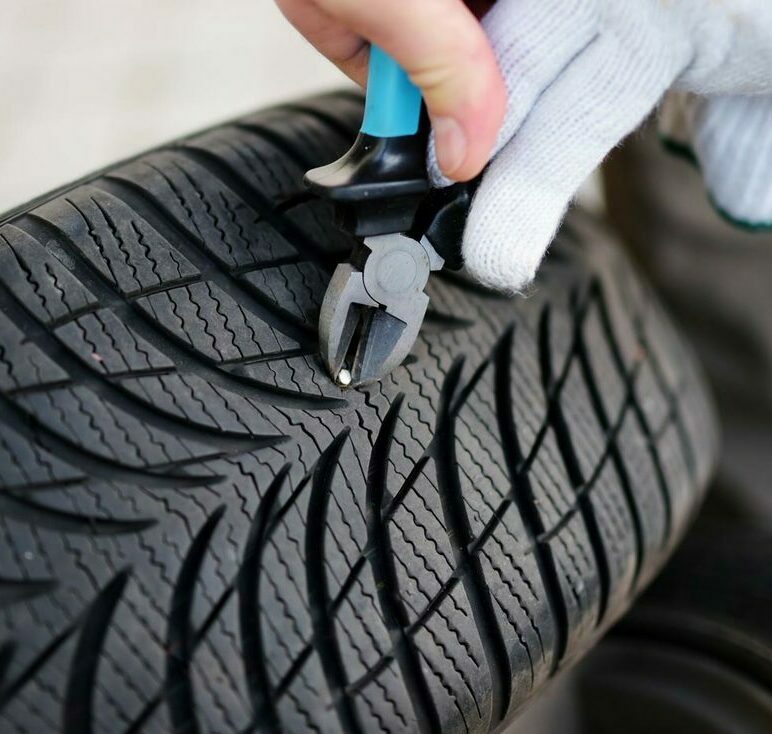
If you don't have a suitable spare tire, but you do have a pump or compressor, you can assess the damage to the tire and try to pump it up again to get to the tire shop. It is better to start searching for an air leak with a valve (aka “nipple” or “nipple”): often a faulty spool becomes the cause of a flat tire. It is easy to check it: unscrew the protective cap (if there is one), pour water on it (or slobber it, as in childhood): air bubbles will leak. In this case, you can try to replace the spool valve by unscrewing it and screwing in a new one, but if there is no new valve, as well as a store nearby, you can try just unscrewing and screwing it back in. Regardless of whether it helped or not, you need to visit a tire shop to replace the entire spool or valve.
If the valve is tight and the tire is flat, it is most likely a puncture. The easiest way to find a puncture that is free of foreign objects is to pour water on the tire while looking at the surface: the damage will reveal itself as air bubbles.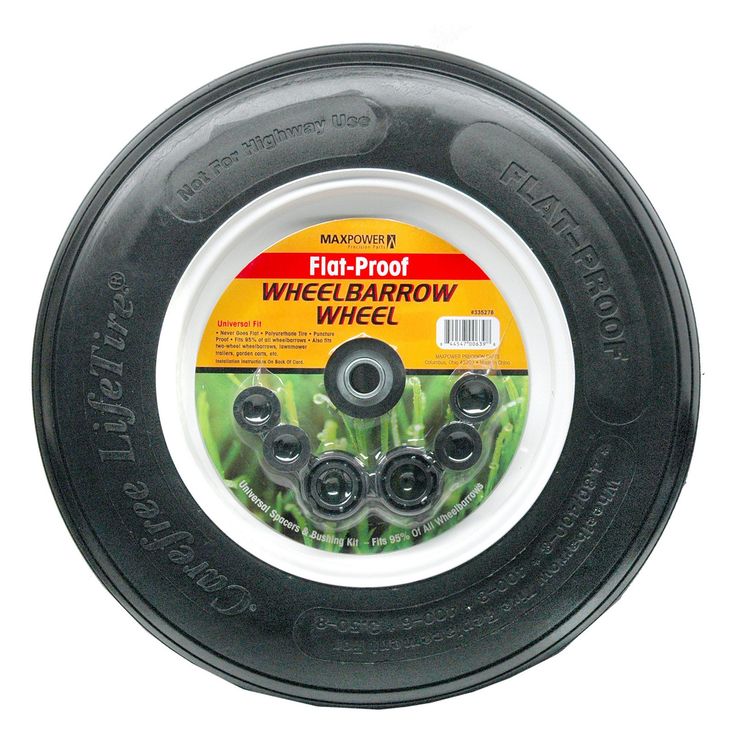 However, often the cause of the puncture can be found along with it: a self-tapping screw, nail or other arbitrary object sticking out of the wheel will clearly indicate the place of depressurization. In this case, you do not need to immediately remove the foreign object from the tire: it partially seals the hole, and if the pressure loss is slow, you can try to pump up the wheel and drive to the tire shop.
The same goes for wheels that are leaking from the rim or from a faulty valve. Usually, in this case, the air is bled slowly, and you can pump up the wheel and have time to get to the place of repair. By the way, rim leakage can occur due to disk deformation upon impact - for example, when hitting a pit with sharp edges. Such situations are fraught with damage to both the disk and the sidewall of the tire, in which case the disk will need to be corrected, and the tire repaired or even replaced. To avoid rim leaks, you need to inspect the rims every time you change tires. Loss of tightness occurs either due to corrosion or disk deformation, and not only steel, but also light alloy disks can corrode. So if you see paint swelling or rust on the rim, the tires need to be put on rim sealant: when changing tires, this will be cheaper than the subsequent removal and re-tire to fix a leak on the rim.
If you find a puncture, but there are no foreign objects in it, and you do not have a spare wheel and tire repair kits, there is another popular method of temporary "repair". You can screw a self-tapping screw into the found hole - if, of course, you have one. In extreme cases, you can look for a self-tapping screw in the cabin by unscrewing it from some interior detail. This method cannot be called reliable: it is unlikely to ensure complete tightness of the wheel, but at least it can help you get to the nearest tire shop.
And a couple more useful remarks. If the wheel is completely flat, then it is easier to inflate it without a spool: the latter must be unscrewed, then the tire must be inflated and quickly screwed back in. The fact is that the spool itself, when inflated, resists the compressor, and in the event of a loose fit of a flat tire to the disk, the power of a simple magazine compressor may not be enough, and the absence of a spool helps to increase air flow and facilitate the operation of the compressor. If this does not help, you can jack up the car by hanging a flat tire: this will improve the fit of the tire to the disk, and the chances of inflating the tire will increase.
On-Site Repair Methods
Now let's look at options for repairing a tire yourself using special materials that you should carry with you or, if a puncture caught you in the city, buy it at the nearest auto shop.
1. The most common, cheapest and easiest way to do it yourself is to install a raw rubber band. The harnesses are sold complete with an abrasive awl to expand the hole in the tire and improve the contact of the repair harness with its edges, as well as a needle for installing the harness and an adhesive to fix it and at the same time seal the puncture.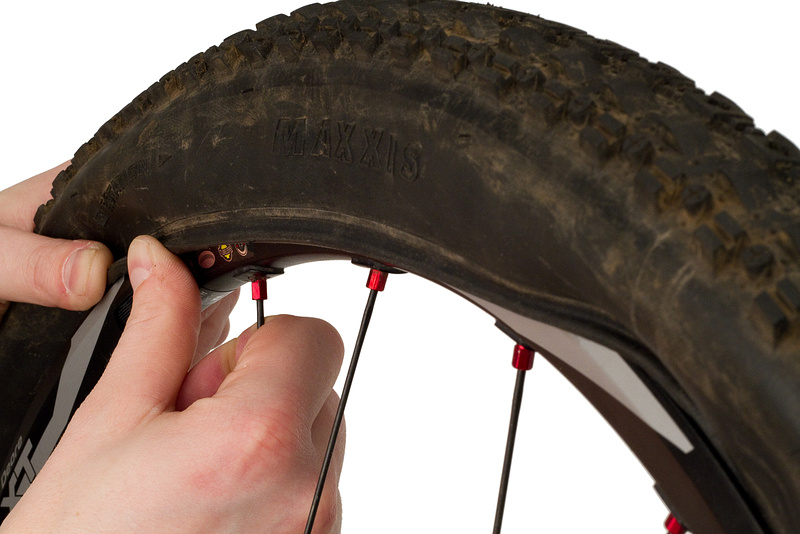 When choosing a repair kit in a store, you should pay attention to the following nuances:
Install the harness in the following order. First, the found hole is expanded with an abrasive awl - you need to insert and remove it several times into the puncture site. Then the tourniquet is inserted into the eye of the needle, and glue is applied to it. After that, the needle with the tourniquet must be inserted into the hole in the tire and pulled out sharply - so that the tourniquet remains in the hole, and the needle comes out without it. If everything worked out, it remains only to cut the end of the harness flush with the surface of the tire and pump up the wheel.
The advantages of repairing with a harness are quite decent reliability, simplicity and low cost.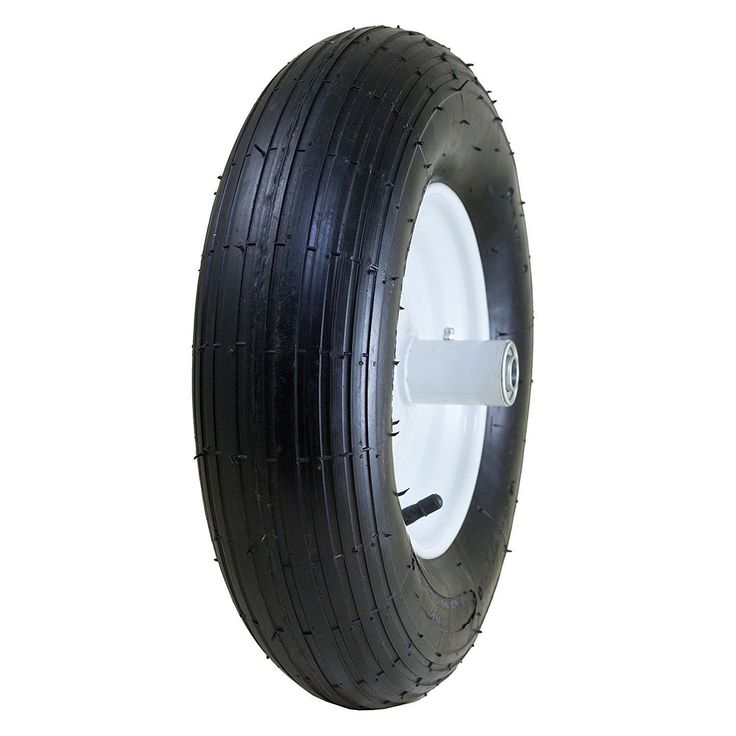 On a well-repaired tire, you can drive for a long time, and if the repair site starts to poison, you can either replace the harness or have the tire repaired in a quality service. Among the minuses is the possibility of damaging the cord during installation, as well as lower reliability compared to “full-fledged” repair methods in a tire shop. Strictly speaking, a tourniquet is still a temporary repair, so if it is possible to pump up a wheel and get to a tire fitting, then it is better not to enlarge the hole in the tire and get to the experts.
2. The second repair option is aerosol liquid sealants sold in cans. To repair a punctured tire with sealant, you need to remove the foreign object from the puncture site, then pour the sealant into the wheel through the valve, twist it to distribute the composition inside the tire, pump up the wheel and drive several kilometers at low speed for the final uniform distribution of the sealant.
Among the advantages of this repair is the simplicity and less labor intensity compared to installing a harness. However, there are also disadvantages: the larger the hole, the higher the chance that the sealant will not be able to eliminate it, and such a repair can affect the wheel balance. Compared to a tourniquet, it can be considered even less reliable and preferable, but simpler.
Repair options at a tire shop
If you put on a spare tire and brought the wheel to a tire shop, you may also be offered several repair options. Consider the most popular with an indication of the advantages and disadvantages.
1. The first repair method is the same harness installation as described above. As we remember, the tourniquet refers to a temporary repair, so among tire specialists this method is considered bad form, but many workshops do not exclude it from the list of services. All the advantages and disadvantages are the same here: such a repair will be the fastest, simplest and cheapest, but less reliable than other methods. It is worth choosing it in cases where the price and / or speed of the procedure is more important to you than anything else. If quality is a priority, then it is better to fork out for the options listed below.
2. The second option for repairing a puncture is to install a patch on the inside of the tire, the so-called cold vulcanization. In this case, the tire is removed from the disk, the surface around the puncture is treated with an abrasive, and the damage is sealed with a special patch. This is a more preferred repair method than a tourniquet: it is more reliable and durable, especially in the case of side punctures, when not the thick tread part of the tire is damaged, but the thinner sidewall. Among the minuses, only a higher cost can be noted: in addition to the actual tire repair, you will have to pay for the removal and installation of the wheel (or do it yourself), tire fitting and balancing.
3. The third option is a "complex" of the first and second: installation of the so-called repair "fungus". The “hat” of the fungus is a patch, and the “leg” is threaded from the inside of the tire to the outside. After gluing the patch, the excess part of the leg is cut off, as in the case of the tourniquet. Thus, not only the inner surface of the tire is closed, but also the hole itself. The advantages and disadvantages of this repair method are generally the same as those of a patch.
4. An extreme, “emergency” measure when repairing a punctured wheel is to install a camera in it. Typically, this method is used for tires that are no longer worth repairing, or “for reliability” after repairing a complex puncture. It should be understood that almost all modern tires are tubeless, that is, they are not designed to install a camera, so it’s not worth driving a wheel repaired in this way for a long time. Installing a tube is a temporary solution for riding until a new tire is purchased, and sometimes such wheels are left as spares. So this repair method can be kept in mind as a backup.
Finally
We have deliberately left out of this text such methods as combined repair of tires with a tourniquet and a patch and hot vulcanization. The first is used quite rarely and for specific damage, and it is enough just to know about its existence. Well, the second is used to repair serious side cuts, and it is not only rare, but also very expensive. The cut site in this case is prepared, filled with raw rubber and processed with a hot press for vulcanization. Equipment for this procedure is not available in every tire shop, and the cost of repair can be about half the cost of a new tire.
interesting popular questions
Articles / Used cars 5 reasons to buy and not to buy Nissan Teana II J32 Once Teana was one of the strongest players in the D-class. However, the class has gradually shrunk down to one Japanese sedan and a couple of Korean ones, and now it seems to have died out completely. However, the second half... 153 0 0 30.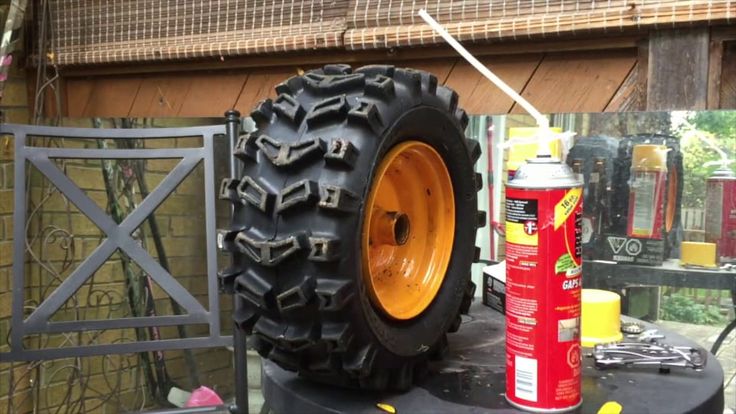 10.2022
Articles / Interesting OSAGO crisis: why it does not cope with its function and it cannot be fixed In 2022, Russian car owners faced many problems and difficulties. The shortage of cars, rising prices for them, the mass exodus of brands from the country and problems with spare parts are just... 652 0 2 28.10.2022
Articles / Financial questions What is E-OSAGO In the event of insured events, the rights of third parties will be able to protect the OSAGO policy. The car owner has the opportunity to buy online OSAGO insurance via the Internet. Paper version if desired... 278 0 eighteen 27. 10.2022
Test drives / Test drive Haval Dargo vs Mitsubishi Outlander: the dog is barking, the stranger is coming In the Haval dealership in the south of Moscow, life is in full swing: buyers look at cars, communicate with managers and sign some papers. While I was waiting for the test Dargo, the same cross... 14818 7 201 13.09.2022
Test drives / Test drive Motor from Mercedes, emblem from Renault, assembly from Dacia: test drive of the European Logan 1.0 It would seem that what's new can be told about the second generation Renault Logan, known to every Russian taxi driver, as they say, up and down? However, this car has. .. 12608 ten 41 08/13/2022
Test drives / Test drive Geely Coolray vs Haval Jolion: Free Cheese? If! Do you want to buy a car today with a full warranty, on credit at an adequate rate, without wild dealer markups? Now this is still a task, because a full-fledged chain of "representation - s... 9634 25 thirty 08/10/2022
Contents:
Every gardener and summer resident constantly needs to transport cargo across the territory of the plot or garden. The need to transport fertilizers for feeding plants or building materials can arise at any time, so the purchase of a garden wheelbarrow is often required. Devices for transporting goods over short distances differ in many parameters: size, number of rollers, tire material, etc. And you need to pay attention to all this when choosing a wheelbarrow in a store.
The wheelbarrow for a garden wheelbarrow can be pneumatic (with a tire into which air is pumped), on molded rubber and polyurethane. At the same time, the material of the disk is not so important, since it is the tire that is subjected to the maximum load during operation.
Wheelbarrow wheel
The rim for pneumatic wheels is based on a treaded tire. Inside, there is usually a chamber, which, for reliability, is made using two layers of rubber. Discs can be made of metal or polypropylene. If the manufacturer provides a bearing at the fixing point, then the trolley will move more smoothly.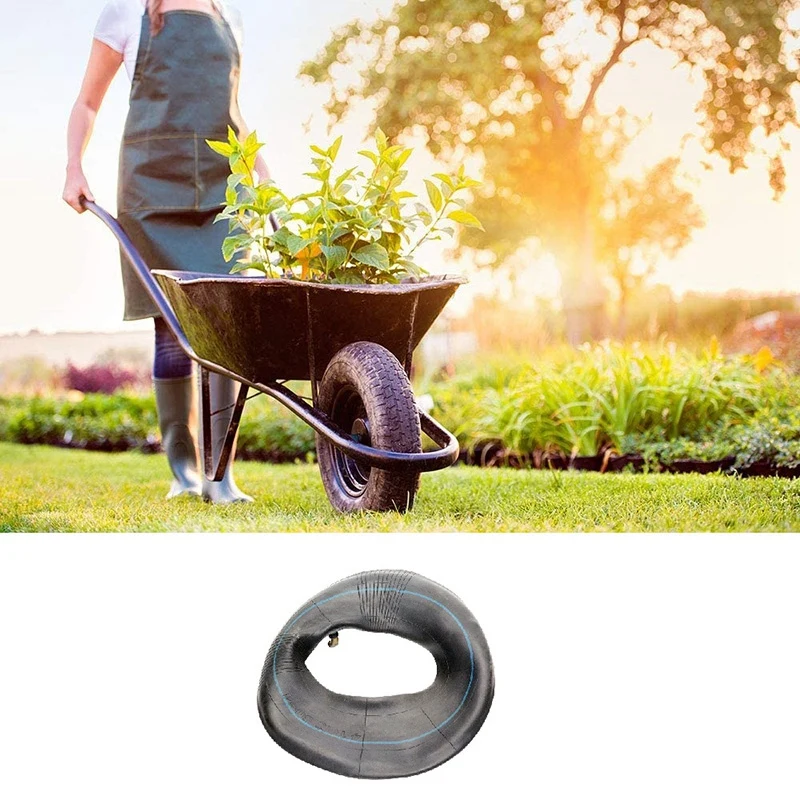
Advantages:
Pneumatic wheel
Garden cart wheels with solid rubber are made of high quality materials. The disc is made from cast steel. Additionally, galvanizing is carried out, for reliability and protection against metal corrosion. Thanks to this, high reliability of the design, strength and durability are achieved, in addition, the design features of the connection allow you to quickly change the wheel.
Minus - sufficiently low load limit. It is impossible to load such a trolley with a mass exceeding 200 kg. In addition, when driving there is a slight shaking, so these carts are not suitable for transporting fragile goods.
Please note! Because the tread tire is molded, the wheelbarrow can be used on rough surfaces where pneumatic samples deteriorate quickly.
This material is an alternative to molded and pneumatic options. A polyurethane tire cannot be pierced, just like a cast one. At the same time, the ride and running characteristics are the same as those of pneumatic wheelbarrows. Polyurethane is characterized by high depreciation properties, wear resistance, durability. No additional maintenance is required to maintain performance.
Benefits of polyurethane wheels:

Made of polyurethane foam
Garden strawberry varieties
The main parts of the trolley and their functions:
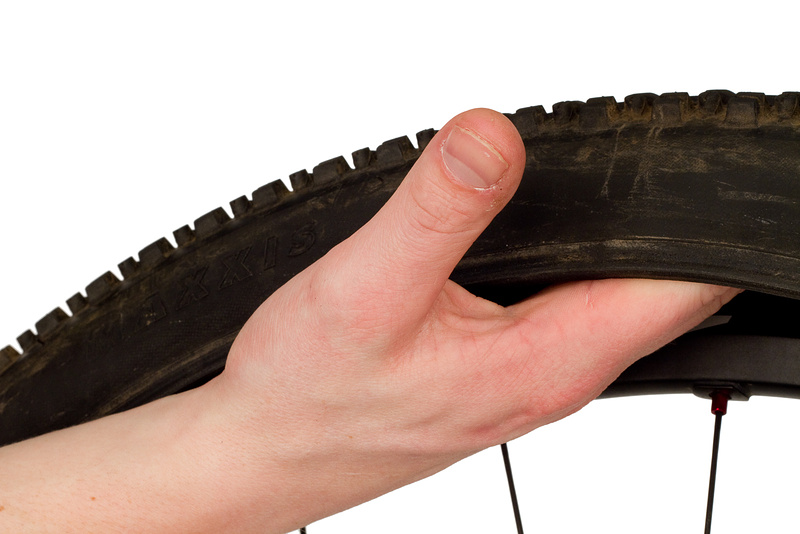 Its main functions are cushioning and keeping the device on the go. If the tube deflates, the constant bending of a hard tread tire will cause it to deteriorate.
Wheel arrangement
Why the leaves of the garden rose fall
The choice should be determined by the place for use. If you have to use on an area with a lot of stones or debris, you should choose a tire with molded rubber or urethane foam. If the area with a lot of bumps, it is better to choose pneumatic.
Important! The larger the wheel, the easier it is to pull the cart.
One-wheel garden wheelbarrow
When buying a tire, it is necessary to indicate the marking with the pressure with which it can be inflated. Typically, this value is in the range of 25 to 70 P.S.I. However, it is advisable not to inflate more than half of the maximum pressure of the tire.
Garden cart wheels often go bad. For replacement, the following steps will have to be taken:
