This post may contain affiliate links. If you click an affiliate link and make a purchase, I may earn a commission. Also, as an Amazon Associate, I earn from qualifying purchases.--
Many riders are familiar with the wobble or shimmy that can sometimes occur on their bike wheels, and it’s usually not a good thing. As you ride along, the rear wheel will appear to wobble or shimmy back and forth, which can be pretty unsettling and alarming, especially for beginners.
If your rear wheel feels loose or wobbly while riding your bike, you could have either an issue with the spokes, your wheel could be out of true, an overheated hub, a broken axle, or there could be something in the tire itself that needs to be fixed.
Rear-wheel wobble, especially on mountain bikes and cruisers, can be a source of frustration and annoyance, but it’s almost always easily fixable (and preventable).
If you’ve experienced this problem yourself and want to know what causes this issue, then read on to find out six of the main reasons why your rear bike wheel wobbles and how to fix them!
With each revolution of our wheels, a few thin wire strands (our poor spokes!) perform an unrelentingly difficult job, being repeatedly stretched and compressed.
They also transmit the acceleration and braking forces of pedaling from the hub to the wheel rim. Those skinny little strands seem almost magical when you consider that they’re responsible for supporting the weight of a fully loaded bicycle!
Spokes are an important and sensitive component of your bike’s structure, requiring regular upgrades and care.
Misaligned spokes are a common culprit for a wobbly back wheel. The tension in your spokes should be the same on both sides of the bike to prevent any imbalances that could lead to a wobble.
If the spokes on your wheels are too loose, you’ll have to constantly fine-tune them to get them to stay tight.
If the spokes are too tight, the rim, spoke nipples, and hub flanges will be damaged.
One of the most obvious causes of wobbling during riding is a bent wheel or rim that creates shakiness and vibration which is transmitted to the front set of your bike. If your rim gets bent or damaged, it can cause the tire to make uneven contact with the road.
If you feel wobbling or vibration on the rear, then your rear wheel is subject to damage and needs immediate attention.
Damage to a wheel can be caused by hitting a pothole, bouncing into a curb, or being hit hard in an accident.
Low tire pressure is another big cause that results in shaking.
Every tire has a recommended tire pressure range that should be followed accurately if you want your bike to perform effectively.
Tires that are badly worn out and get frequently punctured can also cause low or high-speed vibrations.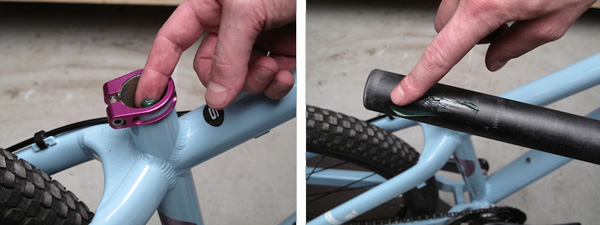
A damaged or deflated tube may also cause wobbling because it reduces the amount of air pressure inside the tire. This causes your bike to ride very unstable and makes it harder to control your bike.
The rear wheel must be strong enough to carry all of your weight while leaning over and pedaling.
If you are taking your bike on rough or mountainous terrains, then you will want to make sure that this part of your bike can handle some weight and stress.
Damaged, worn-out, or deflated tires are a common cause of a rear wheel wobbleIf you’ve had any problems with your wheel wobbling or spinning out when you ride, the first thing you should do is check for bent or broken axles.
The axle is what connects your wheel to the rest of your bike and keeps it securely attached to the frame. A bent axle is caused by a harsh impact, either with another object or with something hard and rigid, such as a rock or curb.
Another sign that your axle might be damaged is if you have difficulty taking tight turns, so be very attentive when riding.
A bent or broken axle causes wobbling when pedaling because there is no balancing weight on the back of the bike’s frame. You may not realize that this is happening until you try to pedal with an unbalanced wheel and find that it wobbles back and forth every time you pedal.
When this happens, your whole body moves with every rotation of your pedals as you try to counterbalance the difference in weight between each side of the rear wheel.
This can be very uncomfortable and dangerous if you’re riding with other people on a busy road or trail at high speeds!
It may be some time before you realize that your hub is loose. The telltale signs of a loose hub include

Typically, this indicates that your wheel hub is loose.
When the hub is loose, the wheel bearings, whether they are ball or cartridge bearings, can wander from side to side. Even though this is a minor movement, the distance to the rim accentuates the wobble and creates discomfort.
The “cup and cone” hub is by far the most common form of hub used in bicycle wheels.
Although this hub is easily maintained, it requires precise adjustment to minimize friction and maximize service life.
The cones are threaded conical nuts that attach to the axle, while the cups are cast as part of the hub shell. These two pieces are separated by a steel ball bearing.
Each side of the hub has a bearing, which consists of a cup, a cone, and balls.
The bearing balls will be compressed if the cones are screwed on too tightly.
Because of this, there will be too much resistance when turning the wheel and the moving parts will wear out too quickly.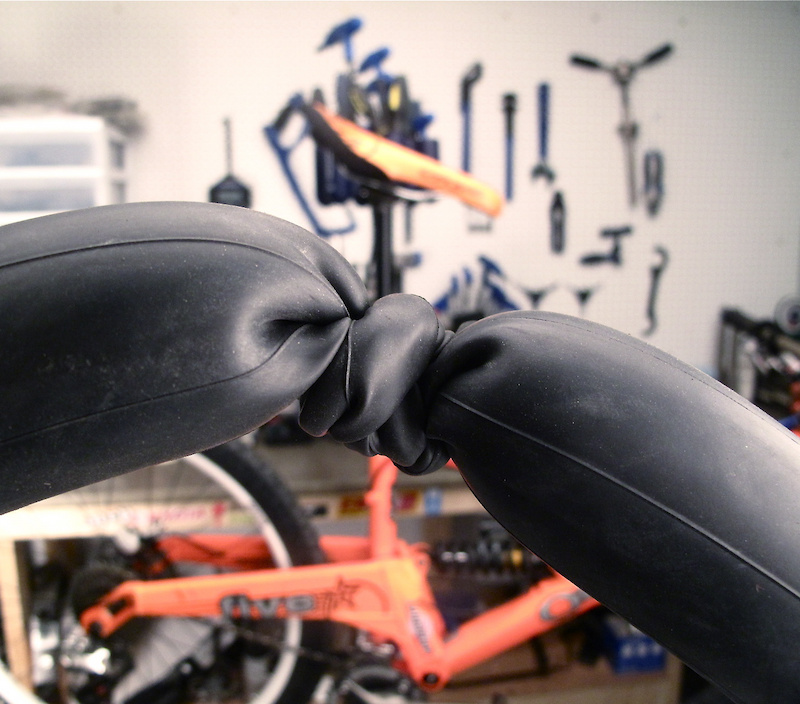
The bearings will have “play” if the cones aren’t screwed in all the way, allowing the wheel to shake freely on its axis. This causes the bike to shimmy or wobble which makes it difficult to maintain your balance.
Worn-out cup and cone bearings are a more technical issue that can be harder to assess for the un-initiatedIt can be incredibly frustrating to have a problem with your bike, especially if it has to do with your brakes, steering, or, in this case, your rear wheel wobbling.
If you find yourself dealing with rear wheel wobbling, I’ve got three potential solutions for you!
If your bike has a loose or tight spoke, it may be the biggest cause of a rear wheel wobble.
It is important to tension the spokes in the wheel in such cases to keep the tire reliable and long-lasting.
Gear required – For this task, you need a wheel truing stand, a spoke tension meter, and a spoke wrench.
Follow the given simple process step by step to ensure that your wheel is free of wobbles!
The first step is to measure the diameter of the spokes to tension them. You can use a spoke diameter gauge and find the smallest slot your spoke can fit in.
The tension meter has a conversion chart that you can use to calculate the spoke tension according to the diameter.
Lighter rims require less tension and heavy rims require more, so make sure you check with the manufacturer as the tension may vary significantly.
Now you have to hold the tension meter horizontally, squeeze the handle, place the spoke between posts and release it.
Then check the measurements on the meter’s scale. You have to cross-reference this reading with the conversion chart to find out the present tension in the spokes.
Measure every spoke on the wheel and determine whether your current spoke tension is too high or low.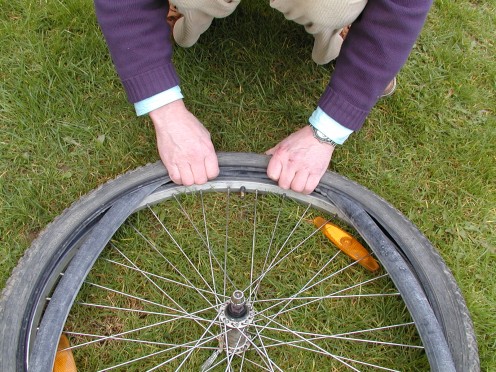
Don’t be alarmed if all the spokes don’t have the same average tension, 20% difference is acceptable.
Turn the entire wheel a quarter-turn counterclockwise to adjust the tension and then repeat the measurement.
Once your spoke tension is within the acceptable range all the way around, you can true the wheel. (Source)
Rims can get damaged in several ways, including colliding with a large bump, attempting to force your bike into or out of a bike rack, or having a spoke break.
If the kink in the rim is significant enough, it will continually strike the brake pad as the wheel rotates, producing an annoying sound and slowing you down.
But don’t worry, you can easily fix this by truing the wheel yourself using only a spoke wrench, a truing stand (if you have one), and follow these 5 easy steps to get your bike back in tip-top shape!
You can begin by flipping the bike over, or placing it on a truing stand so the wheel can spin with ease.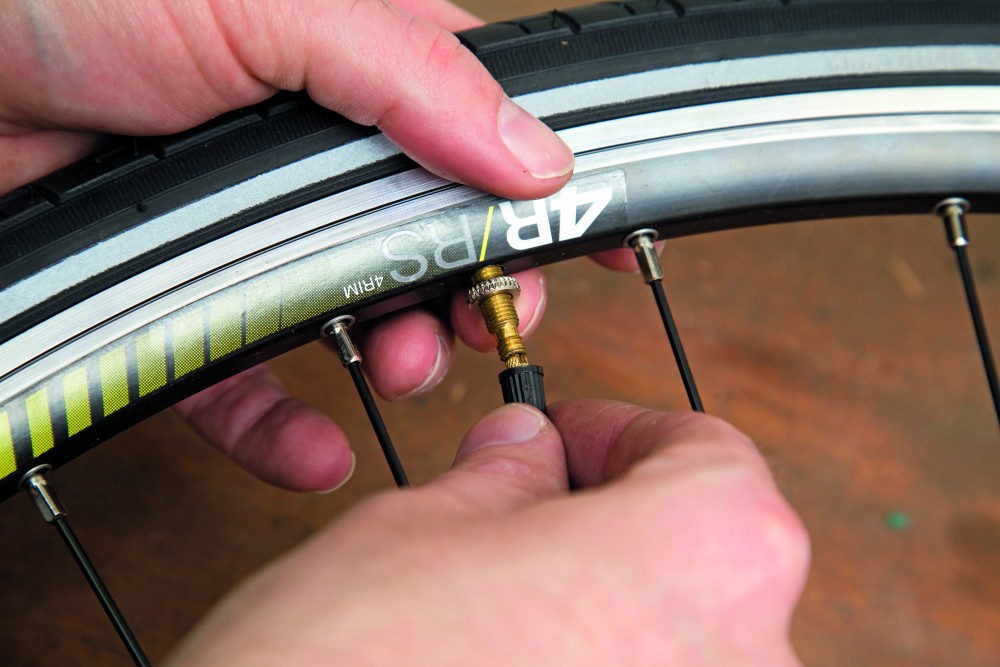
First, check for broken spokes. If you find any, use the same method to straighten your rim, but replace the spoke as soon as possible.
Next, make sure your axle is seated in the dropouts unless you have a quick-release wheel. If the axle isn’t straight, don’t re-true the rim.
Check your brakes to make sure they weren’t damaged or the brake cable wasn’t tangled.
Carefully rotate the wheel while checking the size of the gap between the wheel and the brake pad. As the wheel rotates, you will notice that at some points the gap between them is varying, which indicates a buckled wheel.
As you slowly rotate the wheel, you will locate the part of the rim that is hitting the brake pad.
You can fix it by tightening the spokes in the direction opposite to the bend. If the rim is tugging to the left, locate the spoke on the right side of the hub that is closest to the buckle’s center.
If it is tugging to the right, locate the spoke extending from the left side of the hub.
Tightening the spokes pulls the rims away from the side it was bent to, thereby aligning it.
The nipple of the spoke needs to fit into the notch of the wrench for it to be tightened, so make sure you’re using the appropriately sized wrench.
Tighten by turning counterclockwise.
If you’re not sure, produce noise by “plucking” the spoke like a guitar string. Adjust by a full turn and try a second pluck. A higher pitch indicates a tighter spoke, while a lower pitch indicates a looser spoke.
You can tweak more spokes if you think that your wheel needs more adjustment. Rotate the wheel again to check the desired results and squeeze each pair of spokes to ensure that all gaps are even and the rim is free of dents or dings.
More than five twists of the spoke wrench mean a potentially damaged wheel. After a certain number of dents, a rim can no longer be re-trued and will need to be replaced. (Source)
To inspect for a damaged hub, first keep your bike steady, hold the wheel at its highest position and shake it.
Any play, often accompanied by a clunking sound, indicates that your hub needs tightening.
For hubs that use press-fit cartridge bearings, altering the hub tension may be impossible, which means you need new bearings. All the other hubs need their bearings tightened up again.
However, overtightening the nuts and bolts can prevent the wheel from turning freely, leading to early bearing failure.
Cone nuts are commonly used to secure hubs. Find the axle, and more specifically, the pair of nuts close to where the spokes connect to the hub.
These nuts are placed side by side so the outer nut can lock the inner one into place.
To do this, you must first loosen the outer nut, then tighten the inner nut, and finally tighten the outer nut again without touching the inner nut.
Tighten the cone nuts, then rotate the wheel while holding the hub axle in place.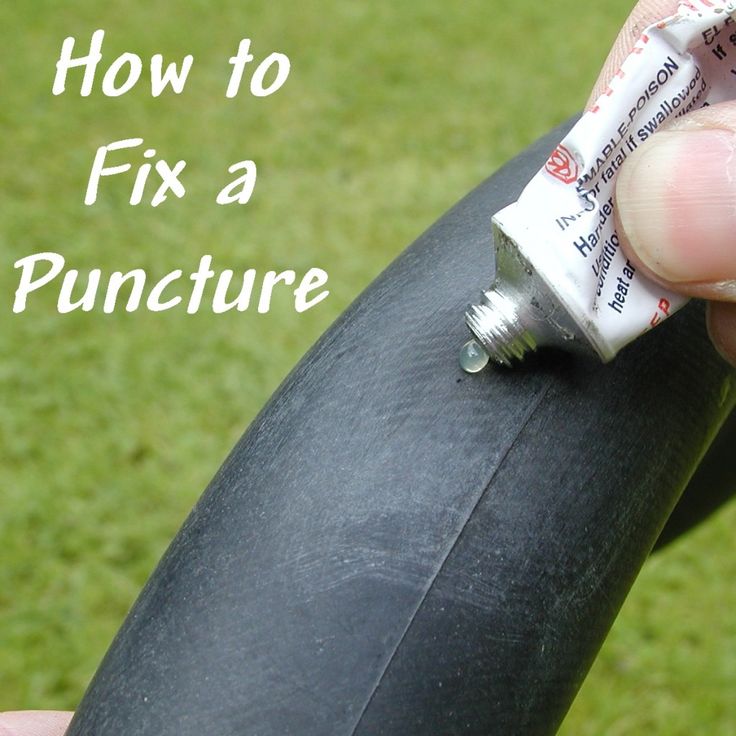 If you don’t feel any grating or binding sensations, then the tire is free of wobble!
Wobbling is a very common issue that plagues bikers, which often strikes at times when you have to act as quickly as possible.
While now you are aware of various problems associated with wobbling and different ways to fix them, it’s important to keep calm and not panic in such situations. If you’re a new learner, then these problems can help you identify the issues that might lead to an uncomfortable riding experience, so you can easily eliminate them and ride cautiously.
But as someone that’s experienced wheel wobble, I can assure you that once it’s happened the first time, you’ll do just about anything to stop it from happening again!
If your bicycle’s wheel is wobbly, there are several possible causes and solutions to this problem. Read on to learn how to diagnose and fix a wobbly bike wheel. Here are some common causes and solutions. The first step in repairing a wobbly bike wheel is to check the wheel bearings. By holding the bearings in the axle position, you can check their condition. Make sure that they are tightly tightened to eliminate any play. “No play” means no sticking or binding.
A wobbly bike wheel can be caused by several different causes, including loose spokes. Loose spokes are a common cause of wobbly biking and can be easily fixed by tightening them. If the wobble is frequent, a new rim may be required. A loose headset is another cause, and the frame or fork may need to be replaced. A constant speed will amplify the wobble.
A wrongly-seated tire bead can also cause wobbly wheels. If this is the case, you can deflate the tire and re-seat the bead. Rotating the wheel can help you identify any defects in your tire bead. The bead should be the same distance from the rim as the sidewalls are. If you suspect that your tire is defective, the bead may be seated in the correct location.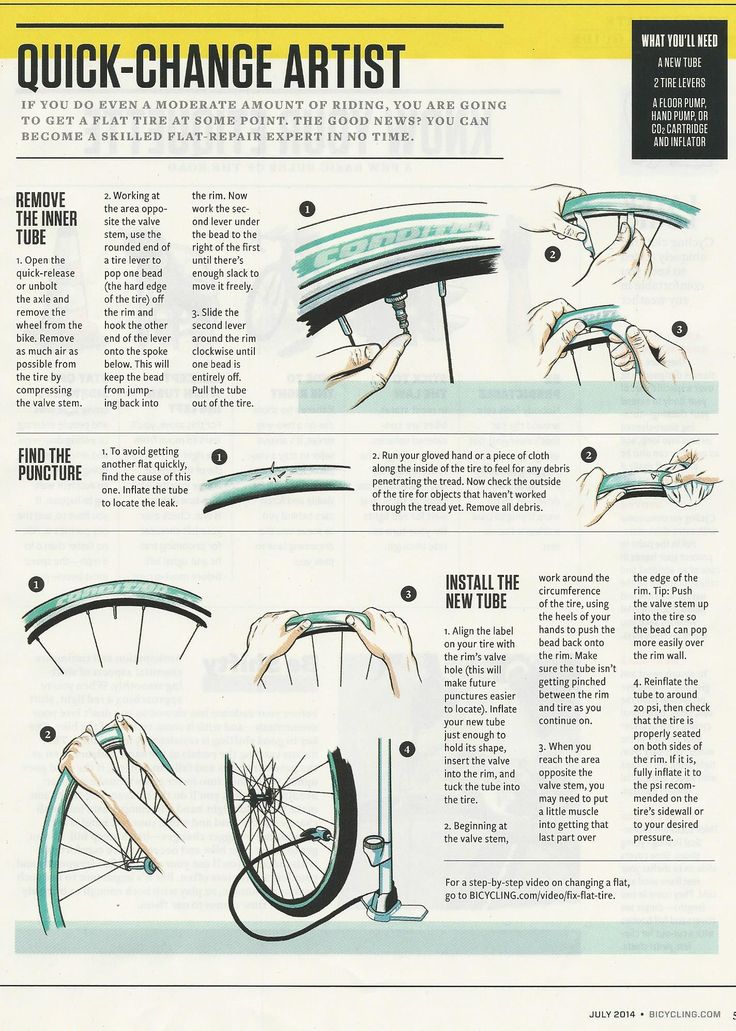 The wobble will disappear.
If your bicycle wheel is wobbly, it may have a bent wheel, damaged tires, or loose spokes. In any case, it is important to check the spokes for tightness. Check the hub area, if necessary, and clean all bike parts regularly. To correct wobble, you can tighten the left side spokes. Before you ride, make sure to inspect the spokes.
Wobbly wheels can also be caused by a loose hub. If you find this, you should replace it or get a new bike wheel. This is a more expensive fix, but it’s worth the risk of an accident. Although it may be tempting to risk an injury, it is better not to cause more wobbles. Continue reading to learn how to fix wobbly bike wheels.
A wobbly bicycle wheel could be caused by worn cup-and-cone bearings. If the hub is too loose, the wheel might be out of true and slightly buckled. To test the bearings, hold the wheel in the axle position and use a permanent marker to determine whether the wobble is caused by the cones or the rim bend. This measurement should be consistent across the spokes.
A worn-out wheel bearing must be replaced. A worn-out wheel will feel rough and make a ticking noise while cycling. It is best to replace worn-out bearings. If necessary, be sure to re-grease the bearings. Two sets of bearings are found on most bikes. One set is for the front and one for the rear. Wearing bearings can cause wheels to wobble at high speeds, and brake noise.
Another common reason for wobbly bicycle wheels is a bent rear wheel. A crash or uneven terrain could cause a bent rim. In addition, the uneven spoke tension may have caused the rim to bend and make it wobbly. Misplaced tires may also cause wobbly riding and should be checked as soon as possible. These problems can be prevented from getting worse by taking care of them.
You might be wondering what to do if your bike wheel is wobbly. The answer is simple – simply flip your bike upside down and check the rim with a permanent marker.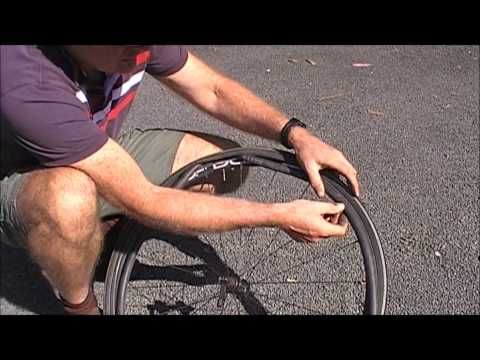 The area of contact will be the most significant lateral deviation in either direction. You should repair both the wobbles at once if you notice more than one. A permanent marker will be easier to use when you know where each spoke goes.
First, look for warped areas. These are areas where spokes need to be tightened. These are the areas where your wheel has more warp than usual. Start with the most warped part of the wheel, and work your way down. If you see a single warp, tighten the spokes using a truing stand.
Loose spokes can cause wobbly bikes. Tightening them is an easy way to fix a wobbly wheel. Tightening the spokes will help prevent the wobble from occurring again. In some cases, too-tight spokes may also cause the wheel to wobble. To stop the wobble, tighten the spokes one-half turn at a stretch.
Another cause of wobbling bike wheels is a loose hub. This can cause wobbling in the rear wheel. To correct wobble, tighten the cones. A locknut will hold them in place. You can also replace the hub and spokes of a wobbly bicycle wheel. Either way, it is much better to fix the problem than risk an accident.
To true a wheel, you can turn the spoke nipples to tighten or loosen them. To keep the rim round, loosen the spokes on the opposite side of the tightened one. Next, use a caliper to rotate the wheel. For a more precise truing, turn it a quarter-turn. Check for flat patches after each set of rotations.
If you have a wobbly bicycle wheel, you can either go to a bike shop or attempt to do it yourself. Bike shops usually charge between $20 and $30 to fix a wobbly bike wheel. They have the right equipment to do this. To ensure the wheel is straight, a truing stand and leg strap are required. A spoke wrench is essential for fixing a wobbly bike wheel. A spoke wrench comes in various sizes. If you can’t find one, you can use a spoke wrench on the spoke’s D-ring.
To fix a wobbly bike wheel, you need to know what’s causing it. Sometimes, a wobbly bike tire may be the cause of the wobble. Depending on where the wobble is located, you can try a simple method such as deflating the tire. Next, you can re-seat your bead and try again. If this doesn’t work, you can try another way, such as adjusting the bead to the rim.
Most riders have experienced riding with a wobbly bike wheel at one time or another. Worse yet, the wobble can be dangerous. Worse, the wheel can fall off, cracking and breaking the spokes. So what causes a wobbly bike wheel? Listed below are some common causes. Continue reading to find the best solution to your wobbly bicycle wheel.
Shimmying refers to excessive oscillation of the front wheel. This is commonly known as a “shimmy” and is caused by excessive lateral load on the frame and wheel. Shimmies are caused by the bike-and rider system oscillating at a high frequency. This makes it difficult for the rider’s to respond appropriately.
Another common cause of a wobbly bike wheel is loose spokes. Check the other wheels in the same area to determine if any spokes are loose. Then, tighten the spokes until you notice a twang or good enough to ride on. If your wobbly wheel keeps happening, you might need to replace it.
There could be many reasons your wobbly bike wheels have loose spokes. A poor adjustment could cause the hub to be loose. You should first check the hub if the wheel is loose. It can result in uneven tension which can lead to wobbly wheels. Another cause of wobbling bike wheels is damaged hubs or cup-and-cone bearings.
Worse yet, the hub can also be broken. This causes the rear bike wheel to wobble. The seat stay and chainstays exert pressure on the hub, which will result in a wobbly bike wheel. To fix this problem, first, you need to check the tire pressure. If there is enough air in your tire, you can lower the pressure and rebalance it.
Untrued, buckled, or incorrectly adjusted bicycle wheel hubs can cause a wobbly bike wheel. This is the most common reason for wobbly bikes. A loose head tube bolt or hub may also be a cause. Tightening the bolts should correct the wobbling problem. Other common causes of a wobbly bike wheel include loose spokes and screws, and brakes.
Worn-out wheels can also cause wobbly bikes. Worn rims can cause uneven forces to be applied to the spokes, leading to a damaged wheel. The cassette and chain bend the bearings of the back wheel first. This is how they usually break. If the bearings are not tight, you can tighten the left side spokes. If this fails, the rim may be too bent to adjust the spoke tension.
There are many reasons why a front wheel may become loose. Lastly, a wheel may be rubbing against something. A Road Force Balancer or tire matcher kit can be used to fix wobbly wheels. These will help you pinpoint the root cause of your wobble.
Perhaps one of the most common reasons for contacting a bicycle service is the correction of the "eights" of the wheel. In this case, the degree of damage can be different - from a slight beating to a noticeable curvature of the wheel geometry when the rim goes in a "wave". For many, fixing eights is similar in complexity to launching a space satellite, but in fact, everything is simpler than it seems at first glance.
Before we start repairing the wheel, it's a good idea to first understand how it is arranged and what it is assembled from. The rim, whether aluminum or carbon fiber, typically has 24 to 62 spoke holes, depending on the type of wheel. The spokes can be either completely straight or with bent ends (flanges) at 90 degrees at the point of attachment to the hub. Regardless of how the spokes are attached to the hub, all spokes are divided in half - one half on the left side and the second half on the right side. The spokes in the rim alternate - one goes to the right side, the next to the left, and so on. In the rim, the spokes are fastened with the help of special nipples, which have several different shapes depending on the manufacturer, respectively, different spoke wrenches may be needed for their installation. nine0003
First of all, you should start by removing the tire and tube from the wheel in order to correctly detect the warp in the wheel.
When the wheel is fully assembled, visually it may appear that there is an 8 on the wheel, when in fact it may be a crookedly installed tire.
To troubleshoot a wheel, you can use two methods - to fix the wheel in the bicycle frame or in a special centering machine. The second option is the most preferable, since this professional tool greatly simplifies the work of correcting the eight and has all the necessary tools to properly adjust the spoke tension. nine0003
The easiest way to find the figure eight on the wheel in the first case is to spin the wheel and put some tool on the top stay against the rim. A stationary tool will show a changing distance to the rim in the case of a figure eight, in this case called "axial runout". In addition, you should also pay attention not only to the lateral displacement of the rim, but also to the vertical one. This is called "egg effect" or "radial runout" when the wheel does not have a perfect circle shape. nine0003
IMPORTANT: DO NOT GET YOUR FINGERS IN THE SPOKE!
Before fixing the figure eight and picking up a tool, you need to find a defect and highlight it on the wheel. The sequence of actions in this case will be as follows: first remove radial runout , and then - axial runout .
The radial curvature of the wheel is the first to be removed, since it directly affects the wheel geometry, its runout at high speed and, therefore, the resulting coast. In fact, it happens that a bicycle wheel with an “egg” resembles a car wheel without proper balancing, when vibration occurs through the body at high speed, which leads to increased wear of bearings and other parts. nine0003
To eliminate radial runout, first mark the warp area on the rim itself. If you are fixing the rim in the frame, then it is enough to fix a ruler perpendicular to the rim on the lower stays. The place where the rim begins to press against the beacon, presses against it as much as possible and begins to move away, should be marked with a marker or chalk. At the point of maximum approach of the rim, the spoke that is closest to the place of the "egg" should be pulled.
Keep in mind that when straightening the egg, axial runout is added due to the change in the tension of the left or right spokes. It is recommended to immediately tighten the spokes that are on the opposite side of the curvature. For example, if the figure eight has gone to the right, then the left knitting needle should be pulled up. nine0003
There are also cases where radial deformation causes the rim to "sink" into the hub. In this situation, the same scheme applies as in the case of a convex deformation, only the spokes should not be tightened, but, on the contrary, loosened. The spoke nipple follows the threads and increases the length of the spoke, thereby straightening the rim.
Please note that when tightening the spokes, do not make many turns and tighten the spokes too much.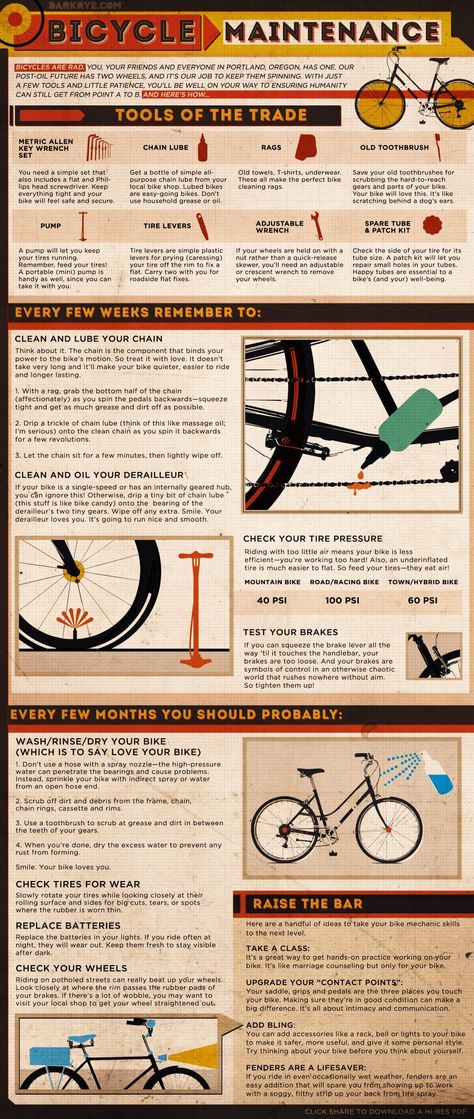 This can lead to severe deformation of the rim and the risk of breaking the spoke. Tension or loosening should be adjusted by half a turn with a further check for the curvature of the rim. nine0003
After correcting the radial distortion, go to axial runout .
The principle of action is as follows: if the figure eight has gone to the left, then you should pull the spokes that go to the hub on the right. If the figure eight has gone to the right, pull the spokes that go to the sleeve on the left. It should be borne in mind that before straightening the figure eight, in the same way as in the previous case with the “egg”, mark the damaged area and pull not one, but several neighboring knitting needles at once. nine0003
Turn the spoke half a turn, then gently turn the wheel and observe the change in runout. Continue straightening until the strong beating is eliminated.
Deciding to tackle the elimination of eights on the wheel, it should be borne in mind that there are two types of harmful beating - radial and axial, and they must be corrected in this sequence. There are cases when, as a result of hitting an obstacle, the rim receives significant damage and it will not be possible to straighten it only due to the tightness of the spokes. In this case, straightening the rim is quite problematic - a special tool is required to restore the geometry of the rim, but most often it needs to be replaced, especially if the rim walls are damaged. However, small vibrations of the wheel can be eliminated by yourself, for this you only need a spoke wrench, an understanding of the wheel spoke process and the mechanism of its operation. nine0003
TSC No. 13 pos. Verkhnebakansky, st. Bakanskaya, 8A
+7 (928) 331-07-76
Around the clock
TSC No. 29, Volgograd, 30th Anniversary of Victory Blvd., 9
+7 (937) 088-44-27
Mon-Fri from 09. 00 to 20.00, Sat from 9.00 to 19.00, Sun from 10.00 to 18.00
TSC No. 28, Rostov-on-Don, st. Dovatora, 159
+ 7 (988) 997-61-11
Mon-Fri from 09.00 to 20.00, Sat from 9.00 to 19.00, Sun from 10.00 to 18.00
TSC No. 18, Krasnodar, Berezovy village, Karl Gusnik st., 17
+ 7 (938) 538-53-11
Mon-Fri 9:00 - 20:00; Sat 9:00 - 19:00; Sun 10:00 - 18:00
TSC No. 27, Sochi, Batumi Highway 94/20
+7 (928) 272-72-55
Mon-Fri from 09.00 to 20.00, Sat from 9.00 to 19.00, Sun from 10.00 to 18.00
TSC-26 Voronezh, st. Volgogradskaya 30
+7 (930) 406-78-84
Mon-Fri from 9.00 to 18.00
TSC No. 25, Volgograd, Bureyskaya st., 8
8 (937) 088-42-78
Mon-Fri from 9. 00 to 18.00
TSC No. 22, Stavropol, ave. Kulakova, 18
+7 (938) 517-77-03
nine0002 Mon-Fri from 9.00 to 18.00TSC №21 Armavir, Efremova 319
+7 (918) 322-76-38
Mon-Fri from 09.00 to 20.00, Sat from 9.00 to 19.00, Sun from 10.00 to 18.00
TSC No. 19, Krasnodar, st. Selezneva 197/5
+7 (989) 169-34-16
Mon-Fri 9:00 - 20:00; Sat 9:00 - 19:00; Sun 10:00 - 18:00
TSC No. 17 Astrakhan, 1st passage Rozhdestvensky 11a
+7 (988) 172-66-88
Mon-Fri from 9.00 to 18.00 Sat-Sun day off
TSC No. 16, Rostov-on-Don, st. Dovatora, 154/5
+7 (989) 527-11-86
Mon-Fri from 9.00 to 18.00 Sat-Sun day off
TSC No. 15 st. Vyselki st. Luneva, 29a
+7 (918) 199-67-89
Mon-Fri from 9.00 to 18.00, Sat from 10.00 to 15.00, Sun from 10.00 to 15.00
TSC No. 14 Crimea, Simferopol, 11 km. Moscow highway
+7 (938) 517-77-82
Mon-Fri from 9.00 to 18.00 Sat, from 10.00 to 15.00, Sun closed
TSC No. 12, Gelendzhik, st. Lunacharskogo, 310A
+7 (918) 027-88-99
Mon-Fri from 09.00 to 20.00, Sat from 9.00 to 19.00, Sun from 10.00 to 18.00
TSC No. 11 st. Kanevskaya, st. Sverdlikova, 277d
+7 (988) 312-97-70
Mon-Fri from 09.00 to 20.00, Sat from 9.00 to 19.00, Sun from 10.00 to 18.00
TSC No. 10, Krasnodar, st. Russian, 339
+7 (989) 298-90-17
Mon-Fri 9:00 - 20:00; Sat 9:00 - 19:00; Sun 10:00 - 18:00
TSC No. 9, Tuapse, p. Kroyanskoe, st. Solnechnaya, 1B
+7 (918) 060-47-17
Mon-Fri 9:00 - 20:00; Sat 9:00 - 19:00; Sun 10:00 - 18:00
TSC No. 8, Krasnodar, st. Stavropolskaya, 214/5
+7 (918) 060-47-08
Mon-Fri 9:00 - 20:00; Sat 9:00 - 19:00; Sun 10:00 - 18:00
TSC No. 7, Krasnodar, st. Dinskaya, Federal highway M4 1308 km, 3
+7 (918) 060-47-07
Around the clock
nine0076TSC No. 6, Belorechensk, st. May Day, 122
+7 (988) 369-96-37
Mon-Fri from 09.00 to 20.00, Sat from 9.00 to 19.00, Sun from 10.00 to 18.00
TSC No. 5 Maykop, st. Hakurate, 555
+7 (918) 060-47-05
Mon-Fri 9:00 - 20:00; Sat 9:00 - 19:00; Sun 10:00 - 18:00
nine0076 TSC No.