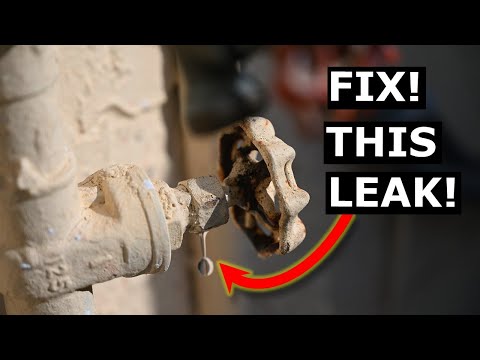
“A tire only loses air if it’s punctured.” This is a common misconception that we have all had or heard and yet the reality is quite different. Indeed, a tire can lose air even without a puncture, as for example in the case of a crack in the valve that is used to inflate your tires. A punctured valve is difficult to detect, and not taking care of it in time can have real consequences for your tire, but also (and above all!) for your safety. Blackcircles Canada, your online tire specialist, offers below a complete guide to the causes and consequences of a punctured valve, and how to repair a leaking valve stem.
A valve is a pin located on the outside of the tire, through which the tire can be inflated/deflated. It has a mechanism consisting of a spring-mounted valve that closes tightly with the air pressure inside the tire. Over time, the stem valve may become brittle and cracked, which may increase the risk of air leaking through it.
When the stem valve leaks, the affected tire is no longer able to retain air. Depending on the extent of the damage, the air will leak out slowly or more quickly. In both cases, the valve must be replaced.
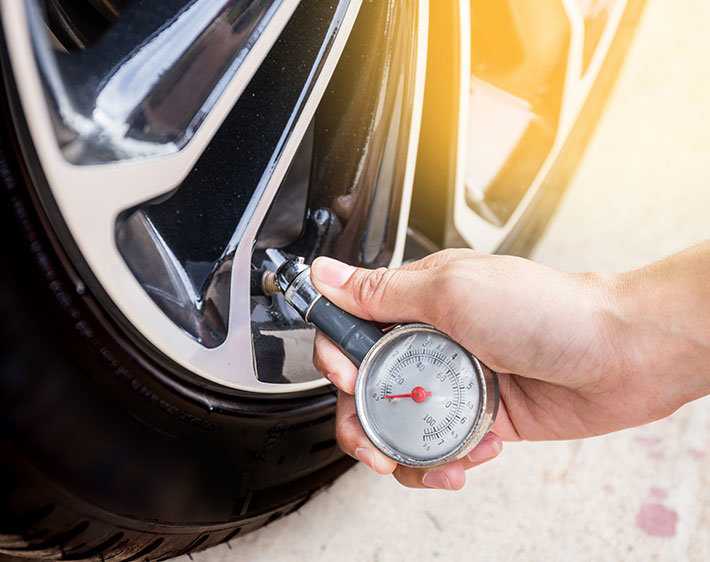
If the air leakage is slow, you will be subject to the problems encountered by drivers driving with underinflated tires. Internal damage that can shorten the service life of the tire by up to a quarter, increased fuel consumption due to higher rolling resistance: the tire will damage faster, and your energy-efficiency will be significantly lower. The tire will also have poorer traction and the stability of your car will be reduced when cornering, not to mention the more pronounced deformation of the tire that increases its internal temperature, which can cause it to burst. Finally, an under-inflated tire increases the risk of hydroplaning. Tire pressure is thus very important!
 Here’s how to do it!Step 1: Make sure it’s your valve stem that’s leaking.
First of all, make sure it is the tire valve stem that is leaking. To do so, there’s a very simple trick! Apply a mixture of water and dishwashing soap to the valve with the cap removed. If bubbles start to appear, your valve is leaking. If this is not the case, and there is a definite air leak, it will be located elsewhere on the tire.
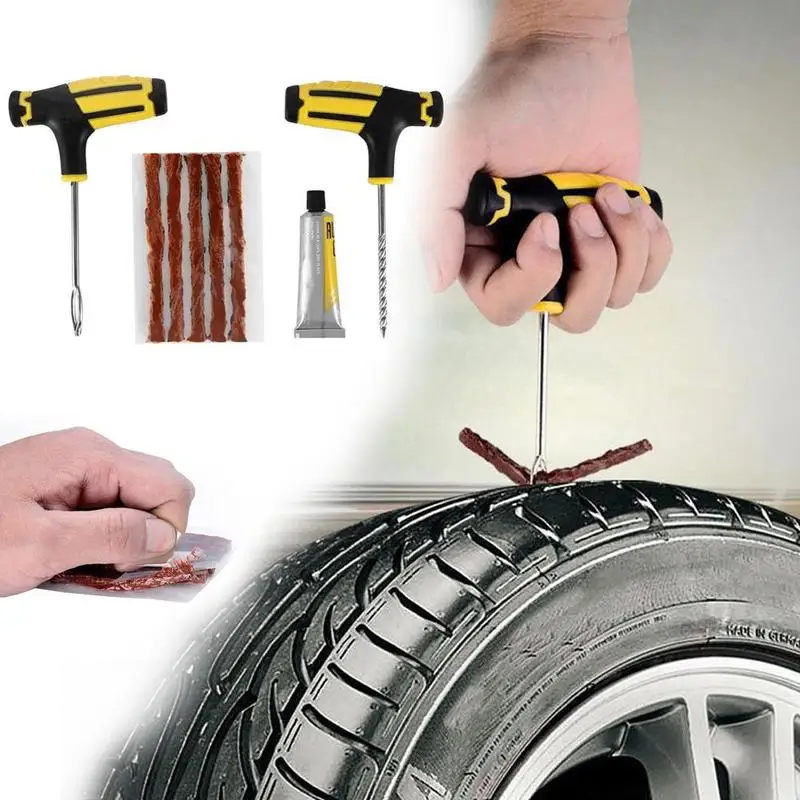
Step 2: Gather the right tools before you start!Before you begin, make sure you have all the necessary equipment to complete the replacement of the faulty valve stem.
For this, you will need the following:
You are now ready to start the process!
Step 3: Loosen the nuts on the wheel you are going to work on.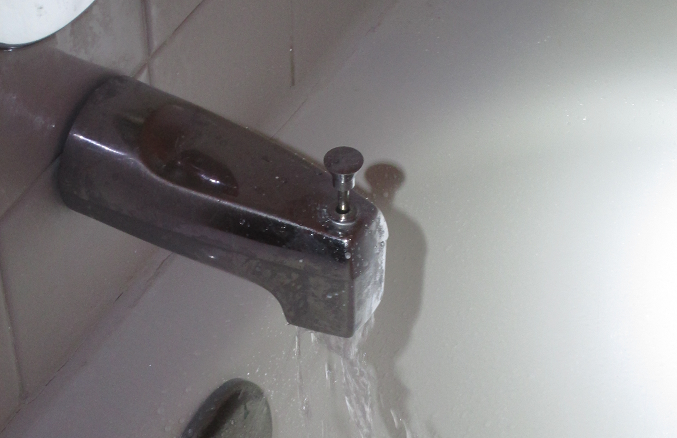
To do so, use the wrench mentioned in the previous step to loosen each of the lug nuts holding your wheel in place. Do this while the car is still on the ground.
However, for certain models of vehicles, it is possible that the wheel nuts have an anti-theft ring. If this is the case, you’ll have to use the appropriate special key to remove the locking nut(s).
Step 4: Raise your vehicle with the jack and then remove the wheel.First and foremost, make sure the handbrake is applied so that your vehicle is completely immobilized. Then, use your jack to lift your car. Be sure to position it on the right part of the chassis so that the car is properly supported. This will prevent any damage to the car and any bodily injury. Once your car is lifted, secure it on jack stands. Unscrew the wheel bolts completely, then remove the wheel. Finally, place the wheel on the ground flat, with the outside of the wheel facing up.
Step 5: Remove the valve stem core with the removal tool and let the tire deflate.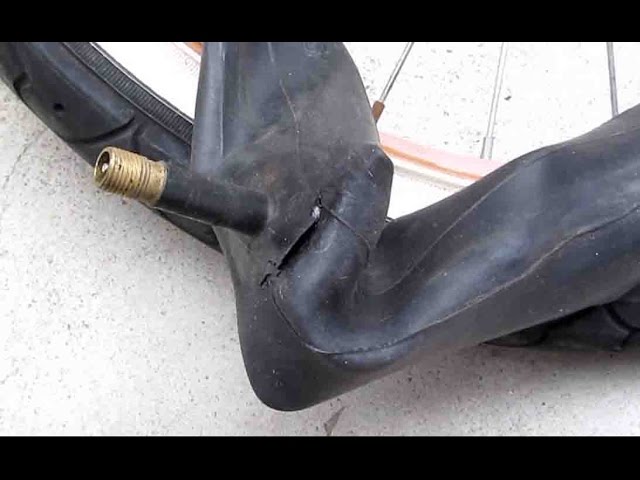
If you have not already done so, remove the valve cap. Then remove the valve stem core using the valve stem removal tool to release the air from the wheel, which should normally deflate completely on its own.
Step 6: Separate the tire’s bead from the wheel.For this step, use the sledgehammer in the following way: hit the tire sidewall with the sledgehammer in the same spot until you hear a crack or popping sound, and see the inside lip of the tire visibly break loose from the rim. This means that the tire has been successfully detached from the lip of the wheel.
Once the tire bead has been broken, continue hitting with the sledgehammer around the tire to detach the sidewall around the entire circumference of the wheel.
Step 7: Remove the tire from the rim.Once the sidewall of the tire is separated from the outer edge of the rim around the entire circumference of the wheel, insert your tire iron between the edge of the rim and the inside lip of the tire, and then pry upward to pull the lip of the tire over the edge of the wheel.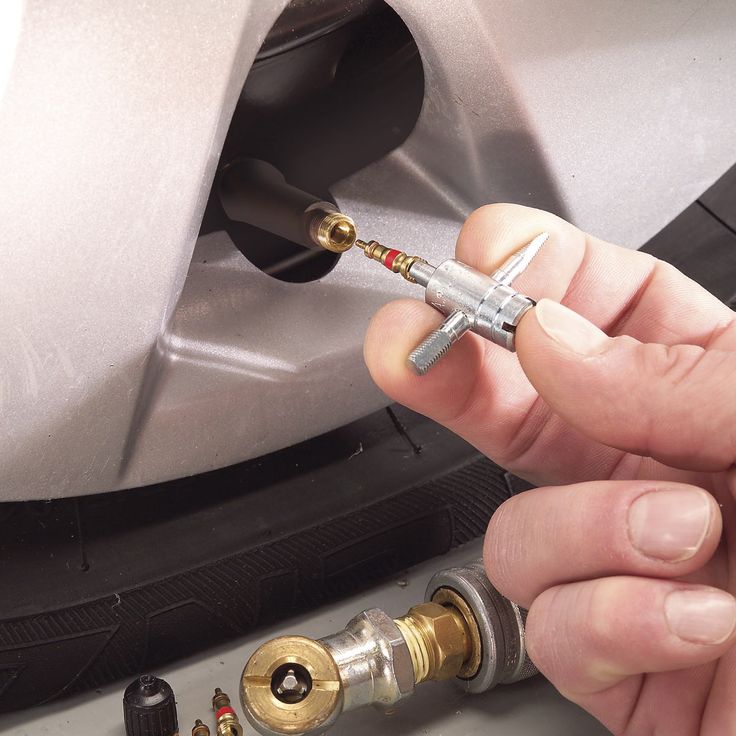 Once you have pulled the lip of the tire over the edge of the wheel, work the tire iron around the rim until the entire lip of the tire is off the rim.
Once the sidewall of the tire is completely above the wheel, grab it by its removed lip and pull it upward so that the opposite lip that was at the bottom of the wheel is now touching the top edge of the rim. Use your tire iron again by inserting it between the tire’s lip and the edge of the wheel and pry upwards to pull the lip over the edge of the rim. As before, work the tire iron around the edge of the wheel until the tire is removed from the wheel.
Step 8: Remove the defective valve stem and replace it with the new one.Once the tire is separated from the rim, it is time to remove the valve stem. To do this, first pull out the valve stem free from the wheel using the needle-nose pliers. Once this has been done, install the replacement valve stem from the inside of the wheel. Once it is in position, use the needle-nose pliers again to pull it through into its right place on the wheel.
Once the stem is in place, it is time to put the tire back on its rim. To do this, start by pressing the tire down over the rim until the bottom bead clears the edge of the rim. The aim here is to return the lower sidewall of the tire to its original position on the wheel.
Then press the upper sidewall of the tire down underneath the edge of the wheel. Then tuck your tire iron between the tire sidewall and the rim edge and use it to make the opposite movement to the one you used to pull the tire sidewall out of the rim. Once the bead clears the lip of the wheel, use the tire iron to work your way round the entire wheel until the tire is completely installed on the wheel. Then inflate it to the correct pressure using the air compressor.
Step 10: Make sure there are no other leaks, and mount your wheel back on!Once the tire is inflated to the correct pressure, check for other leaks.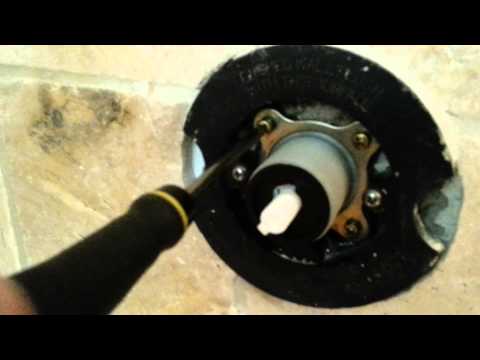 If all is well, mount the wheel on your vehicle and bring it down by lowering the level of the jack stands until the repaired wheel touches the ground and you can safely remove them.
Ultimately, it is very important to make sure your tires are free of air leaks to maintain proper air pressure at all times. In the case of a slow air leak, the consequences can be dramatic. If the air leak is due to a faulty tire valve, you will definitely need to replace it. You can either follow the above procedure on how to repair a leaking tire valve or take it directly to a specialist. If, on the other hand, you need to change the entire tire, consult our selection of tires adapted for your car directly online on our website!
Tire Installation 101: When and how to change your tires?
I just filled up my tires and, two days later, my right tire is losing pressure. I’ve checked the tire for leaks and don’t think the tire itself needs replacing, so my next guess is the tire valve stem is leaking. How do I fix a tire valve stem leak?
I’ve checked the tire for leaks and don’t think the tire itself needs replacing, so my next guess is the tire valve stem is leaking. How do I fix a tire valve stem leak?
Rachel Juillerat · Answered on Feb 18, 2022
Reviewed by Shannon Martin, Licensed Insurance Agent.
Fortunately for you, fixing a tire valve stem leak is both easy and cheap. You just need to purchase a replacement tire valve stem and a valve core tool. A pack containing both of these items is on Amazon for less than $5!
To replace the leaking tire valve stem, do the following:
Note: If you notice corrosion on the old stem, be sure to clean the interior threads of the tire stem on the tire.
While this is an easy and cheap fix, there are some car fixes you may need assistance with, so it’s always a good idea to invest in a solid car insurance policy.
Jerry makes finding the right policy for you easy. Jerry compares personalized rates from more than 50 top providers and delivers the best deals to your phone in minutes for free. The average Jerry driver saves $887 a year on car insurance.
MORE: Will insurance cover a flat tire?
Car RepairCar Tires
WHY YOU CAN TRUST JERRY
Jerry partners with more than 50 insurance companies, but our content is independently researched, written, and fact-checked by our team of editors and agents. We aren’t paid for reviews or other content.
Browse More Content
Pre-Purchase Car Inspection
AC Compressor Relay Replacement
What To Do If Your Headlights Are Dim
What To Do If Your Car Is Bouncing and Swaying
Ignition Cable Replacement
Subaru Legacy L Insurance Cost
Acura Mdx Insurance Cost
Infiniti Q60 Pure Insurance Cost
Toyota 4Runner Limited Insurance Cost
Chevrolet Silverado K3500 Insurance Cost
Jonben Car Insurance
Tulare Car Insurance
Pinebluff Car Insurance
Fairview Car Insurance
White Swan Car Insurance
I’ve loved Lamborghinis since I was a kid. They’re sleek, they’re fast—they’re my dream car! I’m already saving up to buy one someday. How much does car insurance for a Lamborghini cost?
Melanie Johnson
Feb 18, 2022
I got a ticket yesterday and I’m so bummed. I’ve never gotten a ticket before—I was just zoned out and didn't realize I was going 10 over. Can I ask the judge to reduce my ticket?
Melanie Johnson
Feb 18, 2022
I’ve been sitting on my old car that no longer works and I’m ready to move on and clean out. Where can I sell it?
Pat Roache
Feb 18, 2022
Browse All Questions
Some cars are cheaper in Mexico, but it depends on the vehicle and consumer demand.
Matt Nightingale
Apr 19, 2022
If you have a vehicle from 1995 or newer, you’ll need to make sure you have an EPA-approved catalytic converter. Follow our tips to keep it safe from theft!
Matt Nightingale
Jun 22, 2022
Speeding
driving record
Car Body Repair
Car Reviews
FS-1 Form
Collision Coverage
Car Loans
No Fault State
Emergency Insurance
State Farm
Young Drivers
Cheap Auto Insurance
Full Coverage Insurance
Car Prices
driving record
Travelers
Natural Disasters
Save Money
Title Transfers
Donating a Car
Fleet Sales
Identity Theft
Chrysler
Mitsubishi
No long forms
No spam or unwanted phone calls
Quotes from top insurance companies
Find insurance savings — it's 100% free
Car Insurance
Cheap Car Insurance
Car Insurance Quotes Online
Types of Insurance
Toyota
Hyundai
Mercedes-Benz
Subaru
Chevrolet
Mitsubishi
ALAKAZARCACOCTDEFLGAHIIDILINIAKSKYLAMEMDMAMIMNMSMOMTNENVNHNJNMNYNCNDOHOKORPARISCSDTNTXUTVTVAWAWVWIWY
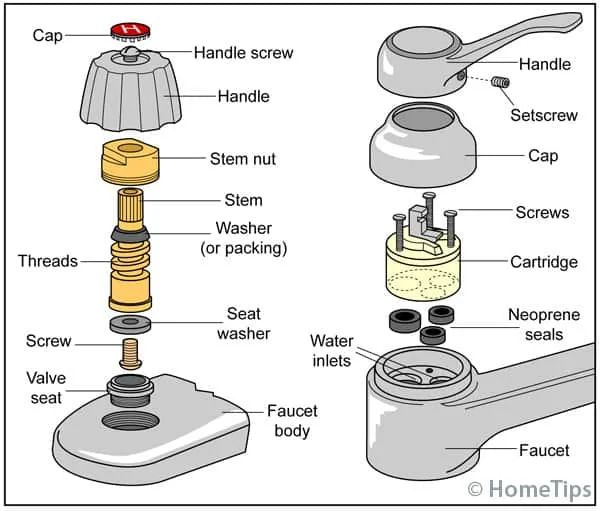
A valve stem leak is a valve problem that allows water or air to escape. This can cause your vehicle to overheat and can also lead to a dangerous situation in which you lose control of your vehicle. How to fix a leaking valve stem? There are several ways to fix a leaking valve stem. You can replace the valve, repair the seal around the valve, or replace the entire valve assembly. Which option you choose depends on the severity of the leak and the specific needs of your vehicle. How to fix a leaking valve stem : step by step guideIf you're experiencing a minor leak from one of your car's valves, there are a few simple steps you can take to try and fix it yourself. First, check for obvious damage that may have caused the problem, such as cracks in the plastic housing surrounding valve, or missing parts, and fix them before moving on. If everything is in order, remove any obstructions (such as leaves or debris) around the area where the water is leaking and try to reinstall the valve using new gaskets if necessary. If all else fails and you are sure that this problem is not caused by page structural damage, it may be worth considering a complete replacement of the entire assembly, but always consult a professional first! How to Fix a Leaking Valve Stem: 5 Steps 1) Check for visible damage 2) Remove any obstructions 3) Reinstall valves 4) Apply sealant 5) Replace parts if necessary
Valve stem leaks are a common problem in gasoline vehicles because they allow air or water into the engine compartment where it can cause overheating and other safety hazards. There are many different ways to fix these leaks depending on their severity; however, most people just need to replace any part of the valve assembly if it gets damaged or worn out over time. Here we offer a step by step guide on how to do it!
First things first - make sure there is no physical damage near seeping water! If nothing is blocking access, start by removing any objects stuck between the seals around each individual component within reach (e.g. leaves). Once everything is clear, it's time to lube a little! Apply a little lube directly to each metal surface inside each component - this will help ensure smooth movement during subsequent assembly (especially important when working with tight seals!).
Valve stem leaks can occur for a variety of reasons. The most common cause is a valve seal failure. Other causes include corrosion, wear, and loose parts. Here are some tips on how to fix a valve stem leak: 1. Check the valve seal.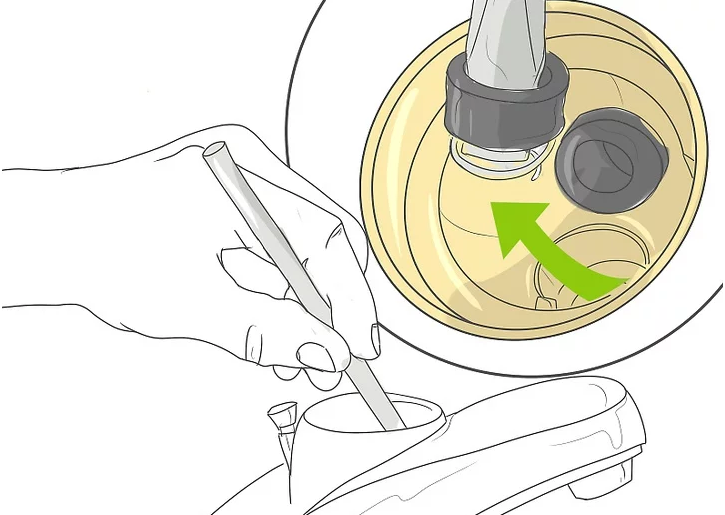 If the seal is damaged or missing, water will seep through the valve and into the engine compartment. This can lead to a variety of problems, including reduced fuel consumption and performance problems. To check for leaks, remove the air filter cap and inspect the sealing surface of the valve stem cap (or head) for damage or leaks. 2. Replace worn or corroded parts. Valve stems can also corrode over time as road salt corrodes them. To avoid this, replace worn or corroded parts with new, properly manufactured and tested parts. with OEM specifications .3.Tighten loose parts. Loose bolts can cause leakage, allowing water to enter through small holes in the cylinder head while the vehicle is in motion.
What are some common causes of a valve stem leak? How to fix a valve stem leak? What are the steps to fix a valve stem leak? What to do if you find a valve stem leak? What are the risks associated with fixing a valve stem leak? valve stem? Can I fix a valve stem leak myself? If so, how do I fix it? Do I need to replace the entire engine if I have a valve stem leak?"
There is no one-size-fits-all answer to this question, as the best way to repair or replace a leaking valve stem depends on the individual situation. However, the following tips may help:
There are several different ways to fix a valve stem leak. One way is to use sealant. Sealants can be applied with a syringe or aerosol can. Another way is to replace the valve stem. Replacing the valve stem may require removing the entire cylinder block.
There is no one-size-fits-all answer to this question, as the safety of driving with a leaking valve stem depends on the severity and location of the leak. However, it is generally safe to drive with a leaking valve stem as long as the leak is small and does not affect vehicle performance or handling. worried about the safety of your car, you should take it to a mechanic for inspection.
A leaking valve stem can cause a variety of problems, including reduced fuel consumption and emissions, decreased engine performance, and even loss of control. Here are some tips to fix a leaking valve stem:
valves can cause a host of problems, including reduced fuel consumption and emissions, reduced engine performance, and even loss of control.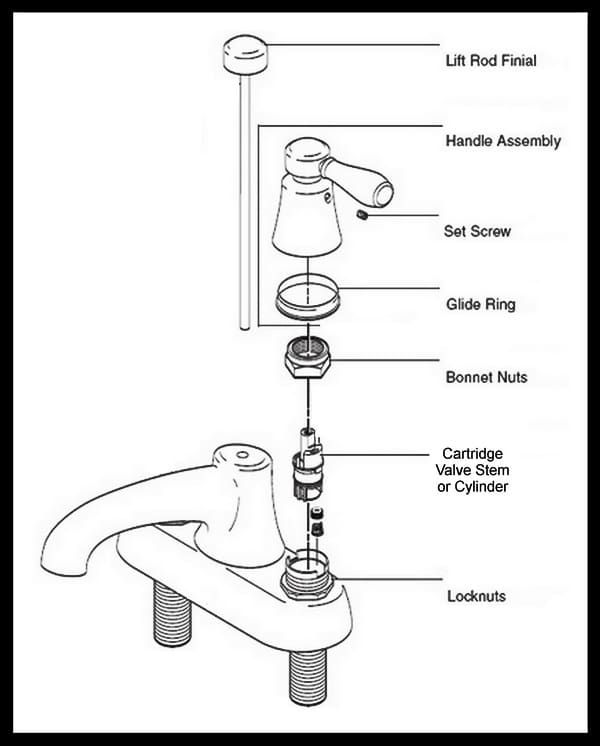 Here are some tips to fix a leaking valve stem:

Repairing a leaking valve stem may not solve all your vehicle's problems, but may help solve the problem. Follow these steps to repair a leaking valve stem:
A leaking valve stem can be a sign of a more serious problem with your vehicle, so it's important to take care of it as soon as possible. Here are some tips on how to fix a leaking valve stem: so, you need to replace them.
Valve stem leaks are a common problem on cars and trucks. They can be caused by a variety of factors, including aging, wear, and corrosion. valve stem leak tips:
 This includes dents, cracks, and other signs of excessive wear or mishandling.
 Valve stems can leak and if the stem is loose it can cause serious damage to your engine. If you think your valve stem is leaking there are a few things you can do to fix the problem.
The first thing you should do is check the valve stem for cracks or breaks. If there are any breaks in the stem, it will be easier for water and oil to seep through and cause damage.
If the valve stem is cracked or torn, it will need to be replaced. You can buy new valve stems at most auto shops or online. Make sure you get a replacement that is compatible with your vehicle's engine type and size.
After you have replaced the valve stem, make sure you seal all gaps around the edge of the stem hole with silicone sealant or RTV (Rubber Tire Vulcanization). This will help prevent water and oil from entering the engine and causing further damage.
Replacing car engine valves is a fairly simple task that most drivers can complete without any special tools or knowledge. However, there are a few things to keep in mind before starting the job, including understanding how the valve stem works and determining the correct spare part.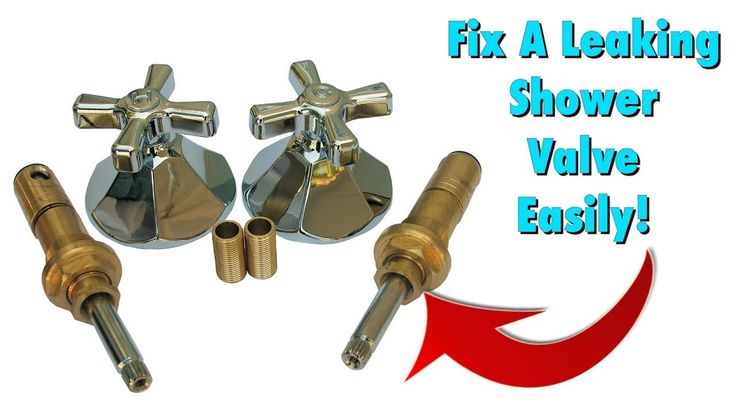 Here are some tips on how to fix a valve stem leak:
The first step is always to check for leaks. If there is any sign of water or oil seeping around the valve stem, the seal is likely to have failed and needs to be replaced. In many cases, leaking valves can be fixed by simply tightening the bolts holding them in place. However, if the leak is severe or appears to be coming from the engine itself, the entire valve assembly may need to be replaced.
Then remove the valve stem and gasket by unscrewing them from their respective locations on both sides of the cylinder block. When doing this, be sure to wear gloves and goggles, as both parts have sharp edges that can cause injury if handled roughly. these components have been removed, clean them of debris with brake cleaner or degreaser before reinstalling them with new bolts and washers (if necessary). Replace any damaged gaskets before proceeding to step 3 below.
3a Install a new valve stem gasket
If only a gasket replacement is sufficient to fix a leaking valve stem, proceed to step 3b below where you will install this component directly onto the valve stem assembly that you just installed.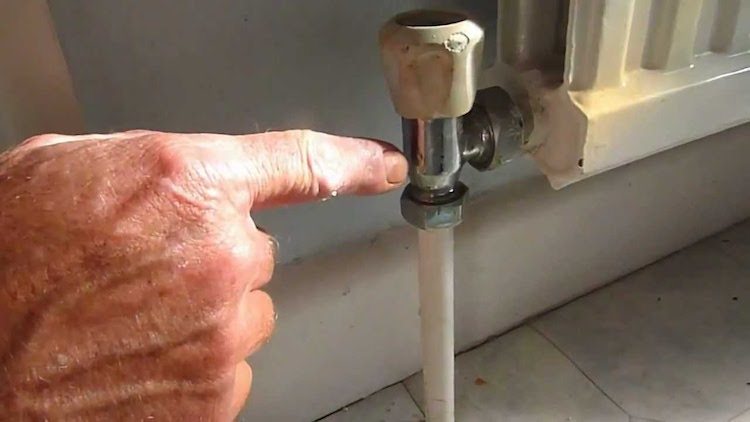 Otherwise, if you suspect If any of the components was damaged during removal or installation (e.g. bent metal), it may be necessary to replace both components together as a unit using new bolts and washers (see instructions below). Note. Always use new equipment when replacing engine parts! Over time, old equipment can become brittle and fail catastrophically under load, resulting in even more damage than originally!
In either case - whether it's installing just the gasket or replacing both components - make sure everything is properly aligned before hand-tightening everything using new Torx screws (or similar). Do not overtighten these screws, as this can also cause damage! Finally, tighten these screws firmly, but don't overtighten - overtightening can also cause problems in the future!
3b Install new valve stem assembly
If both components need to be replaced together, proceed as follows: Remove all old fasteners (bolts/washers) first, dismantling the existing assembly if possible; once everything is removed, disconnect each individual rod/cylinder from its respective camshaft lobe using special tool(s) called "breaking rods".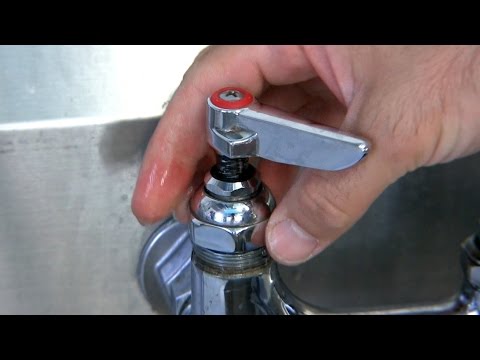 Then take one brand new rod/cylinder assembly and slide it onto each detached camshaft lobe; make sure each cylinder is perfectly aligned with the respective camshaft cam BEFORE re-attaching any fasteners (e.g. bolt/washer). Finally, re-attach all of your old hardware using fresh Torx screws, making sure each cylinder stays properly aligned with its respective camshaft lug - again be careful not to overtighten anything! leaks...
The supplies you will need to repair a leaking valve stem depend on the type of valve stem leak. If the leak is from a seal around the valve stem, you will need sealant and some tools to remove and replace the seal. If the leak is from the valve itself you will need a replacement valve.
There are several easy ways to identify a valve stem leak. First, you need to look for fluid leaking from the valve stem area in large quantities. allows fluid to flow out. Another way to check for a leak is to turn off the engine and then turn it back on while pressing the valve stem with your hand. leaking valve stem, you will need to find and fix the source of the leak.
If the valve stem is leaking, it is usually necessary to replace the entire stem. However, there are a few exceptions to this rule. If the leak is small and can be repaired with sealant or a patch, the leak can be repaired without replacing the entire stem. If the leak is severe or shows signs of damage valve train, it is usually necessary to replace the entire stem.
If your valve stem is leaking, there are several ways to fix the problem. The first step is to determine where the leak is coming from. You can do this by checking for fluid leaks around the valve stem, looking for cracks in the plastic or metal housing, and listening for bubbling or gurgling sounds .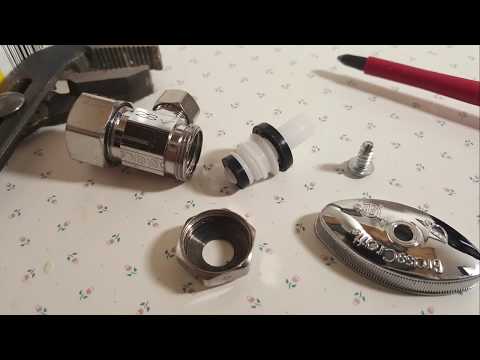 Once you know where the leak is, you can start fixing it.
To remove a leaking valve stem, begin by removing any debris or obstruction that may be blocking the stem port. Use a screwdriver or other tool to pry up both sides of the obstruction until it is free. If there is corrosion on the outside of the valve stem, clean it with a wire brush before reattaching it to the bike.
If, however, your leak seems to be coming from one of the separate housings that make up your valve system (for example, in the area near where water enters your bike), you will need to use a special tool called an assist screw pump piston. (PPAS). PPAS are small tools that help remove these individual housings and fix a leak without having to drink acid or other tools that could damage the tubing used in the system (for more information on PPAS and how to use them when repairing/replacing your bike). valve systems, visit www.dpasincolorado.com).
There are several ways to clean the area around a leaking valve stem. One is to use a vacuum cleaner with a hose attachment. Another is to pour boiling water over the affected area and wait for it to cool before wiping it off. piston on the leak and push and pull until the leak stops.
Fixing a leaking valve stem can be frustrating, but with the right tools and instructions, it's not that hard. Here are some tips to fix a leaking valve stem:
There are several different types of sealant that can be used to fix a leaking valve stem. One option is to use silicone sealant. This type of sealant is often used on water valves and other plumbing fixtures that can leak. Another option is to use a hot glue gun and adhesive tape. This type of sealant can be used to fix leaks on plastic pipes. Finally, you can also use a sealant gun and sealant to fix leaks on metal pipes. Each option has its own advantages and disadvantages, so it is important to choose the best solution for a particular situation .
If the valve stem is leaking, the sealant is most likely already lost. The sealant may take several hours to completely dry, but it usually dries within an hour or two. If the leak persists after the sealant has been applied, the valve may need to be replaced.
There are several ways to repair a leaking valve stem without removing it from the tire. One option is to use caulk or glue to temporarily hold the stem in place. If the leak is small and random, you can wait until it clears up on its own. If the leak is more permanent, you may need to remove the valve stem and replace it with a new one.
A leaking valve stem can cause many problems, including: * Leaks that allow water to enter your home * Water damage to your floors, walls, and ceilings * Loss of water pressure in your home A leaking valve stem can also lead to costly repairs. If you do not repair or replace the valve stem soon, it may become unrepairable and will need to be replaced. Here are some tips on how to fix a leaking valve stem: 1. Check for obvious signs of leakage. Look for wet spots on the floor, ceiling or walls; puddles on the ground; or water seeping through cracks in the flooring. to prevent flooding). 3. Remove any objects that may block the full opening of the valves (eg furniture). 4. Try to tighten both valves at the same time by hand. If that doesn't work, use a wrench or pliers. valves.* Do not overtighten - just enough so that you can easily move them.* If using a wrench or pliers doesn't work, try using an adjustable wrench instead.* Once both valves are as tight as possible and still does not work properly, they may need to be completely replaced. - Be careful when working with plumbing - leaks can occur at any time and without warning. - Make sure that there is someone nearby who knows how to handle plumbing. emergency plumbing in case something goes wrong.
There are some safety concerns associated with repairing or replacing a leaking valve stem. First, it is important to note that any type of repair or replacement of a leaking valve stem should only be done by a qualified mechanic. Second, always wear protective gear when working on a vehicle , including gloves, goggles, and a dust mask. Finally, be sure to thoroughly clean the area around the valve before proceeding with the repair.