Im tired of filling -fixing my wheelbarrow and some other small tires, I know that solid or similar tires are available but are pricy and I have at least 6 in use and are still good.
Question is has anyone ever removed the tire valve and "Injected" expanding or window- door foam into the tires and if so has it worked?
Thanks
Usually installing an inner tube is the best solution. Spray foam may take a set while the equipment is sitting and develop a permanent flat spot. Permanent it will be because the adhesive nature of spray foam will glue the rim and tire together permanently. Breaking down the bead and coating the edge with tire sealant before re-inflating is also a possibility. If you forgo the tube I would suggest leak checking the whole assembly before adding sealant. These small tires made "overseas" often have small porosities in tread and sidewall that must be patched from the inside.
Redlee, I have a skidloader that I foamed the tires on when I bought it.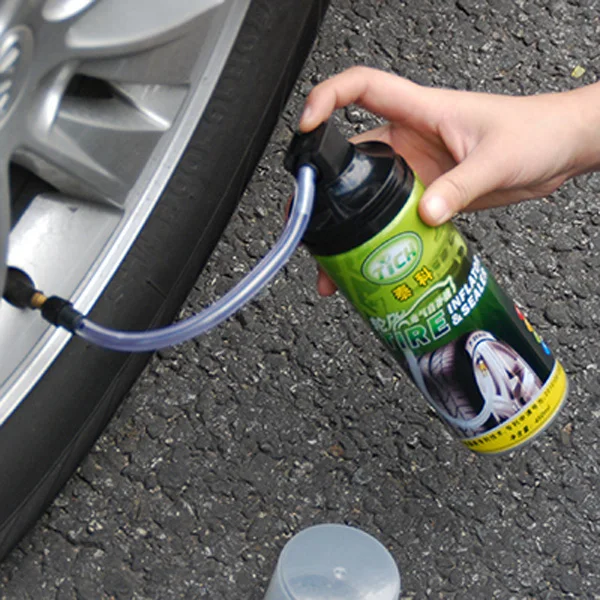 It works very well in my application. The foam when cured remains pliable like soft rubber. It is pretty pricey to foam a skidloader tire and the foam is heavy. Still I have considered having the tires on my wheel barrow foamed.
I would be concerned that window foam like "Great Stuff" would crumble over time in use.
It may still meet your needs in a crumbled form if you can plug the valve stem hole.
Tim
I think the stuff for windows and doors would be much too brittle for that.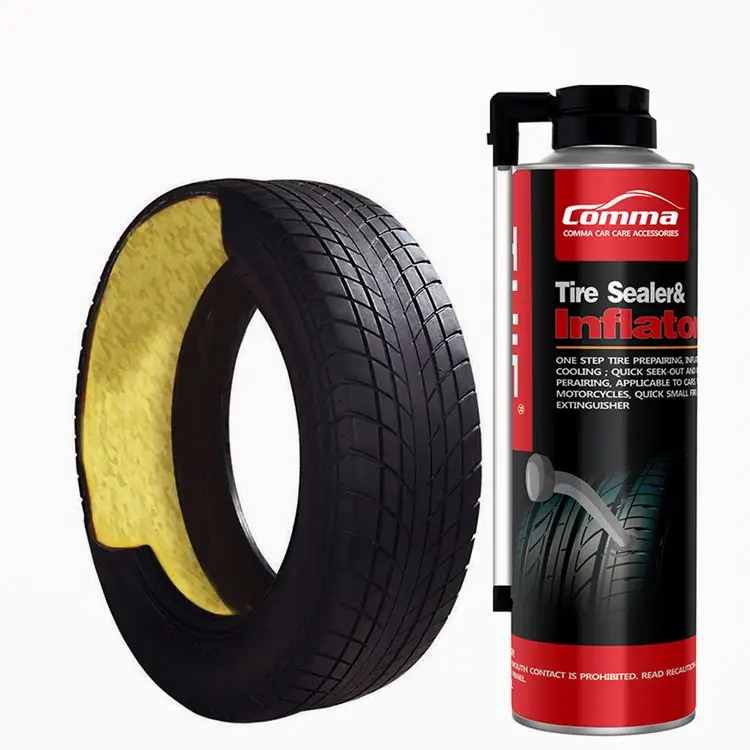 The old stuff I've seen always crumbles when removed.
Also, you'd need to get all the air out so the foam can fill it completely. Think of bleeding out a brake system. Any air pockets in there would be soft spots.
However - quick google search turned up this. He drilled through the tire and injected it, eliminating the air bleeding i mentioned. I'd like to know how well it held up over time.
Country Lore: Avoid Flat Lawn Mower Tires - DIY - MOTHER EARTH NEWS
If you could get some softer urethane that might be better.
v
The spray foam in the can does not work in tires. Its not the same stuff. But, I have sent tires out for proper foaming. About $15-20 to do a wheelbarrow tire. The solid wheelbarrow tires are only about $40, so I'd go that rought.
Josh
I have to second Scottl's suggestion should you decide against
resilient (NOT crumbly "Good Stuff") foam. I bought a replacement tube for mine and that has resulted in a tube that only needs once or twice a year inflation. The stock tubes are very thin and a POS. The replacement is much thicker both in the body and even the stem---had to drill out the stem hole a bit.
Denis
Took my tubeless wheelbarrow wheel to the tire store and they put a tube in for $14.00 out the door. I was going to just buy a tube and took the whole wheel in to be sure I got the right size. The counter guy said "here, I'll have one of the guys put that in for you". Done. I have not had to air it for a couple of years now. This is not a situation that requires modern miracle cutting edge genius solutions.
I have had good results from "SLIME" flat fix.
Sweep your floors then you wouldn't have nails in your tires
I've had to fix/replace wagon, wheelbarrow, and lawn tractor tires. Patches are okay and last a bit, but the best solution is get a new innertube if your tire takes one. Once a tire is punctured, no bike repair kit can fix it.
I've heard the best thing for tires is fix a flat, it actually melts the tire where the puncture and fills the tire up enough for light use. Good thing wheelbarrows don;t have tire pressure sensors
henrya said:
Took my tubeless wheelbarrow wheel to the tire store and they put a tube in for $14.
00 out the door. I was going to just buy a tube and took the whole wheel in to be sure I got the right size. The counter guy said "here, I'll have one of the guys put that in for you". Done. I have not had to air it for a couple of years now. This is not a situation that requires modern miracle cutting edge genius solutions.
Click to expand...
Wasn't looking for a Genius solution, I live along way from a tire shop and am willing to do the best way. Just wondering if it would work and if some else had tried it. Thats all!
[QUOTE2407140]<>
I've had to fix/replace wagon, wheelbarrow, and lawn tractor tires. Patches are okay and last a bit, but the best solution is get a new innertube if your tire takes one. Once a tire is punctured, no bike repair kit can fix it.
<>[/QUOTE]
Hmmmm, as a person who rides 5000+ miles a year on my bike and has repaired a fair number of tubes, I would say that a properly repaired tube can last for years----at 120 PSI or more. I maintain my bike and my wifes bike. So, I 've repaired my share of tubes over 40 year's time. It's been a good number of years since I had a patch fail.
Denis
Here's my two cents. My day job is concrete contractor. I ( my guys) have worn out literally hundreds of wheelbarrows over the years. When the WB is full of concrete it weighs at least 500 lbs. The solid and foam filled wheels don't roll as easily as air filled wheels do and my guys won't use them. They tend to disappear if I bring them around. I've tried adding the sealant but haven't had good luck with it. I recommend tubes and a couple of extra wheels on hand to replace when I need it now ( as in right now). On the other hand I've good luck with sealant on the bigger tires that I run on my skid steers. I've used solids, ($650 a pop), Foam filled, ($200 just to fill each one with foam),and sealant ($40 to put sealant in ). We use these skid steers to demo concrete which is extremely hard on the tires and the machine due to the rebar and wire as well as the hard rubble that we end up driving on. The solids are too expensive and hard on the machine and rider. The foam are too expensive but ride a little smoother but are heavy as hell.
 The sealer filled tires ride like air and haven't leaked (yet, 1 year).
dgfoster said:
[QUOTE2407140]<>
I've had to fix/replace wagon, wheelbarrow, and lawn tractor tires. Patches are okay and last a bit, but the best solution is get a new innertube if your tire takes one. Once a tire is punctured, no bike repair kit can fix it.
<>Click to expand.
..
Hmmmm, as a person who rides 5000+ miles a year on my bike and has repaired a fair number of tubes, I would say that a properly repaired tube can last for years----at 120 PSI or more. I maintain my bike and my wifes bike. So, I 've repaired my share of tubes over 40 year's time. It's been a good number of years since I had a patch fail.
Denis[/QUOTE]
Well keep in mind I use wagons and wheelbarrows in the woods too, with sticks poking at the tires. And the lawnmower is 8 years old mowing two acres every week during the summer.
Do you really fill your bikes tires to 120 PSI? That seems a lot for a road bike. What patch kits do you use?
Spyderedge said:
Hmmmm, as a person who rides 5000+ miles a year on my bike and has repaired a fair number of tubes, I would say that a properly repaired tube can last for years----at 120 PSI or more.
I maintain my bike and my wifes bike. So, I 've repaired my share of tubes over 40 year's time. It's been a good number of years since I had a patch fail.
Denis
Click to expand...
Well keep in mind I use wagons and wheelbarrows in the woods too, with sticks poking at the tires. And the lawnmower is 8 years old mowing two acres every week during the summer.
Do you really fill your bikes tires to 120 PSI? That seems a lot for a road bike. What patch kits do you use?[/QUOTE]
Yes, I do inflate them to 120 and more often 140 PSI. They're 23mm Rubino pro II TIRES rated for that pressure and I have never had a blow out . Riding them at high pressure reduces "snake bite" punctures and may reduce (debatable) rolling resistance. Well patched tubes should not fail at the patch.
Denis
No such thing as a "foam filled" tire unless some backwoods hick tried it with "Great Stuff" or similar.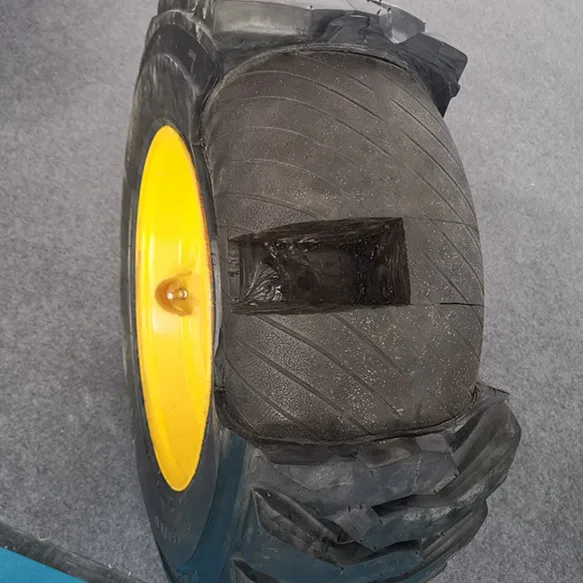 The material used is urethane liquid, not foam. This is the same stuff as the old "Superball" toy. It is pumped in under pressure with the tire upright and a hole drilled at the top for air to escape. When the urethane comes out the hole a sheet metal screw is used to plug it and the tire is laid down so that it polymerizes without a flat spot. The tires are very heavy and not useable at high speeds. It is quite expensive. I haven't had one done in over 20 years but back then it was over $1.40 a pound.
Hi,
I have used this stuff in the tractor tires, wagon tires, etc, works great for me.
Ultraseal Application Charts | GEMPLER'S
Frank
tdmidget said:
No such thing as a "foam filled" tire unless some backwoods hick tried it with "Great Stuff" or similar. The material used is urethane liquid, not foam. This is the same stuff as the old "Superball" toy. It is pumped in under pressure with the tire upright and a hole drilled at the top for air to escape.
When the urethane comes out the hole a sheet metal screw is used to plug it and the tire is laid down so that it polymerizes without a flat spot. The tires are very heavy and not useable at high speeds. It is quite expensive. I haven't had one done in over 20 years but back then it was over $1.40 a pound.
Click to expand...
Hey! Backwoods Hick, I take pride in being one Thank you !
Spyderedge said:
.
....................
I've heard the best thing for tires is fix a flat, it actually melts the tire where the puncture and fills the tire up enough for light use. Good thing wheelbarrows don;t have tire pressure sensors
Click to expand...
Well, maybe for a wheel barrow tire. The chemicals in Fix-A-Flat are very corrosive and will corrode the steel rim or destroy an aluminum rim if left in. Probably why the instructions on the can say to use it to inflate the tire and get home, then get to a tire repair place ASAP and have the tire unmounted and all the chemical flushed out. Also, probably why the product is called Fix-A-Flat and not Fix-A-Slow-Leak.
Steve
I have used the green slime on lawn equipment tires.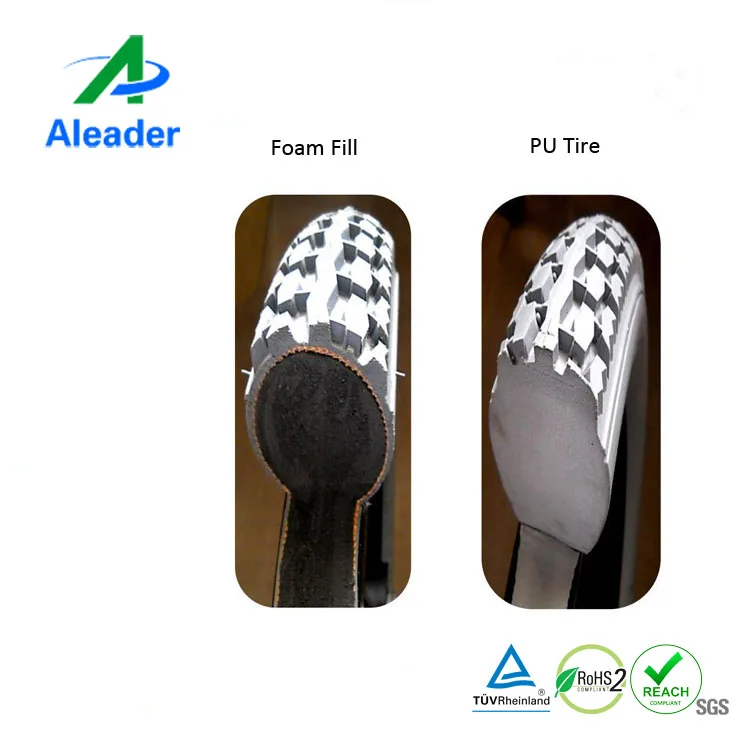 As long as they are used regularly, not allowed to sit, it seems to work pretty good. Some of the old tire with dry rot get sealed up that way. When that dosent work, put a good tube in it, not a $3 chinese one.
Foam-filling skid steer tires is considered a safe option as doing so gives more durability, traction, and strength to the tires. To fill foam in the tires, you can either take the DIY approach or get a mechanic to do it for you.
The better option is to go to a mechanic. But if you want to do it yourself, pay attention to the tire and closely observe till the point foam starts to leak out from the valve stem portion.
What's In This Guide?
 You can take out two times at a time or if you have the appropriate support system, take out all four tires at once. It will only allow us to get things done faster.
 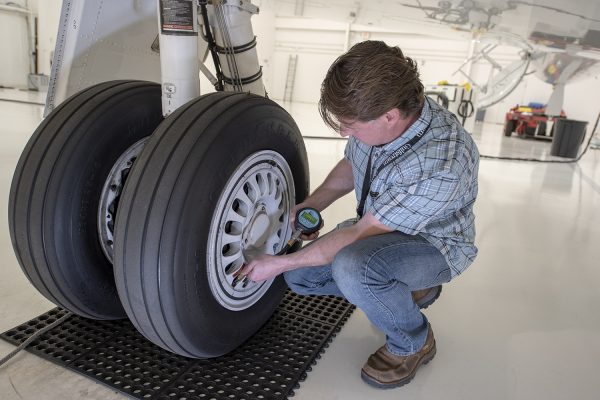 Fit the tire back onto the skid steer, and you are good to go.
 What Are Foam Filled Skid-steer Tires?
Foam-filled tires are a type of pneumatic tires that were introduced to replace air-filled tires. Because the air-filled tires run the risk of going flat due to a wide gamut of reasons, the foam-filled tires do not go flat. They also provide the same benefits as air tires in terms of traction, performance, and mileage without the part where the tires can get punctured.
Plus, the foam fill tires will also not lose air pressure. We use foam filled tires on skid steers due to their ability to perform well even in harsh conditions. Skid steers will majorly run on rough roads filled with pebbles, rocks, dirt, etc.
So, we prevent changing and repairing any damage caused to the tires due to such terrains using foam fill tires. In addition to these benefits, the foam-filled tires are better at maneuvering, and they bring efficiency into the operations, especially in the kind of work done by the skid steers.
Foam-filled tires give more stability to the skid steer, which is good. But some might argue that they also provide the extra weight, which can lead to mileage issues. Additional vehicle stability offers better control in rough terrains, which is difficult to obtain with air-filled tires. Hence foam-filled tires provide better footing to the vehicle.
However, the same extra weight on the tires reduces their lifespan relative to the air-filled skid steer tires. Added to this, if the vehicle is working in rough terrains continuously for a longer period with foam fill tires, the speed of tires losing their grooves and tread increases.
To sum it up, foam fill tires bring extra stability that contributes to the driver’s safety, reducing the tire’s lifespan.
Polyurethane is used to create the foam that takes up space inside the tires. Thus, giving the tire puncture resistance plus more stability along with the weight. Due to the usage of polyurethane, foam fill is also called polyfill.
The weight of foam-filled tires depends on the volume of foam added to the tire, which further depends on the size of the skid steer tire. Two of the most common skid steer tires have the following dimensions;
Based on these dimensions, the weight of one foam-filled 10×16.5 tire will be 130 pounds. So for four tires, the total weight added to the skid steer is 520 pounds, just for the tires. The same for a 12×16.5 tire will be 205 lbs, and for four tires, the total volume of foam required will be 820 lbs. This is what gives extra stability to the vehicle and makes it a better choice for rough terrains.
The short answer would be no. For one, the skid steer tires are nothing like car tires. These are the big boys we are talking about, and handling them is easier said than. We understand that taking the skid steer to the mechanic is also a task, but going to the mechanic is the safer route.
Foam is not bad for tires per se. Yes, it makes the tires heavier, and it won’t bulge or bend under pressure. In some situations, this can cause some trouble with driving due to gripping issues.
The only downside to filling foam in the tires is that they are practically junk after they wear out. You cannot use them in other places, at least not easily. Plus, the tires will be heavier than other bald tires, which may be used in other places.
But performance-wise, foam is not bad for tires. If anything, it improves the tire’s life span as there won’t be any puncture issues.
Yes, the process is safe. As long as you are following the proper process, things will go smoothly. However, the problem may arise after replacing the tire on the vehicle because we have heard cases when tires went flat right after bringing the vehicle down.
It depends on the tire and the cost of the container, and its capacity. As discussed above, one 10×16.5 tire requires 130 lbs, and one 12×16.5 tire requires 205 lbs of foam. Depending on the volume required (approximately 24.5 gallons for one 12×16.5 tire), you can calculate the cost.
Yes, the US FMCSA regulations Section 393.75 mandates that the tire can be filled with materials other than air including silicone and polyurethane.
How to make figures from foam with your own hands? Decorating the cottage with decorative elements is a versatile activity. In addition to plastic bottles and car tires that have already become boring to everyone, do-it-yourself foam plastic figures occupy an equally worthy place.
We will help you get acquainted with all the features of the material, as well as with the main stages of work in this exciting creative endeavor.
Contents:
Styrofoam can be found in any appliance box. Do not throw it away with a new purchase, it is better to put it in the pantry, take it to the country house or hide it on the mezzanine. It will not take up much space, but it will help out a lot when you have time and desire to get creative.
Pay attention, , that if you do not plan to buy equipment in the near future, do not be upset and do not rush to go to the art store - although there are blanks, but at high prices.
You can buy relatively cheap polystyrene wherever building materials are available. A sheet of 100 * 100 * 10 cm will cost approximately 270 rudders. In a craft supply store, for the same price, you would get a very small blank.
The tradition of decorating the entrance to a dwelling with various figurines has long been born. Previously, symbolic decorations carried a certain semantic load and could personify a protective force, but after a certain time, the function grew only into decoration, and nothing more. You can create the same beauty as in public parks with beautiful statues on your site if you make foam plastic figures with your own hands.
Landscaping is an expensive pleasure, and therefore many owners of summer cottages choose to decorate the adjacent territory on their own. To save money, they often use improvised materials or buy an inexpensive base. One of the many such options is the creation of decorative elements from foam.
Those who are new to this business should first practice on the design of simple flat figures, and after they have experience working with the material, you can try to create three-dimensional figures of their foam with your own hands.
A simple styrofoam figure you can easily cut out of an old and no longer needed packaging. It is convenient to work with fine-grained material that will not crumble much. Even if you do not have the necessary fragment on hand, you can buy a base for crafts, fortunately, this is not as expensive as it might seem at first glance.
The advantages of the material are as follows:
 Substances that are in lime, gypsum and cement cannot interact with the foam.
 Please note, , that some components that are part of acetone and gasoline can have a destructive effect on the foam. No less dangerous are turpentine and benzene. For this reason, when buying material for further design, you should carefully study the composition.
Making a figurine in one copy is easy to do with your own hands, but if you decide to put the production of figurines on stream, then machines for figured cutting of foam plastic will not be superfluous. Depending on the design features, the equipment can cut the material horizontally or vertically, or process parts for bulk crafts. It is convenient to use fine-grained polystyrene foam not only during the cutting process, but also during further coloring of the figures.
To begin with, it is worth deciding on an idea, namely which of the figures will best suit your concept of landscape design. Do not forget to focus on the complexity, as beginners need to practice on flat foam figures with their own hands.
The most popular theme is animals, fairy-tale characters, birds. To work with foam you will need:
When all the materials are ready and available, you can proceed to the stage of creating a foam figure.
First you need to draw on a paper sheet the outline of the future figure in full size. After that, cut out the sketch and transfer it to the foam, use a marker to draw. The workpiece should be cut from the material using a conventional hacksaw.
Note: If you are using foam that is not too thick, you will need several blanks to create a three-dimensional foam shape.
On one of the blanks in the lower part, leave a piece that is designed to dig the figure into the ground.
Styrofoam three-dimensional figures for decorating the site should be created from several blanks that are glued together. You can make the figure heavier if you use a frame that is inserted between the parts during the gluing process.
The procedure should be carried out when using different formulations. Suitable for this:
The main condition for the choice is that the composition should not contain any substances that could corrode the structure of the foam. After that, the glued parts should be placed under the press, where they will be for 24-48 hours.
When the allotted time has elapsed, the workpiece should be processed. To reduce the amount of crumbled foam, use a well-sharpened knife. Experts advise to carry out this work under running water. Small fragments of foam will not scatter around, and curly lines will be rounded.
Dry the finished figure so that you can proceed to the next step. As a rule, foam figures are treated with gypsum-based putty. After that, the figure should be left to dry. After evaporation of excess moisture, sand the craft and eliminate pointed fragments.
Of course, the figurine needs to be painted so that it looks like what they were trying to make. Saturated and bright shades can be obtained using acrylic paints. To save money, use conventional facade paints. Do not forget that when buying compositions, any means that can destroy the craft should be excluded. You can preserve beauty with the help of varnish, which is intended for external work.
Once you've gotten some experience with foam, you can start trying to create stacked shapes that will have multiple elements. For example, consider how to make a bulk pony.
There are some peculiarities in the algorithm of actions:
 With a large spall, the fragment can be put back on the adhesive mixture.
 Once everything is ready, think of a secure way to secure it to the site. It happens that such crafts are used not only for decorating landscape design, but also for practical functions. A hedgehog, a pig or a crocodile can become an original flower stand. Of the usual options, the peacock is very popular, as it will look organically against the background of the site, as well as foam mushrooms.
To make your finished foam plastic figure look beautiful, keep in mind a few basic rules:

Do not forget that what looked good on the site in spring or autumn, in summer can be completely hidden behind overgrown bushes and other greenery. If high-quality varnishes are used when making crafts, decorative figures can be wiped with a sponge to remove dust. It will not be superfluous to use special mixtures of antifungal action. To extend the period of use of garden decorations during the winter cold, put the products in a barn, garage or any other utility room.
It's not difficult to create decorative styrofoam garden figures. If you practice, follow the instructions, you will be able to cope with this task without problems. The result will be incredible and will please the beauty of all passers-by and neighbors.
To ensure that customers receive their orders without damage, follow the packaging requirements.
If the shipment is not packaged correctly, it will be returned to you at the collection point.
We have detailed the requirements for each type of product in the Partner Regulations, but here we have collected general rules for all shipments:
Our vehicles are not equipped with refrigerators - therefore we cannot be held responsible for temperature sensitive products.
To ensure that the marked label does not peel off or be damaged in transit, observe the following requirements:
The packaging must be free of third-party markings, the name of your or another brand, manufacturer or company.
Fragile items must be marked Fragile. If there is no tag and the goods are damaged in transit, we will not be able to refund the cost of the goods.
Fragile goods include:

The product must not dangle inside the box: fill the free space with paper or sealant.
Pack the goods in a strong cardboard original packaging in white or black opaque stretch film. For other products, select one of the types of packaging:
We collected boxes, courier packages, bubble wrap and other consumables in a separate showcase that exactly comply with Ozon rules and at the same time are more profitable than analogues.
You can order them from clusters:
Showcase
| Shipping | Cardboard box | White or black, opaque, matte stretch-film | TUBUS (TUB) | safe package (courier package) | opt | ✓ |
|---|---|---|---|---|
Items with complex shapes that do not have strong original packaging. For example: armchairs, chairs; skateboards; mops, scrapers, shovels; ironing and drying boards; sandboxes; horizontal bars, cornices. For example: armchairs, chairs; skateboards; mops, scrapers, shovels; ironing and drying boards; sandboxes; horizontal bars, cornices. | ✓ Wooden framed carton (board), around the shipment, with side inserts made of wooden slats, plywood, sheet cardboard. Internal fragile items should be additionally packed with bubble wrap or filler. External elements of the goods must be packed in a protective bubble wrap. The space between the load and the walls of the box must be filled. Don't forget to label it "Fragile". If the product can be damaged by water, wrap it first in a white matte or black opaque stretch film. | |||
| Paper and cardboard products: calendars, posters, notebooks, wrapping paper. | ✓ Cover the tube with adhesive tape | |||
| Furniture with individual parts (assembly) | ✓ Put the product in a cardboard box. Protect the sides of the product or carton with polyethylene foam (at the corners and sides).  Wrap the box in white or black, opaque, matte stretch wrap Wrap the box in white or black, opaque, matte stretch wrap | |||
| Goods containing magnets, e.g. phone holders, kitchen utensils | ✓ Wrap the item in bubble wrap and put it in a cardboard box | For example: armchairs, chairs; skateboards; mops, scrapers, shovels; ironing and drying boards; sandboxes; horizontal bars, cornices | ✓ Split an order into multiple shipments if it contains items that cannot be packed in the same package. For example, in an order, washing powder and a weight - the goods must be divided into two shipments: the powder should be packed only in a safe bag, and the weight - in a stretch film. Examples of improper packaging How to pack potentially dangerous goods Such goods include, for example, household and auto chemicals, aerosol products, paints and varnishes and fuels and lubricants.
It is also necessary to collect shipments with such goods in a special way. Here are the requirements for packaging:
Transportation of dangerous goods on the territory of the Russian Federation is regulated by the provisions of the European Agreement concerning the International Carriage of Dangerous Goods by Road (ADR). Prepare a bill of lading containing information about the cargo according to the requirements of ADR - dangerous goods cannot be transported without it. Additional packaging requirements for dangerous goods are strictly stipulated. Which items need additional packagingTo protect them during transit, some items need to be repackaged before they are shipped:
Examples of minor packaging damage that will be accepted at the warehouse What additional packaging to useIf the product is damaged upon delivery, the buyer can leave a negative review, and you will receive return costs instead of a profit. To prevent this from happening, pack each item carefully.
What damages can happen and how to avoid themNatural and artificial stone sinksIt is important to transport such sinks with the bowl down and cover the thinnest parts with packaging. Otherwise, the product may break, become covered with cracks or chips.
How to protect the sink:
Toilets, toilet seats, washbasins, acrylic bathtubs It is important to transport these items vertically and pack them carefully. Otherwise, they easily split and become covered with cracks.
How to protect these items:
Stainless steel sinksDuring transport, the steel sink may become deformed and dented at the corners and bottom. It is important to carefully close the protruding parts of the sink with packaging and transport it correctly.
How to protect the sink:
Cabinet furnitureFor example: swing wardrobes, wardrobes, TV cabinets, chests of drawers, bedside tables, dressers. Due to improper packaging, scratches, chips, cracks, chipped or jammed corners are formed on the furniture.
How to protect furniture:
Mirrors, glass surfacesIn transit, these items may chip at the corners, crack or break completely.
How to protect these products:
Large household appliancesFor example: washing machines, ovens, cooktops, dishwashers, refrigerators and freezers. The buyer can receive equipment with scratches, chips, dents, broken glass parts.
How to protect household appliances:
MattressesIt is important to carefully protect the entire area of the mattress and only transport it flat. Otherwise, the packaging is damaged, and the mattress gets dirty and torn.
How to protect the mattress:
|