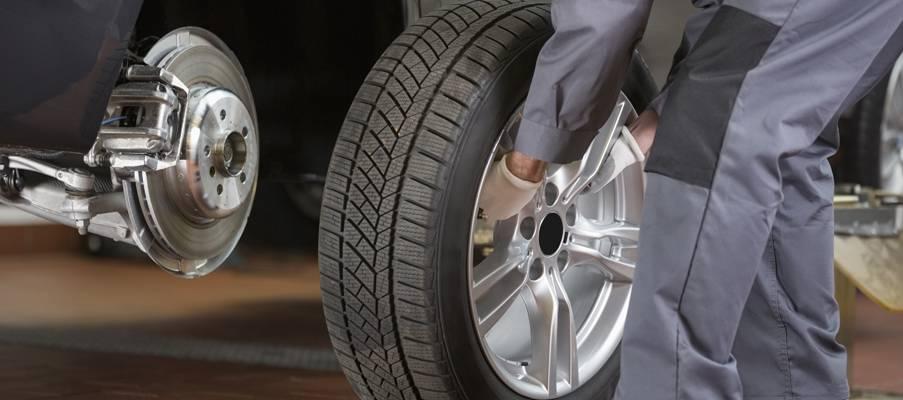
Whether you’re going on a road trip or making a quick stop at the community center, it’s crucial that your car has a functional spare tire at all times.
It’s equally important that you’re able to get the tire down from under the vehicle when you need it. Some cars come with specialized tools to lower the spare tire and quickly make the change.
However, if the tool is unavailable for some reason, you can still bring down the tire and be back on the road in no time. Let’s take a look at how to get a spare tire down without the tool.
Removing a spare tire without the factory tool is easy when you follow these steps:
Removing a spare tire without a tool might appear daunting at first. However, with the right equipment and process, it’s not too difficult a task.
There are two methods to lowering a spare tire on a Ford truck. Each method uses different tools. As such, your choice will depend on the equipment you have to hand.
This method involves pulling out the key from the spare tire drop assembly and using stock spare tire tools to lower the tire.
To make up for the lack of the factory key, you will need some standard tools like joint pliers, small pieces of wood and an optional helping hand.
After you’ve collected the tools, follow the steps below to remove the spare tire.
As you already know, the tire hangs from the truck’s underside toward the vehicle’s rear. As such, you will need to go under to gain access.
Before you get under the truck, remember that safety comes first. Therefore, ensure that you park the vehicle properly, on a surface that’s as flat as possible, with all brakes engaged.![]() These precautions are to prevent the vehicle from moving while you work under it.
These precautions are to prevent the vehicle from moving while you work under it.
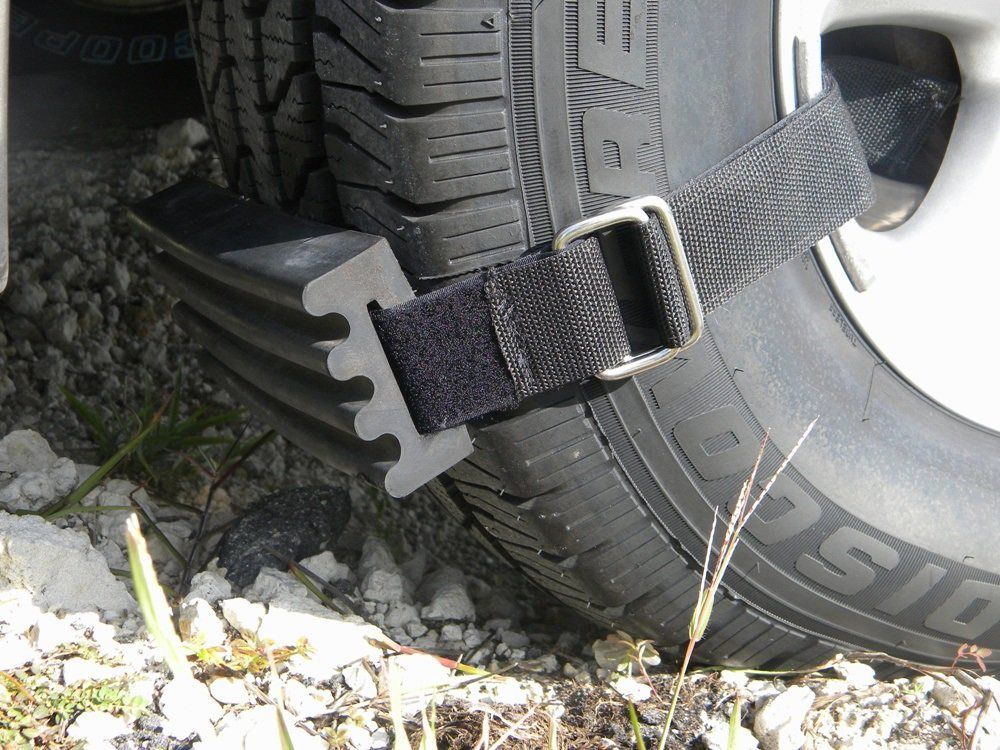
Locate the guide tube under the vehicle. This is a long, black, plastic pipe near the tire. Twist the tube back and forth while pulling it in the direction of the vehicle’s rear to reveal the drop mechanism for the spare tire.
Still under the truck, move to the passenger side and pull down the tire on this side, putting the wood in the gap between the top of the tire and the truck bed frame.
At this point, you may need that optional helping hand to put in the wood while you hold the tire down.
The reason for putting in the wood is to give you easy access to the drop mechanism without having to move the tire away from the truck bed continually.
Put your hand through the space created by the wood and feel for the key to the spare tire drop mechanism. The key roughly resembles a wheel lug nut, and when you find it, pull it out using the jack or working pliers.
Sometimes, just pulling the key may not be enough, and you may need to wriggle the pliers as you pull.
With the key out, the hole left behind is almost identical to the jack crank. Thus you can use the stock tire tools to lower and remove the spare tire. Insert the jack crank into the hole and turn counterclockwise to lower the tire.
The second method differs considerably from the first. Accordingly, you need a different set of tools, including:
With the tools above, you can bring down the spare tire by following the steps below.
Attach the 14mm socket to the extender. You don’t need to use a high-quality socket, as any low-end one will do. It’s also best to use an extender long enough to reach from the bumper to the spare tire. Aim for an extender that’s around 60–70cm long.
Insert the socket into the hole located on the left (or right, in some trucks) of the license plate. The hole leads directly to the key.
Use a hammer to strike the extender when you feel the socket touching the key. Hitting the extender pushes the socket over the key, providing a better grip.
Four to five blows from the hammer should be enough. Additionally, do not apply too much force to the hammer to prevent damage to the drop assembly. You don’t necessarily have to use a hammer; any object large and tough enough can serve.
With the socket firmly in place, use a wrench to turn the extender counterclockwise. The drop assembly key is similar to the one used on wheel lug nuts. Thus, it will turn as the socket turns.
It may be hard to turn the wrench at first, but it becomes easier as you continue turning, and the tire gets closer to the ground.
By the time the tire hits the ground, the key will be loose and you can remove it. Withdraw the extender from the hole, and use a flathead screwdriver to pry the nut out of the socket.
While the tire is now on the ground, you can’t use it until you detach it from the hoist. To disconnect the tire, reach into the large opening in the middle of the wheel. Next, locate the metal flange connected to the cable and turn it from a horizontal to a vertical position, pulling it out of the rim vertically.
Finally, the hole left behind by the key can fit a jack crank. Put the crank through the opening near the license plate till it gets to the hole vacated by the key. Turn the crank clockwise to raise the hoist back up
While Chevys store spare tires under the truck bed like other trucks, the removal process differs. So, if you’re wondering how to lower spare tire on Silverado without tool, follow the steps below.
You will need a couple of tools, including an ignition key and a jack kit to make a chevy spare tire removal tool.
Like other trucks, the access hole is on the rear license plate’s right side and covered with a rectangular shaped plastic.
Newer models may have a lock over the hole as a security measure. In such cases, use the ignition key to remove the lock assembly covering the hole.
Open the jack kit and select the rod with the broader end and flanges on all sides. This rod is the “female” rod and the one you’ll insert into the now open keyhole.
Get another rod from the tool kit, and attach it to the end of the female rod to make it long enough to reach the spare tire from the bumper. Ensure that the press locks enter properly to prevent the rods from disconnecting while you’re turning it.
Insert the composite rod into the spare tire hole. Press and turn the rod simultaneously until the end locks into the cable crank.
Put a wrench on the other end of the extension rod and turn counterclockwise. The tire will begin to drop as you turn. Continue turning until the tire touches the ground when you can remove the cable flange from the rim.
Furthermore, you can use the procedure above on different models of Chevrolet trucks. As such, you can follow the steps if you’re wondering how to remove spare tire from Chevy suburban.
It’s always an unpleasant experience when you get a flat tire. It’s even worse when you can’t get the spare down for lack of the specialized factory tool.
However, there are other ways to bring down the spare tire even without the tool. These methods are straightforward and use common tools like extenders, flathead screwdrivers, sockets, ignition keys, chunks of wood, pliers and hammers.
Thus, with or without a factory tool, you can get the spare tire out in minutes and be back on the road quickly.
If you're used to having your spare tire on your trunk, it can be quite a daunting task to remove the spare tire under a truck. But don't worry. We got you covered. We've asked automotive experts how this procedure is done so that you can get started on changing your flat tire and be back on the road in a jiffy.
Follow these steps to remove the spare tire from your truck:

Hang on so we can elaborate on the given instructions so you can remove your spare tire from your truck with no hassle. We'll also share with you how to do this task when you don't have your tire removal kit. We'll also have a short discussion on how long you can expect your spare tire to last and how far you can drive using your spare tire.
Before you continue reading, let us say we hope you find the links here useful. If you purchase something through a link on this page, we may get a commission, so thank you!
Unlike regular vehicles that conveniently have their spare tires in their trunks, pickup trucks have theirs underneath the truck bed. This is actually a genius move by manufacturers so that the spare tire won't take up valuable space on the bed of the truck.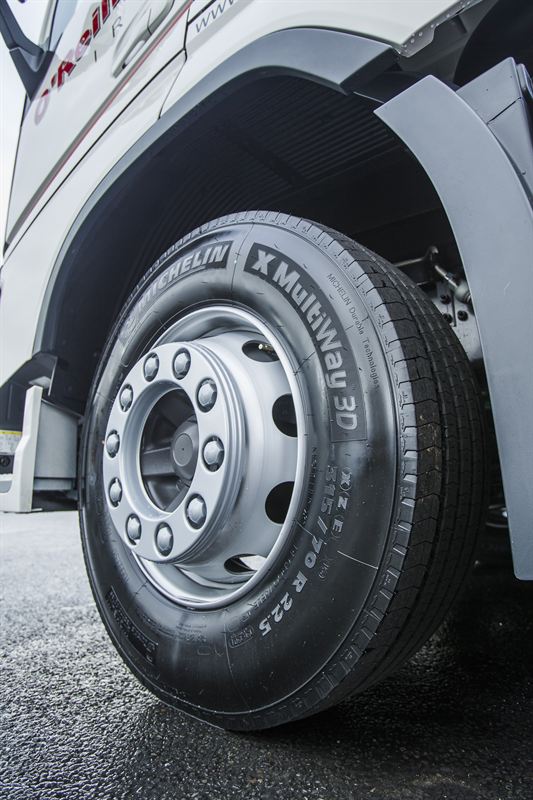 However, it makes removing the spare tire more challenging.
Don't worry because there's an efficient way of removing the spare tire without breaking your back or endangering your life. Just follow these steps. You can also watch this YouTube video for the demonstration.
Easy, right? You don't have to go under your truck after all!
Brand new vehicles come with a set of factory jack kits or tire removal kits to aid you in getting the spare tire off the truck. You need to familiarize yourself with these tools, so you'll know what they are used for.
The tool that you use to lower the spare tire is called the jack handle. As mentioned above, this is a long piece of tool that you need to assemble so that you can connect it with the vehicle's tire-lowering mechanism. You turn the handle counterclockwise to unfasten the tire until it reaches the ground and you can remove it from the cable and tire holder.
If you don't have this in your tool kit, it's best to buy one as soon as possible. You never know when you're going to need it. Always be prepared for what can happen on the road.
Check out this spare tire jack handle on Amazon.
In case you have a tire blowout and you don't have a jack handle with you, there are other ways for you to remove the spare under your truck. But it would still involve other tools that hopefully you've got in your tool kit.
What you need:
Steps to lower the tire:
What you need:
Steps to lower the tire:
These are just two ways for you to remove the spare tire without a jack handle. Basically, you can improvise with the tools that you've got to see which one will work best for you.
The lifespan of your spare tire will depend on its tire type. There are usually three types of spare tires: a donut, run-flat, and a matching spare tire.
A donut is also known as a space-saver or compact spare tire. This is smaller and lighter than a regular tire. In recent years, manufacturers began using donut spare tires on their vehicles to reduce cost and save valuable space since a full-sized tire takes up so much room.
Since they are more lightweight, they help improve the fuel economy and power consumption of your vehicle. However, this type of tire is made of weaker materials than traditional tires. They have a shallower tread depth which makes them more vulnerable on the road.
As such, a donut spare tire is just meant to be a temporary replacement for your worn-out tire.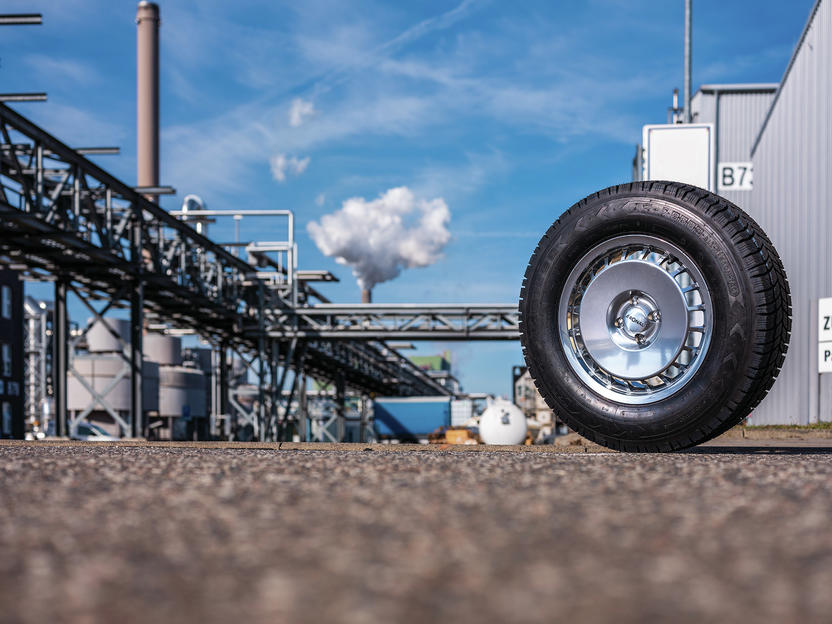 It has to be replaced immediately before you get yourself into trouble while using it.
A run-flat spare tire is more commonly found on newer vehicles. It is also called a zero-pressure tire. It is more durable than a donut tire. It is made of tougher materials that's why it can resist deflation even when it has been punctured.
But still, this is a temporary fix for your vehicle. You're better off having it replaced right away.
This is the most durable among the different spare tire types. It may not be made by the same manufacturer as your regular tires, but it is at par when it comes to performance on the road. As such, you can use it for a longer time after replacing your flat tire with this spare.
Again, the distance and speed at which you drive using a spare tire would depend on the type of tire that you have.
Donut tires are not designed to be driven for long distances.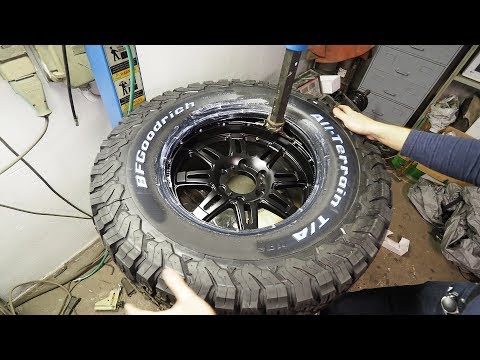 You have to maintain a speed of 50 mph or less. This means that you cannot use this on the highway.
Since donut tires are smaller than your other tires, they have to work harder to keep up with the rest. This makes them more susceptible to damages on the road.
With a run-flat tire, you can go beyond 50 mph since it has better endurance on the road. You can drive up to 100 miles with it. This will give you more allowance to find an able auto repair shop.
Lastly, a matching spare tire can be driven similar to a regular tire. You can go at the maximum allowable speed on the road and there's no limit on the distance.
Take note though that spare tires have different speed ratings so it's best to check yours. Don't go beyond the recommended speed to avoid damaging other components of your vehicle such as the transmission. It's bad enough that you had a flat tire, you don't need the added expense of additional repairs or part replacement.
Make sure you always have your tire removal kit with you so you can take off your spare tire under your vehicle without any hassle. With the right tools, this task doesn't have to be a chore.
Check out these articles for some related reading:
Does Firestone Patch Tires For Free?
20 Types Of Tires You Should Know
Swinging
If the car is slipping in a small hole it has made, it's worth trying to roll out this depression by moving back and forth. The end points of the movement should be strengthened with branches and stones.
Jack
If it is impossible to get out of the mud captivity, you can use the jack. Having raised the body from the side of the drive wheels, simply fill the holes under the drive wheels with stones, boards and other hard objects that are at hand. Remember that the jack should be installed on a hard surface, for which you should use boards or bricks.
Shovel
With the help of a shovel, without which, as you know, not a single serious jeep goes off-road, you can clear the road in front of the driving wheels or, alternatively, form a new one. There would be time and desire to dig.
Increasing traction
If you have put your car on your belly in a mud rut or buried in sand, you should increase the grip of the drive wheels with the road surface. Stones, branches, cardboard boxes and any garbage that can be found nearby are suitable for this.
If this is in short supply, use car mats. We throw them under the drive wheels and, smoothly adding gas, we leave the mud trap. If you often practice country trips, then it makes sense to also keep the so-called trucks in the trunk - plastic tracks that look like caterpillars - a very, very effective basis for freeing your car from the mud.
Lowering the tires
Lowering the tire pressure to about 1 bar is a very effective way to deal with difficult terrain. Remember to inflate all four tires regardless of your vehicle's drivetrain.
After this procedure, the rubber contact patch will increase significantly, and the number of lugs that interact with the coating will increase. The driven wheels, in turn, will fail less, which will reduce the resistance to movement. It is clear that to use this method, you should carry a pump with you in the car.
Grousers
Experienced backcountry drivers carry special snow chains with them for added traction. However, in the absence of chains, you can find a replacement for them.
Alternatively, you can tie lengths of cable or thick ropes (climbing ropes are best) across the tire, passing them between the spokes of the rim. Another useful device for such a scenario is special plastic ties - special strong clamps with lugs, which should also be kept ready when leaving for a country road.
Sling and tree
If there is a big tree growing in the immediate vicinity, you are in luck. Again, a towing cable, a strong rope or a sling will come to the rescue. We attach one end of the rope to a tree, wrap the other end around the drive wheel (working option if your car is front- or all-wheel drive) and smoothly press on the gas.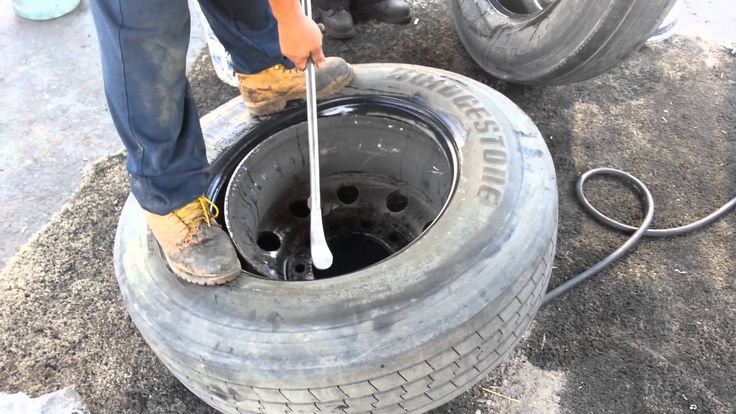 The sling will begin to wind around the wheel, and the car will start to move.
There is also an alternative - we wrap the tow rope around the trunk (as an option, around a thick log or scrap driven into the ground), and fasten both ends of the rope to the car's towing loop.
Then take a shovel shaft or pry bar, insert it between the cable bands and start twisting them with this lever. The length of the cable will be reduced, this force should be enough for the car left in neutral to move. Remember, however, about security measures! It is very dangerous to let go of your lever with lines wrapped around it.
Modern passenger cars are equipped with tubeless tires. Tires with rubber chambers inside are extremely rare today, only on super-budget vehicle options. Car owners have long appreciated all the convenience and benefits that tubeless tires have. Unlike chambered rubber, they keep air in the wheels by being sealed to the rim. The tightness of tubeless tires is ensured by a two-millimeter layer of rubber applied to the tire from the inside. It is he who prevents the passage of air. The coating of soft rubber layer provides tightness at the junction of the tire with the rim of the rim. The tire bead sits on the so-called rim shelf, which is equipped with a special rounded ledge. Thanks to him, the tire is securely connected to the wheel rim, and complete tightness of the joint is achieved. A tubeless tire is filled with air through a valve installed on the rim, on its rim.
Why did tubeless tires become so popular that they gradually replaced tubed tires? First, tubeless tires are much lighter. This is a very important and great advantage, because heavy weight enhances the inertial movement of the wheel when driving on, to put it mildly, imperfect road surfaces, which we still have much more than smooth autobahns. As a result, this affects the condition of the chassis, accelerates its wear. In addition, tubeless tires do not heat up during driving in the same way that chamber rubber heated up, in which the inner cylinder rubbed against the tire while driving. Such friction led to its rapid wear, and also increased the likelihood of tire rupture during movement. When a tube is punctured, the tube tire loses air very quickly, since it escapes not only from the puncture site, but also through leaky tire beads that do not fit snugly against the rim shelf. In addition, if such a tire is punctured, you will not be able to stop the car immediately, it will travel more than a dozen meters by inertia until it comes to a complete stop. During this time, the tube and the tire can be damaged more thoroughly, the rubber of the inner cylinder will “chew”. With tubeless tires, this option is excluded. Even if a puncture occurs, thanks to the tightness of the chamber and its periodic pumping, you can get to the tire service.
Tubeless and tube tires also differ in how they are mounted / dismantled. If chambered rubber can be freely disassembled or, conversely, installed at home, then such a number will not work with a tubeless one - the risk of damaging the side flanges is too high, damage to which will lead to depressurization of the tire. Due to the peculiarities of installation and dismantling, many motorists find it impossible to repair a tubeless tire with their own hands, especially on the road, not in a comfortable garage, but on the side of the road. And in vain. Of course, it will not be possible to completely eliminate the problem at a professional level without special equipment. But to make sure that the damaged tire still travels, and sometimes not only reaches the tire fitting center, but goes more than one hundred kilometers after an impromptu repair, is quite realistic.
To do this, use special tire repair kits, which can be purchased everywhere today by going to any car shop. Better yet, buy everything you need to repair a tubeless wheel yourself separately and always have it ready. By doing this, you will save some money, which is always nice. The fact is that manufacturers of ready-made repair kits, in an effort to make their kits more expensive and solid in appearance, include in them both really useful tools and materials, as well as those that you can easily do without. Using repair kits or separately purchased harnesses and tools, you can repair tubeless tires not only for cars, but also for trucks. This can also be regarded as one of the advantages of tubeless tires over tube tires. It is much more difficult to repair it with a puncture. It is necessary to disassemble the wheel, remove the chamber, find the puncture site, and then degrease the working area, cut out the patch, and seal the rubber balloon. After drying, the camera is installed in place, and the wheel is beaded. With a tubeless tire, everything is much easier.
RUNWAY Tubeless Tire Repair Kit, 7-Piece
If you find that your car's tubeless tire wheel is damaged, first assess the severity of the situation. If, in your opinion, you can do without repair, having reached a reliable tire service on periodic pumping of the wheel, then it’s better to do so. Tubeless tires were designed to hold air even with foreign objects sticking out of the cord. But do not forget that riding with a nail or other object in the tire causes the puncture to gradually expand and the tire around the damaged area begins to gradually collapse.
But, if it so happens that the damage to the wheel received on the road is too extensive, the chamber does not hold air and it will not be possible to complete the journey while inflating the tire, you need to choose the best method of temporary repair and start it immediately. A tubeless tire is repaired in the following ways:
When choosing a repair using a tourniquet, you need to decide what type of material will be used. The harness can be cord or rubber. Let's consider both of these options.
Wheel repair kit, 6 pieces
Cord harness has found wide distribution as a repair material for tubeless tires.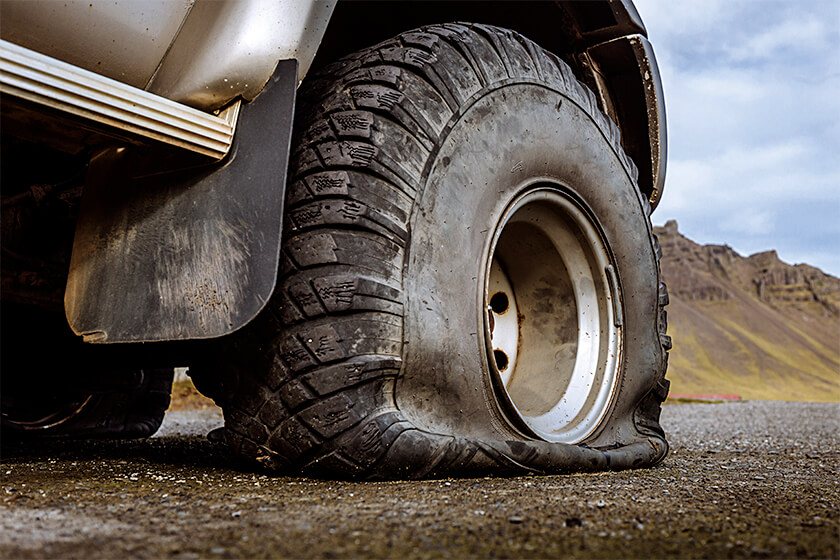 With this harness, you can carry out repairs in any conditions: on a city street or on the side of a country road. It is a strip of high-strength nylon, which is richly impregnated with high-quality rubber-based adhesive. Such harnesses are supplied to the domestic market by many manufacturers, they have certain differences in technical characteristics and cost. But all cord harnesses are installed according to the same type of scheme:
First of all, they find the place of damage and mark it with wax crayon or another marker.
Remove the item that damaged the tire if it is stuck in the cord.
Then you should check the tire pressure, it should not fall below 0.5 atmospheres.
Take a spiral awl and use it to determine at what angle the tire is damaged.
Apply vulcanizing glue to the awl.
Using the awl inserted into the puncture, coat the puncture site with glue in the most thorough way, for which you need to rotate the tool lubricated with it clockwise.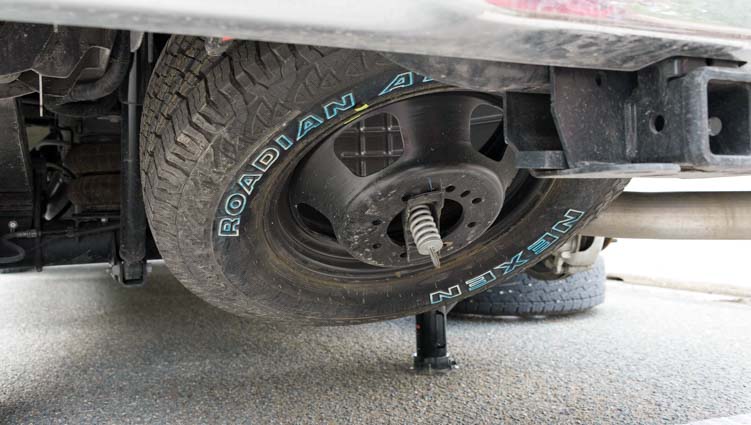 Perform this action three times - lubricate the awl and insert it into the puncture, then leave the tool in the cord for the time being.
In the meantime, select the desired harness and carefully remove the protective film from it.
Insert the tourniquet into a special needle, focusing on the center.
On both sides, cover the surface of the tourniquet with vulcanizing glue.
Remove the helical awl from the tire where you left it at the puncture site.
Install a pen with a needle and a tourniquet placed inside into the puncture.
By pressing the handle, install the needle with the tourniquet into the puncture, advancing to the stop at a given angle.
Remove the pen with the needle from the puncture site without rotating it.
Carefully cut off the parts of the tourniquet sticking out on the surface.
Then you need to determine how tight the tire is repaired. This can be done with the help of a special liquid, which is used to determine the puncture site. If, after applying such a liquid, no air bubbles appear, then the tire is temporarily repaired and can be used further. If air bubbles appear, try installing an additional tourniquet in the place of damage to the tire.
This method of temporary repair is inexpensive, but it has proven its effectiveness more than once. A tire repaired in this way without repair will serve you for a long time - up to 6 months.
A rubber harness costs more than cord, but it is also more reliable. They install it in much the same way as the cord one, but there are still some differences. For example, when installing a rubber band, do not use an awl in the form of a rasp, since it can damage the rubber band during installation. In addition, the rubber band must be mounted on the adhesive specified by the manufacturer in the instructions for the repair kit.
Raw rubber band for repairing RUNWAY tubeless tires, 5 pcs
In this case, an anchor is a special type of bundle, one end of which ends with a small patch. The anchor is installed in the same way as other types of harnesses, but in addition, it glues the puncture site with an internal patch. To do this, the tourniquet is pushed inward, and then pulled a little in the opposite direction. Anchor can only be installed using a special cutter with a diameter of 6 mm. It is purchased separately from the set. But your efforts will surely be crowned with success, because the anchor is considered the most reliable option for repairing a tubeless tire with a harness. But with the help of harnesses, you can not repair side punctures. And in any case, even if the repair is successful, it is necessary in the coming days to choose the time to visit the tire service. Remember that prolonged use of the harness will cause irreversible damage to the tubeless tire. And until the problem is fixed, constantly monitor tire pressure.
The second option for repairing tubeless tires involves the use of sealant. This option cannot be called optimal, but it has become widespread, since tire repair in this way is carried out very quickly, literally in a matter of minutes. And the result of its implementation is guaranteed to allow you to get to the intended purpose of the trip, without first stopping by the tire service you met along the way.
The sealant is very easy to apply. In this case, it is not necessary to remove a nail or other object from the cord, due to which the tire was damaged. Simply attach a bottle filled with sealant to the valve on the rim of the wheel and see that the contents of the bottle are pumped into the wheel. Keep in mind that repairing a tire with sealant will significantly disrupt the balance, so choose a moderate speed. But on the other hand, repairs with the help of a sealant are easy, simple and very fast.