If your pistons and cylinders are within serviceable limits according to your motorcycle manufacturer’s shop manual, you can install new piston rings and re-hone the cylinders.
If your cylinders are out-of-round and beyond serviceable limits, they may need to be bored to the next size up.
Cylinders that need boring should be taken to a machine shop with the right equipment.
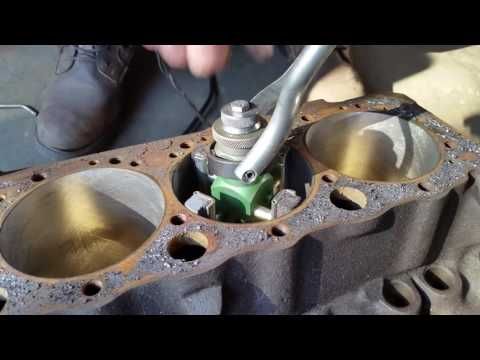
Honing a cylinder with a ball hone is a fairly simple job.
It only takes a few seconds to finish a single cylinder, and with the proper prep and practice, should go pretty well.
If you’ve got a history of over-torqueing bolts or have shaky hands, maybe it’s best to leave the job to a professional.
To hone a cylinder, you’ll need to:
Your goal is to create a 45 degree crosshatch pattern in the cylinder wall and to break up the glaze.
You do not want to take off any cylinder wall material if everything is within spec.
The process should not take very long – typically no more than a minute.
When you’re finished, clean and dry everything thoroughly before reassembly.
Run a rag through each cylinder to ensure there is not dirt or particles in there. Continue to clean the cylinders again until your rag comes out clean.
Apply some fresh motor oil to the freshly honed cylinder walls before you put it all back together.
The first step to honing your motorcycle’s cylinders is to gather the rights tools.
You’ll need:
The easiest flex hone to use is generally going to be a ball hone.
Choose the a ball hone in a size that matches the diameter of your cylinder.
Most manufacturers will have a recommended range.
As the hone spins, it will expand as needed to create the desired cross-hatch pattern on the cylinder walls.
Choosing a honing tool that is too large will take off too much material from the cylinder walls.
Next, you’ll need a power drill that can get up to about 1,200 to 1,600 RPM.
Make sure the battery is charged and the speed is set correctly.
Insert the ball hone and secure it properly so that it spins straight and true in the drill.
Finally, you’ll need to lube the cylinder walls with honing oil.
In a pinch, most types of penetrating oils will work, but a specific honing oil or machinist’s oil will be your best bet.
To prep the cylinders for honing, you’ll first need to apply the honing oil.
First, complete the disassembly and clean up the cylinders.
Place the cylinder block over a drain pan and apply some oil.
You’ll want to secure the engine block so that you can move the hone up and down the cylinder completely without running the risk of the block moving or falling over.
Apply some more honing oil to the honing tool and continue to apply honing oil as you hone each cylinder.
Pull the trigger on the power drill and get it up to full speed.
Insert the hone into the cylinder while applying more oil.
Keep the drill straight, and keep it moving at a constant speed.
You’ll want to move it up and down the cylinder a few times (typically no more than 5 or 6).
Each cylinder should really take no more than 15 seconds.
Remember, the goal is to create a crosshatch pattern on the cylinder walls. You are not trying to remove much material.
Less is more when honing a cylinder yourself.
After you’ve finished the process for each cylinder, you need to clean up.
Start by using a clean rag to wipe down the cylinder walls and remove any metal shavings.
Wash the engine block with soapy water.
Once rinsed and cleared of debris, dry the engine block completely with a clean rag and compressed air.
Apply a layer of oil to the cylinder walls after drying it to prevent any flash corrosion.
Honing a cylinder takes a small amount of surface material to help seat new rings.
Giving your cylinders a light hone will help break the glaze that’s built up on the cylinder walls to help the new rings seat.
If you’re working on a neglected project motorcycle, honing the cylinders can help remove any rust that has built up as well.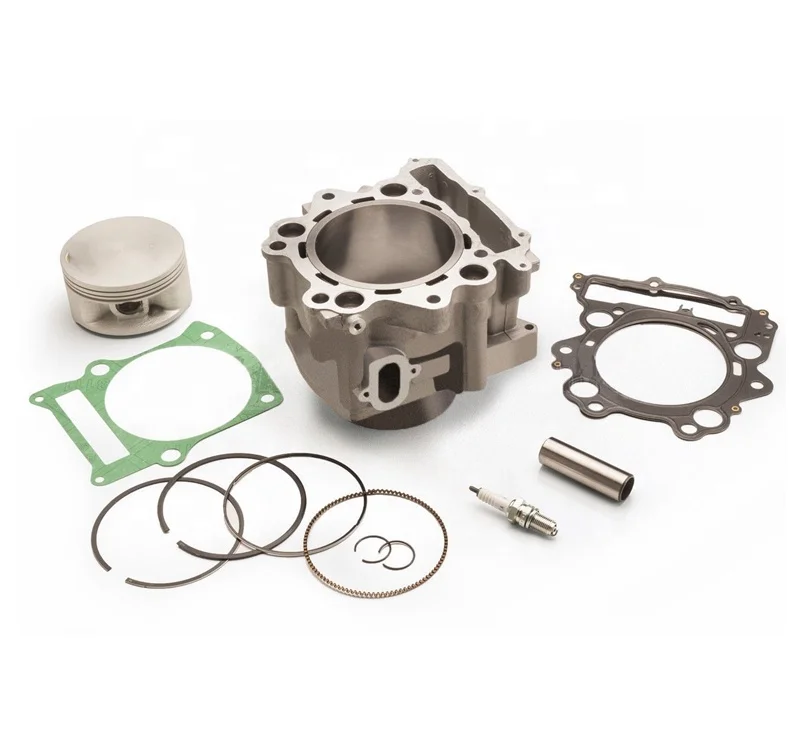
This will help improve engine performance and possibly eliminate any smoking.
There a several types of cylinder honing tools to chose from – ball hones/dingleberry hones and blade hone/stone hone tools. Hone tools will come in different grits, be sure to read the manufacturer’s instructions and recommendations before selecting the hone for your job.
Be sure you purchase (or set) the hone tool at the correct size for your cylinder.
The type of cylinder hone described on this page is a quick process.
Each cylinder should take no more than 15 seconds when done properly.
The goal is really just to create that crosshatch patter to help the new rings seat themselves when everything is reassembled.
If you hone for too long or with too much speed, you run the risk of increasing the bore of the cylinder – thus reducing compression and causing leaks when you reassemble the engine.
Maybe you've read that the cylinders in your motorcycle have a special plating, but what does that really mean? More importantly, if you're diving into a top end job on your engine, properly prepping your cylinder is a critical part of the process.
When you order a new piston kit, like the Wiseco kit shown below, cylinder prep recommendations will be included in the instructions that come with the product. Depending on your application, it will either say “deglaze/hone” or “bore and hone” or “bore/replate.” We’ll take a look at exactly what these different terms mean and how to perform these steps.
Wiseco parts for rebuilding an off-road motorcycle. Wiseco photo.
A common question is “Do I need to deglaze my cylinder?” The answer is: yes, unless it’s time for a replate or resleeve. If your engine has any time on it, the glazing process has begun. The term "glazed," in this context, refers to the motion of the piston ring(s) flattening out and polishing the surface of the cylinder wall during normal operation. The more time on the engine, the more glazed the cylinder is going to be. However, depending on how much time is on your engine and what type of cylinder you have, you may need to replate or resleeve, which we’ll discuss next.
If your powersports engine was made in the last two decades or so, chances are it is plated with a Nikasil (nickel silicone carbide), chrome, or electrofusion plating. Nikasil has been the latest and most commonly used cylinder coating, due to its wear-resistance qualities, but they do still wear out. We recommend checking your manual for normal top-end rebuild intervals, but generally if your engine has long hours, the overall condition of your cylinder will need to be closely reviewed. This will include not only the bore size and plating condition, but also the cylinder roundness and taper in reference to OEM service specifications. There are a number of good companies that offer replating services. Just do your research and choose a trusted company. Your cylinder should come back with fresh plating, honed, and ready to go after a quick cleaning.
Other forms of cylinders that aren’t plated commonly have iron or steel alloy sleeves. If your cylinder does have a sleeve, you should be able to see the seam between the sleeve and the actual cylinder. If you’re still not sure, check to see if a magnet sticks to the cylinder wall. If it sticks, it’s a sleeve, and if it doesn’t, it’s plated.
Much like replating a cylinder after normal top-end rebuild time, your sleeved cylinder should have a new sleeve installed. The same cylinder shops that do replating should do resleeving as well, and it will come back honed and ready to go back together.
In short, if your engine has enough time on it to need a full top-end rebuild, we recommend replating or resleeving your cylinder. Technically you can have your previously plated cylinder sleeved, but we recommend sticking with how it came from the OEM. If it is just freshening up with low hours on the engine, you should be able to just deglaze/hone.
This crosshatch pattern on the wall of the cylinder is the goal of the honing process. Wiseco photo.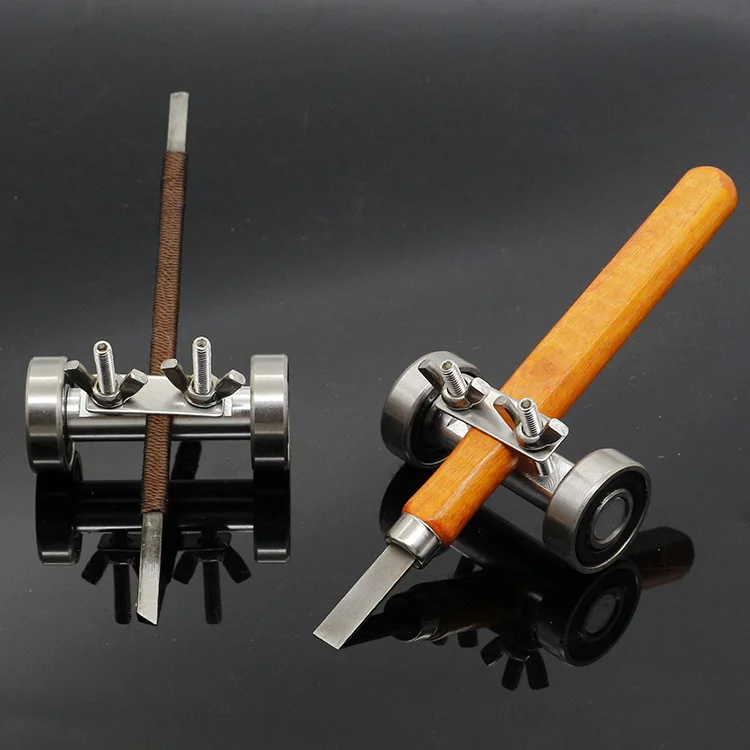
When your engine was made brand new in the factory, the cylinder was honed. Honing is a process of conditioning the surface of the cylinder wall to help with lubrication of the piston ring(s) during operation. Honing creates fine crosshatch imperfections on the surface of the cylinder bore. You can think of these imperfections as peaks and valleys in the surface of the metal. These are essential because it helps the cylinder wall retain oil to assist with piston ring lubrication. Theoretically, the idea is for there to be a very thin layer of oil between the edge of the piston rings and cylinder wall. If there was no oil to lubricate the constant contact with the cylinder wall, there would be too much friction and both the rings and cylinder would wear out quickly.
The term "deglazing" simply refers to re-honing your cylinder to put those peaks and valleys back in your cylinder wall.
A soft hone brush like this one is one of the tools that may be used to prepare the interior surface of the cylinder.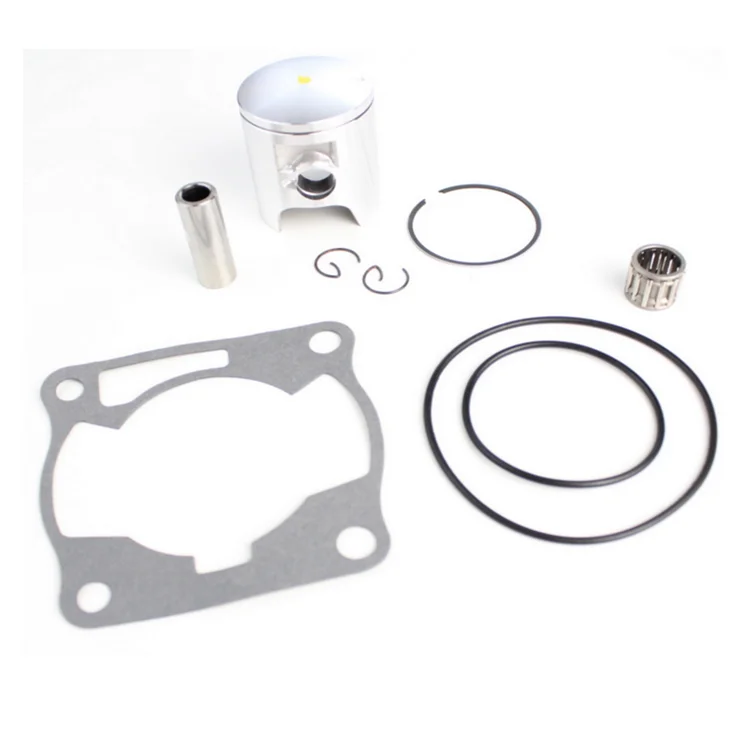 Wiseco photo.
The most common tools you’ll find for honing small engine applications are rigid or brush hones and ball hones. Hones can be ordered by size according to your cylinder bore. Just cross reference your bore size with the information from the company you order your hone from. The hone company should also have recommendations on grit and material type, based on what type of rings you have.
After disassembling your top end, inspect your cylinder wall and ports for damage. If you had a piston seizure or something break, chances are the cylinder was damaged. Depending on how extensive the damage is, sometimes cylinder shops can repair them. If you see any questionable damage or deep scuffs, we recommend sending your cylinder to a trusted shop for their best recommendation.
If your cylinder is in normal condition with no damage, and you’re just changing rings between top ends, honing should be the only thing required. If the glazing is minimal and you can still see a fair amount of crosshatch marks, you should be able to get away with using a rigid or brush hone to just restore those crosshatch marks. You should only have to hone for about 10 to 15 seconds at a time until you can see consistent crosshatch marks.
The ball hone will be a little bit more abrasive, which is why we don’t recommend using a ball hone on plated cylinders unless they are specified to be safe. If you do need to use a ball hone for heavier glazing on your sleeved cylinder, attach it to your drill and lubricate it with a light coat of motor oil. Make sure the cylinder is secured and stationary, and the ball hone is spinning before entering the cylinder. Hone the cylinder back and forth for about 10 to 15 seconds, then switch to the opposite spinning direction and repeat. Check the cylinder for the desired cross hatch marks, and repeat if necessary.
After honing is complete, be sure to clean the cylinder thoroughly until there is no residual material.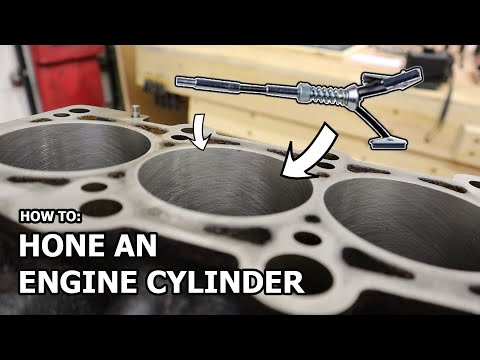
When reassembling your top end, always be sure to double check your piston-to-wall clearance.
Prep your cylinder properly during a rebuild to get the most performance and life out of your engine. Wiseco photo.
If the instructions for your new piston say “bore and hone” or “bore/replate,” it’s because you ordered a piston that is larger than the stock bore size. Instructions to bore and hone your cylinder mean your cylinder did not come plated from the OEM, and only requires to be machined out to the correct size for your piston. However, if it is a sleeved cylinder, consider having it resleeved, depending on the time on the engine. Instructions to bore and replate your cylinder mean your cylinder came plated from the OEM, so the only work required is to have the cylinder machined to the correct size for your piston, and then replated/honed.
In any case, we recommend having the cylinder bored by a professional machinist with the proper equipment.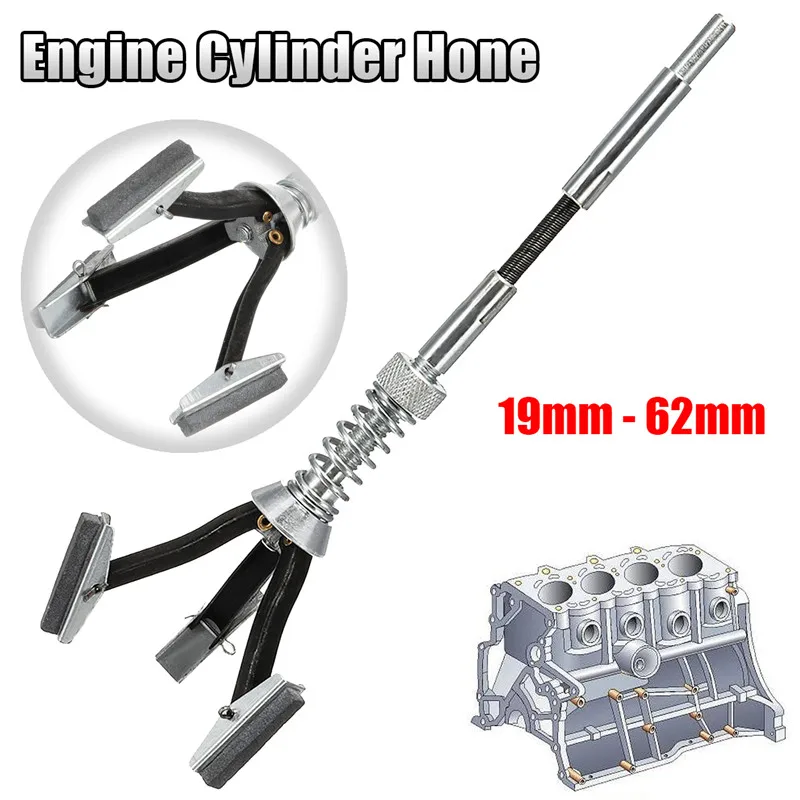 Cylinder shops that replate and resleeve usually have the capability to bore, as well.
Chamfering means rounding off sharp edges before reassembly, as has been done with this cylinder. Wiseco photo.
After any boring or honing work on a cylinder, it’s important to chamfer all ports and the bottom of the cylinder. Chamfering is smoothing out any sharp edge to leave a symmetrical sloping edge. Creating sloped edges on the bottom of the cylinder allows for easier piston and ring installation. You also want to make sure that the edges of the ports in the cylinder have a nice slope as well so the piston rings don’t get caught on any edges during engine operation.
If your cylinder has an exhaust bridge, be sure it is relieved 0.002 inches to 0.004 inches to allow for expansion.
Lastly, be sure to properly clean any parts that have been worked on. Cylinders that have been bored and/or honed will have residual honing grit. This must be removed by washing with warm soapy water until an oil dampened cloth does not show any grit after wiping the surface of the cylinder wall. Once clean, apply a thin coat of oil on the cylinder wall before proceeding with your rebuild.
Always be sure to cover all your bases when freshening up the top end in your machine. Giving the required attention to all areas will help you be sure you’re getting the smoothest performance and most reliability out of your engine.
Hello everyone. Each owner of gasoline equipment has faced (or will face in the future) a problem - this is cylinder wear. Here they do everything - either they buy a new cylinder and piston, or they buy a new piston, and go to the turner. They pay him grandmas, and he counts ... Many turners love blue (alcohol) and the straight-handedness of some leaves much to be desired ... I, however, propose to bore the cylinder myself! It's pretty simple.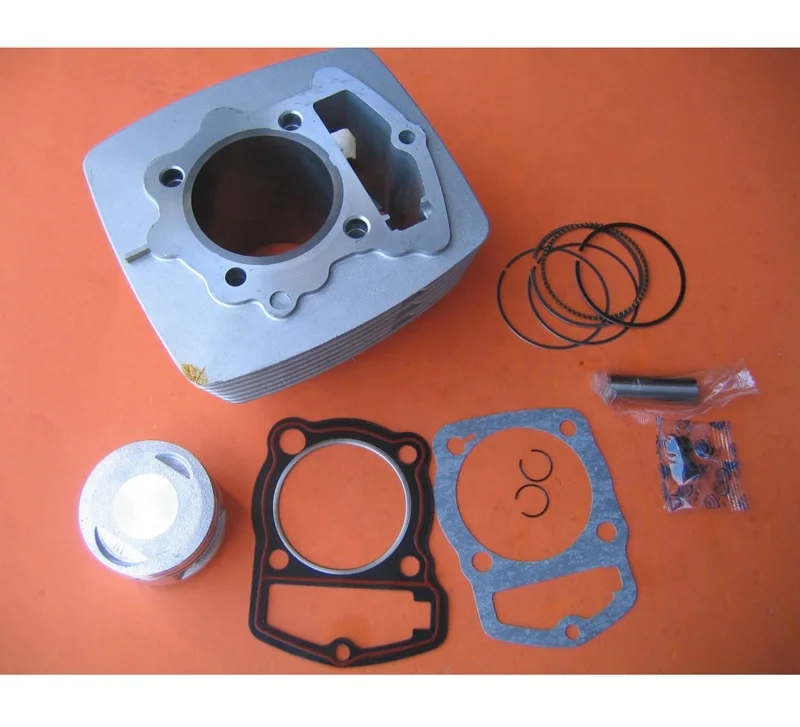
For injuries, accidents during repetition, for "jambs" and defects received when trying to repeat the contents of this article - the author is not responsible.
Remember that you are working with electrical appliances. It is impossible to allow the exposure of wires, and other defects in the cable network. It is desirable to carry out work on the street. If the workshop allows, then it is possible in it.
I hope everyone checked the wires, the condition of the sockets, their workplace, and are ready to continue.
Boring principle: a guide must pass along the entire length of the cylinder - it is also a "cutter" (shaft, cylindrical body). It must be perfectly cylindrical. BUT it must be less than the current piston that was on the engine. "Rewinding" sandpaper on this shaft will give us a certain "capture" of grinding metal. That is, the longer the canvas, the more the cylinder "eats" us. Exactly what is needed! To attach to the paper shaft, we need to make a groove. And fix our emery cloth in it.
In this operation we will need: birch log, caliper, marker, chisel, saw, cylinder (the one we are going to sharpen), piston (new and old), rasp (you can file), drill, long a bolt with a nut or a stud with two nuts, sandpaper sheets "10", "6", "5" and "0" (on a woven basis - they will not work on paper). A few caveats at once - the stud or bolt must be at least 8mm in diameter. The best solution would be 12mm. Sandpaper is selected independently, on the type of boring. it is desirable to go through the "rough" and bring "to clean water", and not to drive the draft until you turn blue. Then fix the final one, and buy-select a new piston ...
Let's start - we will measure the sleeve with a caliber with a caliber:
We take a 10mm allowance, and measure it on the already detected flight:
We will sleep the resulting:
9000 9000, where we have about where we have about where we have it. "more meat", and set a simple markup there and drill:
We immediately take a chisel that is larger - and chop off the extra "meat". We give the shape of a cylinder.
But the shape of the cylinder will not work, something like an oval will turn out:
Tighten to a creak in the teeth.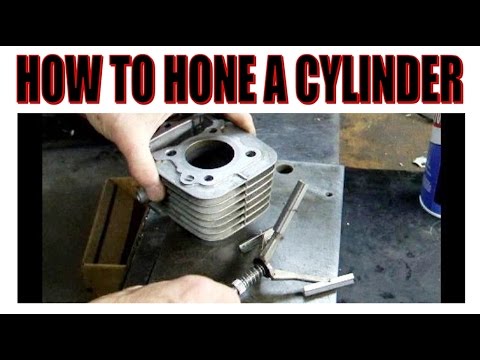 When inserted into a drill - tighten to a squeak in your teeth - it will unwind with a bang. You tighten it harder - it won't run away. Now fix the drill, make an emphasis on the chisel, and spin the cylinder by pressing the "gas" at the drill. Take frequent technology breaks. During breaks, tighten all nuts. If unscrewed - the results can be disastrous ...
Substituting the chisel (smoothly substituting the chisel!) we achieve that we first get an oval:
Then the shape will remind us of a cylinder-shaped object: I think there is no need to explain that finishing was no longer carried out with a chisel, but with a rasp, and later with a file.
You should have a long wooden piston for the cylinder. Just well relaxed. Somewhere at 0.3-0.6 mm.
Something like this:
This is an example of relaxation.
Next, we will make a technological cut in a wooden blank:
And we need to make a "latch" for it, that is, a latch.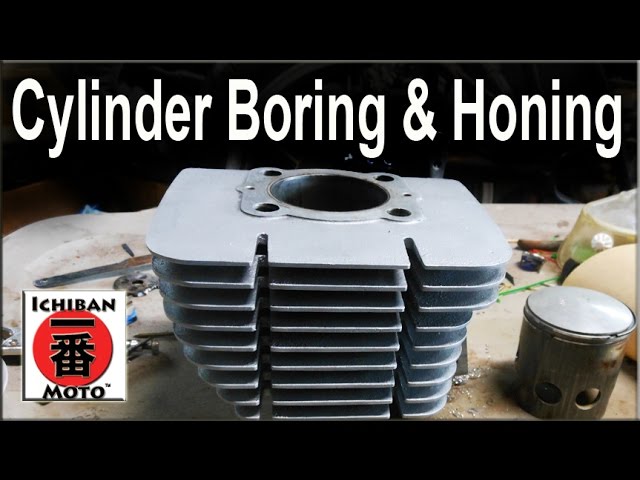 So that the sandpaper does not run away from us somewhere far away. Here I honestly admit - I stepped in the wrong place.
I made it in wood:
And it looked like this:
But when I started to refuel, I realized that it does not hold well. The answer was not long in coming - a 3mm welding electrode perfectly suited as a latch.
Make a fastener for the drill - it tends to run away from you!
Now let's see how we will have a work area:
We can start measuring.
We buy a new piston, a repair size higher (usually 1 unit) and see how and where it fits in with us (if it doesn’t fit, then everything is still ahead).
We shove in different directions to understand where and what interferes. If the cylinder worked in risky modes, then it has a huge output. Mine ran too early, a little lean, which gave quite a lot of revs.
The cylinder mirror is great, but here is the output:
What you see on the cylinder liner is dirt. That is, the lubricant, once the former. After removing it, for some reason I preserved it. I don’t know why myself ...
Having measured the piston (if it goes inside me, but it wedges right in the middle), I realized that it needs very little sharpening. If the piston doesn't fit at all, then yes, we'll see how much we need to grind. Usually in such situations, they sharpen 0.1-0.15 mm. I sharpened 0.01-0.07. It is advisable to pick up such a piston in the store so that it barely enters. Then it will be better to bore in that you can pick up the piston even more and bore it again. In the pictures, just a worked out cylinder, which seems to have served its resource in this repair.
You've been waiting for this for so long, let's start the process.
We put sandpaper into the technological groove, give a short "gas" to the drill.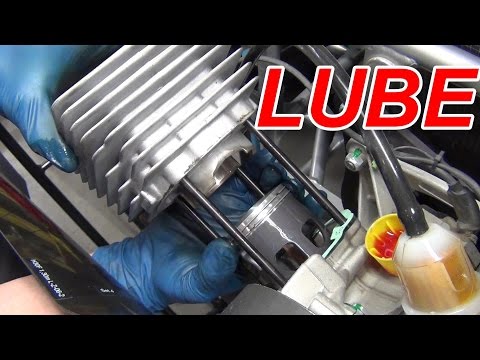 After that, we have sandpaper tightly envelops our shape. We select the effective length of the sandpaper as follows: measure a large flap of the canvas, completely wrap it on the form. We put our cylinder on a muffled drill. Doesn't climb? So we rewind a little, and mercilessly tear off the extra flap from the sandpaper. The effective thickness is for the cylinder to go in with little effort, but not too tight. You need to start with "10" grain.
We drove a little, we see that our sleeve is gradually increasing in size. The piston slowly starts to climb. A couple of tips:
 Let it already clogged with chips, clean it, and continue to work
 Subject to all the rules, slowly, you can get this result :
Then the cylinder must be flushed with gasoline. And then - lubricate with oil (if you install it on a vehicle), or lubricate with grease / lithol (if you preserve it until the next breakdown).
Now my favorite phrase:
From the first time, a young specialist may not get the desired result. This is due to his inattention, and ignoring my advice. If you follow this article clearly, you can also bore the block at the machine. But who will need it - I do not know.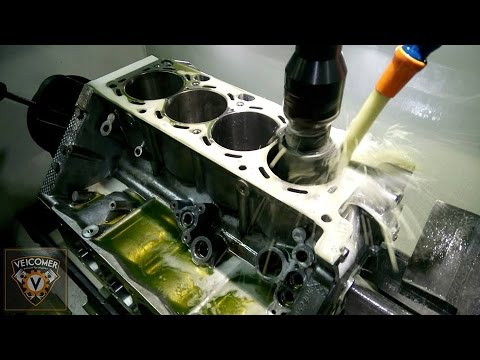
Comprehensive restoration of components and assemblies of engines of cars and trucks, special machinery and equipment, using modern equipment.
Consultation
4
make up the production and technical park of the UMA Autotechnical Center network, which allow you to perform a full range of work on the restoration of engine components. FREE Delivery of mechanical processing
We will pick up the repair and deliver the order within the EKADs and in the satellite cities
- Cylindrical and surface grinders
- Boring and honing machines
- Milling machines
- Lathes, drilling machines and a number of special machines
pistons, manifolds and other parts.
More than 25 years of experience in the repair of engines of any cars
- FULL REPAIR CYCLE
A full cycle of repair work is carried out on our own professional equipment: removal / installation, disassembly / assembly, machining, diagnostics and tuning.