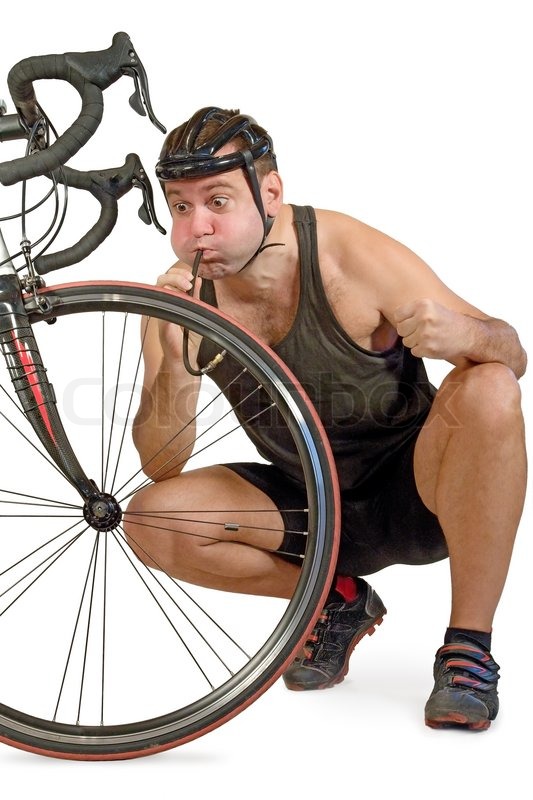
I headed off from my house one Saturday early in my biking career, drooling with excitement for the mountain bike ride I’d been awaiting all week. Then, before I had reached the trailhead, I noticed my rear tire was significantly low. I felt like I was riding through mud – on the pavement! Remembering a gas station with an air pump on my way to the trailhead, I figured I could easily pump up my tire without a wasted trip back to my house.
But, when I tried to inflate my mountain bike tire… AAACK! Foiled! The gas station had a standard car pump and, new biker that I was, I forgot my bike tires have a presta valve. A week of hungering for a mountain bike ride… RUINED! All because of a puny little valve. Oh, the angst. Do NOT let this happen to YOU!
Unless you grew up biking, most of us are so familiar with car tire valves, we assume it’s the only type of valve. In truth, car tires use what’s called a Schrader valve. It’s about the diameter of a pencil and has a tiny “button” in the center that, when pressed, allows air in or out, but holds air pressure relatively steady when not compressed.
Presta valves, on the other hand, are significantly skinnier than Schrader valves. They don’t have a button in the center of the valve and instead have an attached screw mechanism at the tip. When screwed closed, it holds air pressure in the tire. When unscrewed, you can pump air in or release air out.
Presta ValveCurrently, presta valves are the most common type of valve on high-end mountain bikes. Racers and high performance cyclists prefer them. They’re becoming increasingly common – even on mountain bikes on the low-end of the price spectrum.
Why, you ask. (Perhaps with a significant number of swear words as you kick your flat mountain bike tire or throw your useless Schrader pump.) Why use an uncommon, obscure valve that doesn’t fit a standard pump? Is it just to make mountain bike newbies suffer? Why? Why?
No, it’s not just to frustrate you.
Presta valves are generally more reliable and allow pumping your tires to a more precise pressure. By virtue of design, all Schrader valves release tiny amounts of air over time, requiring occasional “topping off”. Having a cap on the valve can significantly decrease the air loss, but it still means, at any given moment, your tire may not have the pressure you pumped it to.
A casual mountain bike rider may not know what pressure they should be riding or even notice when the pressure is off. But for high-speed riders, tire pressure can have a significant impact on speed, race performance and riding safety.
The screw on the tip of the presta valve allows a rider to close off the tube at the desired pressure and not require a cap. Barring an unnoticed leak or a puncture during a ride, the tire will now reliably hold the pressure you want.
You can inflate a presta valve with a common air pump, such as at a gas station or portable air compressor.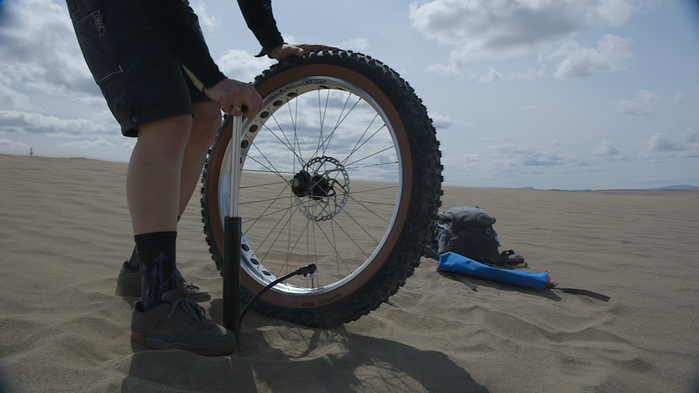 However, you need an adaptor that’s ridiculously small in size but huge in importance: a presta valve adaptor.
Here are the steps to inflate a presta valve with a standard pump:
Since more and more mountain bike tires use presta valves, most bike pumps are either universal (meaning one hole works on both presta and Schrader valves) or they have two separate holes, one for each valve type. However, you should always carry a valve adaptor when you ride for situations when a standard pump is the only option. Some cyclists do this by keeping a valve adaptor screwed on their tire valve all the time. Just make sure the valve is screwed closed before putting the adapter on!
Presta valve adapters are extremely tiny and portable. This also means they’re easy to lose. The good news is they’re fairly cheap. I usually buy a handful at a time and keep one in my garage bike tools and one in my portable tool kit for rides. Having one in your glove box isn’t a bad idea, either!
All bike shops sell valve adapters and some general sporting goods shops and hardware stores carry them as well. You can also buy valve adapters online easily and cheaply.
This simple question actually does not have a straightforward answer. The simple rule is to refer to the tire manufacturer’s specs on tire pressure that are printed on the sidewall of your tires. Consensus of riders is that mountain bike pressure should be 30 psi on the front tire and 33 psi for the rear tire. This information should serve you well if you have only a casual interest in mountain biking and are doing entry-level to intermediate trails two or three times a month.
However, if you spend a significant amount of time on your bike (and an equally significant amount of time dealing with pinch flats, blowouts or skidding out on corners), you’ll want to dive deeper into the science of bike tire pressure.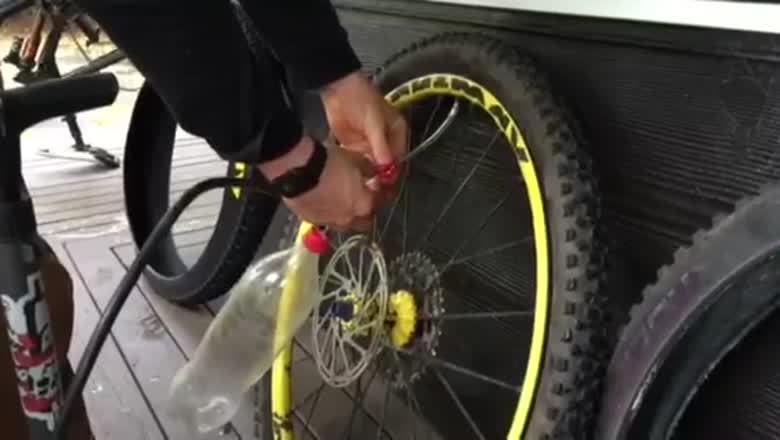 DIY Mountain Bike has a fabulous, in-depth article and survey results examining appropriate bike tire pressure.
The fastest and easiest (and cheapest) way to check your tire is with your hand. When you squeeze it, it should be hard in the center with only a tiny bit of give farther out on the tire near the treads. A hand test, however, is – not surprisingly – not very accurate!
If you want to be precise, a tire pressure gauge will be necessary. But be warned: tire pressure gauges are notoriously unreliable and the sensitive sensors are easily broken. For my recommendation, read my tire pressure gauge product review.
If you’re in a pinch (perhaps literally!), and you don’t have a universal pump or a valve adapter, you can modify a tube cap to create a functional adapter using a presta valve CAP.
 Find the place on the valve cap where it gets smaller. Cut at that spot with scissors or whatever you have that will do the trick. Throw the tiny tip away.
Remember to screw the tire valve shut after inflating! I know you’re tired of hearing that, but it’s important.
Now that you know everything you need to about how to inflate a presta mountain bike tire, you’ll never find yourself hungering for a ride and find yourself deterred by a standard tire pump!
And don’t forget to screw the presta valve closed…
Professional writer Kat Jahnigen was 2 miles from the nearest village – and roughly 2,310 miles – from the nearest English-speaking town – when her bike tire burst. At that time, she was a college student on a bike trip across the desolate, rocky island of Crete. It suddenly occurred to her that it would’ve been good to learn some basic bike repairs before setting off on a solo bike trip.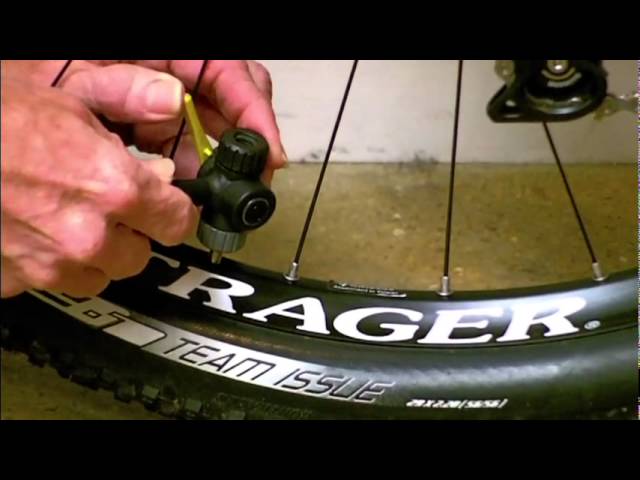
Check out Kat’s website WriteHire at writehire.net.
Learn how to inflate presta valves in just a few simple steps.
Image Credit: Kelly-anne Leyman/Hemera/Getty Images
You'd think inflating a bike tire would be pretty simple. That is, until you take a look at your bike's valve. Enter, intimidation.
The most common type of bike valve is called a Presta, and it's a long, cylindrical piece of metal that sticks out from the bike's tire. It has a small tip at the end.
Fortunately, you can pump up a Presta in just a few simple steps, according to cycling coach Garret Seacat, CSCS. All you need to fill your tire is a compatible bike pump (more on that below).
Check out this video and step-by-step instructions to learn how to inflate a Presta valve. Then get ready to ride your bicycle flat-tire-free.
 Find and Unscrew the Valve Cap
The valve should be on the inside of your tire. Unscrew the small point (aka nut or cap) near the top of the valve. It will turn in a circle and move upward until it's at the top of the thread. Don't force it past this point, recommends Seacat.
Once the cap is in the top position, press the valve. If you feel a little air coming out, you're ready to go.
Connect the pump head to the top of the valve and lock it in place. (Some pumps require pulling a lever while others involve pressing a button at the end of the hose, he says.)
Start the flow of air, monitoring the tire pressure as it inflates. Continue pumping to the pressure measurement or PSI listed on the tires, Seacat says.
Unlock the head of the pump and remove it from the valve. (Reverse the motion you used to attach the pump.)
Make sure to screw the nut of the valve back into place, Seacat says. Tap the top of the valve. If no air comes out, your job is done.
Misplaced your cap or need a new one? You can buy a replacement to keep your tires inflated and valve damage-free
While most bike pumps are compatible with Presta valves, some aren't. Scraders are another common type of pump and fit with (you guessed it) Schrader valves. (You can check your bike pump's manual or online product description to figure out which kind of pump it is.)
Fortunately, if you have a Schrader pump, you can still use it to inflate a Presta valve — you just need an adapter. These are super easy to install (generally all you do is screw them onto the valve) and inexpensive to buy online.
The Best Presta Valve Adaptors
 com, $5.99 for 5)
Related Reading
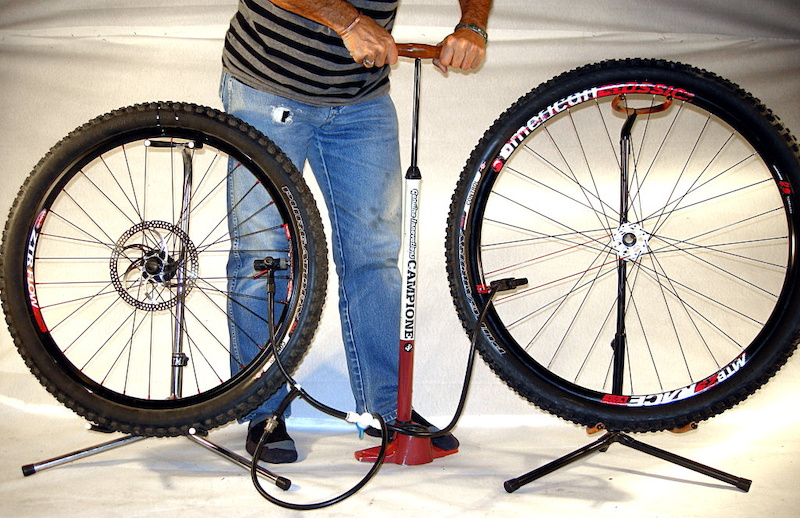
Hello everyone! In this article, we will tell you how to pump up a wheel on a bicycle. We'll give beginners tips on getting the right tire pressure, talk about different pumps, and cover all the challenges you might run into. Go!
To begin with, let's deal with tire pressure, since a lot depends on it, for example:
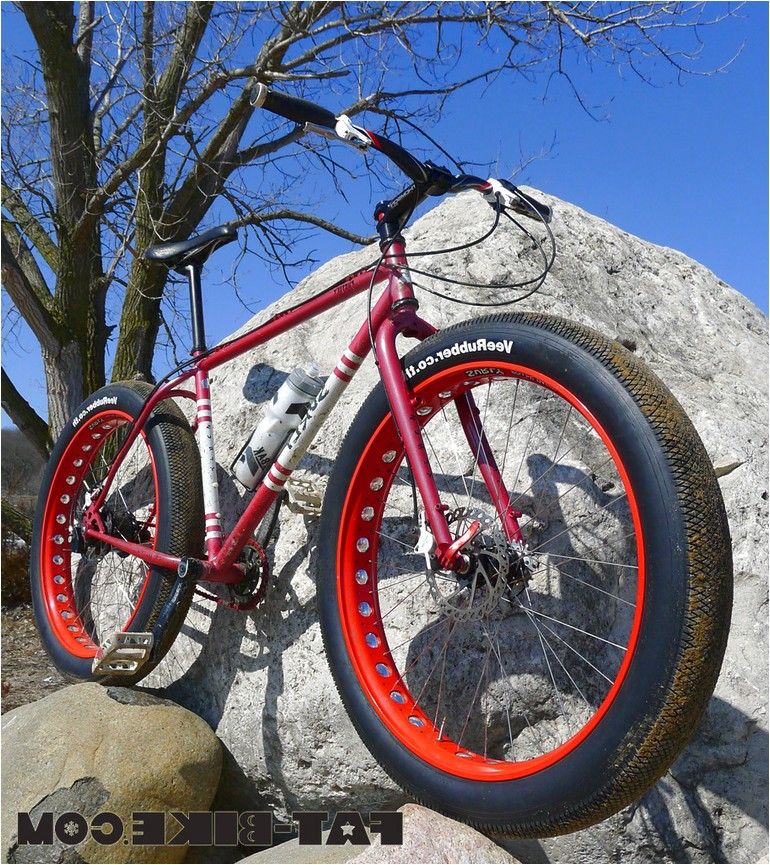
Bicycle manufacturers usually list the optimum bead pressure range, which can vary greatly depending on wheel width. For example, for fat bikes, the optimal pressure is from 0.5 to 2 atmospheres, for mountain bikes from 2 to 4 atmospheres. Well, for road models, suitable pressure ranges from 5 to 8 atmospheres.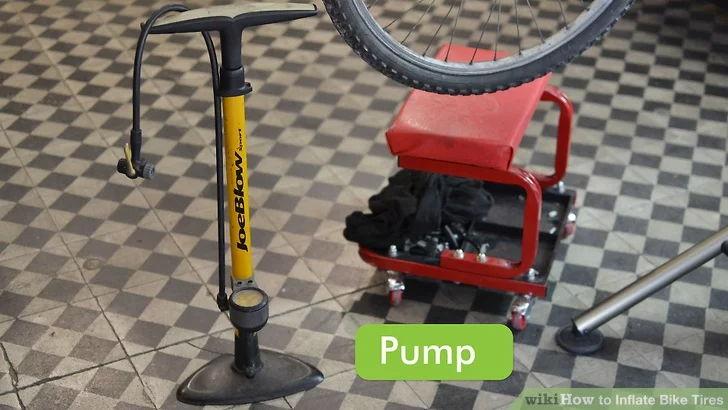
Based on this, it can be concluded that the minimum pressure is used where it is necessary to ensure good grip on uneven surfaces. Well, the maximum pressure increases the roll on a flat surface. Therefore, we recommend that you inflate the wheels according to how you plan to ride. If you don't have a particular preference, inflate at a medium setting for good rolling and traction.
The weight of the cyclist should also be taken into account - if you weigh little, then it is better to choose a pressure closer to the minimum, and vice versa.
There are three standards of nipples used on modern bicycles. This is:
Schroeder is the best known type of nipple, which is also used in cars. Therefore, you will meet him on most bikes.
Presta is a thin nipple often referred to as a French nipple. These nipples are most commonly found on high-end bikes. As for the Dunlop standard nipples, they are very rare.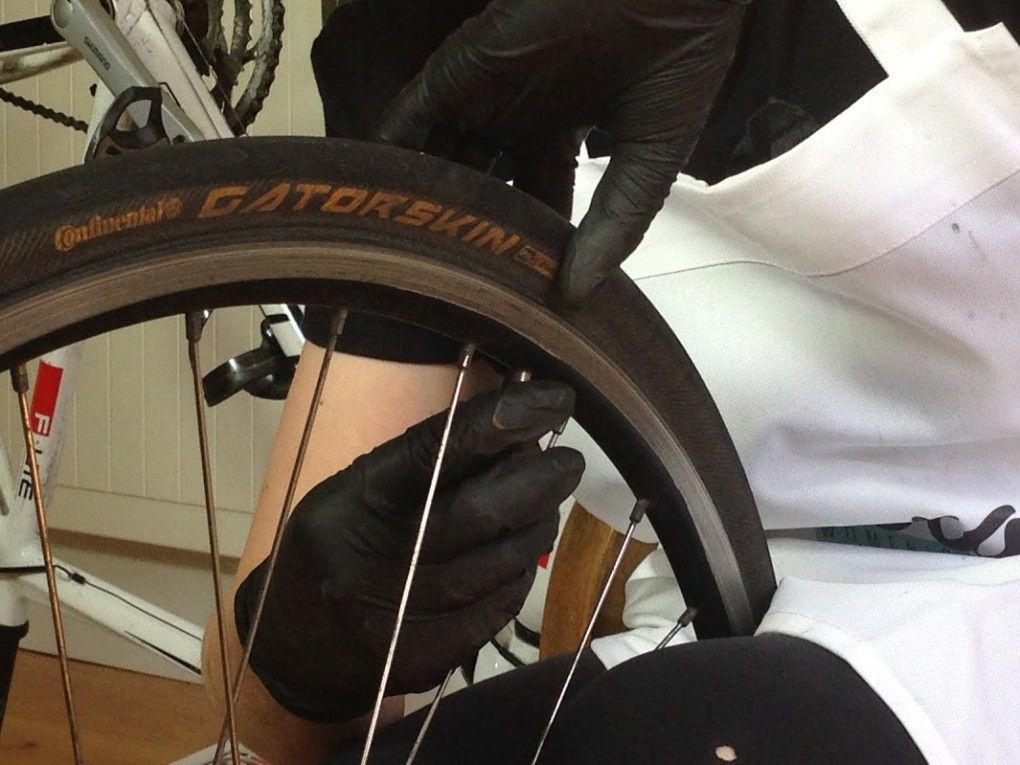
Some may think that each nipple requires a special pump. But this is not so - it is enough to purchase a regular car pump and an adapter for your type of nipple.
If you don't have a car pump, you can purchase a bicycle pump. Most of the models on sale are universal, and support all nipple standards at once. Bicycle pumps are:
Compact pumps pump the wheels for a long time, but they take up little space. They can be mounted directly on the frame, and always carry with you, which is very convenient.
Floor pumps are more comfortable to use as they blow in more air with one push. In addition, they are equipped with a pressure gauge that allows you to control tire pressure. These pumps are an indispensable tool for road bike owners.
That's all for today. Thank you for your attention, if this article was useful to you, please like us or share it with your friends. See you again.
Bought a bike and do not know how to pump up the wheel: how many atmospheres (what pressure) should be, what is the correct inflation process. And if you ask us how to inflate bicycle wheels, we are happy to advise and show you. In our article, you will learn in sufficient detail the rules and theory of inflating bicycle wheels.
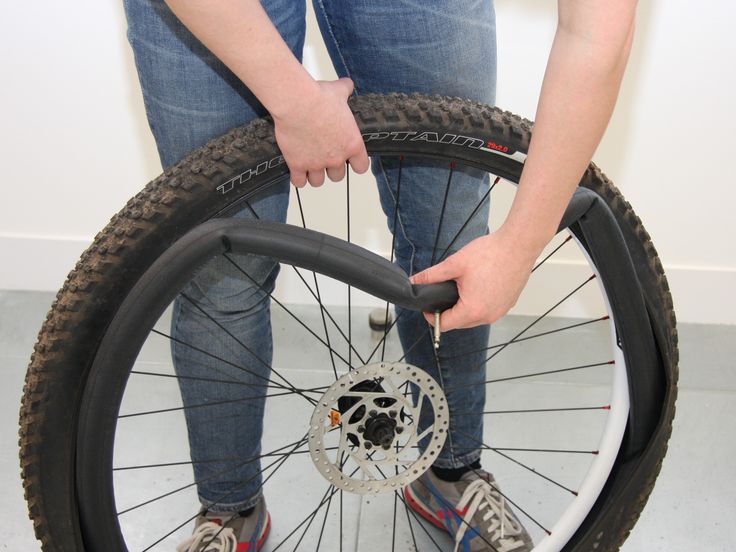
The inflation process is always simple, lean the pump, move the tail (clamp) and you can pump the bicycle wheel. Be careful while pumping. Below is a photo of what not to do. This inflation error is present in novice cyclists.
The position of the pump must be level. To do this, turn the bicycle wheel so that the camera nipple is in the lowest position. Then it’s easy to hold the wheel and it’s easier to clamp the napel
Pump up the wheel is not in a hurry. The first picture shows the incorrect position of the pump, and this process should be avoided. This is bad for the camera nipple. After all, most bikes have a nipple with a thin tip, and this thin tip of the chamber is unscrewed. And when you wake up to pump up the wheels, then there is a high probability of bending the nipple. This will affect the reliability of the integrity of the bicycle chamber.
The second picture clearly demonstrates the correct position of the pump at the time of inflating the wheel. This will allow both the chamber nipple and the pump itself to last longer.
What pressure needs to be applied. It's always worth looking at the tire. So for example mountain bike Comanche Tomahawk has an allowable pressure in the chamber from 2 to 4 atmospheres. This suggests that it costs 3 atmospheres to pump. But it is worth remembering that if you drive on asphalt in hot weather, the temperature of the asphalt will increase the pressure in the chamber. And the high pressure of the wheels can lead to the fact that the camera will simply burst from overexertion. Therefore, in hot weather, our bicycle shop Kupi.Bike pumps up no more than 3 atmospheres, and in spring or autumn, bikes are pumped up more, up to 3.5 atmospheres. So, for example, the Comanche Tomahawk mountain bike has a thick nipple and in spring or autumn we inflate the wheels to 3.5 atmospheres.
It is also worth bearing in mind that if a cyclist has a weight of more than 120 kg, then the wheels should be pumped up a little more, from the recommended figure. And it's always worth checking how the bicycle tire is inflated by pressing your finger on the wheel, on the tire of the wheel.