I refurbish a handful of tractors and snow blowers as a hobby and labor of love. This site reflects sample restoration projects I’ve selected, some of which I hope to complete in the future, and the ethical approach I take in selling selected finished machines from my collection. I perform service and repairs only on power equipment I’ve sold, and occasionally to help someone out.
This Library contains articles that inform the homeowner on how to better shop for, care for, and store his/her machine.
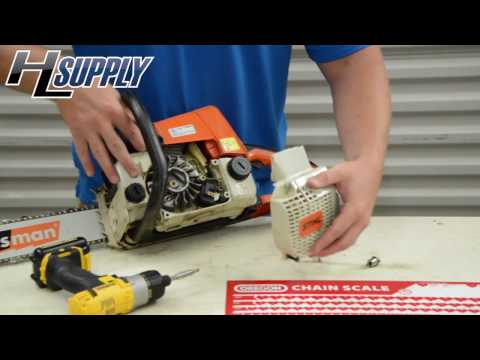
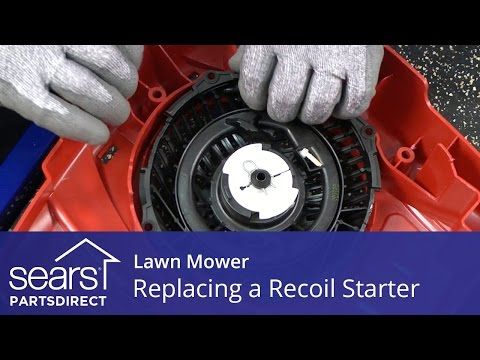
Installing a New Recoil Starter Cord
The recoil starter is the pull-start mechanism on the back of the engine that enables you to start your snow blower or lawnmower. The starter cord is also called a starter rope.
Steps for Removing and Replacing the Recoil Starter Cord
The following are step-by-step instructions for replacing a broken cord in the recoil starter for your snow blower or lawnmower:
Cord sizes come in numbered increments of ½.  Each increment of ½ in size corresponds to an increase of 1/64-inch in cord diameter.  Similarly, each increment in size of 1 corresponds to an increase of 1/32-inch in cord diameter.  Cord sizes generally start at #3 (3/32-inches) and extend to #7 (7/32 inches).  So, the range of sizes includes:  #3 at 3/32-inches (or 6/64), #3½ at 7/64-inches, #4 at 1/8 inches (8/64), #4.5 at 9/64-inches, #5 at 5/32-inches (or 10/64), #5½ at 11/64 inches, #6 at 3/16-inches (or 12/64), #6½ at 13/64-inches, and #7 at 7/32-inches (14/64).  This is probably more than you ever wanted to know about starter cord sizes.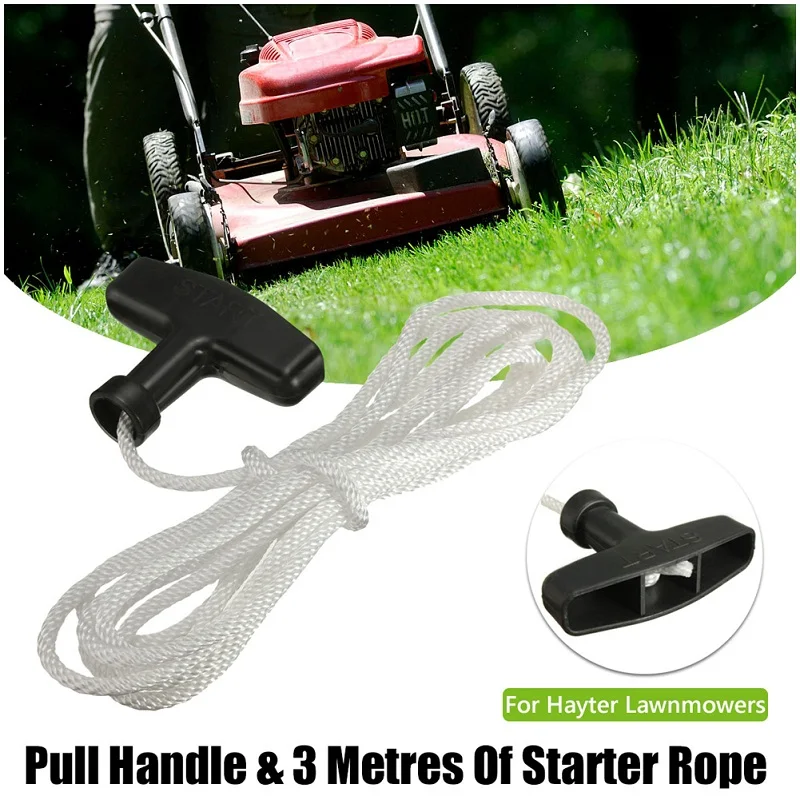
 If that is too cumbersome, you can go the other way and thread the cord from the inside through the hole in the pulley and then out through the hole in the housing. Tip: heat the end of the cord with a match or lighter to make a firm pointed tip for threading. Do this step at each end.
 Note: if you wind the pulley and there is no resistance, the pulley spring is broken and you are best off replacing the entire recoil unit.
Video Demonstration on Installing a New Recoil Starter Cord
Here are several YouTube videos that will help you install a new recoil rope.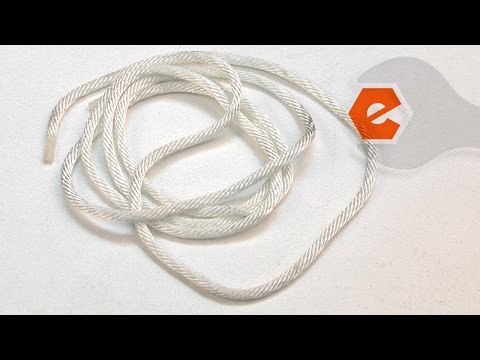 It's pretty simple. Tip: if there's no notch in the recoil pulley, simply pull out a section of the cord and rewind the pulley as is shown in the second video for a Honda recoil starter.
http://www.youtube.com/watch?v=lEdSvWr4kZ4
http://www.youtube.com/watch?v=OgJCdrnCnwg
http://www.youtube.com/watch?v=J0KJuqsJJ_k
Conclusion
Work slowly when replacing your starter cord. The first time you do this, you may find it frustrating. With time you will learn how to easily perform this job.
All article content and images copyright Jay's Power Equipment. All rights reserved.
Engine
The starter recoil assembly is present on any engine with a pull start mechanism. This includes some ATVs, go-karts, lawn mowers, weed eaters, and many others.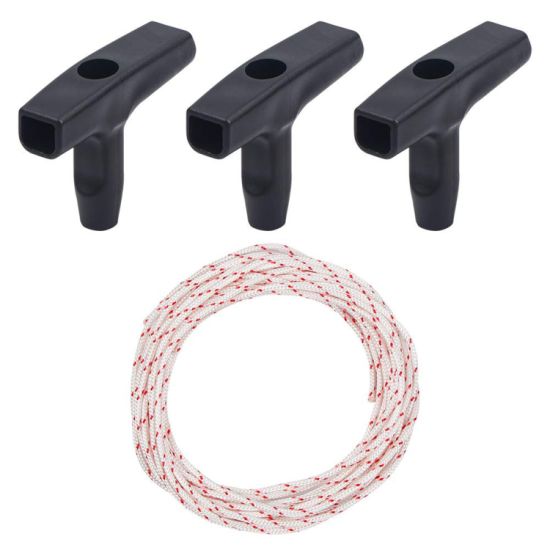 It is located at on the lower half of the engine. Whether the starter recoil is on the left or right hand side varies widely.
The starter recoil is a round assembly with a pull mechanism located on the top. Note that the photos below are of the starter recoil on a generator and a tiller. Starter recoils are present on a wide variety of engines but generally all look the same.
The starter recoil is commonly known as a pull start becuase it allows the user to turn the engine over manually. When the handle on the starter recoil is pulled, the attached cable or rope, with the assistance of internal springs, causes the recoil assembly to rotate. When this happens, tabs on the inside of the recoil (commonly referred to as dogs) catch the notches on the inside of an internal cup. This cup is connected directly to the crankshaft. The notches catching on the inside of the cup cause the cup to rotate, thereby rotating the crankshaft and turning the engine over.
Starter recoils are not a common wear item. That is, they do wear out but usually over a period of several years. This varies widely as there are a number of contributing factors. ATVs with an electric start as well a pull start may find that the starter recoil lasts longer due to infrequency of use. Additionally, the materials used in manufacturing vary widely. If cotton rope is used as the pull mechanism, it may stretch and wear out more quickly than cable. Fortunately, the recoil can usually be rewound to increase the lifespan of the assembly. As well as the pull mechanism, the dogs on the inside of the assembly may wear or break depending on the quality of material. Fortunately, the internal cup is not a common wear item and will most likely never need to be replaced in the owner's lifetime. The cost of replacing the external starter recoil assembly varies tremendously upon the engine type and manufacturer.
Filed in: Anatomy of an ATV
Share: Previous article Unboxing the KFI 4500-lb Stealth Winch Next article How to Make Your Own Inexpensive GasketsOriginal price $ 159. 99 - Original price $ 159.99
Original price
$ 159.99
$ 159.99 - $ 159.99
Current price $ 159.99
| /
Original price $ 129.99 - Original price $ 159.99
Original price
$ 129.99 - $ 159.99
$ 129.99 - $ 159.99
Current price $ 129.99
| /
Original price $ 40.00 - Original price $ 40.00
Original price
$ 40.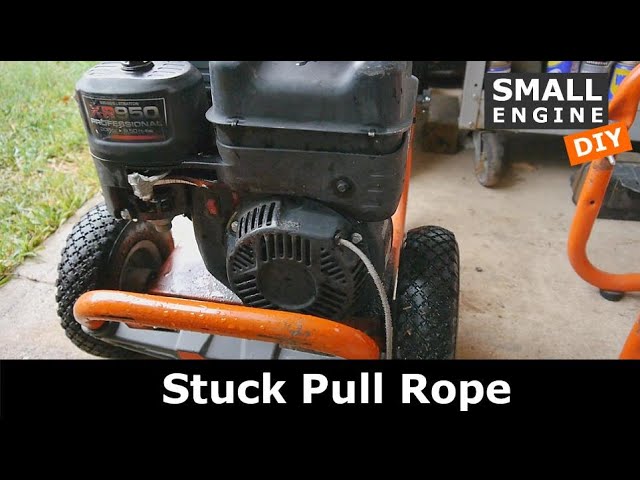 00
00
$ 40.00 - $ 40.00
Current price $ 40.00
| /
View all ODES UTV Performance mods
ODES UTVS best sellers See more
Original price $ 7. 99 - Original price $ 7.99
Original price
$ 7.99
$ 7.99 - $ 7.99
Current price $ 7.99
| /
Original price $ 38.49 - Original price $ 55.99
Original price
$ 38.49 - $ 55.99
$ 38.49 - $ 55.99
Current price $ 38.49
| /
Original price $ 49.99 - Original price $ 52.99
Original price
$ 49.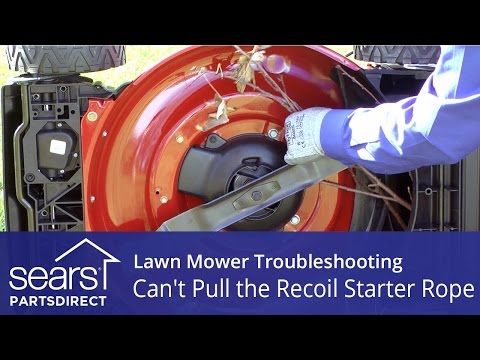 99 - $ 52.99
$ 49.99 - $ 52.99
Current price $ 49.99
| /
Original price $ 29.99 - Original price $ 29.99
Original price
$ 29.99
$ 29.99 - $ 29.99
Current price $ 29.99
| /
Original price $ 18.99 - Original price $ 18.99
Original price
$ 18.99
$ 18.99 - $ 18.99
Current price $ 18. 99
99
| /
Sold out
Original price $ 159.99 - Original price $ 159.99
Original price
$ 159.99
$ 159.99 - $ 159.99
Current price $ 159.99
| /
Original price $ 129.00 - Original price $ 129.00
Original price
$ 129.00
$ 129.00 - $ 129.00
Current price $ 129.00
| /
October 8, 2022
Read nowSeptember 16, 2022
Read nowAugust 30, 2022
Read now Almost all Gasoline generators, even those with an electric starter, are equipped with a manual starter in case of battery failure. The starter is the main link in starting the generator and it often causes problems with starting the engine.
Going to work far from civilization, add a spare manual starter assembly to the repair kit. In order to be able to replace a failed part and properly assemble a manual starter, you need to know how this mechanism works.
What is the recoil starter
How to assemble the recoil starter:
1. Pass the recoil starter cord through the hole in the spool and tie a knot.
2. Hook the side hook of the recoil starter spring into the groove of the recoil starter housing, install the recoil starter spring into the housing by turning it counterclockwise.
3. Install the recoil starter spring with the outer hook in the groove of the starter coil.
4. Install the starter drive ratchet onto the recoil starter coil.
5. Install the return spring on the recoil starter coil, catching its hook on the drive ratchet.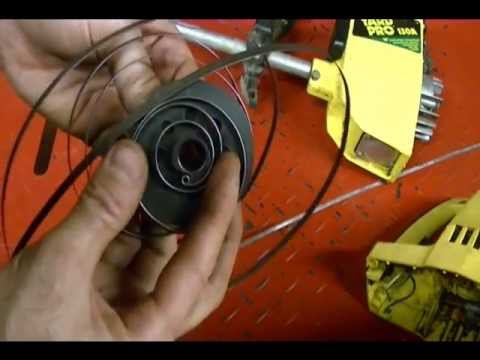
6. Install spring, ratchet housing and secure with set screw.
7. Unwind the recoil starter cord, pass it through the rear cover and recoil starter handle, and tie a knot. Pull the recoil starter cord lightly to check the ratchet operation.
Repair of the manual starter of the gas generator consists of the following steps
1. Replacing the starter cord of the gas generator. there will be enough laces (the handle will rest against the starter cover). Then pull the lace 15-20 cm, the pulley will turn, the spring will be tightened. Hold the pulley so that it does not turn back and put these 15-20 cm. release the lace. If it returns normally, leave it, loosely wind the lace around the pulley for another 1 turn.)
2. Replacement or repair of the spring.
3. Replacing the winding drum (pulley).
4. Ratchet setting.
If you need to repair the manual starter of the gas generator, you can contact our company and they will help you with the repair or selection of spare parts.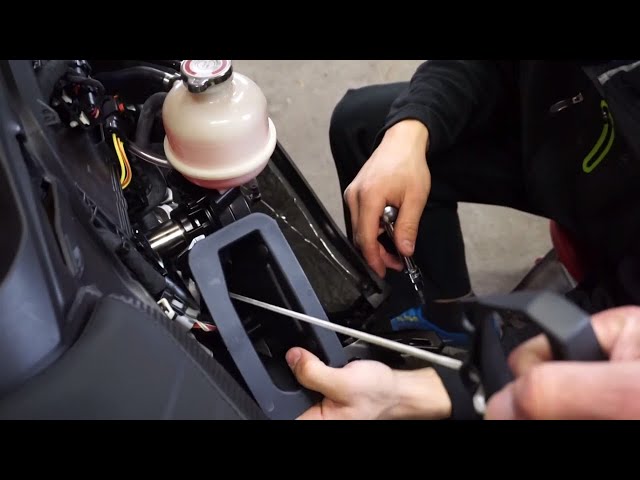
Do-it-yourself repair of a manual starter of a gas generator (video).
Need help repairing a manual starter for a gas generator? Please call: 063 202-90-70 097 023-42-42 .
minor repairs. In this article, we will analyze the engine start system on the ATV Stels 500GT and its malfunctions. This ATV is equipped with an electric start and a mechanical kickstarter. What happens when you press the electric starter button at the same time as the foot brake pedal?! That's right!, the electric starter starts to turn and the engine starts.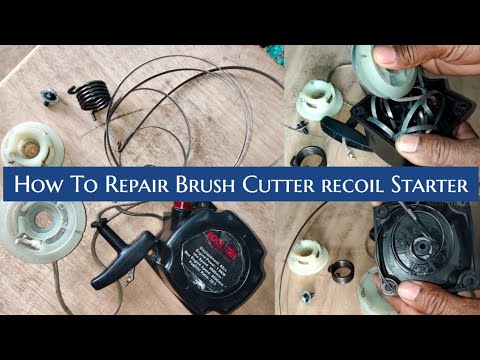 But unfortunately, there are breakdowns in this system and in order to start the engine, you have to pull the mechanical starter, and it is very difficult to turn the piston on such a not-so-powerful engine. Therefore, stock up on the tool listed below and let's check the electric start system in order and find out what the problem is. 1. You need a voltmeter, 2. A set of sockets and open end wrenches. First of all, we need to check whether power is supplied to the electric starter and whether the battery is charged to the desired level. Using a voltmeter, we check the battery charging (the voltage must be at least 12 volts), then we simultaneously press button
electric start and foot brake pedal.
At this point, there should be 12 volts on the positive terminal of the electric starter. If there is voltage on the electric starter and it is "silent", then it proceeds to remove the right cover on the engine, behind which the starting system is located, and a mechanical kickstarter is also installed in the cover itself. In order to remove the right engine cover on the Stels 500, you need to remove the right plastic driver-passenger footrest. Without removing this plastic element, you will not even be able to unscrew the bolts from the engine cover. Further, when the footboard is removed from the ATV, we unscrew the front mount of the gear shift rod and disconnect it from the shift knob so that the rod does not interfere with the removal of the engine cover. At the final stage, we need to unscrew the oil pipe mounting bolt. Now you can freely unscrew all the bolts securing the cover in a circle and try to remove it. By lightly tapping the cover with a rubber mallet, the cover gradually disengages from the motor guides. Having removed the cover, we will see the entire starting mechanism of the Stels 500 ATV engine. Next, we check the operation of the electric starter. For this operation, we need to pull the bendex out of engagement with the electric starter. When the electric starter gear is free, you can turn it on.
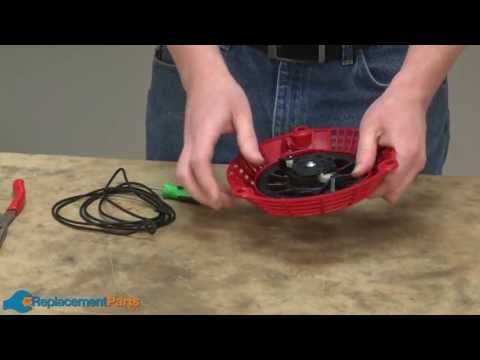 If the starter is working, it will turn without extraneous noise and wedging. If the starter shaft does not spin at this moment, this indicates a malfunction and the electric starter must be further replaced.
Let's imagine that the electric starter is working, and when we try to start the engine, we hear only a loud click. Then we take the socket wrench and turn the crankshaft to make sure that the crankshaft with the piston rotates freely. If everything is normal, the reason lies in the flywheel gear. Most often, dirt or ice accumulates between the gear teeth. But there are times when the gear becomes unusable and wedges when trying to start the engine. Next, we clean the trigger mechanism or change the failed elements. Apply a small amount of graphite grease to the moving parts.
It remains to check the mechanical kickstarter. It is located in the engine cover. Everything is simple here. We pull the cord by the handle and see how the wheel spins and whether the metal engagement tongue comes out at this moment.