Never operate tire studding or other equipment without proper safety equipment. Shop approved safety glasses and work gloves should always be used for your own protection.
The stud gun will automatically return to the start position leaving the tire stud in the tire. The timing of steps 4, 5 and 6 are important and take some time to learn.
Helpful Hints and Recommendations
Properly and Improperly Installed Studs
Advise the customer that the studded tires require a break-in period. The customer should drive normally (try to avoid hard cornering, acceleration and braking) for a few days or so (approx. 50-100 miles) to allow for proper tire stud seating.
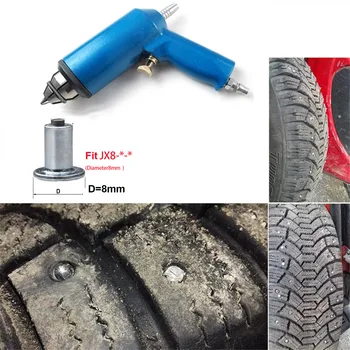
How to Video: TSIT-9 Stud Insertion Tool
How to Video: Stud removal
How to Video: K500 Stud Insertion Tool
How to Video: TSIT-9 Repair Video
by Jody L. Campbell
tire texture image by João Freitas from Fotolia.com
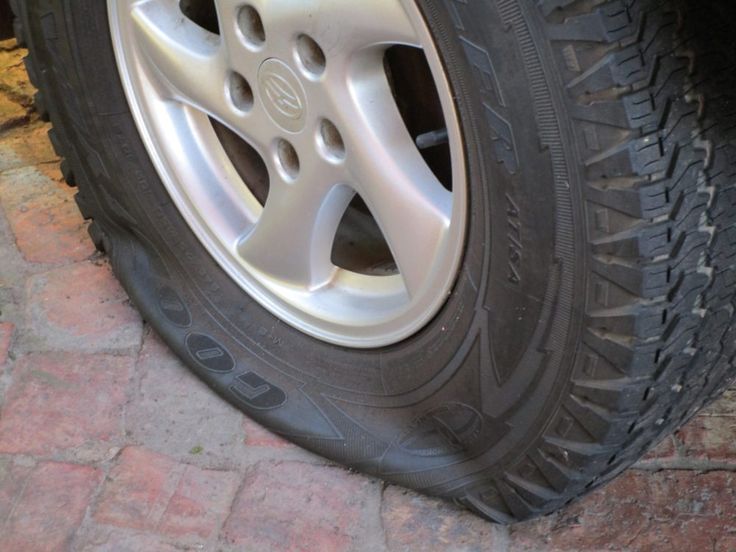
Tire studs are small metal studs inserted into pre-manufactured holes in a winter tire designed specifically for them. As do tires, tire studs come in different sizes. The larger and thicker the tire, the large and broader the tire stud. Most tires that accept tire studs will designate what size stud they take on the manufacturer's sticker on the tire. Another place to look is the sidewall of the tire. Only insert the proper-sized tire stud into the tire. You may also want to check on your state's tire stud laws before installing them. Some states have limitations to what months they can be on your vehicle, and some prohibit them altogether. As a driver, it's your responsibility to know the laws of whatever state you're driving in.
Spray a very small amount of lubricant into each stud hole of each tire you're studding. This will help seat the stud in the proper location.
Attach the stud gun to an air hose, and allow pressure to build up in the air compressor.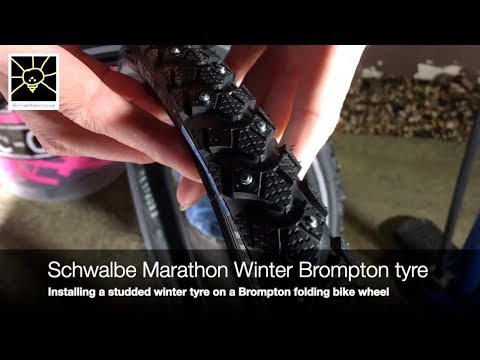
Load the studs into the basket and spin the basket in order to feed the studs into the chamber of the stud gun. Depending on the size of the studs, you may be able to fit an average of 20 or so studs per load. Less for larger studs. Each time the chamber clears, you'll have to reload the chamber by spinning the load basket.
Press the three-pronged tip of the stud gun into each lubricated stud hole of the tire, and squeeze the trigger. Do not bury the stud too deeply, as you could puncture the bladder of the tire. Do not allow the stud to stick out too far, as it will most likely peel out and fly off from the tire under duress while driving. You want the tip of the stud to extend just past the surface of the tire. If studs enter the hold crooked, use the needle-nose pliers to extract them and try again.
Stud the tire one hole at a time. This can be performed on a mounted and air-filled tire, provided it's not a used tire or a re-stud. It is not recommended to stud old tires that have been used on the road before.
Tips
Things You'll Need
Writer Bio
Jody L. Campbell spent over 15 years as both a manager and an under-car specialist in the automotive repair industry. Prior to that, he managed two different restaurants for over 15 years. Campbell began his professional writing career in 2004 with the publication of his first book.
It can be a shame when most of the tread height of winter tires is still preserved and performs its functions perfectly, and half of the studs have already fallen out of their sockets. Is it time to throw out the tires or can they be restored? Some motorists prefer to install new spikes on winter tires with their own hands. Self-studding tires allows you to use high-quality materials and reduces material costs for the purchase of new tires. 9Studs They are divided according to the following parameters:

When choosing studding elements, consider: riding speed, driving style, tire characteristics, tread height. When re-studding, pay attention to the size of the attachment points of the dropped spikes, as a rule, the sockets are slightly broken: it makes sense to use a larger diameter of the products. "Native" spikes will not stay in broken sockets.
It is not difficult to install stud elements at home, you must follow these rules:
We recommend watching a video about tires using repair spikes:
To install thorns on winter rubber with your own hands:
Tires can be studded in three ways:
 The speed of studding is significantly increased. The complexity of this method lies in the need to properly hold the stud element so that it enters the rubber evenly.
 Consider the process of studding tires without special holes for studs. It is quite laborious, it is performed as follows:

The installation of studding elements in tires with special holes for studs is carried out in a similar way, while labor productivity increases several times. There is no need to make special holes in the tire for attaching spikes.
Do-it-yourself studding of winter tires is used for re-studding and re-studding of tires. The studding process makes it possible to equip winter tires for individual vehicle operating conditions. Restudding prolongs the life of tires, makes it possible to restore them.
Tires with worn or broken studs are suitable for the above work. To replace missing or worn studding elements, special products are used. They have an enlarged head, so they can be installed in broken mounting sockets.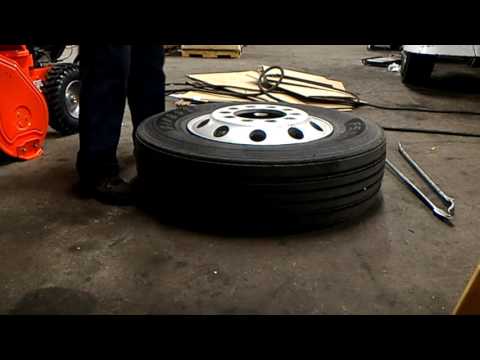 The sequence of repair work when studding tires is not much different from the methods of primary studding of rubber. It has only one difference: before installing new spikes, you need to clean the sockets from particles of dirt, dust, and remnants of old spike elements.
Studding or re-studding of winter tires can be done at home. does not require special skills. When using high-quality component materials for studding, you can significantly increase the life of tires. The implementation of these procedures gives the following advantages:
You can do everything yourself, but of course in most cases it will be easier and faster to contact a tire shop. Today, many services provide a service for the restoration of spikes. In any case, it doesn't matter if you stud yourself or at a tire shop - it is usually much cheaper than buying new winter tires.
Time to read the article: 4 minutes
Save to bookmarks
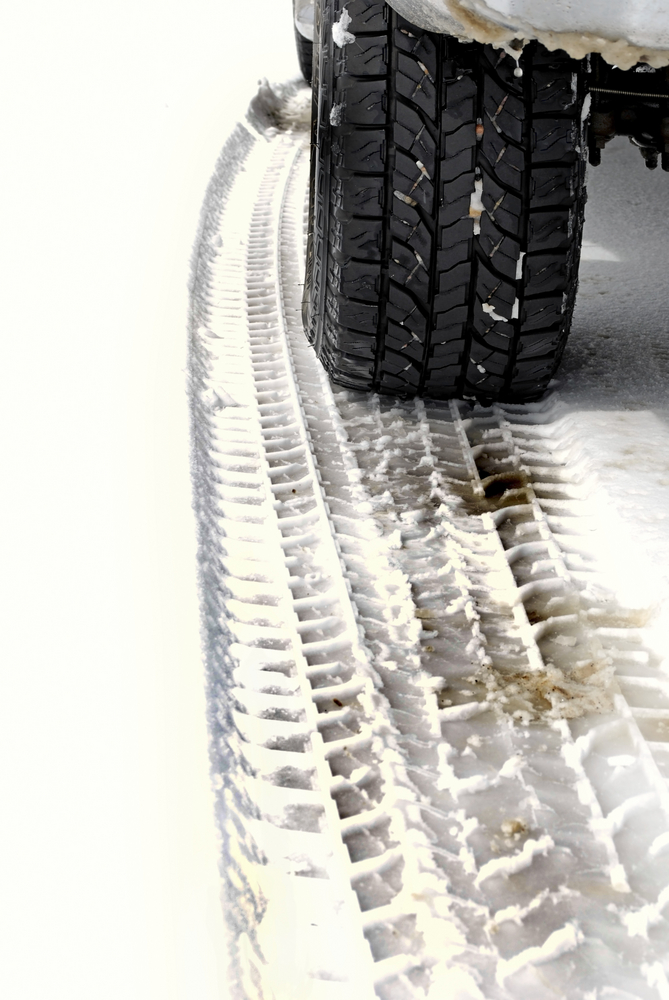
During operation, the winter set of tires wears out actively, loses grip, loses elasticity at low temperatures.
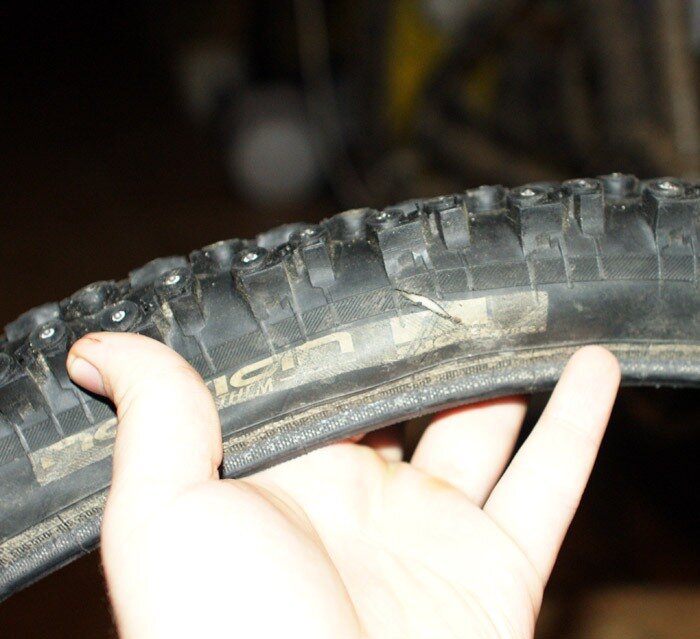
The studs wear off and fall out due to deformation. With such damage, manufacturers recommend changing tires to new tires in order to prevent an emergency, to prevent skidding on an unstable winter road. However, in a situation where metal cutters are damaged on new tires, it is not necessary to install a new set. It is enough to restore the studding.
Re-studding of winter tires is a standard procedure used to improve the performance of tires. It improves grip on icy surfaces, improves driving safety in cold weather.
Due to the design, the studs stop working even on new tires. If the tire wear is uneven, the cutters become dull, stop grabbing on an icy road, or become higher than the tread. This leads to the fact that they are pulled out during sudden braking or wheel slip. In this case, a new kit is not needed, since it makes sense to stud.
This process can be done by hand or with a tool. Before re-completing, it must be taken into account that the installation of spikes should be carried out 2-3 months before the onset of the winter period. The process is influenced by technology, the rubber must be dried before operation, after which a mandatory run-in must be carried out.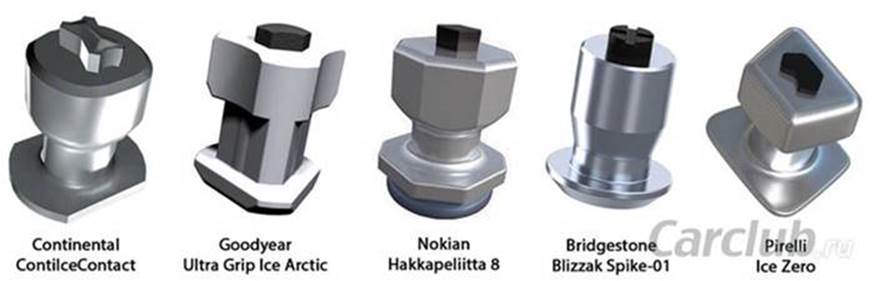 Only if the conditions are met, you can get the desired effect - the spikes do not deform and do not fly out.
Studding winter tires can be done in several ways. There is an initial and repair (repeated) method. The initial technology involves the operation of non-studded tires, which can be equipped at any time if necessary. Re-studding is a do-it-yourself procedure for installing new incisors to replace the lost ones. Self-installation increases the working life of the wheels, improves safety.
Despite the advantages of the method, there are restrictions that prohibit the repair of worn tires. If they are ignored, this will lead to poor-quality re-recovery and will not give a result.
Mounting studs on a winter tire is done in cases where:
Do-it-yourself reassembly of cutters is not allowed if:
Before making repairs, decide if you need additional studding or if it is better to replace the set of wheels. Only having determined the relevance, you should start working and re-install the metal elements.
Winter Drive protection
Tires Goodyear UltraGrip Arctic 2 SUV
Winter Drive protection
Rating:
4.5
Tires Goodyear UltraGrip 600
Winter Drive Protection Sound Comfort
Rating:
4. 5
5
Tires Goodyear UltraGrip Ice Arctic
Winter Drive protection
Tires Goodyear UltraGrip Arctic 2
Winter Drive Protection Sound Comfort
Rating:
4.5
Tires Goodyear UltraGrip Ice Arctic SUV
Winter
Rating:
4
Tires Goodyear Cargo UltraGrip 2
There are several ways to reposition the incisors. Repair is done with a tool or with your own hands. In the first case, studding is used with an air gun, which pushes the edges of the winter tire at the desired angle. In the second case, the tire is equipped with conventional spikes, installed with a screwdriver and a hammer. The first method of re-studding is correct and guarantees the result. It involves the preparation of tires, cleaning the tread from contamination with compressed air. This avoids the distortion of metal elements, their rapid loss.
It is possible to repair a winter tire in several stages, it is enough: