by Emily Patterson
When a lawnmower tire has plenty of tread left yet has a puncture or leak, it may be less expensive to put an inner tube in the tire to extend the life of the tire. To purchase an inner tube for a lawnmower tire, get the numbers on the side of the tire and call local tire shops for price and availability. Check for any glass, nails or other debris and remove before inserting the inner tube in the tire.
Put a jack, jack stand, concrete block or other stable wedge under the lawnmower to support the lawnmower.
Remove the tire and rim from the lawnmower. Lay the wheel on a solid surface.
Wedge a crowbar and hammer between the rim and tire. Hit the crowbar with the hammer to push the tire away from the rim to break the bead. Go all the way around the rim with the crowbar and hammer to push the tire totally away from the rim. Be careful not to damage the edge of the tire or the rim.
Push the tire down where the valve stem is protruding through the rim. Use a pair of sharp snips to cut the valve stem and remove.
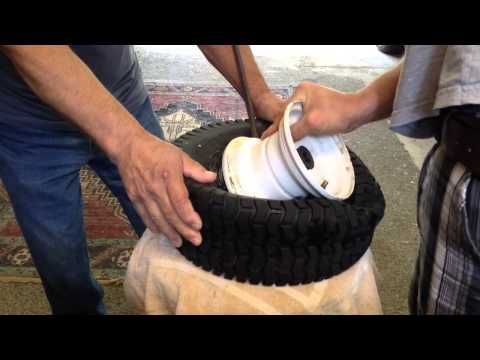
Use the crowbar as a wedge to carefully slide the tire, one small section at a time, over the rim so the rim is under the lip of the tire.
Sprinkle cornstarch into the tire. This will help the inner tube move freely in the tire and make it easier to maneuver into position.
Lay the inner tube on the top and position it so that the valve stem on the inner tube is in the same position as the hole for the valve stem on the rim. Push the inner tube into the the tire and push the valve stem through the hole in the rim. Use a pair of vise grips to clamp the valve stem on the outside of the rim.
Push the inner tube onto the rim with your hands and move it into position in the tire. Make sure that the inner tube is not twisted in the tire.
Wash the edge of the tire and inner edge of the rim with hot, soapy water.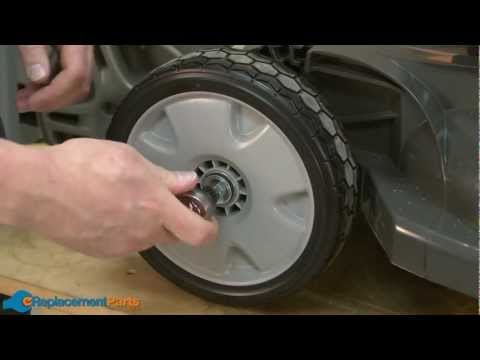 Do not saturate. It is easier to reseat the bead when both the tire and rim are clean.
Lay the crowbar across the rim horizontally so that the hooked end can be inserted between the tire and the rim. Hook the end of the crowbar onto the rim under the edge of the tire that was removed from the rim. Be careful that you do not pinch the inner tube. Lift the end of the crowbar so the tire moves back into position on the inner side of the rim. Follow this procedure all the way around the rim, in small increments, until the entire tire has been moved back into position on the rim.
Remove vise grips from the valve stem and inflate the inner tube until the tire pushes against the rim. When the tire pushes against the rim, pour liquid dish soap between the edge of the tire and the rim. Wrap a heavy rope around the center of the perimeter of the tire and pull it tight. You can also use a clothing belt for this. The purpose of this is to push the edge of the tire as tight against the edge of the rim as possible with equal distribution all the way around. Pour more dish liquid all the way around the rim between the tire and the inner tube.
Continue inflating the inner tube until the tire is completely tight against the rim and there is no space between the edge of the tire and the rim. Deflate the inner tube and push on the tire where it meets the rim. If it pushes away from the rim, reinflate the inner tube. Repeat this process until the tire cannot move away from the rim when pressed.
Deflate the inner tube until it is inflated to the manufacturer's recommended pressure. Replace the rim on the lawnmower.
References
Tips
Things You'll Need
Warnings
 Inflate the tire only to the manufacturer's recommendation before replacing on the tire. Overinflating can cause the tire to burst.
 Writer Bio
Emily Patterson has been creating content for websites since 1996. She specializes in home improvement, natural body care and natural cleaning articles. Patterson holds a computing certificate from Penn State University.
Written by Jonahin Grass-Cutting Machines and Tools
This site is reader-supported and I earn commissions if you purchase products from retailers after clicking on a link from this site. As an Amazon Associate, I’ll earn from qualifying purchases.
Most riding mowers use tubeless tires to save time and energy. However, inserting a tube might seem like a good idea because it inflates the tire and prolongs its lifespan. Some people worry that using a tube in a tubeless mower will pop the tire, but you might be surprised by the results.
You can put a tube in a tubeless lawnmower tire by deflating and wedging the old tire, then slide the tube into the tire and inflate it. You might have to drill a hole in the rim to make room for the tube’s valve stem or seal the stem after inflating the tube.
In this article, we’ll show you the process of putting a tube into a tubeless mower tire, what you need to know beforehand, and a few reasons you might want to avoid it. Enjoy!
To put a tube in a tubeless mower tire, follow these steps:

If you don’t have one already, check out the best tire tubes to find the right size for your lawnmower. It’s important to find a tire tube with the same dimensions as your current tire. Don’t forget to ensure the valve stem is the same size, too; Otherwise, you’ll have to widen the valve stem’s hold in the rim with a drill bit.
Loose, old tires of one of the many reasons a lawnmower can be too loud. Make sure you install the previously mentioned C-clip and rubber boot when you put the wheel back onto the lawnmower.
Watch this video by Farpoint Farms for details instructions:
Let’s dive into a handful of things you need to know before trying this process below.
Before putting a tube in a tubeless mower tire, you should know that you might have to drill a bigger hole for the valve stem. Your lawnmower’s tires might have a thinner valve stem than the tube you want to insert. If this happens, use a drill bit to widen the hole.
You should also keep these tips in mind:
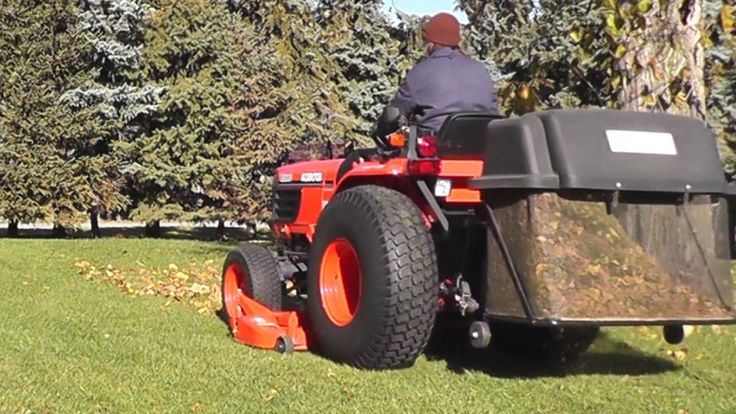 This method prevents the stem from falling out of the rim when you wrap the rest of the tire around the tube.
Unfortunately, not all tubeless lawnmowers should use a tube to fill the tire. Find out why in the following section.
You shouldn’t put a tube in a tubeless lawnmower tire if the tire is cracked, punctured, or ripped. Furthermore, the rim needs to be in good condition for the tube to work properly. An incorrect tube size will over-inflate or under-inflate the tire, which could pop it.
Here’s a list of circumstances in which you should avoid putting a tube in a tubeless lawnmower tire:
 A tube can inflate the tire, but it won’t save the tread. Driving with bad tread on your lawnmower will limit its traction and slide the tire around. It’s also more likely to pop.
If your lawnmower doesn’t have space for a tube, don’t forget to lubricate the mower wheels. Proper lubrication prevents rust, overheating, squeaking, and other unwanted mower issues. Tubes can be inserted into most tubeless mower tires, but not all of them. Follow the aforementioned guides and videos for step-by-step instructions.
Tweet
Do You Need a Torque Wrench for a Lawn Mower Blade?
Torque wrenches are often known as the go-to tools for adjusting lawnmower blades. After all, they let you control the amount of pressure you apply without damaging the nut or blades. However, what...
Continue Reading
link to Can You Use Boiling Water to Kill Crabgrass?Can You Use Boiling Water to Kill Crabgrass?
Boiling water is useful when it comes to getting rid of most weeds. The high temperature scorches the plant, much like a warm summer day. It also prevents the weeds from spreading seeds and growing....
Continue Reading
Lawn mower is a popular gardener's assistant. With it, your lawn will always be well-groomed and will be able to grow healthy.
Nothing helps with long stems like a well-run lawn mower. With our lawn mower attachments, you will always cut nicely with freshly sharpened blades. We also provide information about your lawn mower's winter capabilities: for example, you can leave it well packed in a shed or basement for the winter. You can also equip your lawnmower with a snow blower and use it for snow removal.
Well-maintained lawn mower blades are essential for a beautiful lawn: they should be sharpened regularly.
No lawn lover wants to find uneven cuts and plucked stems after mowing - so you should sharpen your lawnmower blade regularly. Our lawn mower blade sharpening checklist has everything you need to know.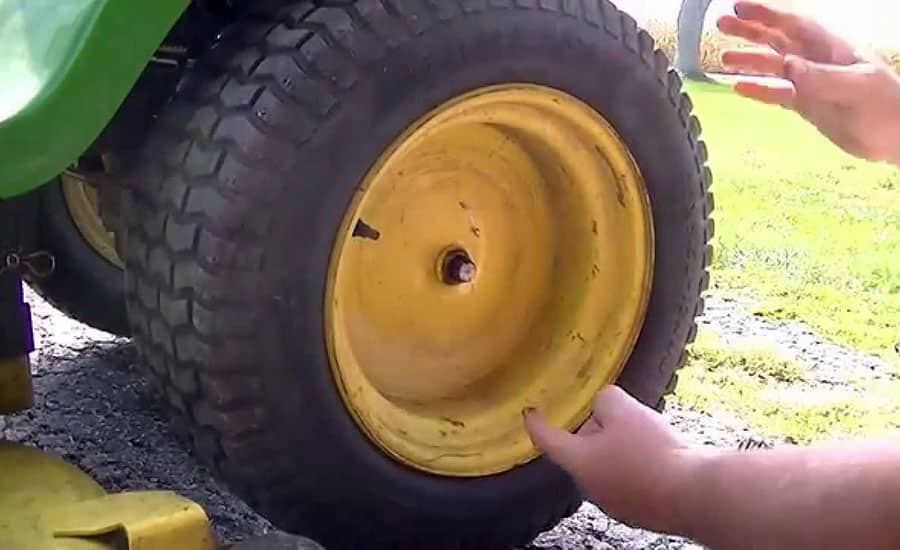
Don't wait for your mowing results to deteriorate: you should check your blades regularly to make sure your lawn mower blade needs sharpening.
If you find a crack in your lawnmower blade, do not try to sharpen it. In this case, the replacement of the knife is inevitable.
If all goes well so far, you should still visit your specialist dealer every 20-25 hours of mowing to sharpen the mower blade.
A lot is required of a lawn mower. The lawn is mowed from spring to autumn, and the lawn mower is often used for several hours. During operation, dirt and plant residues settle on the body and stick to the mower blade. You must clean your lawnmower after every use to get good results in the long run. You should also schedule regular maintenance.
Optimum lawn mower performance starts with fuel.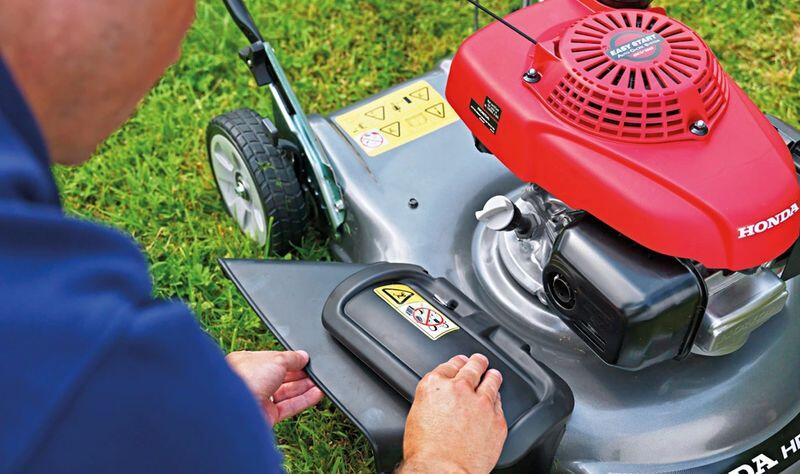
If you have a lawn mower, it is best to winterize it before the start of the cold season.
Once your lawn goes into hibernation at the end of the season, your lawn mower is also in danger of a longer winter break. However, this cannot be dealt with without proper care, otherwise accumulated dirt and fuel residues can cause damage. Antidote: Before winter sets in, you should winterize your lawn mower. A little maintenance in the fall ensures that your device is back in top shape after the winter and that you start the next gardening season with you.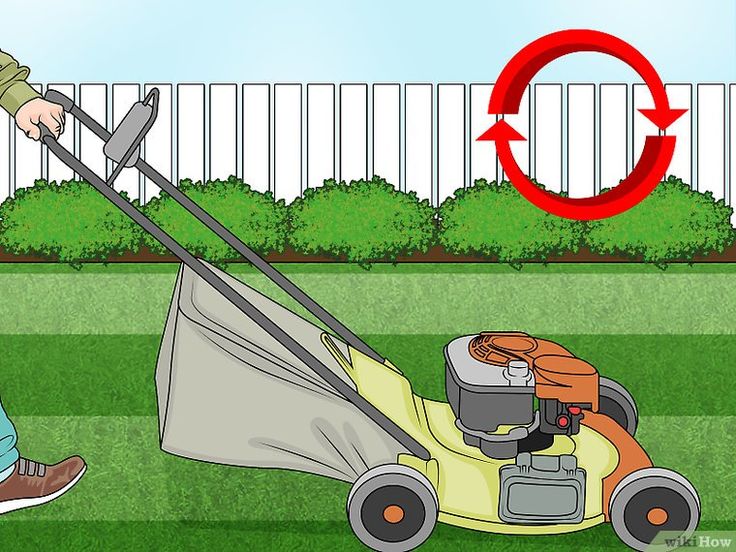
We've rounded up the most important tips and show you how to quickly winterize your lawn mower.
For your safety: Disconnect the spark plug cable before starting any work on the petrol machine. For electric mowers, pull on the power cord, and for cordless mowers, remove the battery.
If you want your lawn mower to work in winter, you must clean it especially thoroughly after the last mowing. Grass residues adhering to the body of the mower can be removed with a wooden or plastic spatula. There is nowhere to look for the remains of sod in the cooling fins and in the exhaust zone. It is best to clean the device with a brush and water. A garden hose can also be used to help if it's particularly dirty.
However, you have to be careful here - after all, the lawn mower needs to be winterized and not damaged. Therefore, do not direct excessive water jets at bearings, seals or engine parts. If you want to remove dirt from the underside of the body, the mower should be tilted back so that the spark plug protrudes upwards.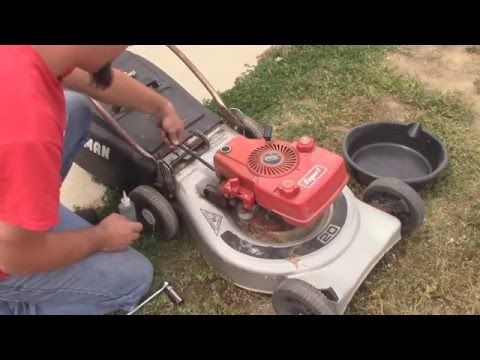 If the mower is tilted to the side, oil can get into the air filter or exhaust pipe - there is a risk of more damage.
Lubricate well and lubricate all moving parts. Your lawnmower will thank you for the coming season.
In order for the lawn mower to work in winter, you must also carefully examine the lawn mower blade. It must be intact before the first use in the spring. If cracks or nicks are visible, they must be replaced immediately by a trusted STIHL dealer. As a rule, it is recommended to completely disassemble and sharpen the knife or have it sharpened and adjusted by a specialist. By the way, not only when you want to winterize your lawn mower, but preferably regularly, after about 25 hours of operation. In this way, optimum mowing performance is always achieved.
Remove the spark plug and pour approximately 3 cc of engine oil into the internal combustion engine through the spark plug hole. Finally, crank the engine several times without a spark plug by pulling on the starter cord.
After all maintenance work has been done, your lawn mower will be winterized. Now all he needs is a good place to store things in the cold season. It is best to place the machine well covered in a dry, dust-free area. The storage position should be normal.
Your lawnmower tank should be empty before the winter holidays. Cause: Gasoline loses its ability to ignite in winter - if you leave it in the tank during the cold season, you may have trouble starting in the spring. If there is little fuel left in the tank after the last mowing, we advise you to let the mower idle until the engine stops on its own.
In order for your petrol lawn mower to operate in the winter, the oil level must also be correct during the winter holidays. Your machine must always be in good working order - even during winter storage. If an oil change is needed before the end-of-season break in late fall, that too should be done and not put off until the next season.
Winterizing is much like winterizing a lawn mower with a combustion engine or an electric lawn mower. When using battery lawnmowers, you should also thoroughly clean the machine and then lubricate the moving parts. But first: remove the batteries from your cordless lawn mower and mask the contact points before cleaning. Your cordless lawnmower batteries that have been removed should be approximately 40 to 60 percent charged and stored at 10 to 15 degrees in a dry area. In this way, the batteries remain intact, retain their capacity and are fully operational again next season. If batteries are permanently installed in your cordless lawnmower, you must make the whole unit winterproof. In this case, store the mower in a warm and dry place.
With a lawn tractor, you are not only the hero of your garden in summer. The STIHL snowblower turns your lawn mower into a practical snow blower in no time and clears the snow easily and efficiently.
Equipping your lawn tractor with a snow blower is easy. However, the mower must first be dismantled and the mounting frame attached to the tractor. Thanks to this bracket, the sliding blade can be mounted on a lawn tractor. Important functional parts such as the lifting arm and swing arm as well as the snow thrower suspension (connection triangle) are located on the mounting frame.
Robotic lawn mowers are often blamed for their lack of biodiversity conservation. On the other hand, a study by the University of Hohenheim shows that robotic lawnmowers can contribute more to biodiversity than conventional hand-held mowers.
Few things are more frustrating than a lawnmower that doesn't work as advertised. Problems often arise due to improper use of the lawn mower or lack of maintenance.
You can turn the two-stroke lawn mower to either side, as long as the gas does not spill out of the tank. Four-stroke lawnmower engines are more sensitive and should only be tilted with the handlebars down to the ground or on their side with the air filter and carburetor up.
There are several opinions on how to tilt the mower. Due to confusion, operators often refer to two-stroke and four-stroke lawn mowers as the same. Four-stroke lawn mowers only need to turn in a certain way.
Contents
If you have a two-stroke lawn mower where you mix oil directly into the gas tank, it doesn't matter which way you tilt it.
If you are using a four-stroke lawnmower, you must only tilt the lawnmower in one of two ways.

If your lawn mower has a two-stroke engine and you open the gas tank cap to keep fuel from spilling out of the tank, you can tilt it as you like.
If the mower is powered by a four-stroke engine, you need to be careful when tilting the mower.
Some problems may occur if the mower is tilted on the wrong side.
Remember that lawnmowers do not have fuel pumps and fuel is sucked into the engine first by gravity, and after starting it is supplemented by suction.
Turning the mower on its side may be the best position to increase the effect of gravity and speed up fuel pouring.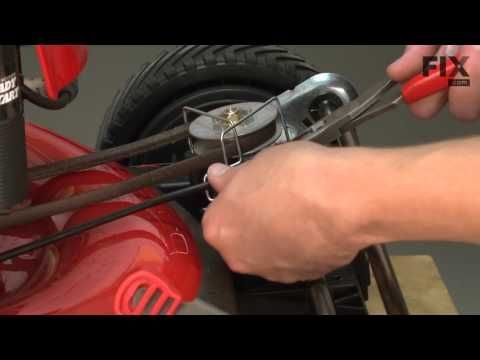
Whatever lawnmower you use, it is always a good idea to turn off the gas cock or pinch the gas pipe with pliers to prevent excess fuel from spilling out.
If oil gets into the air filter housing, the air filter will become dirty, preventing enough air from mixing with the fuel, the mower will flood with water and cannot be started.
Purchase a new air filter and replace the damaged part if this occurs.
In addition to the risk of fire, you must prevent gas from escaping.
A soaked air filter will not allow the correct amount of air to enter the carburetor, which can cause the engine to stall.
If gas enters and fouls the air filter, especially if it is made of corrugated paper, it must be replaced.
Trying to dry the air filter will not solve the problem.
Most four-stroke lawn mowers are designed with a crankcase vent that leads to the air filter housing.
Fuel will overflow through the crankcase vent into the carburettor if the mower is tilted the wrong way.
Because the four-stroke mower engines have a float-type carburetor from which fuel will flow out if it is overturned
the wrong way.
Fuel will flow directly into the piston chamber and contaminate the air filter if the intake valve is open.
This will flood the mower engine.
When too much fuel enters the piston chamber, in extreme cases a water seal develops. In this situation, starter cord jamb will feel stuck and the engine will start if it gets stuck.
The solution is to remove the spark plug and see if the engine will spin.
Tilt the mower on the wrong side of the lawn mower can cause gas to enter the tank cap vent, resulting in a partial vacuum inside the tank.
This may cause the engine to not start or run for only a few minutes and then stop.
If the mower is tilted, oil can enter the piston chamber from the crankcase in the wrong direction.
If too much oil gets into the chamber, the spark plug will become dirty and you will need to remove the oil and clean the spark plug before proceeding.
The best way to remove excess oil from the piston chamber is to remove the spark plug.
There are two situations where you may need to tilt your lawnmower.
Treat each of these circumstances differently.
If you're mowing your lawn and come across a patch of thick lawn and the mower's engine starts to run hard, the best way to keep it running is to tilt the handle down, which will raise the blade off the ground and into your turn, will remove the resistance that allows the engine speed to rise again.
There are two signs that the blade has caught on something.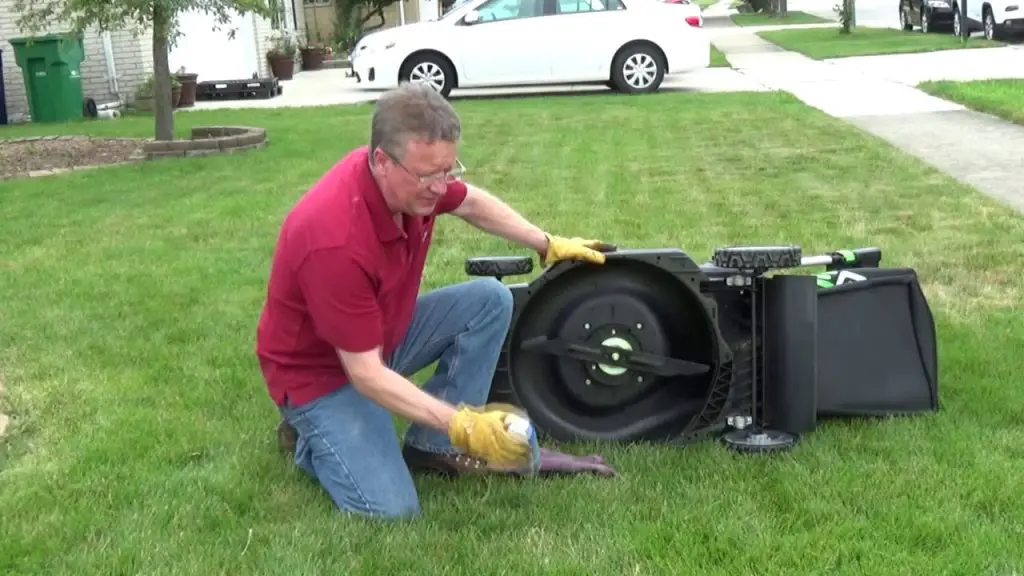
There is probably debris between the blade and the chassis that needs to be removed in every case.
In this situation, follow the steps below.
If your mower does not have a separate dipstick, tilt the mower on its side with the crankcase/oil cap, exhaust down and carburetor and air filter on the top side of the mower .
If the mower was running before turning it on its side, take care when you turn it on its side.