Tubeless tires have already taken over mountain and gravel biking. Guess what, road cycling is next. Tubeless road tires provide more comfort, less rolling resistance, and of course, extra puncture protection. A lot of modern road bikes are even coming from the factory with tubeless-ready wheels.
I’ve been riding tubeless road tires for years and I love it, but plenty of roadies are still on the fence. Installing tubeless tires can seem intimidating. To help you get set up tubeless at home, I’m going to explain how it’s done and give you some tips and tricks to make it easy.
As long as your wheels and tires are advertised as “tubeless” or “tubeless-ready,” they will work. Though not necessary, wheels and tires made after 2020 can make tubeless installs easier because of updated ETRTO standards.
Most tubeless-ready wheels come pre-taped with tubeless tape, a plastic-like tape that is airtight. If not, you will need to tape your wheels first. Tubeless tape should be 3-5mm wider than your rim’s internal width. If your wheels did not come with tubeless valves, make sure to purchase valves 10-30mm longer than your rim depth.
[product-block handle="stans-notubes-tire-sealant-injector-syringe-presta-schrader"/]
Sealant injectors let you measure a precise amount of sealant and inject it through the valve. They aren’t essential, because you can also pour sealant into the tire before seating it, but it’s usually less messy and more convenient to use an injector.
[button]Shop tubeless road wheels[/button] | [button]Shop tubeless road tires[/button]
A valve core tool is used to remove the Presta valve core from tubeless valves.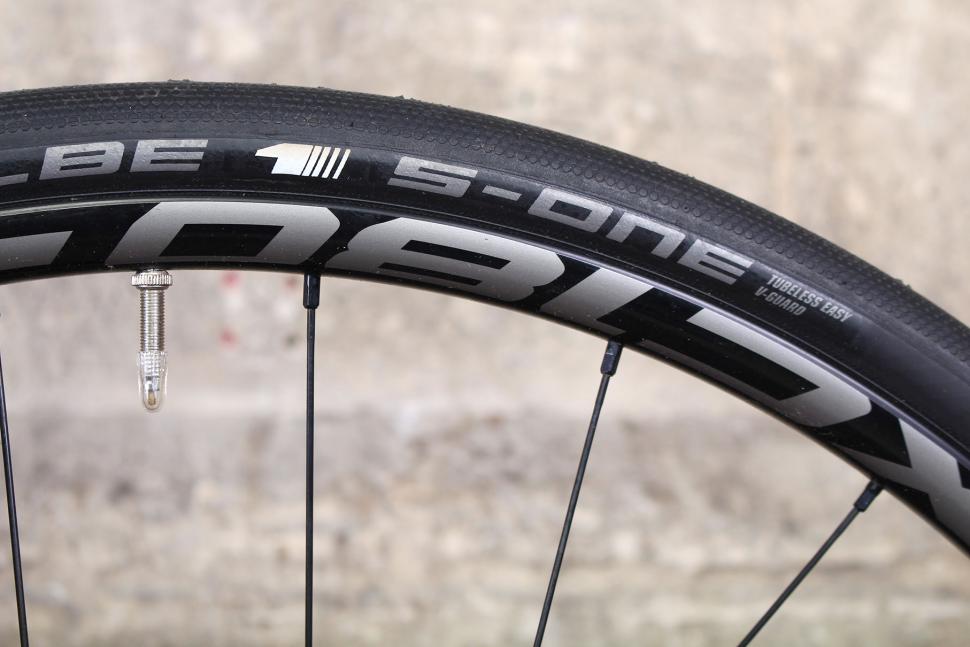 This is useful for seating tires or injecting tubeless sealant. Valve core tools are cheap, but you can also get away with using a small crescent wrench or 5mm box wrench.
[product-block handle="feedback-sports-valve-tool"/]
Bead jacks are a handy tool for installing tubeless tires that are extremely tight and stubborn. They give you extra leverage to pull the tire bead over the rim wall without damaging your tubeless tape, which can happen when using tire levers too aggressively. We like the Kool Stop Bead Jack.
1. If your wheels don’t have tubeless valves installed, insert the valves into the valve holes. Secure them with the valve nut. Make sure to screw the valve nut only finger tight.
Get as much of the tire bead as possible in the center channel.
2. Install your tire. Due to tight tolerances, tubeless tires can be difficult to install. The key is to get the tire bead into the recessed center channel of the rim as much as possible. This gives you more slack to keep pulling the bead over the rim lip. I like to start installing the tire bead at the side opposite the valve. Without the valve in the way, you get the most slack possible. If you need use tire levers, pay careful attention so you don’t damage the tubeless tape.
Pump fast!
3. With the tire installed, it’s time to inflate and seat the tire beads on the rim. If you have a wheel and tire set-up that plays nice, the tire will usually seat with a few vigorous pumps from a floor pump. If that doesn’t work, refer to the tubeless tips and tricks below. You should hear a popping sound as the bead seats. Inspect the entire perimeter to ensure the beads are fully seated. Most tires have a faint rubber molding line just above the bead that should be visible all around the wheel. If a particular spot isn’t seated, continue adding air. If you reach the max recommended pressure for your tire or rim, try spraying some soapy water on the bead to lubricate it and bounce it on the ground a few times to encourage it to seat.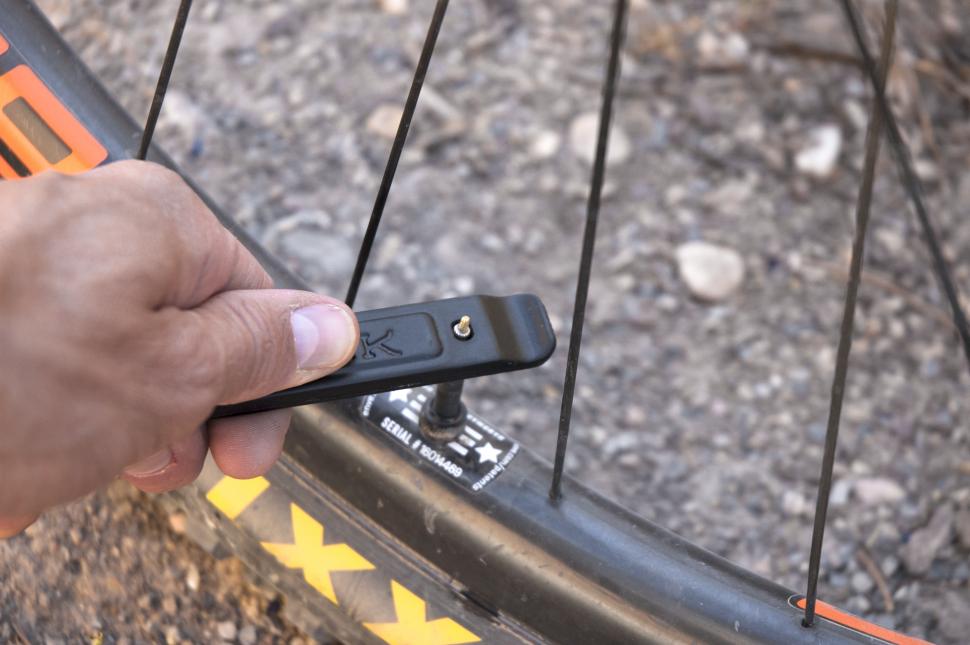
4. After fully seating the tire beads, you can let the air out and the tire will stay seated. Remove the valve core and add 60 ml or 2 oz. of sealant using the sealant injector. It’s easiest to inject sealant while the valve is at the 6 o’clock (bottom) position. After injecting the sealant, turn the wheel so the valve is above the 3 or 9 o’clock position before removing the injector. This keeps sealant from spraying back out of the valve when you remove the injector.
5. Reinstall the valve core and inflate the tire to your desired air pressure. Wipe up any spilled sealant. Spin the tire or shake it to distribute the sealant.
The trickiest part of a tubeless tire install is seating the tire beads. If you are unable to seat your tire beads with a floor pump, these are the next steps. Try them in order, or if you want the greatest chance of success, use them all in combination.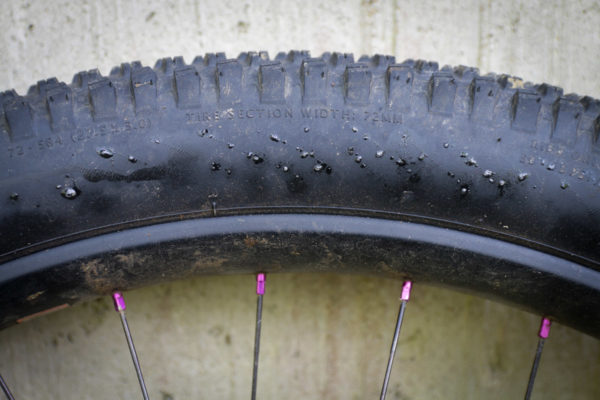
Trick 1: Remove the valve core before attaching your floor pump/CO2 inflator/air compressor. This opens up the valve so you can pump air in faster and seat the tire.
Trick 2: Seat one bead using a tube. You’ll have to take the tubeless valve back out. Put a tube in, reinstall the tire, and inflate until the tire beads are seated. Pop one bead, pull the tube out, and reinstall the tubeless valve. With one bead already seated, it’s much easier to seat the other side.
Trick 3: Use a strong burst of compressed air. If you’re fortunate enough to have an air compressor, this will be easy. For the rest of us, there are special pumps and chargeable canisters made specifically for tubeless tires that can provide a burst of air. Personally, I prefer using a basic CO2 inflator. Most riders already have one and extra CO2s are cheap and easy to get. If you choose to seat your tire with CO2, make sure to do it before adding sealant. Release all the CO2 before adding sealant, as the CO2 can degrade sealant.
[product-block handle="sks-16g-co2-threaded-cartridges-2-pack"/]
Got leaks? If you notice air and sealant leaking out around your spoke holes, that usually means your tubeless tape is compromised and needs to be replaced. If air is leaking out from the valve hole, try tightening the valve nut. You may notice some sealant seeping from the tire sidewalls. This will usually seal over time, though you may need to add more sealant later.
[button]Shop road bikes[/button]
Hopefully, this makes installing tubeless road tires at home quick and easy. If you struggle your first time, don’t get discouraged! Do it once and learn what works for you, then future tubeless tire installs will become much, much easier. I can do a tubeless install as quickly as a standard clincher install, and I think it’s worth it for the benefits.
If you have any questions, leave them in the comments. And if you have any tips and tricks I haven’t mentioned, I’d love to hear them!
We meticulously (and independently) pick every product, and if you purchase through our links we may earn a commission.
Road tubeless setup can seem like a bit of a dark art to the uninitiated, but the technology has improved massively in recent years. Here, we demystify the process and explain exactly how to set up your road tubeless tyres.
To understand how to set up your road tubeless tyres, it’s first useful to explain what makes up a tubeless setup and what each component does.
If you’re researching what tyres to buy, we’ve got a buyer’s guide to the best tubeless tyres. We’ve also got a guide on how to repair a tubeless tyre.
Tubeless tape seals up the bed of a non-UST rimStans No Tubes
Tubeless tape is an airtight rim tape that is applied to the bed of a rim to seal up spoke holes and rim joins.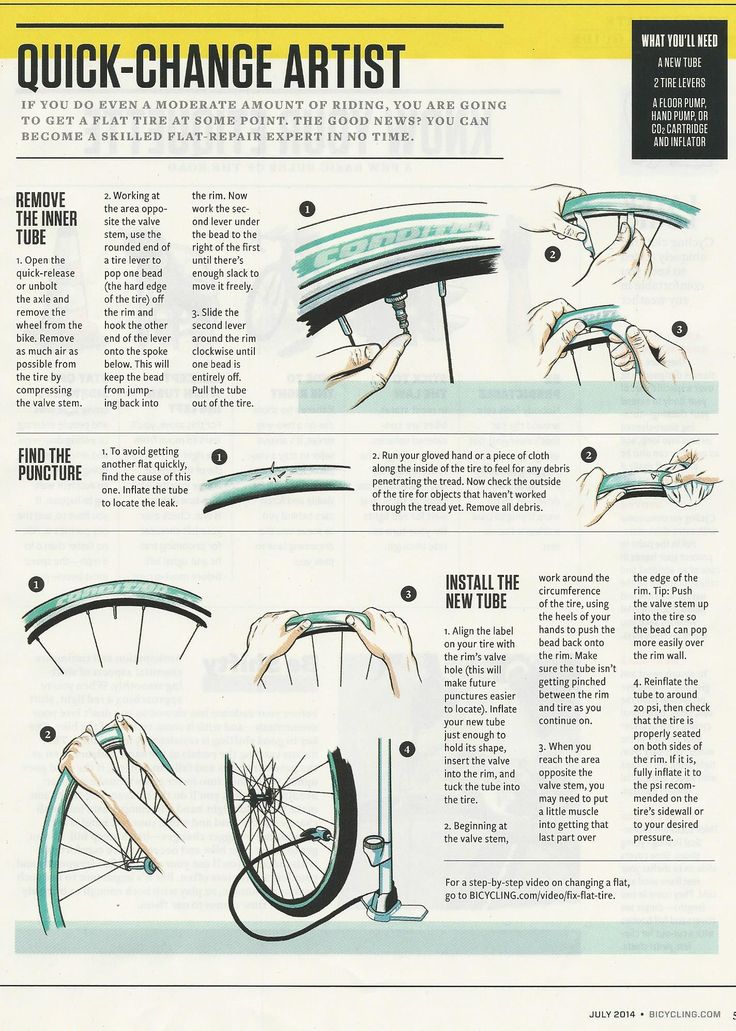
There are a few variations of tape available, with some rated for both road and mountain bike use.
A tubeless valve is much like a regular Presta valveJoe Norledge / Immediate Media
A tubeless valve is a Presta-style valve that is identical in function to a regular inner tube valve. It’s usually (though not always) fitted to a conical bung that sits in the valve hole.
When the lockring is tightened down, it deforms the bung around the valve hole and tape, creating an airtight seal.
Any good tubeless valve should have a removable core. This helps with initial inflation and seating and, should the valve core become clogged up with sealant, allows you to either clean or replace this easily without having to unseat the tyre.
Tubeless sealant is usually a latex-based liquid that can seal small holesRussel Burton
Sealant is a milky, most commonly latex-based liquid that will seal small holes in your tyre, usually before you’ve even noticed there’s a puncture at all.
An excellent explainer on how tubeless sealant works can be found in our guide to the best tubeless sealants.
Stan’s No Tubes Race Sealant and Effetto Caffélatex are two of our favourites.
Mavic’s UST rims have a totally sealed bedBikeRadar
Like the tyre, tubeless ready road rims are visually identical to a regular clincher rim.
However, closer inspection reveals that, like tubeless tyres, the profile of the hook of the rim (where the bead of the tyre interlocks with the rim) is subtly different. The well of the rim is often slightly deeper as well.
A select few rims — mostly from Mavic — are built to UST (Universal System Tubeless) standards. Among other things, this standard dictates that the rim must be sealable without tape, with the rim bed free of holes.
These are relatively few and far between and you’re much more likely to come across a rim with a regular drilled bed.
The bead of a tubeless tyre is subtly, and critically, differentJoe Norledge / Immediate Media
Tubeless road tyres may look the same as a regular clincher, but they are subtly and critically different.
The two key differences are the dimensions and profile of the bead; the bead is usually very slightly smaller (or, more accurately, made to tighter tolerances) than a clincher and the profile of the bead is designed specifically to interlock with the unique hook of a tubeless rim.
A little bit of jiggery-pokery can get most mountain bike tyres to go tubeless — though not always safely — but on the road, we absolutely recommend you only ever use proper tubeless tyres and rims as the pressures, speed and consequences of failure involved are very, very high.
The Pro One is our favourite road tubeless tyreBen Delaney / Immediate Media
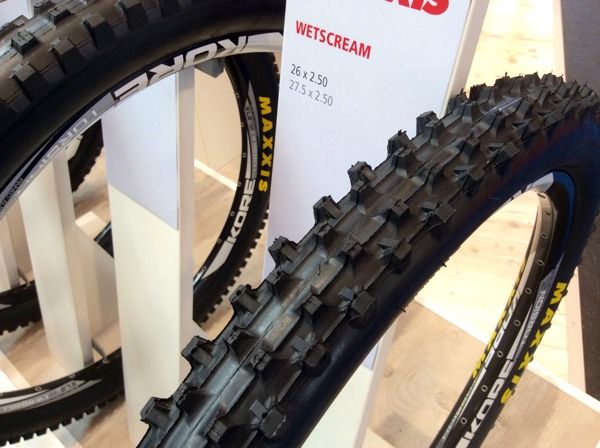 5 stars) — Read the full review / Buy now from Chain Reaction Cycles
The following video includes paid product placement for Schwalbe
We demystify how to set up road tyres tubeless on our YouTube channel
 Prepare the rim
 Thoroughly clean your rim before applying tapeJoe Norledge / Immediate Media
Before applying tape, ensure your rim bed is absolutely clean and free of residue from any old tape or old sealant.
It’s best to avoid mechanical removal for all but the most stubborn of residue. Instead, turn to methylated spirits and a clean rag to soften up any old glue.
Avoid using any solvents, particularly on carbon rims, as this can damage them. If you’re in anyway unsure whether a particular chemical is safe to use, contact your rim manufacturer.
Give the rim one last final wipe down with a clean rag.
Thoroughly clean your rim before applying tapeJoe Norledge / Immediate Media
Starting from the side of the rim opposite the valve hole, begin by holding the tape down into the well of the rim with a few fingers and apply around 6 to 8 inches onto the rim, ensuring it is central and kept very taught.
https://media. immediate.co.uk/volatile/sites/21/2018/11/TubelessTape720_2Mb-fc5be98.mp4
Once you have applied this small section, the tape should hold itself in place. At this point, I like to hold the wheel around the hub and rotate the wheel away from me as I apply further tape, keeping the tension high and ensuring it stays nice and central.
Overlap the tape by about four inchesJoe Norledge / Immediate Media
Wrap all the way around the rim, again keeping the tension high and avoiding straying to the edges. Once you have reached the start of the tape, overlap by around 4 inches, cut the tape and firmly press the tape down with your thumbs, working out any bubbles.
Check there is no damage to the tapeJoe Norledge / Immediate Media
Once the tape is applied, thoroughly check around the wheel for any bubbles, tears or areas you have strayed too far from the edge.
If you have damaged the tape, it is possible to patch it, but bitter experience has shown that this often doesn’t work and it’s best to just retape the rim.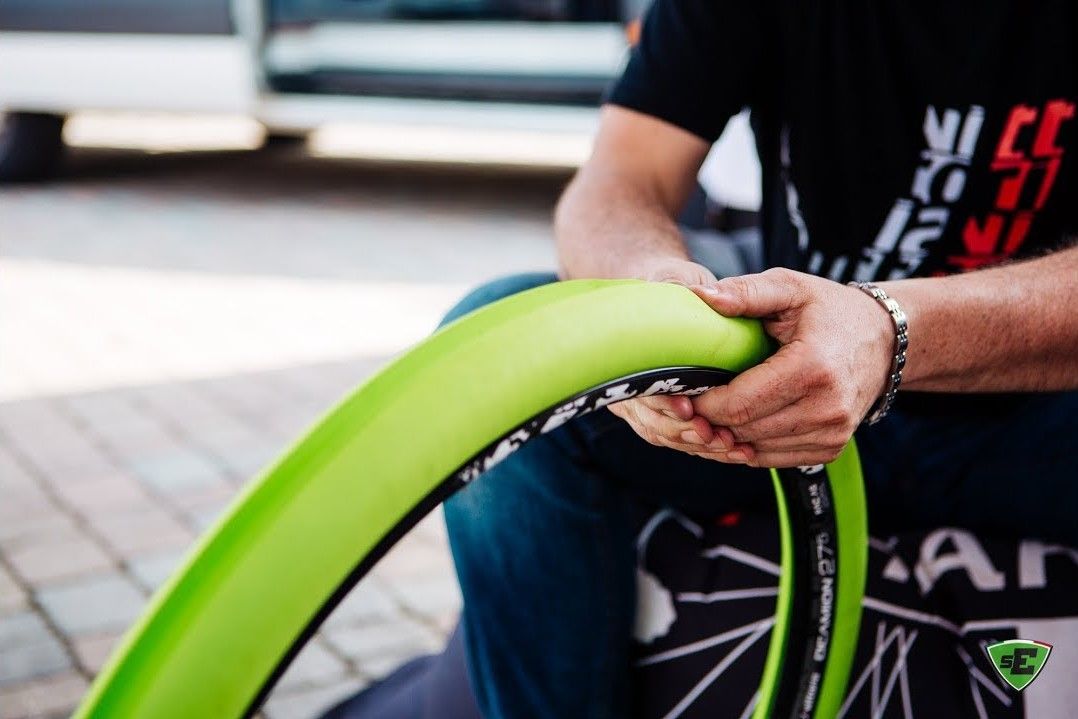 Faff now will avoid roadside heartache later!
Run a plastic tyre lever around the edge of the tapeJoe Norledge / Immediate Media
Once you’re happy the tape is in good order, run the lip of a plastic tyre lever around the bead of the rim to seat it fully.
Use a small prick or soldering iron to make a hole for the valveBikeRadar
Start by finding the valve hole on the rim and pushing, from the inside outward, a small prick or spoke through this to mark exactly where the valve hole is.
Then, from the outside, make a small hole in this. If you really want to show off, you can use a soldering iron or heat the prick up to make a clean hole.
Push the valve through the hole and let it ‘cut’ the hole to size. Some recommend cutting the tape with a Stanley knife, but I’ve found this to sometimes tear the tape.
Push down on the valve with your thumb such that it deforms the bung, screw on the lockring.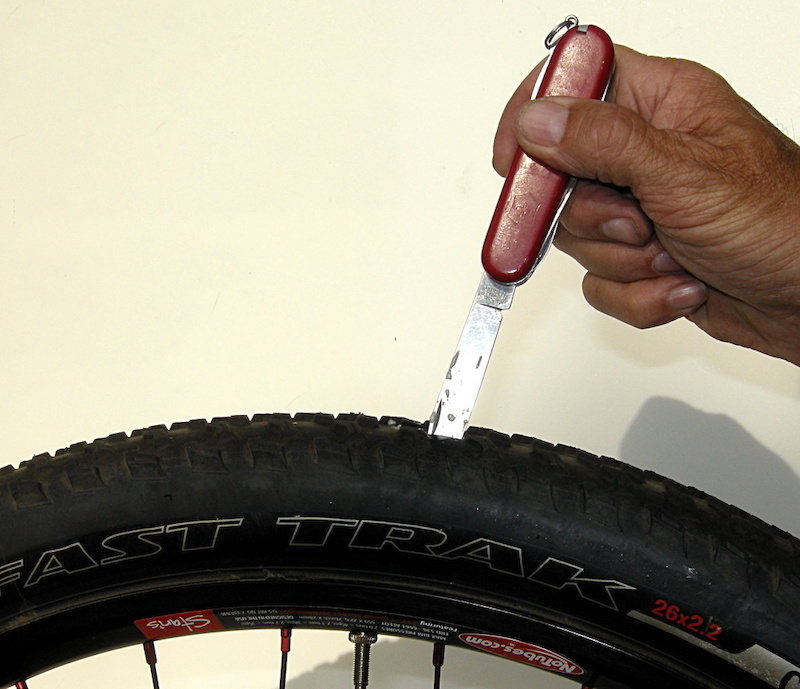 It’s good practice to put the tiniest dab of grease on the lockring to make roadside removal easier.
As there’s no tube to pinch, you can be a bit more liberal with your use of tyre levers, though you’ll gain big kudos if you can fit tyres without themJoe Norledge / Immediate Media
Fitting a road tubeless tyre is exactly the same as a regular clincher, but can be a bit more difficult due to the tighter bead.
The good news is that you can be a bit more liberal with your use of tyre levers, as there’s no tube to worry about. Don’t go totally gung-ho though because it’s still very easy to nick or otherwise damage tubeless tape, forcing you to start all over.
With a bit of good technique and a heavy, grippy pair of gloves, it’s normally good to go sans levers.
Once you’ve got both sides of the tyre on, massage the tyre and ensure it is sitting in the well all the way around the rim and the tyre sits on either side of the valve.
Fill your tyres with the recommended amount of sealantJoe Norledge / Immediate Media
If you’re confident in your ability to get the tyre on with minimal fuss, you can add your sealant before fully fitting the tyre.
However, if it’s a new combination, you may find it much easier to add the sealant via the valve. This can be done via a syringe or a small applicator bottle.
Gently rotate the wheel to coat the inside of the tyre.
A few swift blasts from a decent track pump should seat the tyreJoe Norledge / Immediate Media
With the valve core still removed, double check that the tyre is seated correctly around the whole wheel.
Fit your track pump and, hopefully, a few swift blasts of air will pop the tyre into place.
If only one side or a section of the tyre seats, keep pumping until you hear a number of satisfying pings and the tyre is seated around the full circumference of the wheel.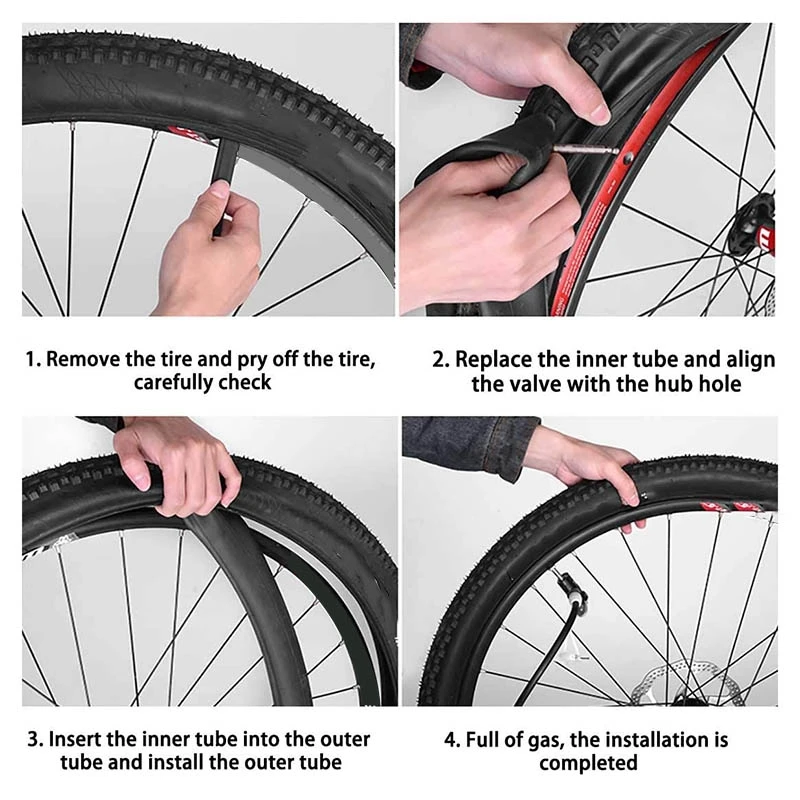
As soon as it is seated, remove the head of the pump and replace the valve core.
Spin the wheel to coat the inside of the tyreJoe Norledge / Immediate Media
Add a bit more air then give the tyre a vigorous shake and spin to fully coat the inside of the tyre. Once done, pump your tyres up to the recommended pressure.
It is often possible to seat a high-quality road tubeless setup without removing the valve core, but this is so dependent on the quality of your track pump, so I recommend avoiding any faff and taking the extra 30 seconds that removing your valve core takes.
And that’s it! Do you have any recommendations for road tubeless setup? Any experiences, good or bad, that you want to share? Let us know your thoughts in the comments below.
Deputy editor
Jack Luke is the deputy editor at BikeRadar and has been fettling with bikes for his whole life. Always in search of the hippest new niche in cycling, Jack is a self-confessed gravel dork, fixie-botherer, tandem-evangelist and hill climb try hard. Jack thinks nothing of bikepacking after work to sleep in a ditch or taking on a daft challenge for the BikeRadar YouTube channel. He is also a regular contributor to the BikeRadar podcast. With a near encyclopaedic knowledge of cycling tech, ranging from the most esoteric retro niche to the most cutting-edge modern kit, Jack takes pride in his ability to seek out stories that would otherwise go unreported. He is also particularly fond of tan-wall tyres, dynamo lights, cup and cone bearings, and skids. Jack has been writing about and testing bikes for more than five years now, has a background working in bike shops for years before that, and is regularly found riding a mix of weird and wonderful machines. Jack can also often be seen zooming about with his partner aboard their beloved tandem, Cecil.
 Is he really needed?
 Motorists have been familiar with the technology of using tires without tubes for a very long time, you will not surprise them. With cyclists, things are a little different, even though tubeless is becoming more and more widespread, many people know very little about them. However, someone is thinking about switching to tubeless tires, because friends advise, someone is just interested in trying it. In any case, there are a lot of questions, and they require answers. Well, we have prepared the answers, so you are welcome. nine0003
Let's start from the very beginning. By the way, if you have something to add to the following, then we are waiting for your comments in our Facebook group.
The name itself already contains the whole meaning of tires of this type, they are used without cameras. In fact, we have before us an ordinary tire, which stands on the rim quite normally and is inflated with air without intermediaries.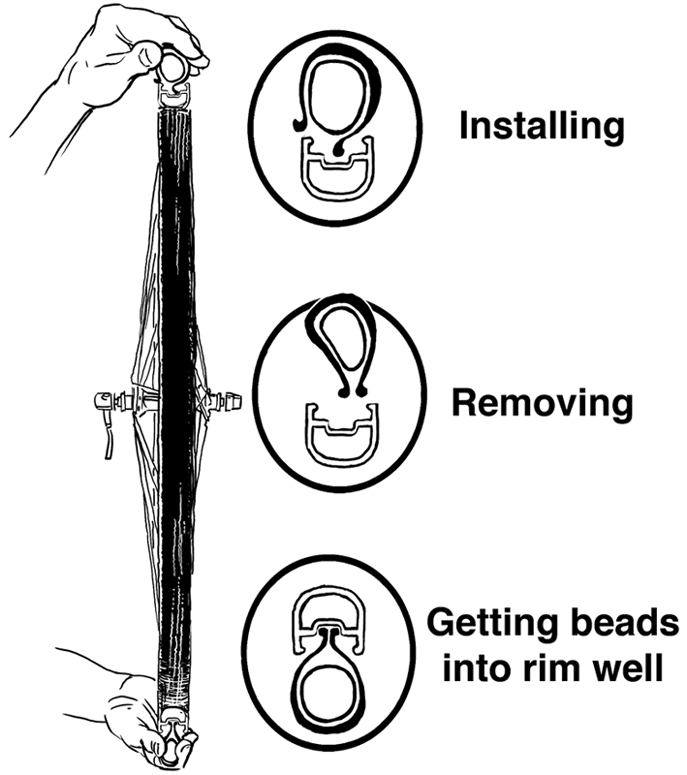 Almost. The rim and the tire itself have been slightly modified to provide an airtight seal in the seat. And sealant. It is needed so that punctures along the way do not bother you and are closed up without your participation. nine0003
Tubeless has been around for a long time on mountain bikes, many do not see worthy alternatives. In the road world, things happen a little slower.
For the first time, Mavic and Michelin in 2004 introduced a turnkey tubeless solution for road racing, which was rather coldly received by athletes. They preferred to ride tubes or clinchers. The latter are easy to install and dismantle. Tubes are more difficult to work with because they stick to the rim, but their main advantages are that they do not fly off the rim when the air pressure is completely lost, they have a record low weight and rolling resistance. nine0017 Nowadays, the professional peloton is starting to look at tubeless, technology has stepped far ahead and now they allow you to get characteristics close or superior to tubes and the same clinchers. However, clinchers are the most inefficient in terms of energy efficiency, so the main competition flares up between tubes and tubeless.
I would like to start with a snake puncture, which occurs due to the clamping of the chamber between the rim and the tire during a collision with an obstacle. That is, there are already two punctures, and they have an oblong shape due to the rim. Such holes are treated with difficulty, and sometimes the camera is immediately sent to the scrap. This trouble occurs due to low air pressure in the chamber. nine0017 Yes, and so, tubeless completely exclude such a negative phenomenon, because there is simply no camera. And even if you hit the tire with the rim, the risk of getting a puncture is much lower and generally tends to zero.
Another positive is that tubeless requires less air pressure to give the same or better roll than clinchers. Clincher tires contain a chamber, which is an additional layer of rubber, the deformation of which requires energy. It may seem to you that the benefit is visible only on paper in the context of camera deformation... but no, gentlemen, the benefit is strongly felt from the first meters, the wheels roll easier. nine0003
In addition to a good rolling tubeless provide better grip on the ground or asphalt due to the same reduced pressure. The contact patch of the tire with the road increases and ... you already understood everything. That is, tubeless tubes themselves do not know how to cling to the ground, but the reduced pressure provides a large area of contact with the road.
Also tubeless allows you to achieve weight reduction. True, everything here is very relative. The fact is that the tubeless design of the rim adds weight, the design of the tire also adds weight, the filled sealant also weighs something, but the lack of a chamber speaks for itself. nine0017 It is worth mentioning here. If we are talking about a racing wheelset, where there were light tires, a tube, and a rim, then the transition to tubeless will still add weight. I was talking about weight reduction in the context of an average bike, where there are often tires weighing a total of about 1 kg or more, as well as tubes weighing 250 grams each. In this case, yes, the weight of the wheels can be reduced if you do not save on a good tire with good puncture protection.
From personal experience, I was convinced that it is possible to remove up to 1 kilogram of weight from MTB wheels when switching to tubeless mode. The wheels I had were Fulcrum Red Metal Zero, they have a rim without holes for the spokes and a bead with a good lock for tubeless use. Tires were Michelin weighing 880 grams each and chambers of 250 grams approximately. All this was in the 26th size. Instead of this whole kit, I put the Schwalbe Kojak 2.0 kit, which is not tubeless by default, but I really wanted to take the risk. The weight of this kit was only 880 grams. That is, my tires weighed 1.6-1.7 kg, and began to weigh 880 grams. We subtract another 400-500 grams of cameras, add 30 grams on two nipples and 120 grams of sealant on both wheels.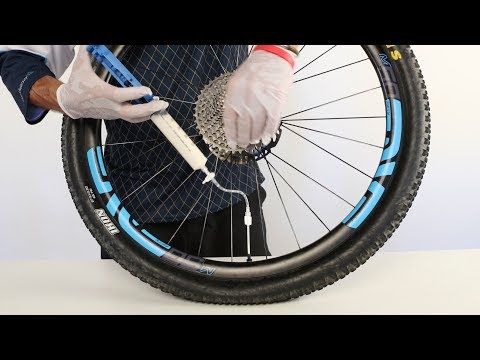 As a result, about 1 kg of real weight savings on wheels alone! nine0017 Of course, at that time I still believed fiercely in the myth of reducing the weight of the wheels and was convinced that it became easier to accelerate. In fact, it has become easier to accelerate, it's true, but only because 3 atmospheres in the clincher and tubeless is a big difference in rolling resistance and rolling resistance. Yes, and from a bike that weighed 10 kg, I actually took off 1 kg, of course, this difference in the hands was very much felt.
All this has been said about MTB tubeless tires, but there are also tubeless road tires. Here the situation is not much different from MTB. If you want to get the same roll as on clinchers, for example, or on tubes, less pressure is required. True, this also happens due to an increase in the width of the tire up to 28-32 mm. Yes, 23-25 mm used to be the gold standard, but the increase in width has a beneficial effect, both in reducing pressure and increasing comfort, as well as increased grip on the roadway.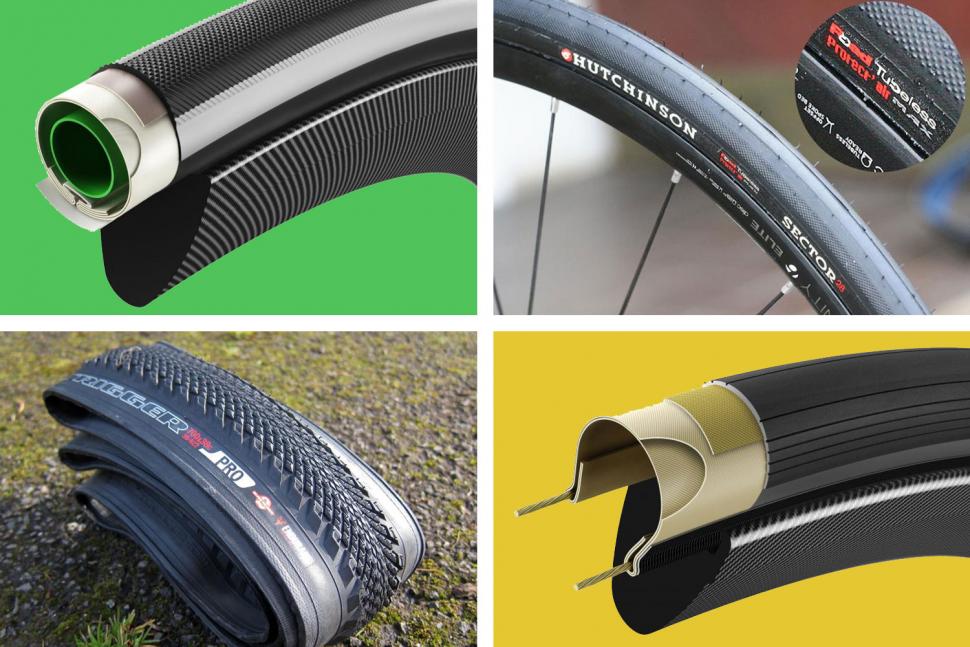 It seems that tubeless is ideal, so many goodies drive up at the same time ... nine0003
Yes, indeed, there are a lot of goodies, but you have to pay for everything. First, again, you have to pay. Tubeless tires cost more and weigh more. The function that the chamber performs, holding air pressure, now falls on a special additional sealing layer of the tire. It is, and it has weight, unfortunately. With road tires, the weight difference isn't as dramatic as it is with MTBs, but it's still there. Unfortunately, it seems that the weight will only grow here. The rims are required much stronger, the tire itself is heavier and the sealant is nowhere without it - all this is about excess weight. nine0003
However, there are already offers on the market when tubeless tires fit perfectly on the rim and do not require special equipment and special tricks during installation. So far, there are only a few such models of rims and tires, for example, Mavic UST.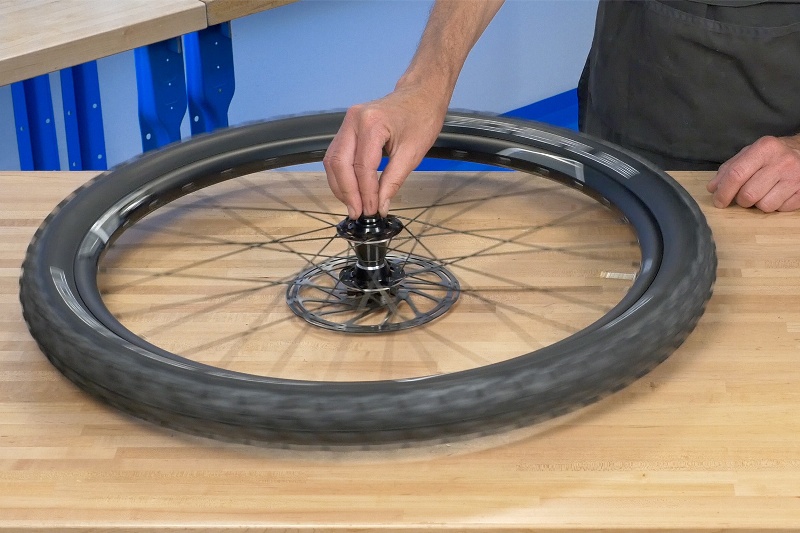
Second, there are far fewer tubeless rims and tires on the market than conventional ones. However, over time, the situation improves a little.
Thirdly, the technology of installing tubeless tires is more complicated than for clinchers. The installation will require either a very powerful pump or a receiver with a large volume of compressed air so that the tire can be put on the rim locks. After all, there is no camera, but somehow you need to inflate the tire from the inside so that it fills the seats on the rim with itself. nine0003
I had to build my receiver... not to say that I got a lot of pleasure from this process and when I started to ride on such wheels, I constantly prayed that something would not happen because of which I would have to bead the tire on the way . And I had to. It's not pleasant, you know, to pull the sealant out of the tire with your hands in order to reinstall the chamber there. I had to get home somehow. Yes, there are situations when the sealant does not save and only a spare tube in the first-aid kit can help out.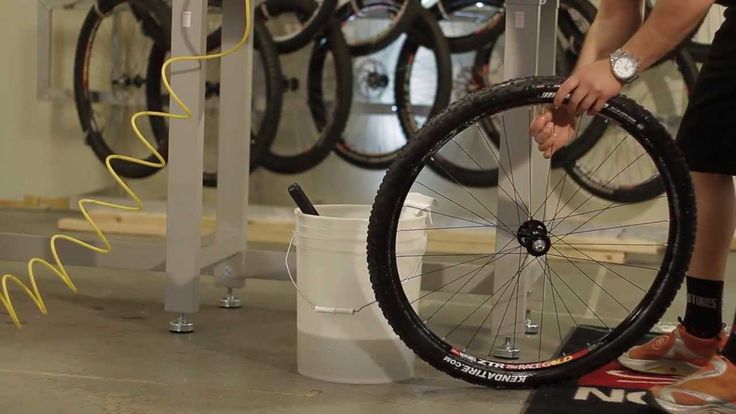 nine0003
The fourth negative is not entirely about tubeless. I really liked the German rubber I mentioned above, but it was not suitable for tubeless use. The sidewalls, I repeat, are very thin and at first they etched the air. High pressure (about 3 atmospheres) tires with enviable stubbornness refused to hold. But they always stopped at around 1 atmosphere, which was enough for me, taking into account my weight. So what I'm saying is that tubeless requires tubeless tires. Of course, you can play with clinchers, but at your own peril and risk. In this case, you will have to put up with a million costs. nine0003
The fifth drawback, again, concerns the price. Tubeless kits cost the same as space on a space shuttle to go into low Earth orbit. Why and where such prices come from is quite understandable. From this and unpleasant. However, they are. In addition, if there are holes in the rim for the spokes, then you will also have to think about sealing the latter, which also adds weight.
There is no definite answer, as you understand. Although there is - yes! nine0003
It all depends on your needs and the desired result. If we are talking about cross-country racing or something tougher, then it's worth a try. It would be cool to have your permanent bike mechanic who will lend a helping hand. And she will definitely need it.
From personal experience, I can say that they helped me lose weight off the bike. Although he could handle it with the help of conventional clinchers. However, I just wanted this for the urban mode of using a bicycle. I had to endure all the shortcomings and it seemed to me that I was happy. But how glad I was that I returned the camera to the wheel ... beyond words. Again, I used a clincher tire for tubeless use. Not very smart, with a lot of effort, but it works. nine0003
Would I go back to MTB tubeless and try it on a road bike? Certainly yes. Not without a “correction for the wind”, of course, I will gladly switch to tubeless again.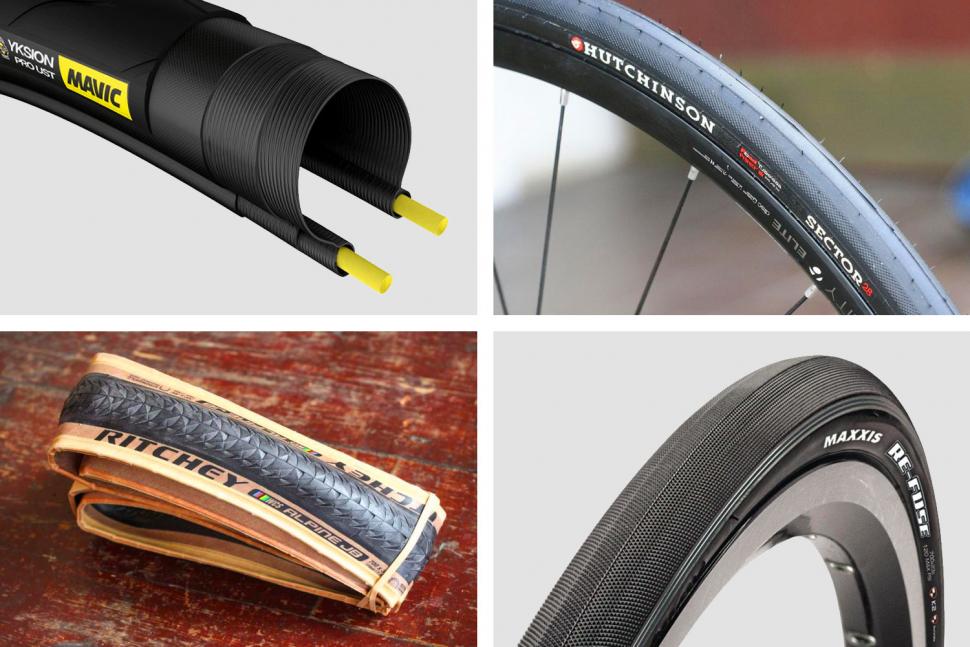
What difference does it make if you want it!? ;)
Full name
Borik Vladimir
Passionate cyclist since 2014. He could not stand it when the bike made extraneous sounds in motion, which made him go over everything, re-grease and renew it many times. He likes to delve into the subtleties, therefore, numerous bulkheads of his bike later turned into a job as a bike mechanic. I went from Shimano Acera to Comance Tomahawk through SLX to XTR to Specialized S Works, and then just switched to a budget road bike on Campagnolo Xenon 10 equipment. Kuyalnik 2019 bike marathon (MTB) behind-year, where Light took 5th place on the route. Currently remains an active bicycle user and continues to deepen his knowledge in this area.
Tubeless tires can hardly be called the know-how of the bicycle industry, however, they still raise questions for many. The topic itself, as a rule, is surrounded by a lot of skepticism and distrust, which are more often explained by a lack of understanding of basic things and a lack of experience in riding such wheels.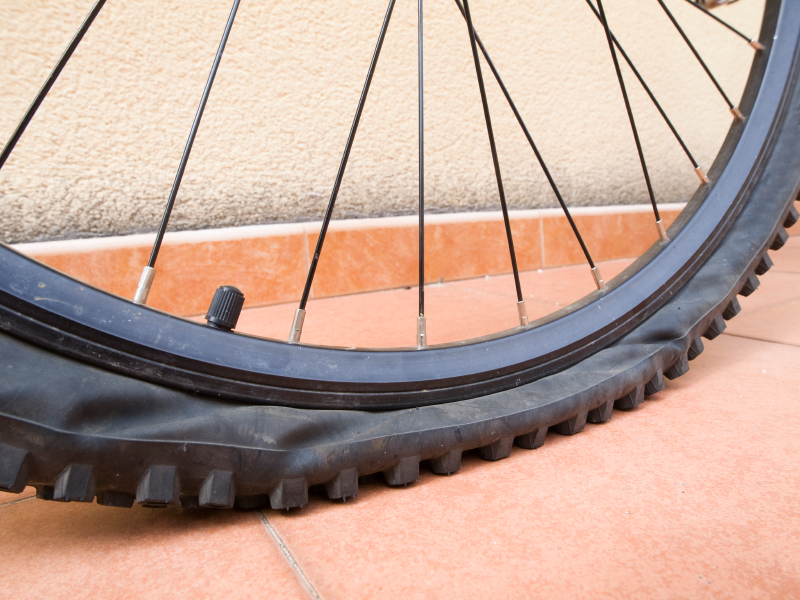 To dispel all these doubts, we answer the main questions related to tubeless technologies. nine0003
These are bicycle tires that do not have a tube. At the same time, tubeless technology is not only about tires. We are talking about a whole wheel system, which also includes a special rim and a sealant that gives the wheel anti-puncture properties. The tubeless concept makes the bike more comfortable to use and improves its riding performance, which will be discussed in order.
How long ago did this technology appear and can it be trusted? nine0003
Those who hear about bicycle tubeless for the first time usually tend to be suspicious of them. You can dislike this technology for subjective reasons, but you definitely shouldn’t distrust it. Tubeless tubes have been massively used for cars and motorcycles for several decades, and during this time they have not given reason to doubt their reliability.
The first tubeless systems for bicycles appeared in 1999, when the French rim brand MAVIC collaborated with tire manufacturer Hutchinson to present their concept of a simple and efficient tubeless wheel.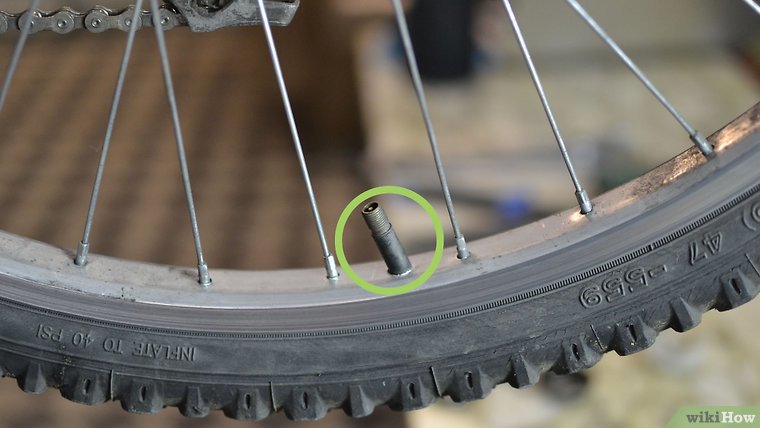 In the 2000s, this technology remained the prerogative of mainly professional athletes, who quickly appreciated its main advantages: lighter weight, more air in the wheel, good "traction" and durability. nine0003
In recent years, tubeless has finally ceased to be perceived as something exotic. For example, today a significant part of the MTB and almost all touring cars come with such wheels as standard. A wide variety of sealants are also available on the market, and the number of those who are discovering the benefits of tubeless technology is steadily increasing.
The tubeless system provides a special rim and tires that are labeled tubeless ready or TR. However, the rims themselves are easy to distinguish visually - they have a low side and characteristic walls with recesses, forming a kind of lock in which the tire cord is wedged when air is injected. Due to this, in the inflated state, the rubber reliably and hermetically “sits” on the rim, without breaking off the wheel even at low pressure. The rim itself is additionally glued with a sealing tape, after which the nipples are installed separately. nine0003
The benefits of tubeless wheels are revealed no matter how often and what kind of bike you ride: whether it's weekend trips, extreme downhill or long-distance touring. Nevertheless, for certain categories of cyclists tubeless still open up more opportunities: first of all, we are talking about those who are seriously passionate about off-road.
When actively driving off-road with tubeless tubes, you can ride on lowered wheels and at the same time not be afraid of such an unpleasant type of puncture as a snake bite. Low tire pressure, in turn, gives better handling, dampens vibrations more effectively and generally provides more comfort on difficult tracks. If we are talking about cyclists, then they appreciate tubeless for their anti-puncture qualities. nine0003
Road bikes also use tubeless wheels. Moreover, they are the pioneers of this technology. But road tubeless tubes are a different story: they are designed for different operating pressures and have tangible design differences. Therefore, further we will talk mainly about those tires that are put on mountain, touring and city bikes.
These are the two rim formats that define the features of a tubeless wheel assembly. BST is a standard that involves the installation of a special sealing tape that prevents air from leaking through the holes in the spokes. This is the most common version of tubeless systems. nine0003
UST is a blind rim in which an additional bridge isolates the spoke holes. Thus, there is no need for laying a sealing tape. In practice, this greatly simplifies life, because when installing a tire (especially without proper experience), the tape tends to crush, which is why you have to reassemble the wheel. It is easy to guess that such rims also have a drawback - their price.
The tubeless system in the form in which we wrote it above is already a full-fledged wheel, it can be installed on a bicycle and hit the road. But there is an important nuance. First of all, tubeless tubes are valued for their anti-puncture qualities: for this, a small amount of a special liquid, a sealant, is poured inside the tire. nine0003
Yes, you can. But you should not do this. Firstly, this is illogical: for no reason you are depriving yourself of the main advantage of tubeless - the anti-puncture effect. But more importantly, it is very difficult (or even impossible) to inflate such a tire in a completely flat state with a portable pump: to do this, you need either a strong floor pump or a booster. Naturally, no one will take such bulky things with them on the road. Filled with sealant 95% of punctures "seal" without a critical loss of pressure, and in most cases there is no need for even light pumping. Thus, the probability of being with a flat tire is very low.
So, if you put tubeless, sealant is still needed. Such fluids are easy to find in any bike shop, they are inexpensive and require replacement on average once every three to four months, so there is no need to talk about any inconvenience. Yes, in order to cope with the fill, you need to acquire a certain skill, but this is much easier than constantly changing broken cameras. In addition, sealant can be replaced once a season in a specialized service. nine0003
Bicycle sealants are based on fine particles (rubber or polymer fibers) suspended in a liquid carrier. Inside the wheel, the sealant does not polymerize: it is in a liquid state and is distributed along the inside of the tire during movement. When a puncture occurs, the air flow begins to push the solution out. A fine suspension clogs the hole, and the sealant dries quickly. Thus, there is a reliable "sealing" of the puncture. nine0003
If we talk about typical punctures - collisions with thorns, wires, small glasses - such damage is self-healing without a noticeable loss of pressure. Usually, a puncture can only be guessed from a small spot on the surface of the tire. Naturally, the sealant works with more complex damage. You can count on it even if you pierce the wheel with a thick nail, 4-5 mm in diameter. If you can’t figure out how a liquid can seal such holes, you can look at YouTube for numerous crash tests demonstrating the miraculous properties of sealants. nine0003
The consumption per tire is from 50 to 100 ml. If we are talking about standard MTV tires, the golden mean is about 60 ml per wheel. The exact dosage will always be written on the bottle. It is difficult to get confused even for those who do not like to read instructions: most sealants have measuring containers or a dosage scale on the bottle itself.
Here, too, everything is conditional and depends on the characteristics of the specific composition and intensity of punctures. In the absence of serious damage that entails the leakage of a large volume of sealant, you can easily skate a whole season on one fill. Some cyclists prefer to do an incomplete start-up gas station and gradually add 20-30 ml of fluid every two to three months.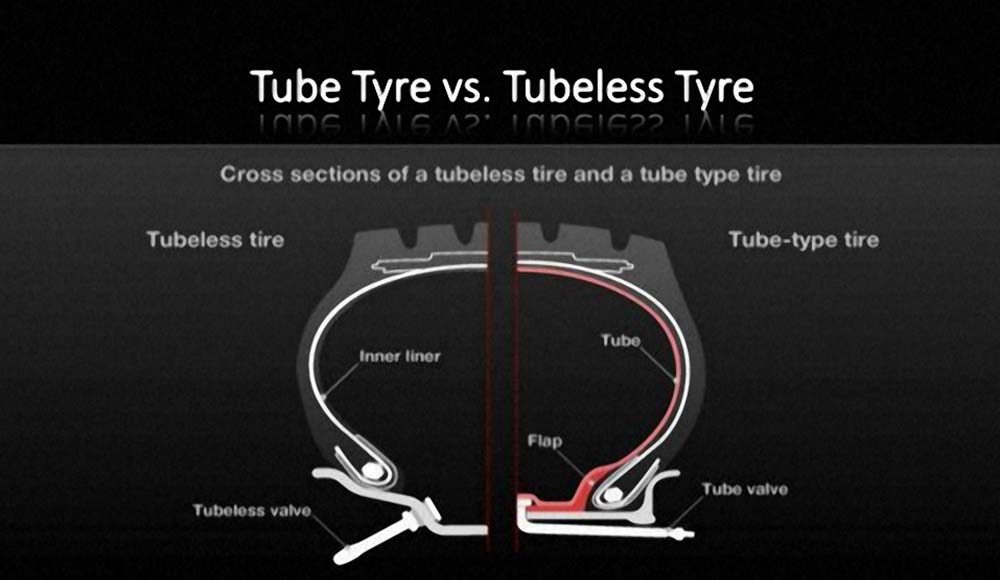 You can also navigate by how effectively the sealant works: if you see that small punctures are sealed with a strong deflation of the wheel, it may be that the composition is no longer enough and it needs to be added. Be that as it may, sealant is a very economical thing that lasts for a long time. nine0003
The sealant inside the tubeless tends to dry out, forming a characteristic film. Whether or not to clean the tire cavity is up to you. This is a purely aesthetic moment, which does not affect the operation of the anti-puncture fluid. The sealant can simply be added as it dries and not bother with unnecessary worries. It is more likely that the tire will completely wear out than it will have time to completely clog with dried filler.
nine0017
Serious damage - large diameter punctures, small cuts, run over nails with subsequent tire rupture - are repaired using special repair worms.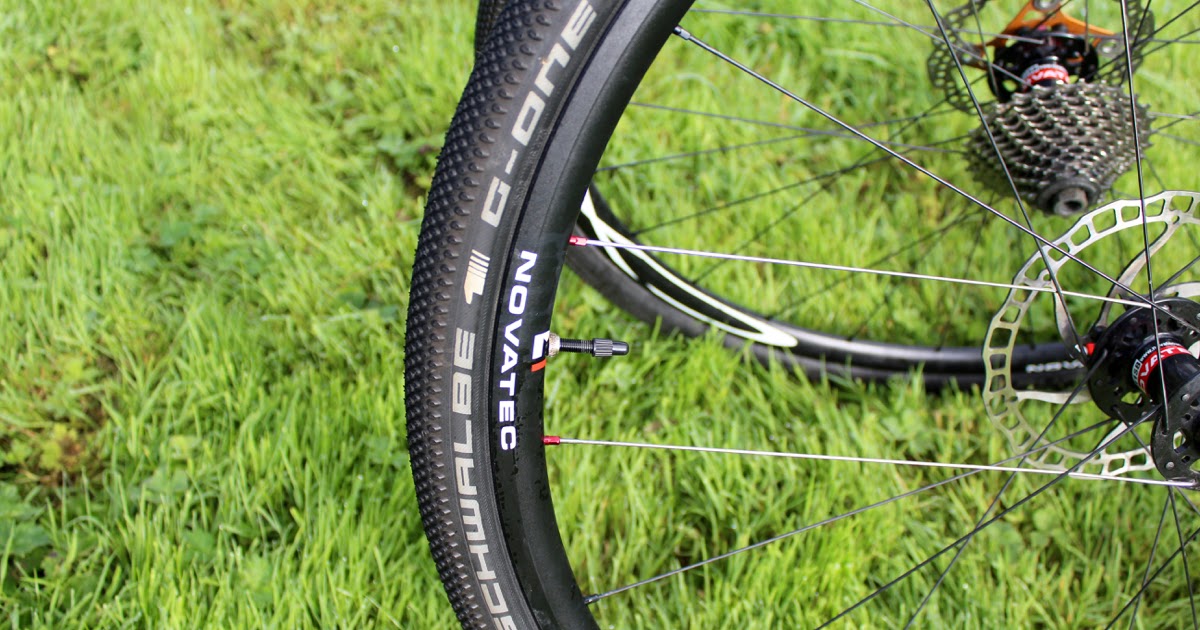 These are rubber or fibrous bands that are inserted into the hole to reduce its area and allow the sealant to seal the puncture.
With long longitudinal cuts it is more difficult. Here you need to either sew up the dissection with nylon threads, or stick a patch on the inside of the tire. You don’t have to worry about the tightness of the repair site - the sealant will do this work, of course, if it does not have time to leak out. But being able to inflate a completely flat tire with only a portable pump will require skill. nine0003
In fairness, we note that such complex injuries are rare for most cyclists. But for those who are seriously passionate about off-road, it is better to play it safe with a spare camera. In this case, having caught a cut, you can always drain the sealant, unscrew the nipple from the rim and install a regular camera. And in order not to drive with a “hernia” protruding outward, we recommend placing, for example, a bill folded in half under the cut on the tire.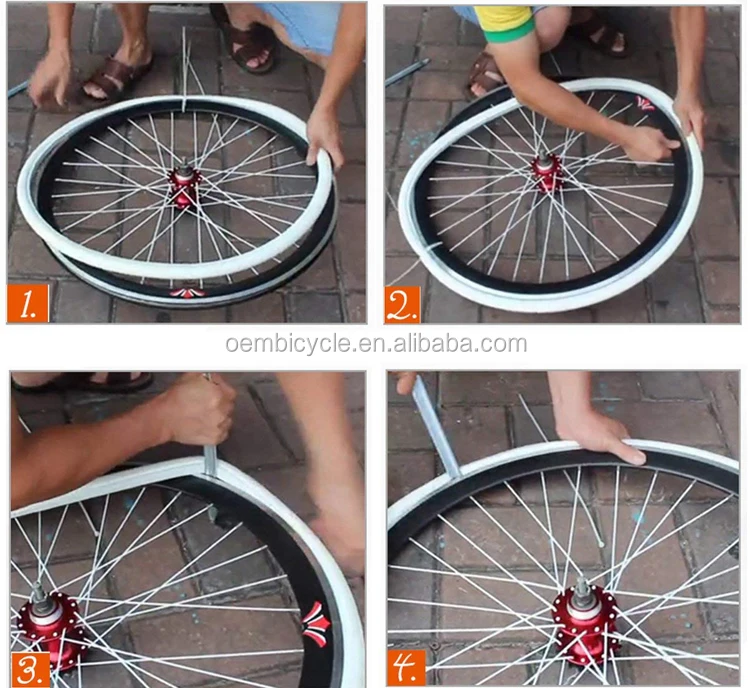
Tubeless allows you to forget about such an unpleasant form of damage as a "snake bite" forever. It usually happens when at full speed you catch a pothole in the pavement, unsuccessfully jump onto a curb or run into a stone on a downhill. Hitting the edge of a hard object, the tire is crushed, and the rim walls work like incisors, damaging the chamber in two places. In tubeless wheels, this scenario is excluded, because. there is nothing to break through here. Of course, it can be assumed that the rim will cut the tire itself, but this should be a blow of enormous force, which is almost never encountered in practice. nine0003
Rejection of the chamber increases the volume of air in the wheel. This changes the contact patch (it becomes flatter) and allows the wheels to better absorb off-road bumps. Add here the ability to ride at low pressure, without being afraid of a snake bite, and it becomes completely clear why tubeless lovers of hard off-road riding so idolize. Soft tires with a large contact patch "fit" all the bumps in the road, giving excellent traction on rocks, forest primers and other off-road. nine0003
In addition to traction, tubeless tires improve shock absorption, dampen vibrations better, and generally provide more off-road comfort. At the same time, to get the most out of this rubber, you need to experiment a lot with tire pressure, trying to find the indicators that will best suit your individual riding style.
Finally, the camera is extra grams. By refusing them, you can save an average of 70-100 g of weight on each wheel. For some, this may seem like a formality, but it is worth considering the fact that extra grams on the periphery of the wheel have a stronger effect on driving performance. This difference is especially felt on road bikes: road bikes, gravel, touring. nine0003
They also exist. Moreover, it is far from formal. First, it's the price. The difference becomes especially noticeable when you buy tubeless systems separately: rims, tires + small things (tape, removable nipples, sealant). For tubeless you will have to pay an average of one and a half times more than for ordinary wheels, plus or minus the same class. And if we are talking about more advanced UST rims, then this means another + 30-40% to the cost.
With tubeless by default, everything is more difficult in terms of installation (here we are talking about conventional BST systems). You need to learn how to properly glue the tape, accurately insert the nipples, carefully install tight rubber, making sure not to displace the tape and not fill everything with sealant. On the other hand, all this comes with experience, but what you will always have to put up with is the difficulty with pumping a completely flat tire.
A tubeless tube cannot be inflated until its landing board snaps into place on the rim. To do this, you need to sharply introduce air into the tire. The tire should straighten up and fall into the grooves with a characteristic click - then it can be safely pumped further. This all sounds simple if there is a compressor in the garage.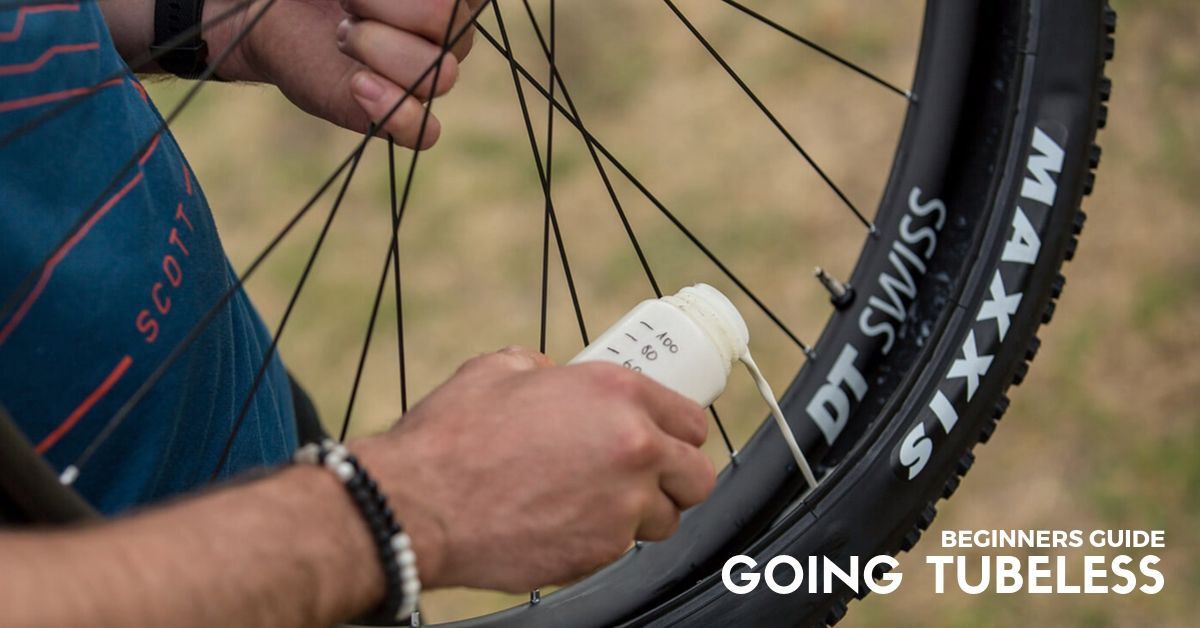 Putting a tubeless tube into the grooves by pumping air with an ordinary floor pump is quite difficult, and almost impossible with a portable bicycle pump. nine0003
All this makes life much more difficult. But there are solutions. In the field, a compact can of compressed air can help out. At home, installing tubeless tubes greatly simplifies the booster. This is a cylinder into which high pressure is pumped with a pump, then it is connected to the nipple, the valve is lowered - and the air from the reservoir pumps up the wheel sharply.
As you can see, tubeless cameras also have enough disadvantages, but it is wrong to consider them in isolation from the advantages. For example, the probability of being with a completely flat tire away from home is very low, due to the anti-puncture qualities. Complicated installation is offset by the lack of punctures and roadside repairs. And by overpaying in price, you save on interchangeable cameras, and, of course, win as a roll on off-road.